by
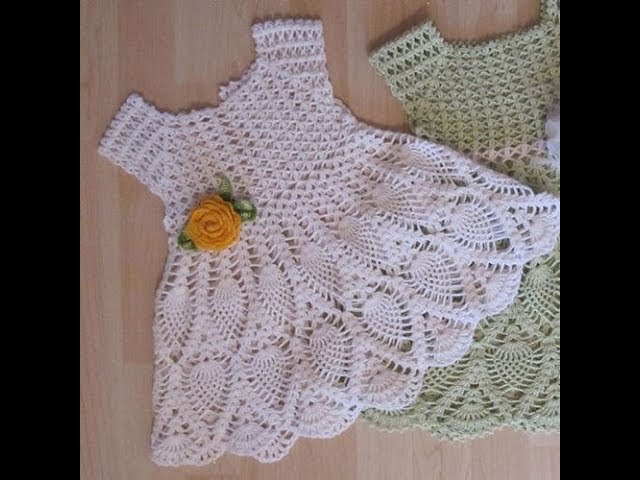
by Creating a crochet baby dress is a delightful and meaningful project for anyone who loves crafting. Handmade with love and care, these dresses are perfect for baby showers, christenings, birthdays, or everyday wear. This guide will walk you through the process of making a simple, yet beautiful, crochet baby dress—even if you’re relatively new to crocheting.
✨ Why Crochet a Baby Dress?
- Personalized gift: Handmade gifts are thoughtful and unique.
- Customizable: Choose your yarn, color, pattern, and embellishments.
- Reusable and durable: With the right yarn, it can be handed down.
- Creative and relaxing: A fun way to express your creativity.
🧵 Supplies You’ll Need
Before you start, gather the following:
| Item | Details |
|---|---|
| Yarn | Soft, lightweight yarn like cotton or baby acrylic |
| Crochet Hook | 3.5mm–4.5mm (E–7), based on yarn label |
| Scissors | For trimming yarn |
| Yarn Needle | For weaving in ends |
| Stitch Markers | Optional, helps track rounds and stitches |
| Buttons/Ribbon | Optional for closures or decorative touches |
| Measuring Tape | To ensure correct sizing |
💡 Tip: Use hypoallergenic, washable yarn specifically labeled “baby-safe.”
📏 Baby Dress Sizing (Approximate)
| Age | Chest (inches) | Length (inches) |
|---|---|---|
| 0–3 months | 16″ | 12″ |
| 3–6 months | 17″ | 13″ |
| 6–12 months | 18″ | 14″ |
Adjust the length or width as needed for the child you’re making it for.
🧶 Crochet Stitches to Know
Here are the basic stitches you should know:
- ch – chain
- sc – single crochet
- dc – double crochet
- hdc – half double crochet
- sl st – slip stitch
- Shell stitch – typically 5 dc in one stitch for lacy effect
If you’re a beginner, it helps to practice these on a small swatch first.
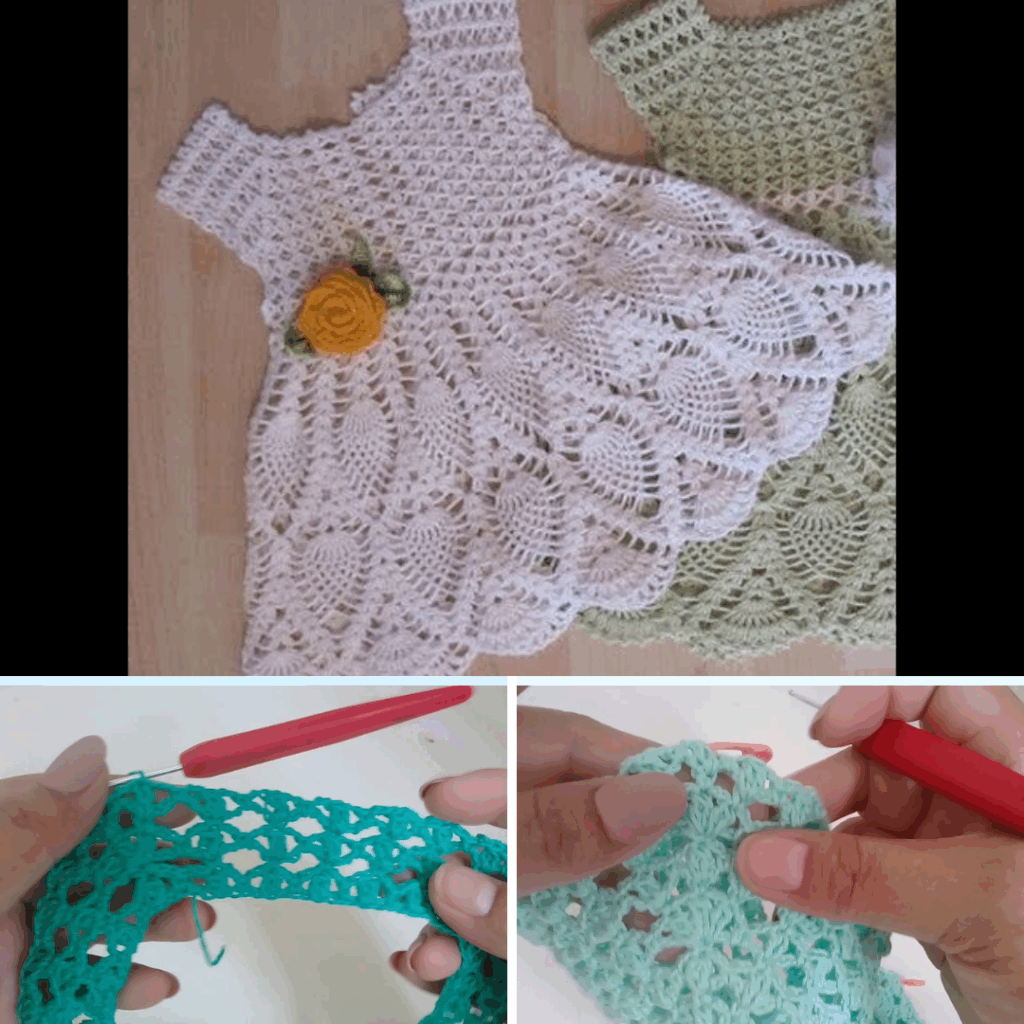
👗 Step-by-Step Instructions: Top-Down Baby Dress
We’ll be using a top-down method, which is one of the simplest ways to make a baby dress. This version creates the neckline first, forms the yoke, separates the sleeves, and finishes with a skirt.
🔹 Step 1: Make the Foundation Chain
Start by chaining for the neckline.
Ch 52 (or adjust based on your pattern or desired size).
This chain will form the neckline of the dress.

🔹 Step 2: Create the Yoke
Use double crochet to work the yoke and form the shoulders.
Row 1: Dc in 4th ch from hook and in each chain across. (49 dc)

Row 2: Ch 2, turn. (Dc, ch 1, dc) in first st (increase corner). *Dc in next 11 stitches, (dc, ch 1, dc)*. Repeat this increase 3 more times. Dc to end.
Continue increasing at the 4 corners in each row until the piece fits around the baby’s upper chest (around rows 6–8).
🔹 Step 3: Form the Armholes
You’ll now divide the yoke to make space for the sleeves.
Row 9:
Ch 2, dc in each st up to first corner,
Ch 6–10 (to form sleeve opening), skip stitches until next corner,
Dc in stitches for the back,
Repeat for the other sleeve.
Your piece should now look like a rectangle with armholes.
🔹 Step 4: Begin the Skirt
After the armholes, you’ll start working in rounds to make the skirt.
Round 1: Join yarn under the arm, ch 2. Dc in each st around the body.

Round 2+: Continue with dc rows, or switch to **shell stitch** for a lacy effect.
💡 Optional: Use the shell stitch like this:
*Skip 2 sts, 5 dc in next st (shell), skip 2 sts, sc in next st* – repeat around.
Continue rounds until the skirt reaches the desired length.
🔹 Step 5: Add Edging (Optional)
Add decorative edging at the neckline, sleeves, and hem.
For a picot edge:
Sc around, *ch 3, sl st into 1st ch (makes a picot), sc in next 2 stitches* – repeat.
You can also add ribbon at the waist or neckline for a cute bow.
🔹 Step 6: Closure and Finishing
- Closure: If the neck is tight, leave a 1–2 inch gap in the back with a button and loop closure.
- Weave in all ends using a yarn needle.
- Block the dress (optional but recommended) to shape it evenly.
✅ Tips for Success
- Always check your gauge: Making a gauge swatch helps ensure your dress won’t turn out too small or too big.
- Use stitch markers: Mark your increase points in the yoke to keep the shape even.
- Try it on as you go (if possible): Or measure against baby clothing.
- Go simple at first: Avoid complicated lace or shaping until you’re comfortable.
🎁 Crochet Baby Dress Ideas
- Christening Dress: All white with lace and pearl buttons.
- Everyday Sundress: Light cotton yarn with floral appliqués.
- Holiday Dress: Red or green yarn with contrasting trim.
Add matching accessories like a crochet baby hat or booties for a full outfit!
❤️ Final Thoughts
Crocheting a baby dress is a wonderful way to combine creativity and care into a handmade treasure. Whether it’s your first crochet project or one of many, you’ll love seeing your stitches come together into something that’s both beautiful and meaningful.
The possibilities are endless—from colors and yarn types to patterns and embellishments. With a little time and practice, you can create a dress that may be cherished for years to come.
Video Tutorial: