 by
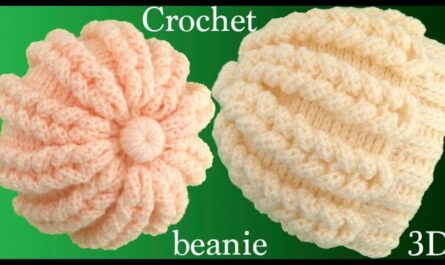
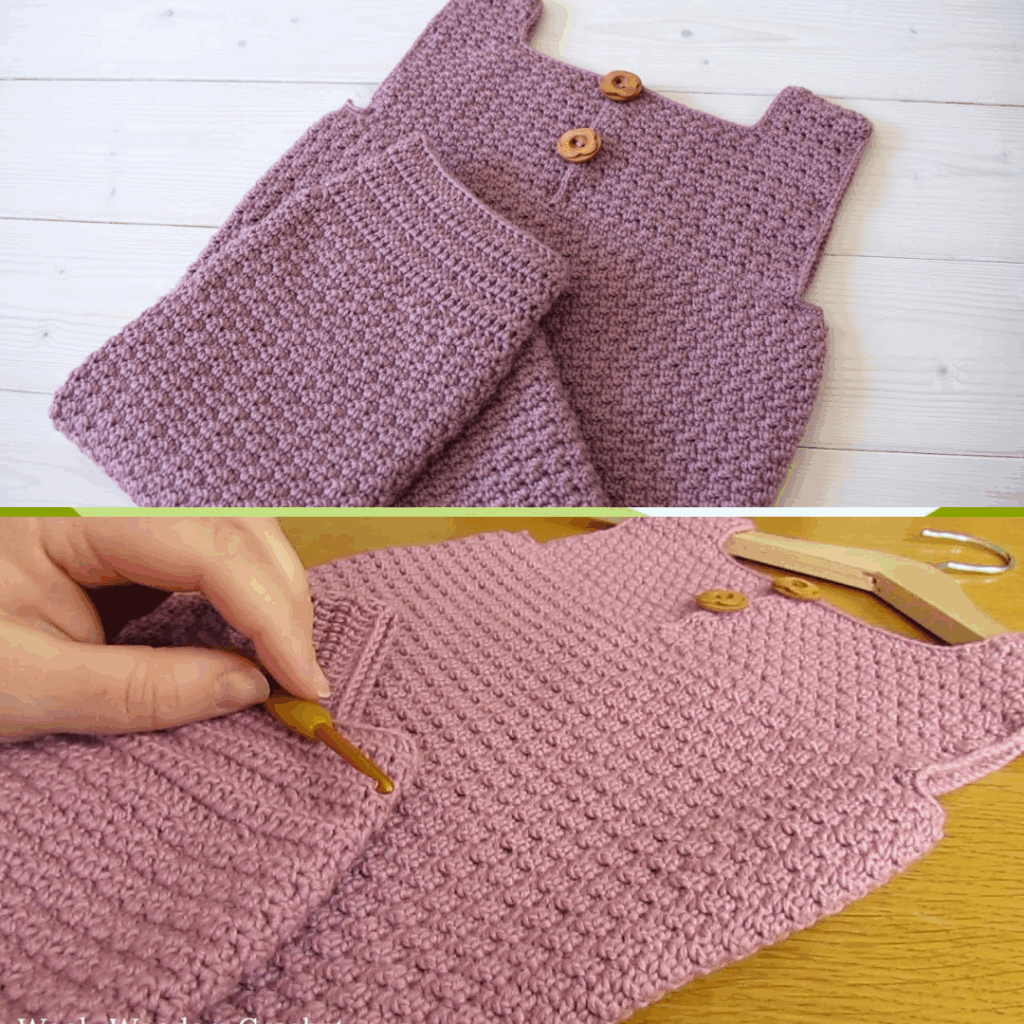
by Crocheting a pair of baby or children’s dungarees (also known as overalls) is a delightful project that blends function and fashion. Add a bit of texture, and you’ve got a standout handmade outfit that’s cozy, stylish, and full of charm. Textured crochet stitches not only add visual interest but also give the garment structure and warmth — perfect for little ones on the move.
This guide will walk you through every step of making textured crochet dungarees for babies and toddlers, including materials, measurements, stitches, and construction tips.
🧵 Why Make Textured Dungarees?
- Practical: Easy to layer over onesies or shirts.
- Adjustable Fit: Straps and buttons allow room for growth.
- Stylish: Textured stitches add modern flair.
- Durable: Great for active play and exploring.
- Customizable: Choose fun colors, textures, and add pockets or appliqués.
📦 Materials & Tools
| Item | Details/Recommendations |
|---|---|
| Yarn | DK (#3) or worsted weight (#4); soft cotton or cotton-blend |
| Hook | 4.0 mm (G/6) for DK or 5.0 mm (H/8) for worsted |
| Buttons | 2–4 large wooden or plastic buttons for straps |
| Stitch Markers | Optional but useful for shaping |
| Measuring Tape | For accurate sizing |
| Yarn Needle | To weave in ends |
| Scissors | Basic cutting tool |
📝 Note: Always check the yarn label for hook recommendations and washing instructions.
📏 Sizing Guide
Here’s a general guide for sizing your dungarees. Adjust accordingly based on your yarn weight and gauge.
| Size | Waist Circumference | Total Length | Inseam |
|---|---|---|---|
| 0–3 months | 16–17″ | 12″ | 4″ |
| 3–6 months | 17–18″ | 14″ | 5″ |
| 6–12 months | 18–19″ | 16″ | 6″ |
| 1–2 years | 19–20″ | 18–20″ | 7″ |
| 2–3 years | 20–21″ | 22–24″ | 8–9″ |
🧶 Stitch Suggestions for Texture
Choose any of the following stitches to create texture:
- Front Post Double Crochet (fpdc)
- Back Post Double Crochet (bpdc)
- Herringbone Half Double Crochet (hhdc)
- Waffle Stitch
- Grit Stitch (sc + dc alternated)
- Suzette Stitch (sc + dc in same stitch)
For this guide, we’ll use the Waffle Stitch, which is deeply textured and perfect for cozy dungarees.
🔤 Pattern Overview
The dungarees are constructed in 3 main parts:
- Bottoms (pants/shorts portion)
- Top panel (bib/chest piece)
- Straps & finishing touches
This pattern is worked bottom-up in two legs, joined at the crotch, then worked in the round for the waist, and finished with the top bib and straps.
👣 Step-by-Step Instructions
🔹 Step 1: Make the Legs (Make 2)
- Foundation Chain:
- Ch 30 (adjust to waist size; each leg should be half the waist)
- Round 1:
- Join in a circle with sl st (be careful not to twist).
- Ch 2, dc in each stitch around. Join.
- Rounds 2–8 (or desired leg length):
- Waffle stitch pattern:
- Row 1: Ch 2, fpdc in next stitch, dc in next 2, repeat around. Join.
- Row 2: Ch 2, dc in fpdc, fpdc in next 2, repeat. Join.
- Repeat for texture.
- Waffle stitch pattern:
- Fasten off first leg, repeat for second leg.
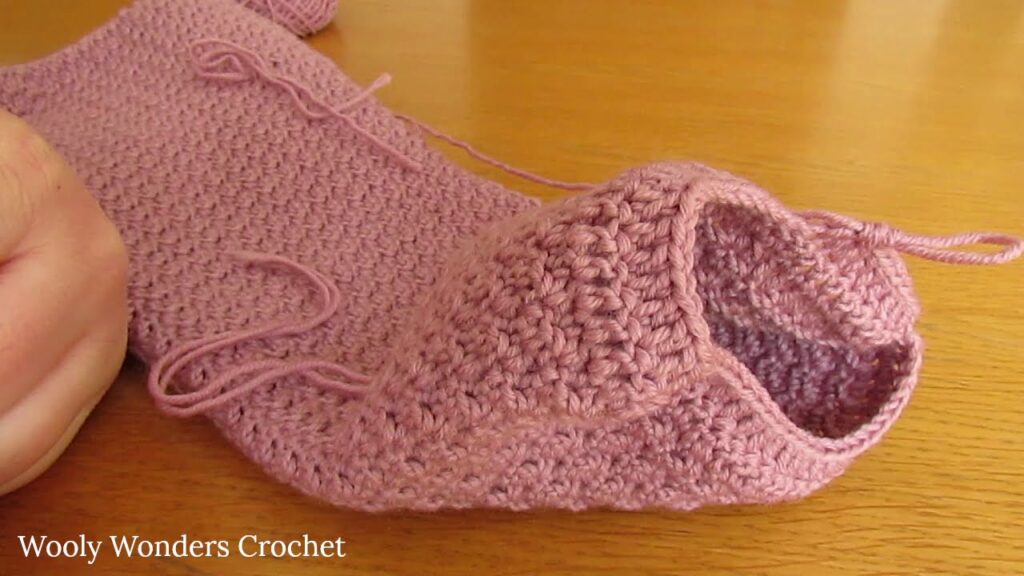
🔹 Step 2: Join the Legs & Form Body
- Do not fasten off second leg.
- Ch 4 (this will be the crotch join), sl st to first leg to connect both legs.
- Begin working in the round around both leg openings and chain space.
Work 8–10 rounds in waffle stitch to build the body of the dungarees.
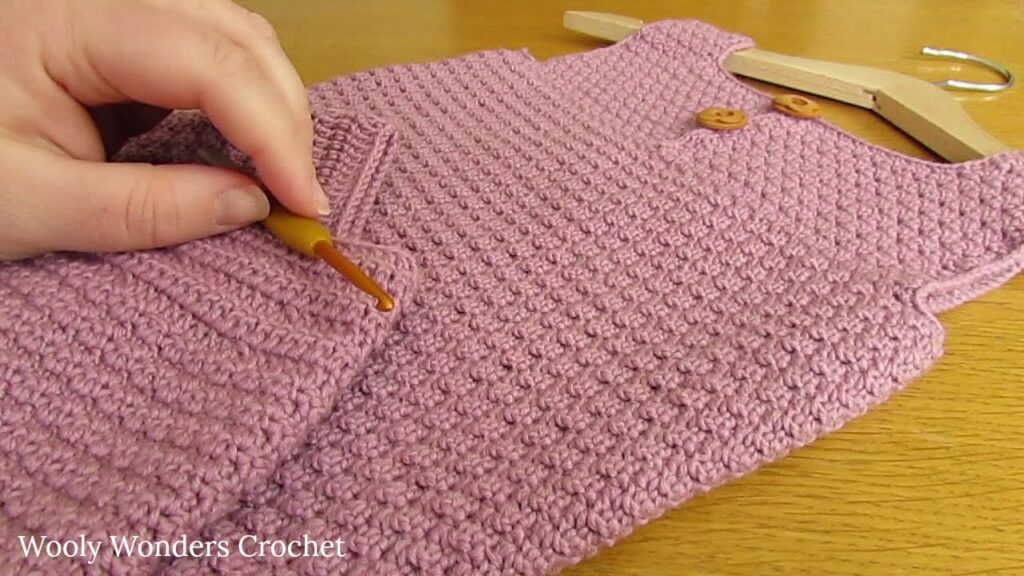
🔹 Step 3: Shape the Waist
- Begin to decrease very slightly for a snug waist:
- Every 3rd stitch, do a dc2tog (if needed).
- Or switch to hdc or sc for a tighter top edge.
- Add ribbed waistband:
- Ch 7, sc in 2nd ch from hook and across.
- Sl st to edge of body.
- Continue working rows of 6 sc, attaching to the waist edge with sl st as you go (back loop only for stretch).
- This creates a stretchy ribbed band.
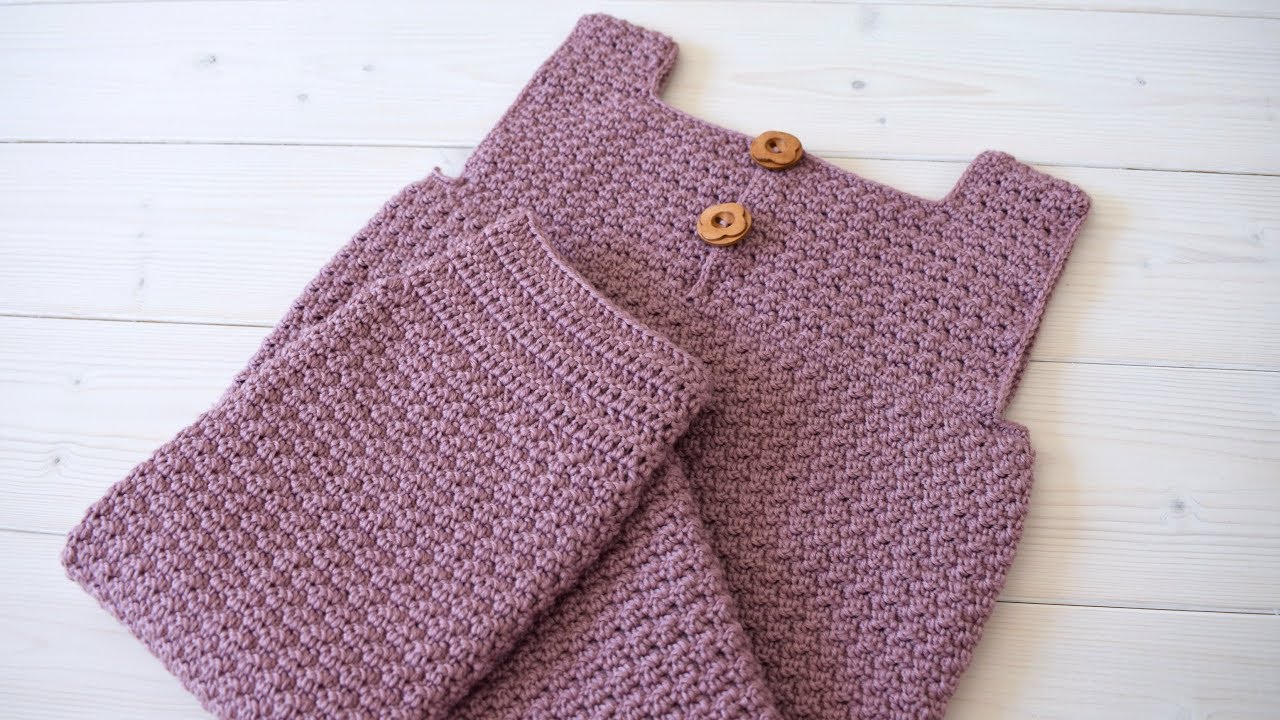
🔹 Step 4: Create the Bib (Chest Panel)
- Reattach yarn to center front.
- Row 1: Ch 2, dc across 10–12 stitches centered in front.
- Row 2–6: Work waffle stitch or dc rows to build up the bib.
- Optional: Add a sc border around the bib for neat edges.
🔹 Step 5: Add the Straps
- Attach yarn at top corners of bib.
- Ch 25–30 (or desired strap length).
- Sc in 2nd ch from hook and across for a thicker strap.
- Fasten off and sew the strap to back waistband.
- Repeat on other side.
📍Optional: Add buttons to the bib and make strap buttonholes for adjustable straps.
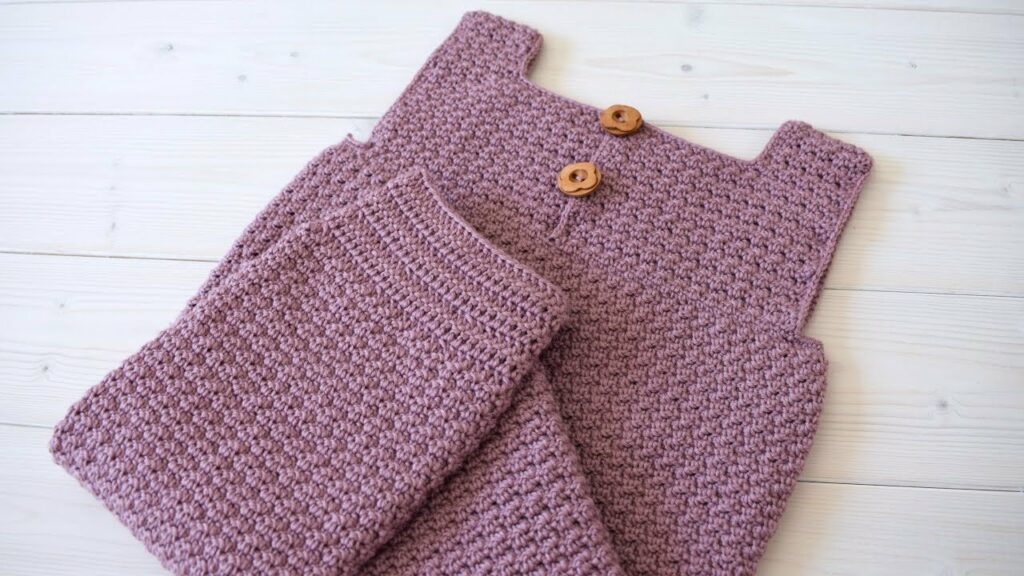
🔹 Step 6: Finishing Touches
- Weave in all ends using a yarn needle.
- Block your piece to even out stitches.
- Add buttons, snap fasteners, or decorative appliqués.
- Optional Pockets: Make a 10×10 cm square using the same stitch and sew onto the front or back.
🧼 Washing & Care Tips
- Use machine-washable yarn (especially for babies!)
- Wash on cold, gentle cycle
- Lay flat to dry
- Avoid fabric softeners (can irritate baby skin)
💡 Customization Ideas
- Make a short version for summer
- Use two-tone yarn for contrast trim
- Add crochet animal appliqués or initials
- Use wooden buttons for a rustic look
- Make a matching hat or booties for a full set
🪡 Final Tips
- Keep trying the piece against the child’s measurements (or a similar garment).
- Don’t be afraid to adjust stitch counts — each child is unique!
- Mark important points (crotch, bib edges, strap ends) with stitch markers to keep things symmetrical.
- If using a very textured stitch like waffle, go up half a hook size for better drape.
❤️ In Conclusion
Crocheting textured dungarees for babies or children is not only a creative adventure but a deeply personal gift. The texture adds character, the construction builds your skills, and the final piece is one to treasure. Whether you’re making a romper for a baby shower or sturdy overalls for a toddler, the possibilities are endless — and adorable.
Video Tutorial: