 by
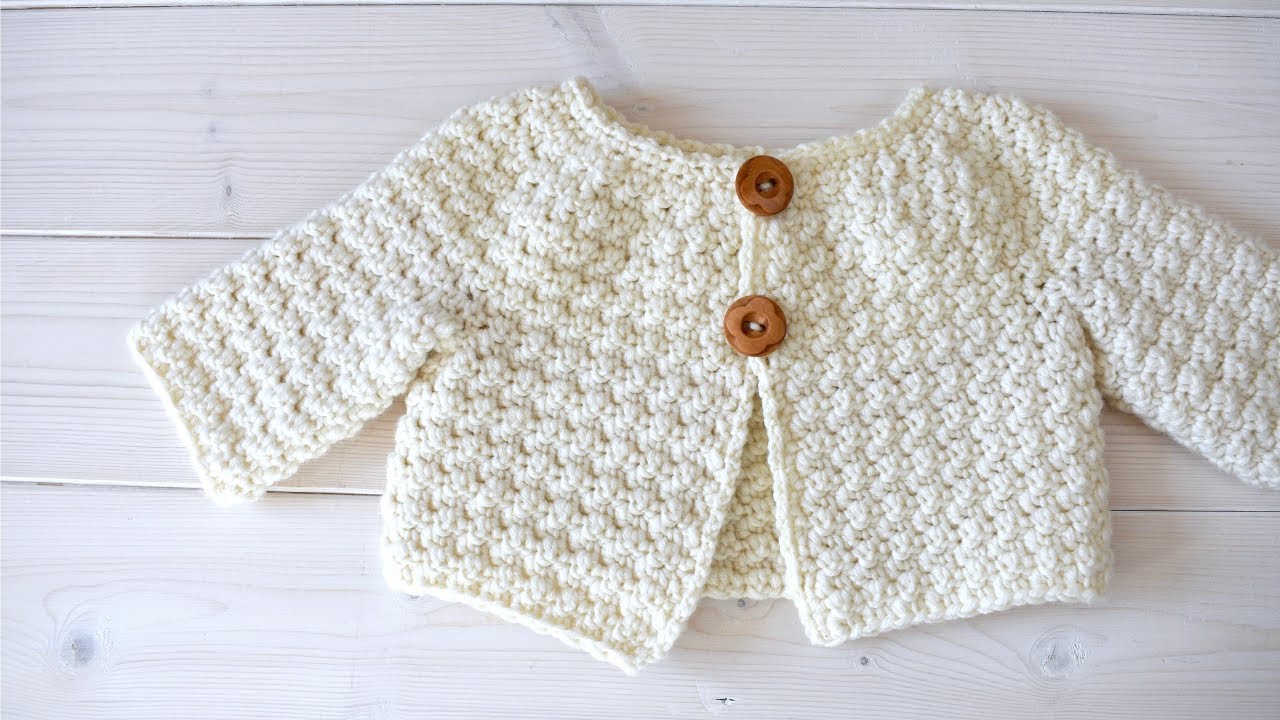
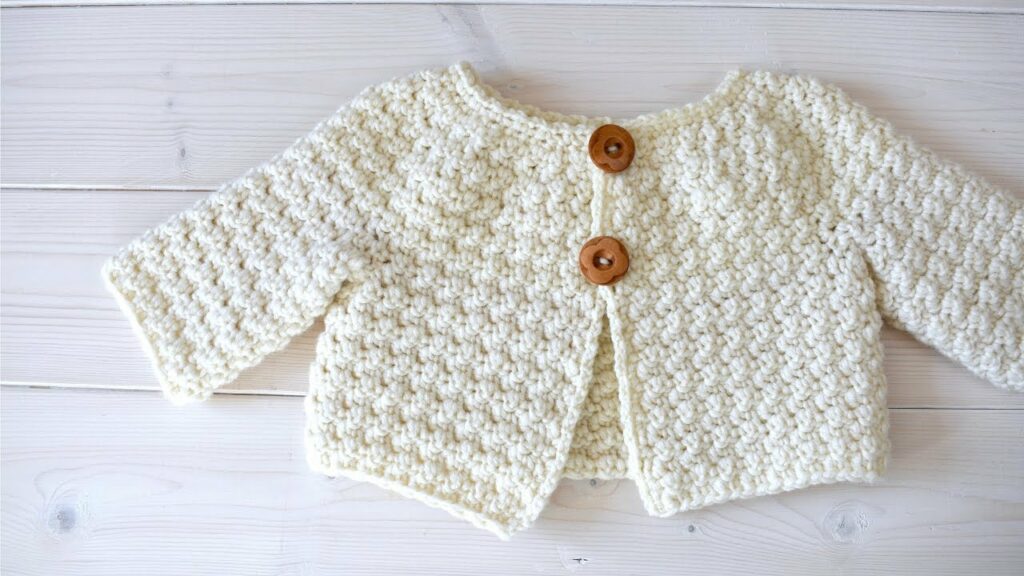
by Crocheting a baby or children’s cardigan is one of the most rewarding projects for beginners and experienced crafters alike. When you add texture, you elevate a basic garment into something eye-catching, cozy, and delightfully unique. A simple textured cardigan is perfect for layering, gifting, or keeping little ones warm year-round.
In this guide, we’ll walk through the process of creating a simple, top-down textured cardigan that’s adaptable to babies and toddlers, and ideal for both boys and girls.

🧵 Why Crochet a Textured Cardigan?
- Adds Warmth & Structure: Texture makes the cardigan cozier.
- Stylish & Unisex: Suitable for boys and girls depending on your color and finishing.
- Beginner-Friendly: Simple construction with minimal shaping.
- Customizable: You can add hoods, pockets, or trim later.
- Handmade Heirloom: A garment to be cherished or passed down.
📦 Materials You’ll Need
| Item | Details |
|---|---|
| Yarn | DK (#3) or worsted weight (#4) – soft cotton or baby acrylic |
| Hook | 4.0 mm (for DK) or 5.0 mm (for worsted) |
| Buttons | 3–5 small, child-safe buttons |
| Stitch Markers | Optional, but useful for increases |
| Yarn Needle | For weaving in ends |
| Scissors | Basic cutting tool |
📝 Recommended Yarn: Use soft, machine-washable yarns designed for babies or children. Look for anti-pilling yarn if it will be worn and washed often.
📐 Sizing Guide
Here’s a rough size chart to help guide you:
| Age | Chest (inches) | Cardigan Length | Sleeve Length |
|---|---|---|---|
| 0–3 months | 16” | 9” | 5” |
| 3–6 months | 17” | 10” | 6” |
| 6–12 months | 18–19” | 11” | 7” |
| 1–2 years | 20–21” | 12–13” | 8” |
✅ Adjust measurements by adding/removing rows or stitches where needed.
🔤 Stitches Used (US Terminology)
- ch – chain
- sc – single crochet
- dc – double crochet
- hdc – half double crochet
- sl st – slip stitch
- fpdc / bpdc – front and back post double crochet (for ribbing)
- Griddle Stitch (for texture): alternate sc, dc across row, next row starts with opposite.
🧶 Pattern Overview: Top-Down Raglan with Griddle Texture
We’ll be working from the top down, starting with the yoke (neckline to underarms), then dividing for sleeves, finishing the body, and then doing sleeves and edging.
This makes sizing and customization easier — you can try it on as you go!
🔹 Step-by-Step Instructions
🟨 1. Foundation & Yoke
- Chain 52 (for a 6-12 month size)
- Row 1:
Dc in 4th ch from hook and in each across. (49 dc) - Row 2 (Set up Raglan Increase):
Place stitch markers to divide as follows:- Front (10), Sleeve (7), Back (15), Sleeve (7), Front (10)
- Increase at each marked stitch by working (dc, ch 1, dc) in the same stitch.
- Rows 3–10 (Yoke Rows):
Work dc in each st across. At each marker, do (dc, ch 1, dc). Move markers up each row to the new chain-1 space.
⏳ Continue until the piece is wide enough to reach under the arms.
🟨 2. Divide for Body and Sleeves
- Row 11:
- Work across front,
- Skip sleeve stitches and chain 4–6 (for underarm),
- Work across back,
- Skip second sleeve and chain same number,
- Finish across front.
You’ll now be working the body only.
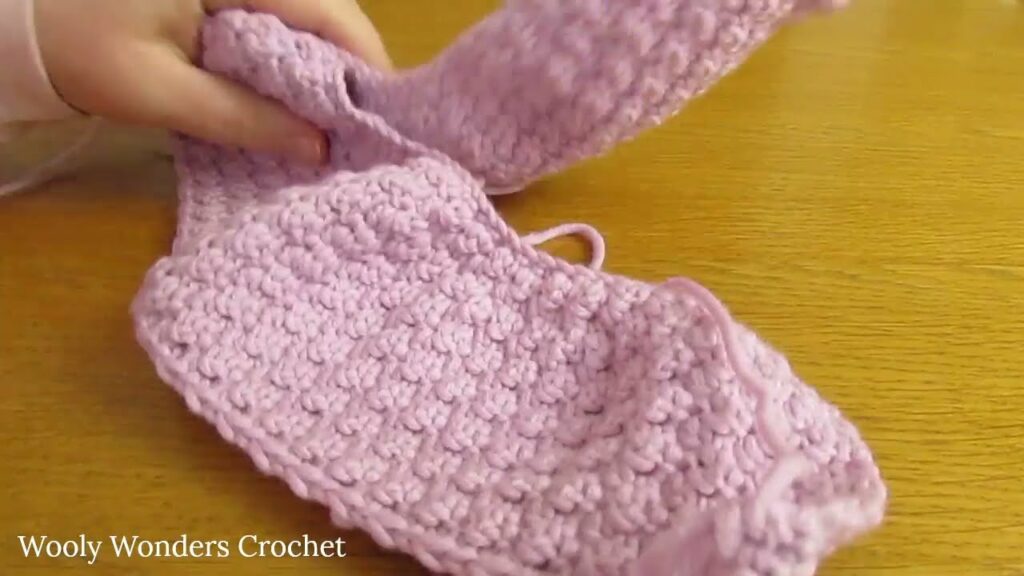
🟨 3. Work the Body (Add Texture)
- Switch to Griddle Stitch (Texture):
- Row A: sc in first st, dc in next, repeat to end.
- Row B: dc in sc of previous row, sc in dc of previous row, repeat.
- Continue alternating Griddle Stitch rows until desired length is reached.
Optional Ribbed Hem:
- Work 2–3 rows of fpdc/bpdc for stretchy hem look.
🟨 4. Sleeves
- Join yarn at underarm.
- Work in rounds or rows using Griddle Stitch (or plain dc/hdc).
- Decrease slightly every few rounds if you want tapered sleeves.
- Finish with ribbed cuffs using fpdc/bpdc.
Repeat for second sleeve.
🟨 5. Button Band & Neckline
- Attach yarn at lower front corner.
- Work sc evenly up one front edge, around neck, and down the other front edge.
- Do 2–3 rounds of sc or add post stitches for ribbed edging.
- On one side, create buttonholes:
- Every 6–8 rows, leave a space (ch 2, skip 2 sts).
- Sew buttons on opposite side.
🎀 Optional Additions
- Hood: Make a rectangle and seam to the neckline.
- Pockets: Crochet small textured squares and sew to front.
- Appliqués: Add crocheted hearts, stars, animals, etc.
- Colorwork: Use contrasting colors for ribbing or sleeves.
🧼 Washing & Care Instructions
- Use baby-safe, machine-washable yarn
- Wash cold on gentle cycle
- Lay flat to dry or tumble low if yarn allows
📌 Tips for Success
- Always check your gauge before starting.
- Keep a notebook to track stitch counts, rows, and sizing adjustments.
- Use stitch markers to track increase points or sides.
- Don’t be afraid to try it on the child (or a garment of the same size) to check fit as you go.
- Want to make it bigger? Just add more rows to the yoke or more chains at the base.
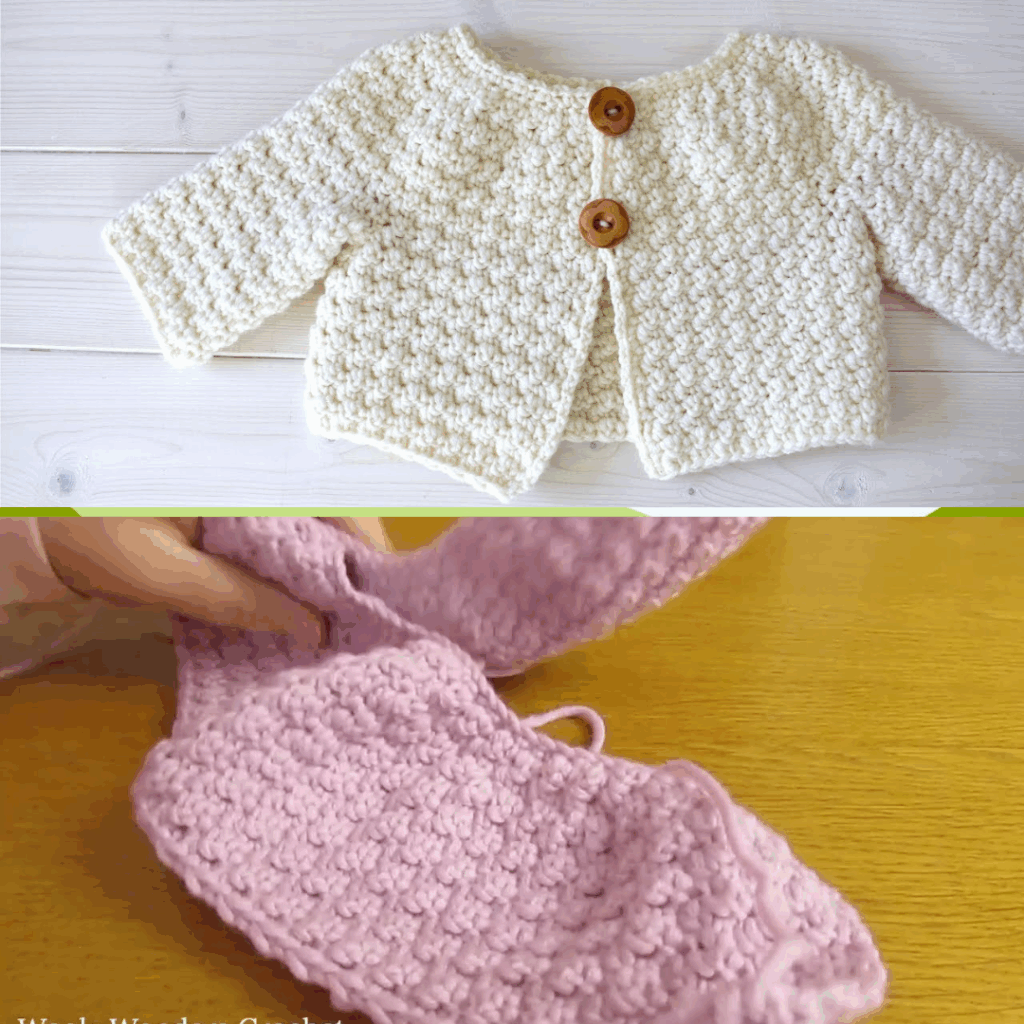
🧥 Final Thoughts
A simple textured crochet cardigan is one of those go-to baby garments that’s both useful and full of character. With the Griddle Stitch (or your favorite textured stitch), you can create a cozy, soft, and stylish layer that works for any season. The best part? It’s fully customizable, so you can change the size, colors, and details to make it perfect for any child.
Whether it’s a gift or part of your little one’s wardrobe, a handmade cardigan is a labor of love — and one that will be appreciated every time it’s worn.
Video Tutorial: