 by
by Perfect for Beginners — Step-by-Step Guide
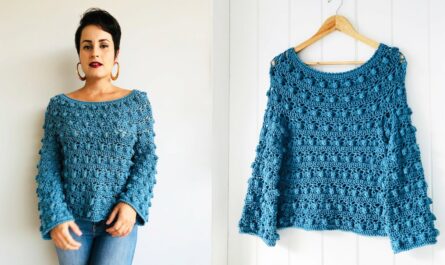
Crocheting a children’s sweater may seem like a complex project, but it doesn’t have to be! With the right pattern and approach, even beginners can create a warm, cozy, and adorable sweater that kids will love to wear.
In this guide, we’ll walk you through how to crochet an easy children’s sweater — no complicated shaping or difficult stitches involved. This pattern uses basic stitches, simple construction, and is ideal for kids ages 1 to 6 years old.
👕 Sweater Design Overview
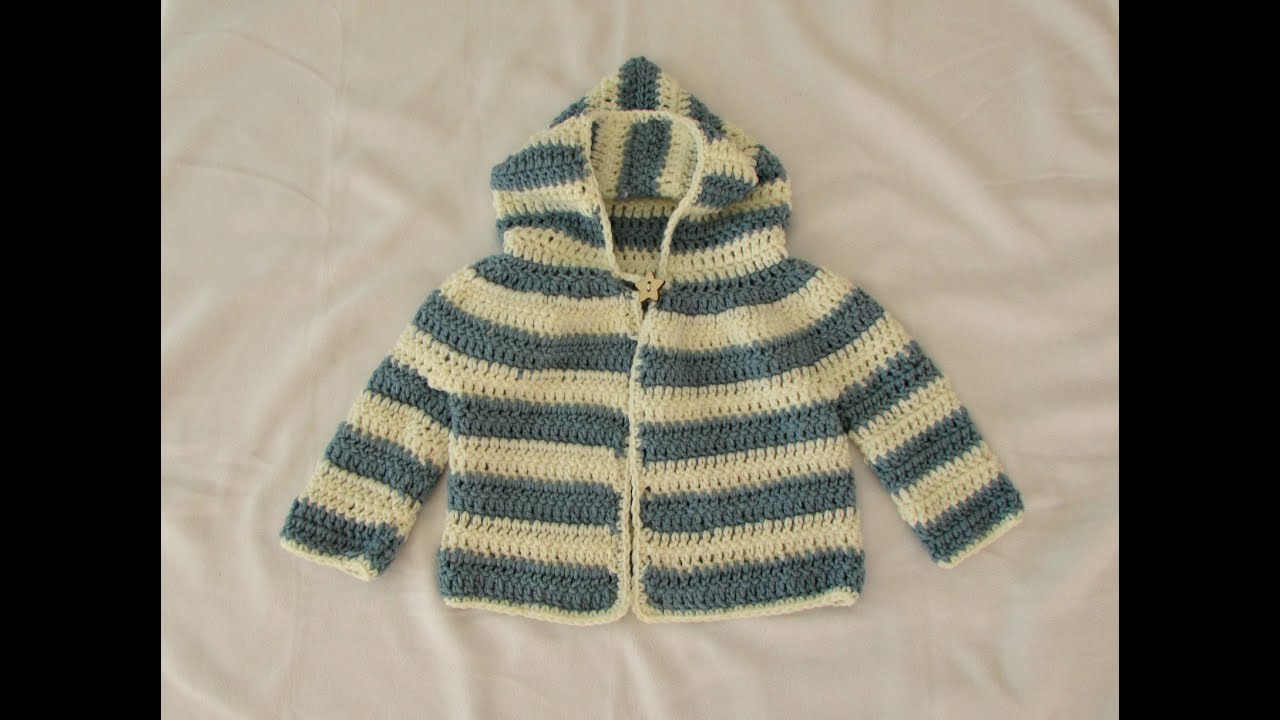
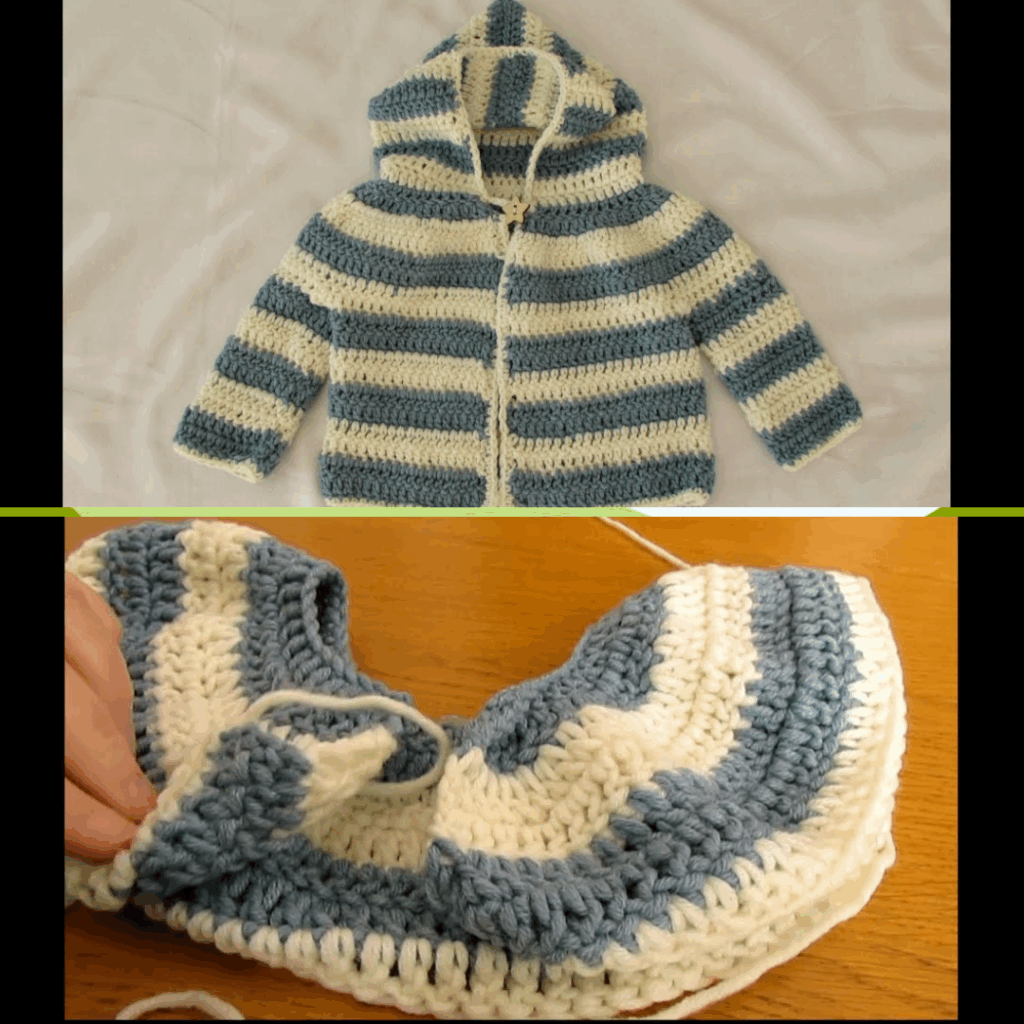
This children’s sweater is worked in panels (front, back, and sleeves) using simple double crochet stitches. Then, you’ll seam the pieces together and add optional ribbing around the edges for a finished look.
It’s a great intro project if you’re new to garment-making, and it’s easy to customize by color, stripes, or embellishments!
📏 Sizing Options (Approximate)
| Size | Chest Width | Length | Sleeve Length |
|---|---|---|---|
| 1–2T | 11″ | 13″ | 10″ |
| 3–4T | 13″ | 15″ | 12″ |
| 5–6T | 14″ | 16″ | 13″ |
Tip: Measure a shirt that fits the child well for more accuracy.
🧵 Materials You’ll Need
- Yarn:
Worsted Weight Yarn (#4), about:- 400 yards for 1–2T
- 500 yards for 3–4T
- 600 yards for 5–6T
- Hook:
5.0 mm (H-8) crochet hook (or size to meet gauge) - Other Supplies:
- Scissors
- Yarn needle
- Stitch markers
- Measuring tape
🔁 Stitches Used (US Terms)
- CH – Chain
- SC – Single Crochet
- DC – Double Crochet
- SL ST – Slip Stitch
- BLO – Back Loop Only (for ribbing)
🧣 Gauge (Important for Fit)
- 14 DC and 8 rows = 4″ x 4″
Use the same yarn and hook to test your gauge before starting. Adjust hook size if needed.
🧥 Step-by-Step Instructions
🔹 1. Crochet the Back Panel
- Chain Foundation
- CH 42 (1–2T), CH 48 (3–4T), CH 52 (5–6T)
- Rows 1–[Length]:
- DC in 3rd CH from hook and across.
- CH 2, turn.
- Continue working DC rows until panel measures desired body length (e.g., 13″, 15″, or 16″).
🔹 2. Crochet the Front Panel
Repeat the same steps as the back panel.
Optional neckline shaping (for a more refined fit):
- When you’re 2″ from desired length, split the stitches in half and work each side separately for 2 rows, leaving the middle 6–8 stitches unworked to form the neck hole.
🔹 3. Crochet the Sleeves (Make 2)
- Chain Foundation:
- CH 28 (1–2T), CH 30 (3–4T), CH 34 (5–6T)
- DC Rows:
- Work DC in each stitch across.
- Increase 1 stitch at each end every 4 rows to slightly widen the sleeve.
- Continue until sleeve measures about 10″–13″ in length.
✅ You now have two sleeves ready to attach.
🔹 4. Assembly (Seaming It Together)
- Lay the front and back panels together, right sides facing.
- Use your yarn needle or SL ST to seam the shoulders (top edges).
- Attach sleeves:
- Line up the center of each sleeve with the shoulder seam.
- Sew or SL ST the top of the sleeve to the body.
- Side Seams:
- Fold the sweater so the sleeves and body are aligned.
- Sew the side seams and sleeve seams in one continuous motion on each side.
Turn the sweater right side out.
🔹 5. Add Ribbed Edging (Optional but Recommended)
Neckline, cuffs, and bottom hem:
- Attach yarn at the edge.
- CH 6.
- SC in 2nd CH from hook and across (5 SC total).
- SL ST to sweater edge.
- Turn, work SC BLO back up the row, CH 1, and repeat.
- Continue around edge, joining with SL ST to form ribbing.
Repeat for cuffs and bottom hem if desired.
🎉 You Did It!
Your easy crocheted children’s sweater is complete! It’s simple, comfy, and adorable — and you made it with your own hands.
🧼 Care Instructions
- Use gentle, machine-washable yarn.
- Wash cold and lay flat to dry.
- Avoid excessive stretching or hanging when wet.
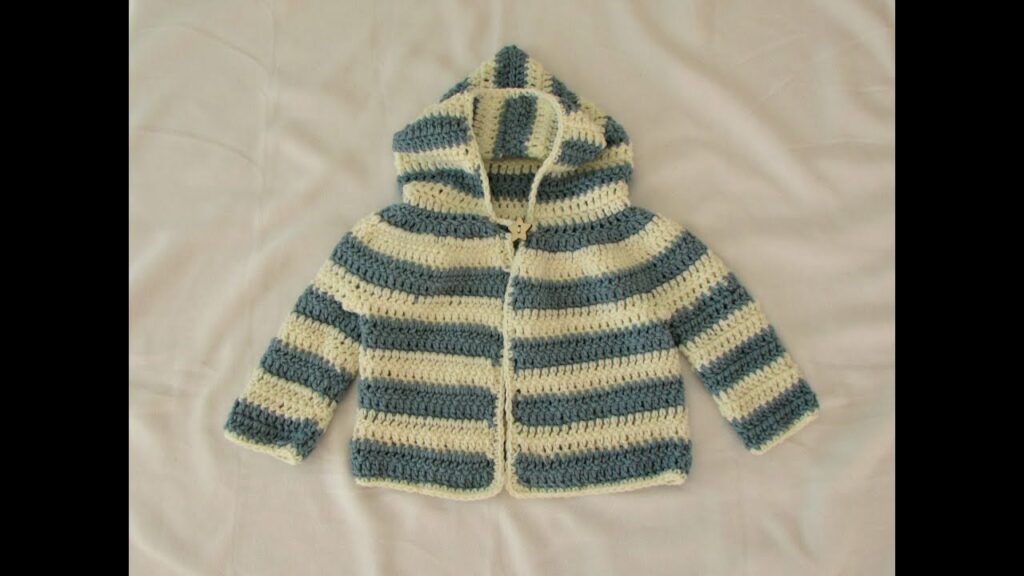
🌈 Customization Ideas
- Add stripes or color blocks.
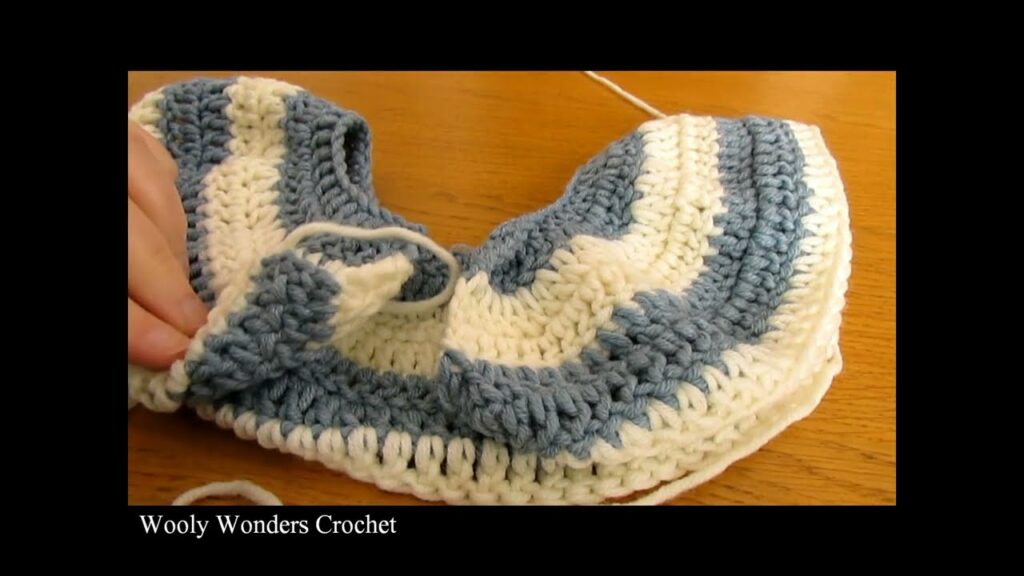
- Crochet a hood and attach it.
- Add appliqués (stars, hearts, animals).
- Use puff or bobble stitches for texture.
🧡 Final Thoughts
Crocheting a child’s sweater doesn’t have to be intimidating. With basic stitches and easy construction, you can create a beautiful handmade garment in just a few sessions. This is a wonderful project for gifts, winter wear, or just adding a homemade touch to a little one’s wardrobe.
Video Tutorial: