 by
by A Step-by-Step Guide for Beginners and Intermediate Crocheters
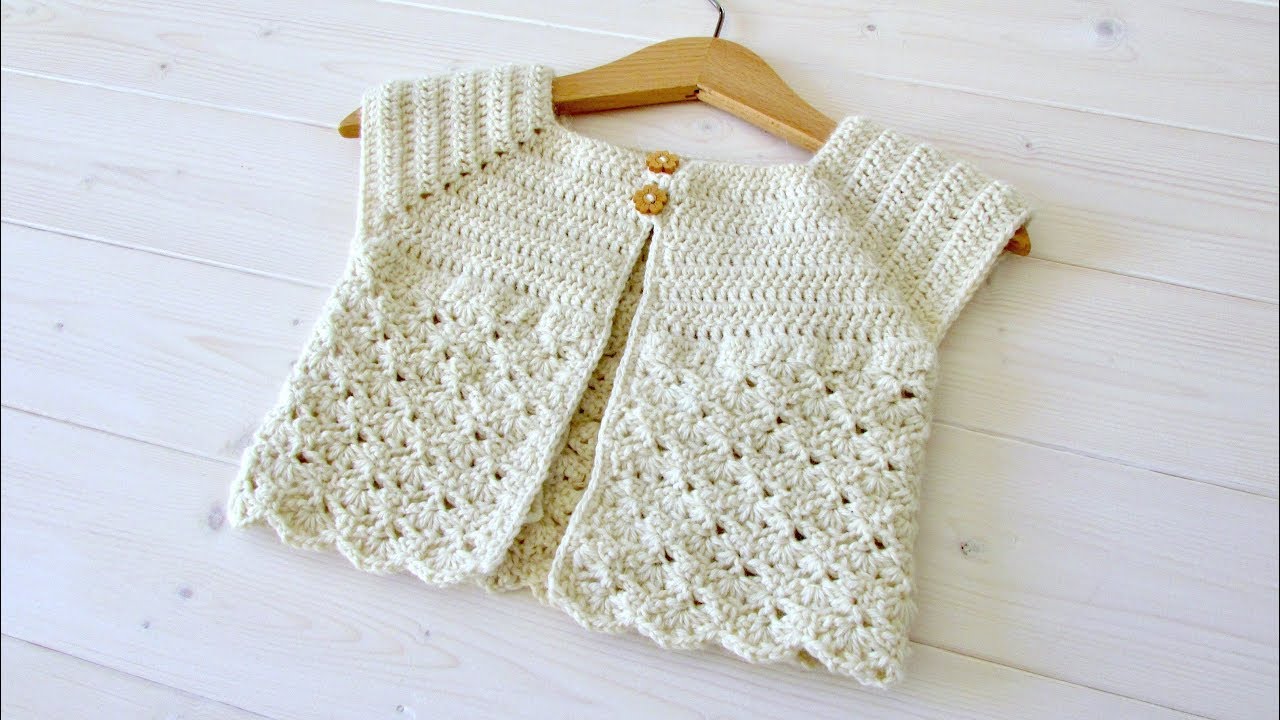
The classic shell stitch cardigan is a timeless and charming addition to any little girl’s wardrobe. With its delicate, scalloped texture and vintage flair, the shell stitch is perfect for crafting cozy yet elegant garments. In this article, we’ll walk you through how to crochet a little girl’s classic shell stitch cardigan, step by step.
🧶 Materials You’ll Need
Before you start crocheting, gather your supplies:
Yarn:
- Worsted weight yarn (#4) – Choose a soft, machine-washable yarn in your preferred color.
- Amount: Approx. 400–600 yards, depending on the size (more for larger sizes like 5T–6T).
Hook:
- Crochet Hook Size H/8 (5.0 mm) – Adjust based on gauge.
Notions:
- Yarn needle
- Stitch markers
- Measuring tape
- 4 to 5 small buttons (about ½” diameter)
- Scissors
👗 Sizing Options
This guide covers sizes 12 months – 6 years. Adjust the number of starting chains and body length as needed. The construction is top-down, so you can try it on as you go for a custom fit.
🧵 Stitch Guide
- Shell Stitch: (5 dc in one stitch)
- DC = Double Crochet
- SC = Single Crochet
- CH = Chain
- SL ST = Slip Stitch
- St(s) = Stitch(es)
✨ Pattern Construction Overview
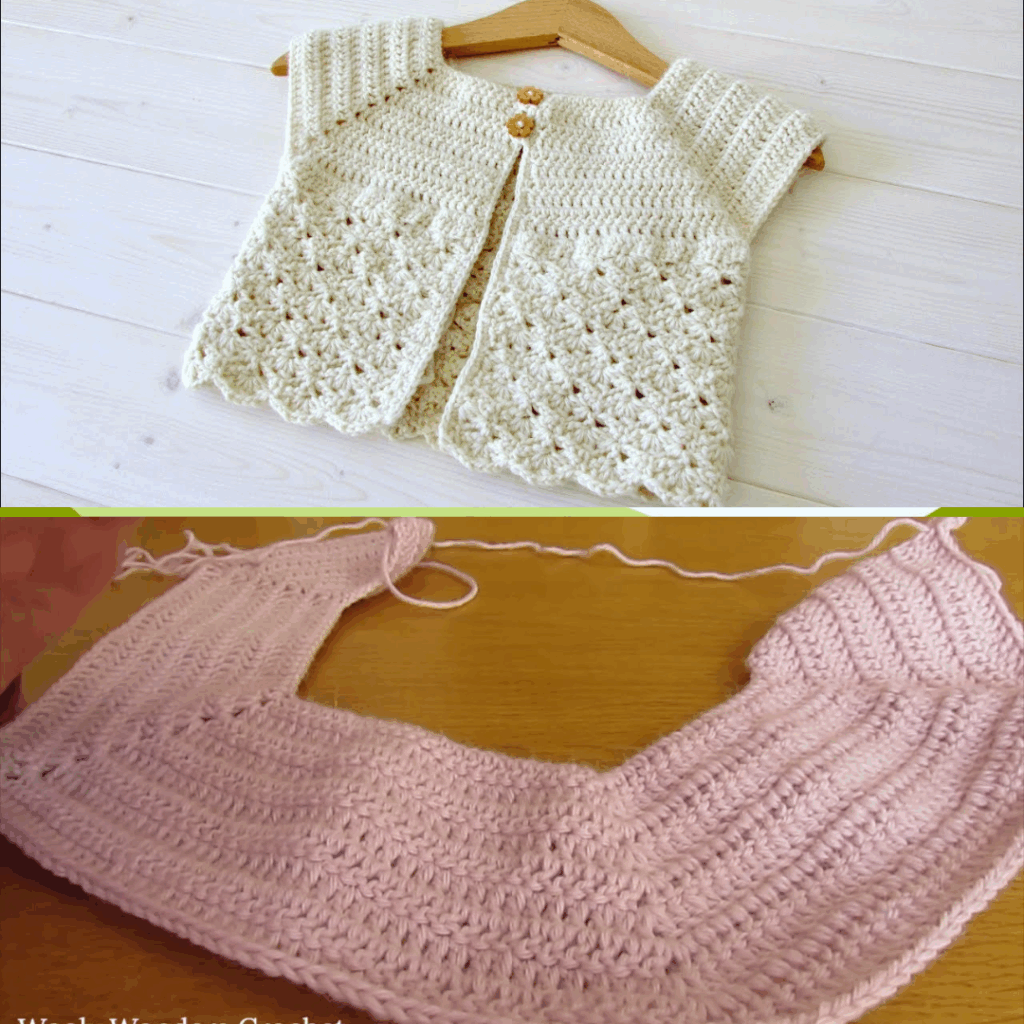
This cardigan is crocheted top-down in one piece. You’ll work in rows for the yoke, divide for sleeves, and continue the body downward in shell stitch. The sleeves and button band are added afterward.
👚 Step-by-Step Instructions
🔹 Step 1: Make the Yoke
- Foundation Chain:
CH 52 (for 2T; adjust for other sizes: 48 for 12M, 56 for 3T, 60 for 4T, 64 for 5T–6T). - Row 1 (RS):
DC in 4th CH from hook and in each CH across. (49 DC) - Mark for Raglan Increases:
You’ll be increasing at 4 points to shape the yoke. Use markers like this:- 8 DC (left front)
- 1 DC (marker)
- 10 DC (sleeve)
- 1 DC (marker)
- 10 DC (back)
- 1 DC (marker)
- 10 DC (sleeve)
- 1 DC (marker)
- 8 DC (right front)
- Rows 2–10 (or until armhole depth is achieved):
CH 2 (counts as DC), DC in each DC until 1 st before marker, (DC, CH 1, DC) in marked st, repeat at each marker, DC to end. Continue increasing at markers each row until yoke fits across the shoulders.
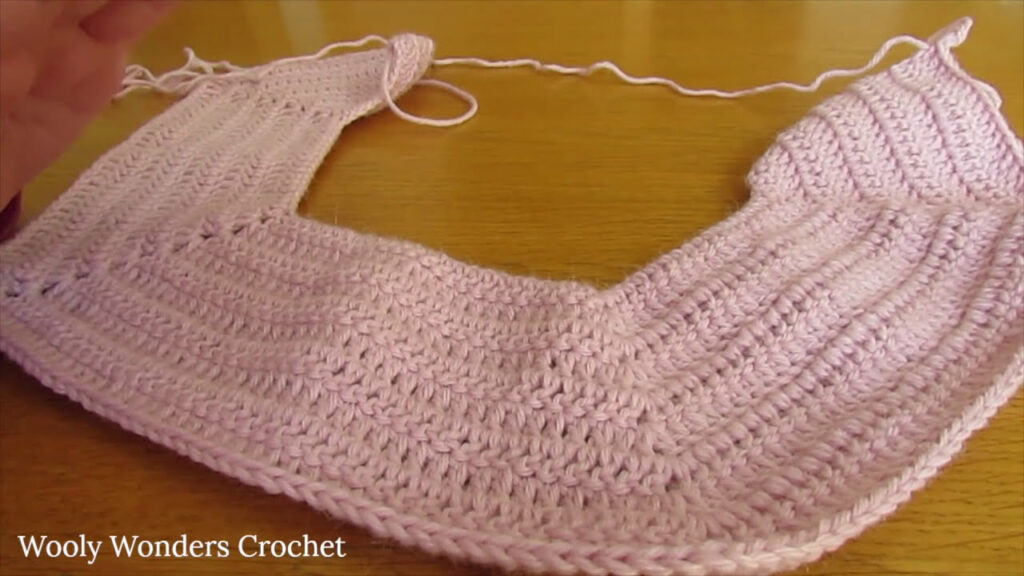
🔹 Step 2: Divide for Body and Sleeves
- CH 2, DC to first marker.
- Skip stitches for sleeve and chain 5 (underarm).
- DC across back, skip other sleeve, chain 5 again, DC across final front.
This creates armholes and joins the body.
🔹 Step 3: Begin Shell Stitch Body
- Row 1 (RS):
CH 3 (counts as DC), skip 2 sts, 5 DC in next st, skip 2 sts, DC in next st, repeat across. - Row 2 and Onward:
Turn, CH 3, work shell into DC of previous row, DC into center of each shell.
Repeat the shell stitch pattern until body reaches desired length (usually hip-length, ~8–10 inches from underarm).
🔹 Step 4: Add Edging and Button Band
- Work 1 row of SC evenly along the front edges and neckline.
- On the right side edge, space 4–5 buttonholes (CH 2, skip 2 sts) evenly.
- Work 1–2 more SC rows over both front bands for structure.
- Fasten off and weave in ends.
🔹 Step 5: Add Sleeves (Optional Long or Short)
- Join yarn at underarm.
- Work in rounds: Shell pattern or plain DC, depending on your style.
- Decrease slightly every few rows for shaping, if desired.
- End with shell stitch border or ribbing.
- Repeat for other sleeve.
🔹 Step 6: Sew Buttons
- Align the buttonholes with the opposite side.
- Sew buttons securely.
🎉 Finishing Touches
- Block your cardigan gently for smooth stitches.
- Add decorative appliqués, embroidery, or picot edging for a personal touch.
🧼 Care Tips
- Use gentle detergent and cold water.
- Lay flat to dry.
- Avoid excessive stretching to keep shape intact.
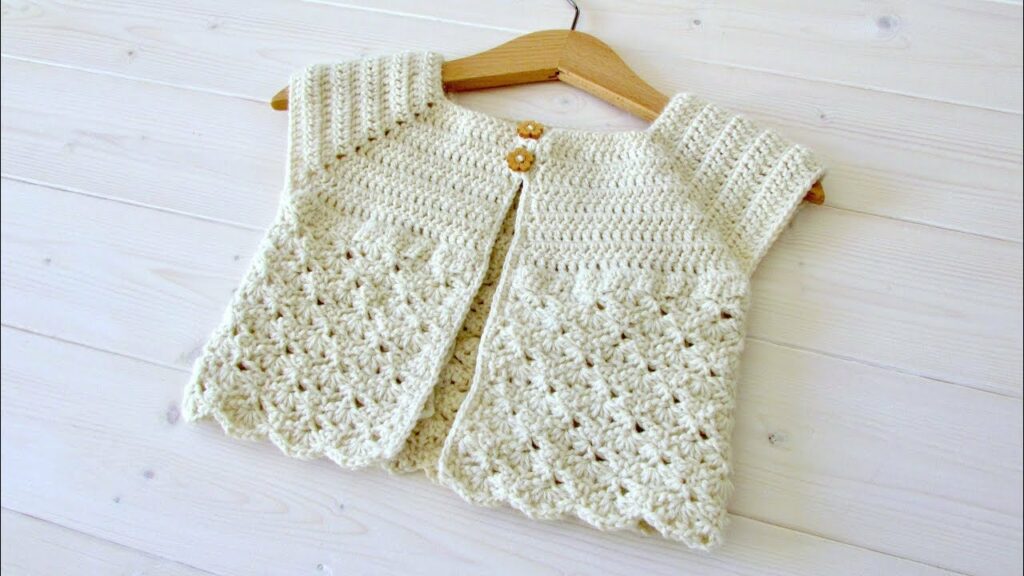
🧡 Final Thoughts
Crocheting a little girl’s classic shell stitch cardigan is a fulfilling project that blends function and charm. Whether it’s for a special occasion or everyday wear, this cardigan is sure to be cherished.
Take your time with each step, adjust for fit, and don’t be afraid to personalize it. With a little patience and creativity, you’ll have a handmade piece that’s both beautiful and practical.
Video Tutorial: