 by
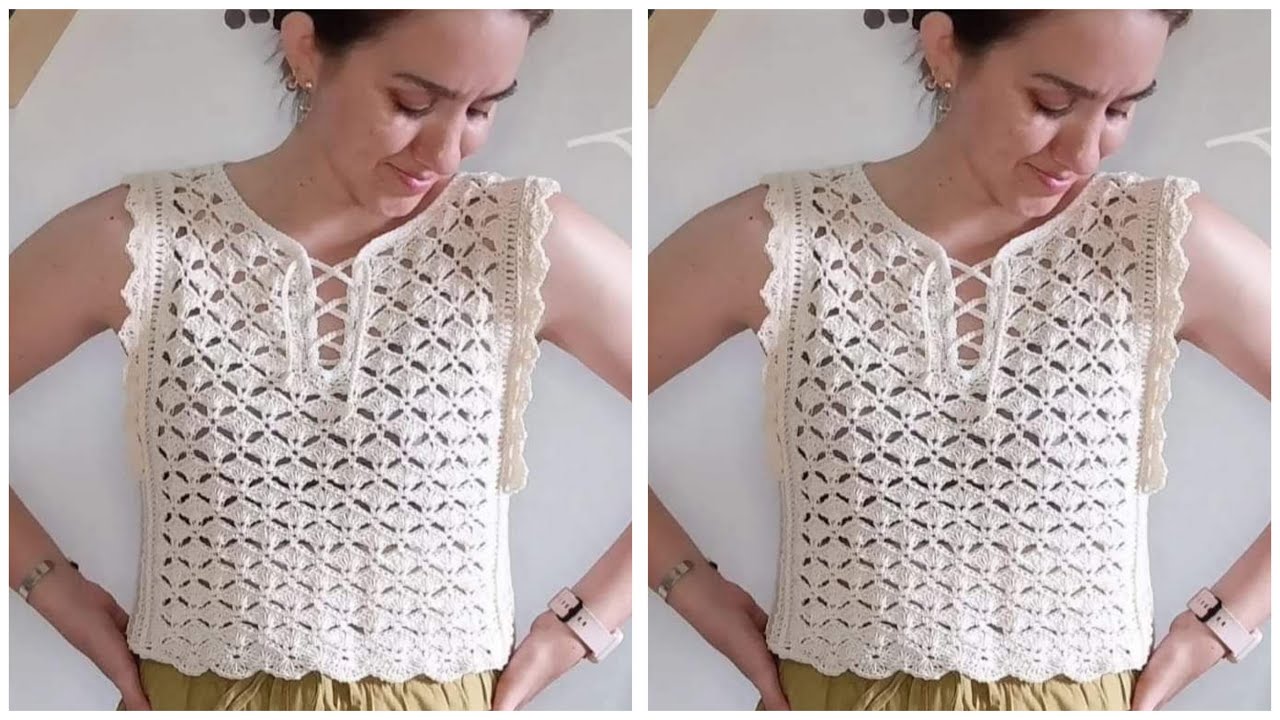
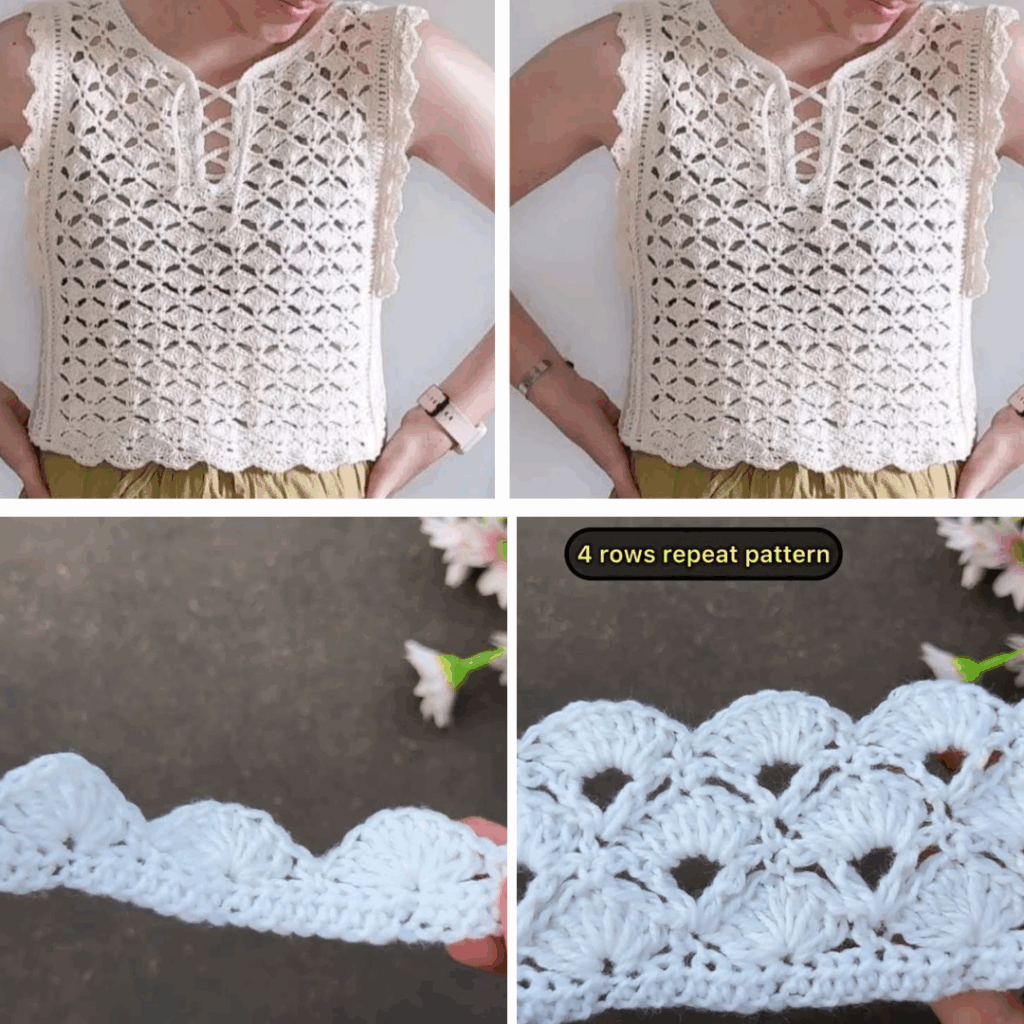
by Crocheting a delicate women’s blouse top is not just a rewarding craft project—it’s a fashion statement. Whether you’re aiming for a breezy summer look or layering for spring and fall, a handmade crochet blouse top blends beauty with personalized elegance.
In this article, you’ll learn step-by-step how to create a stunning crochet blouse—with a focus on light, lacy textures, flattering shapes, and soft yarns.
✨ What Makes a Crochet Blouse “Delicate”?
To achieve a delicate look, we focus on:
- Fine yarns (cotton, bamboo, or light silk blends)
- Lace or mesh stitches
- Dainty trims like scallops or picots
- Subtle shaping to enhance the body’s natural curves
🧶 Materials You’ll Need
| Item | Description |
|---|---|
| Yarn | Fingering or sport-weight cotton yarn (approx. 800–1200 yards depending on size) |
| Hook | 2.5 mm – 3.5 mm (check yarn label) |
| Tapestry needle | For weaving in ends |
| Stitch markers | Helpful for shaping |
| Measuring tape | For accurate sizing |
| Buttons (optional) | For back or front closures |
Suggested Yarn: 100% mercerized cotton (lightweight, breathable, and smooth)
📏 Measurements and Sizing
Before you begin, take your bust measurement and decide how loose or fitted you want the top to be.
Standard fit guidelines:
- XS: 30–32″ bust
- S: 34–36″
- M: 38–40″
- L: 42–44″
- XL: 46–48″
This tutorial assumes a classic fit with slightly cropped length and cap sleeves.
🧵 Crochet Stitches Used
You don’t need to be an expert! The pattern uses common stitches:
- Chain (ch)
- Slip stitch (sl st)
- Single crochet (sc)
- Double crochet (dc)
- Shell stitch (fan of dc in one stitch)
- V-stitch (dc, ch1, dc in same st)
🌸 Step-by-Step Instructions
🟣 Step 1: Make the Lace Panels
You’ll crochet two rectangles (front and back) using a lacy stitch like shell or mesh.
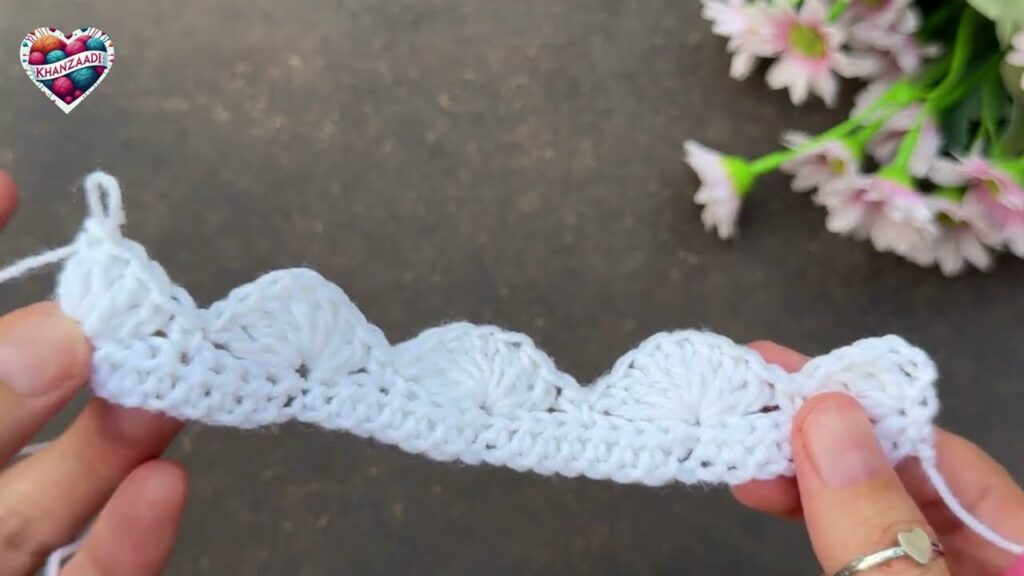
Lacy Shell Pattern (repeat of 6 sts + 1):
Row 1: Ch desired width (e.g., 85 ch for M). Dc in 5th ch from hook, *skip 2 ch, (dc, ch1, dc) in next ch, skip 2 ch, dc in next ch*; repeat across.
Row 2: Ch 3, turn. *In next ch1 space: (dc, ch1, dc); skip next dc; dc in next dc*; repeat across.
Continue for desired length (e.g., 18–20 inches for a crop top).
📝 Pro Tip: Use stitch markers to keep track of rows.
🟣 Step 2: Shape the Neckline (Front Panel Only)
Once you reach chest height (about 14–16″), begin shaping the neckline by:
- Dividing the front panel into 3 parts.
- Decreasing the center stitches.
- Working each shoulder separately.
This creates a U or V neckline.
🟣 Step 3: Join the Panels
With the right sides facing inward, sew the shoulder seams using slip stitch or whip stitch.
Then, sew the side seams, leaving space (6–7″) for armholes.
📝 Optional: Add a back button closure by leaving the top few inches open on the back panel.
🟣 Step 4: Add Sleeves (Optional)
If you want delicate cap sleeves:
- Join yarn at armhole.
- Work 4–5 rows of shell or v-stitch around.
- End with a picot or scalloped edge.
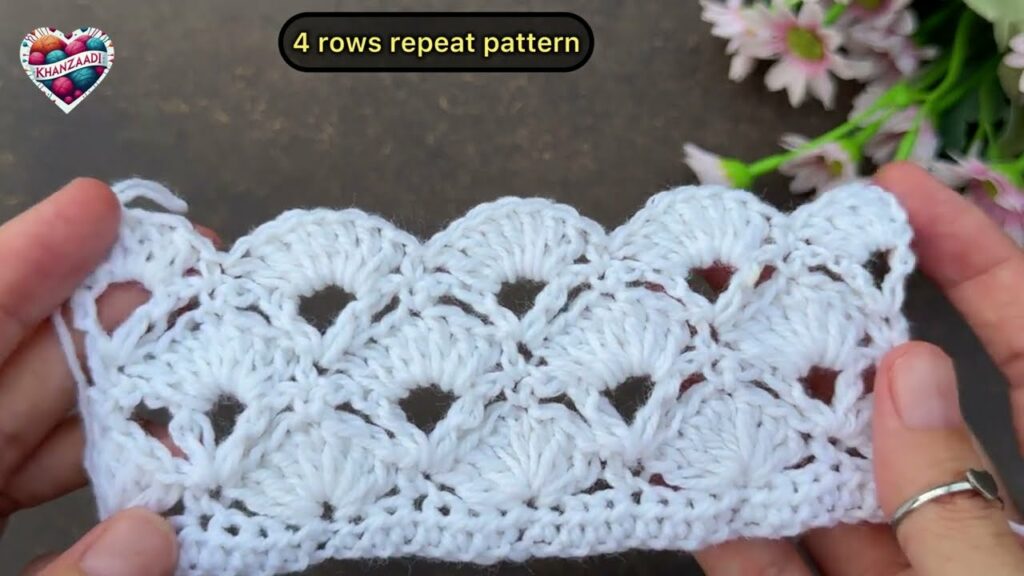
🟣 Step 5: Add Edging
Use a picot trim or scallop at the neckline and bottom hem:
Picot Edge:
*Sc in first st, ch 3, sl st in first ch, sc in next 3 sts* – repeat around.
🌷 Customization Ideas
| Style | How to Achieve It |
|---|---|
| Boho chic | Add fringe or tassels to hem |
| Romantic | Use light pink, cream, or lilac yarn |
| Modern | Make it sleeveless with a high neckline |
| Vintage | Add puff sleeves and pearl buttons |
🧼 Care Instructions
Since delicate tops use fine yarn:
- Hand wash in cold water
- Lay flat to dry
- Store folded—not hung—to maintain shape

🧡 Final Thoughts
Making your own delicate crochet blouse top is more than a craft—it’s wearable art. You get to choose the style, shape, stitch, and finish that expresses your personality. Whether worn over a camisole or as a beach cover-up, it’s a piece that will earn compliments every time.
So pick your yarn, grab your hook, and start crocheting your next favorite top! 🔥
Video Tutorial: