by
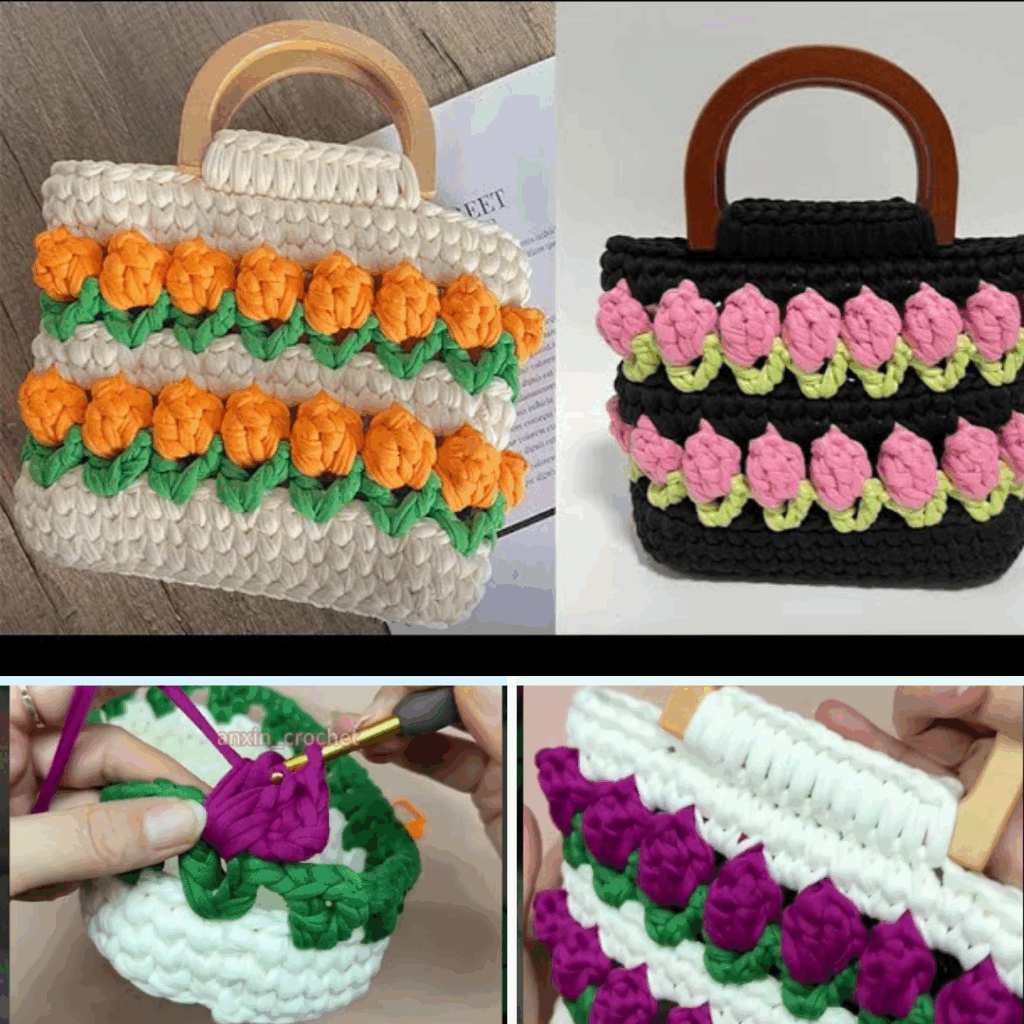
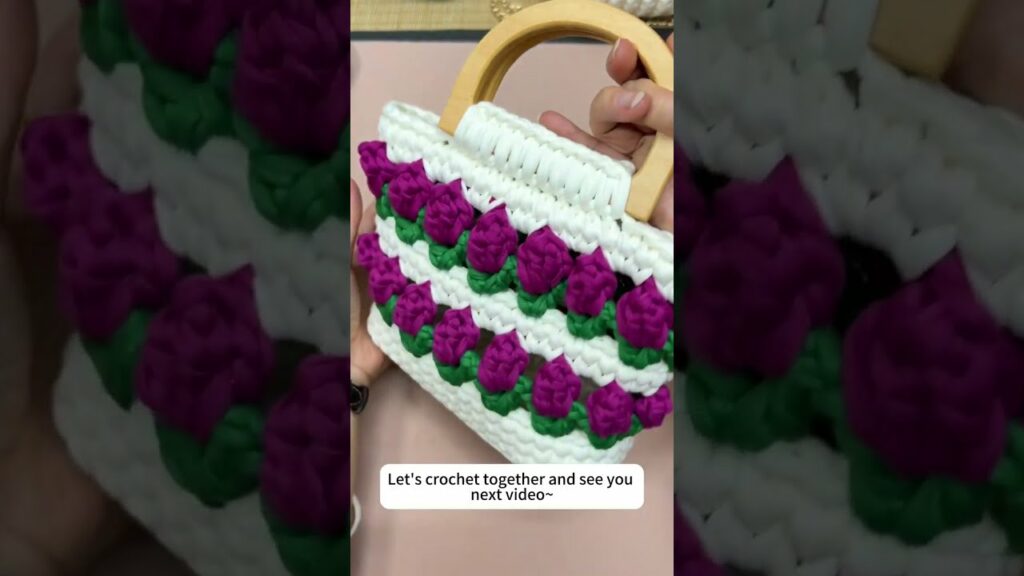
by Crochet handbags are timeless, stylish, and a great way to express your creativity — and when you incorporate a tulip flower pattern, your bag becomes a unique, eye-catching accessory perfect for spring, summer, or year-round use. In this step-by-step crochet tutorial, you’ll learn how to make a Tulip Flower Pattern Handbag using simple stitches and color changes.
Whether you’re new to crochet or an experienced crafter looking for a new project, this guide will help you create a beautiful and practical tulip flower handbag.
🧶 Materials You’ll Need
| Item | Description |
|---|---|
| Yarn | Worsted weight (medium #4) cotton or cotton-blend yarn |
| Colors | – Main Color (bag base) |
- Green (for tulip stems/leaves)
- Pink/Red/Yellow (tulip flowers) |
| Crochet Hook | 4.0 mm (G/6) or as recommended on yarn label |
| Tapestry Needle | For sewing and weaving in ends |
| Scissors | Sharp for clean cuts |
| Stitch Markers | Optional, for marking rounds or rows |
| Bag Handles | Wooden, leather, rope, or crochet (your choice) |
| Lining Fabric (optional) | For inside finishing |
| Magnetic Snap or Zipper (optional) | For closure |
✏️ Pattern Notes
- Skill Level: Easy/Beginner
- Stitches Used:
- Chain (ch)
- Slip Stitch (sl st)
- Single Crochet (sc)
- Double Crochet (dc)
- Tulip Stitch (explained below)
- Construction: Worked flat in panels or in the round
🌷 What is the Tulip Stitch?
The tulip stitch creates little flower shapes by using color changes and specific stitch placement. It’s built from double crochets and chains, stacked strategically to form stems and petals.
Each tulip flower consists of:
- A stem in green (created with a V-stitch)
- A flower in a contrasting color (created with dc, hdc, dc in a ch-space)
🧵 Step-by-Step: Crochet Tulip Flower Handbag
🟩 Part 1: Make the Tulip Stitch Panel (Bag Body)
Let’s begin by crocheting the main panels with the tulip design.
📐 Dimensions:
- Adjust based on desired size (e.g. 12” W x 10” H)
🌸 Row Pattern:
- Foundation Row:
Ch a multiple of 4 + 1 (e.g., 41 chains for 10 tulips + 1) - Row 1:
Sc in 2nd ch from hook and across. Turn. - Row 2 (Stem – Green Yarn):
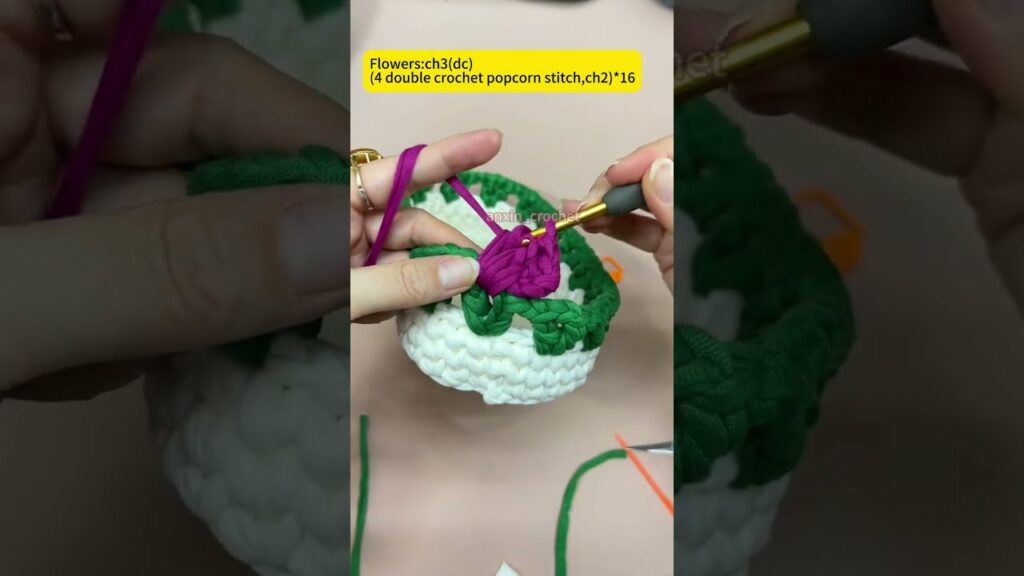
Ch 3 (counts as dc), skip 3 sts, (dc, ch 1, dc) in next st (V-stitch). Repeat across. End with 1 dc. Turn. - Row 3 (Flower – Tulip Color):
Change to flower color.
Sl st into ch-1 space of first V-stitch. (dc, hdc, dc) in ch-1 space. Repeat across. Sl st at end. Fasten off. - Row 4 (Reset Row – Green):
Switch back to green yarn.
Ch 1, sc in each stitch and in between flower clusters. Turn. - Repeat Rows 2–4 to make multiple rows of tulips.
Make 2 panels: Front and Back of the handbag.
🟫 Part 2: Crochet the Side and Base Panels (or Continue in the Round)
You can either:
Option 1: Crochet Separate Side & Base Panels
- Create a long rectangle to go around the sides and base (same height as panels, length to match 3 sides)
Option 2: Work in the Round (One-Piece Bag)
- After tulip rows, continue working sc or dc evenly around the panel to form the sides and bottom in one seamless piece.
🪡 Part 3: Assemble the Handbag
- Join Panels:
Use slip stitch or whip stitch to attach the front, back, and sides together. Keep right sides facing out. - Shape the Bag:
If desired, create boxed corners by folding corners inward and stitching across ~1″ from the tip.
🪢 Part 4: Add the Handles
Choose your preferred handle style:
Crochet Handles:
- Chain desired length
- Work sc back and forth to create a sturdy strap
Wooden/Leather Handles:
- Sew securely to top of bag using yarn or matching thread
🎀 Part 5: Add a Lining and Closure (Optional but Recommended)
- Lining:
- Cut fabric the same size as your bag panels
- Sew or glue into the interior to protect the yarn from stretching
- Closure:
- Attach a magnetic snap, zipper, or button loop at the top
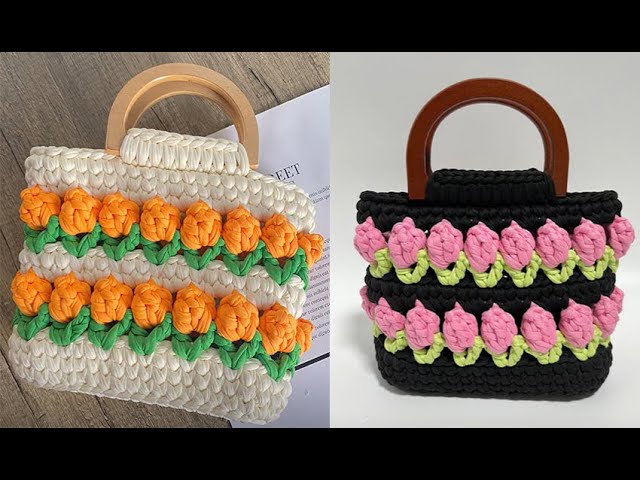
🌈 Customization Ideas
- Use gradient yarn for a magical flower garden effect
- Add leaf appliqués or vines between tulip rows
- Embellish with beads, buttons, or lace trim
- Add a small pocket inside or outside the bag
📏 Sizing Tips
| Bag Size | Chain Count | Rows of Tulips |
|---|---|---|
| Small Clutch | 33 ch | 2–3 tulip rows |
| Medium Handbag | 41–49 ch | 4–5 tulip rows |
| Large Tote | 57+ ch | 6+ tulip rows |
🧺 Care Instructions
- Hand wash gently in cold water
- Lay flat to dry
- Avoid machine drying (may distort shape)
- Spot clean the lining if needed
🧶 Final Thoughts
Creating a Tulip Flower Pattern Handbag is a satisfying project that blends practical use with floral beauty. With only basic stitches and a few color changes, you can produce a charming accessory that’s totally one-of-a-kind. Plus, it’s easy to personalize and makes a lovely handmade gift!
Whether you’re heading to the market, brunch, or a picnic, your tulip handbag will bring joy, color, and compliments wherever you go. 🌷👜
Video Tutorial: