by
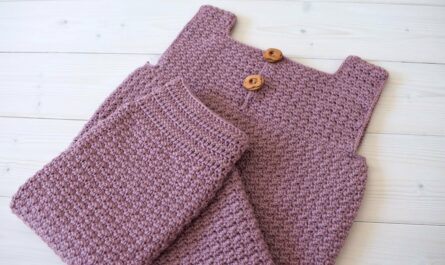
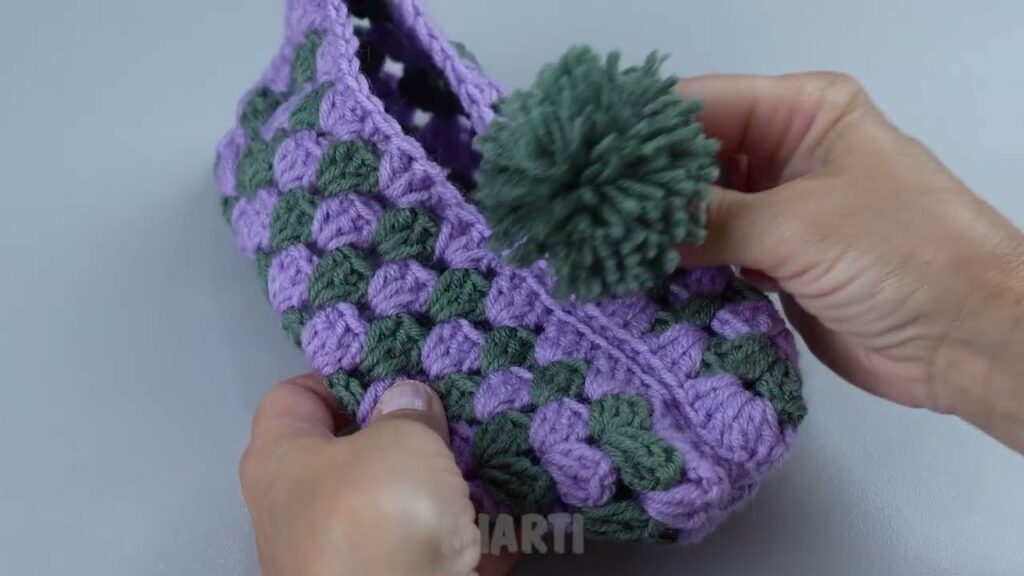
by Granny square slippers are a cozy and charming way to combine traditional crochet with modern comfort. Whether you’re making them for yourself, a loved one, or as a handmade gift, these slippers are both practical and beautiful. The best part? They’re simple enough for beginners and can be customized with your favorite colors and yarn.
In this article, we’ll guide you step-by-step through how to make your own pair of granny square slippers with minimal fuss.
🧵 Materials You’ll Need:
Before you start, gather the following materials:
- Worsted weight yarn in 2 or more colors (acrylic or wool blend works great)
- Crochet hook (Size H/5mm is standard for worsted yarn)
- Yarn needle for sewing squares together
- Scissors
- Stitch marker (optional, for beginners)
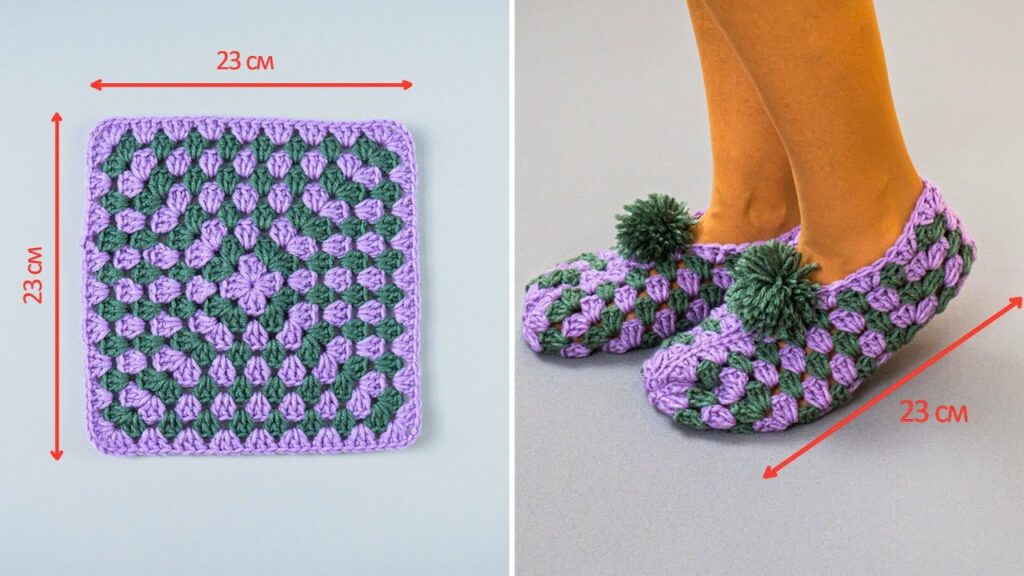
📏 Sizing and Structure Overview
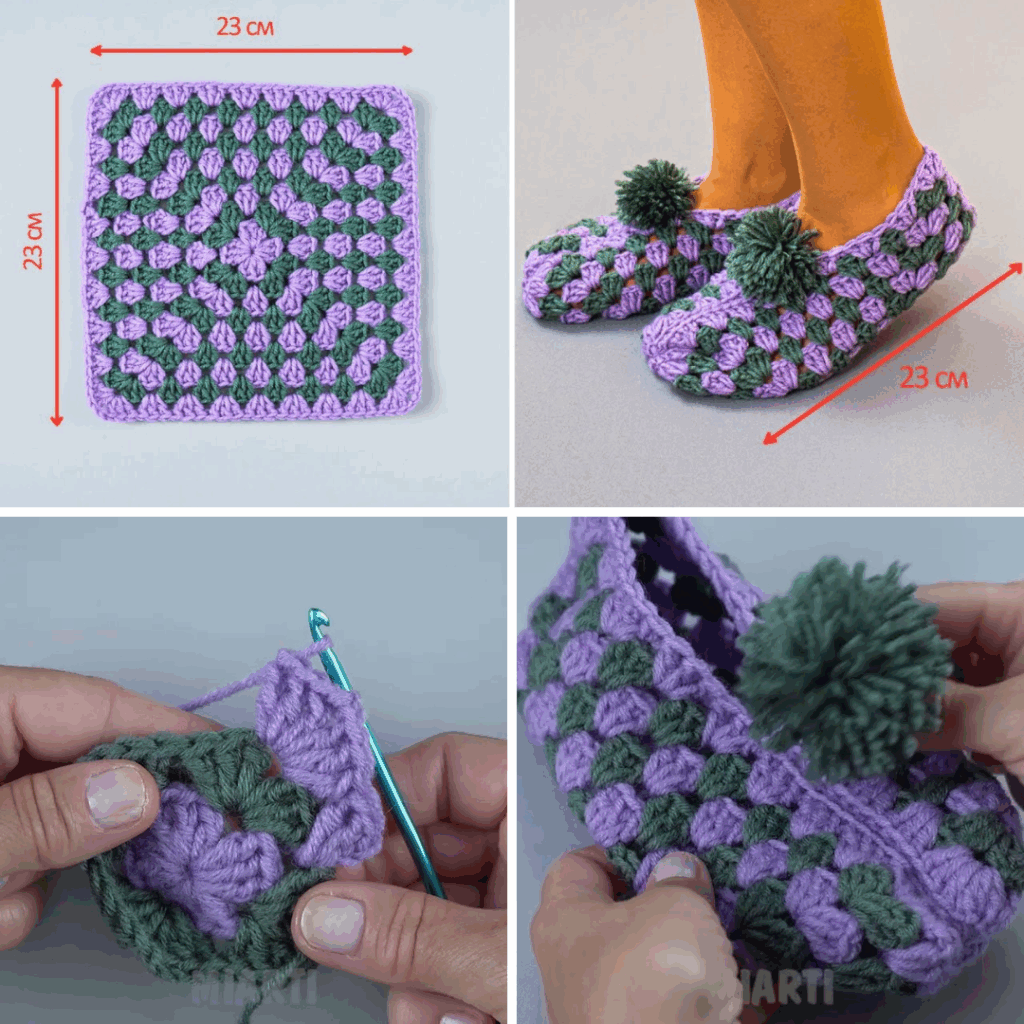
Each slipper is made by crocheting 6 granny squares and then sewing them together in a specific layout to form the slipper shape. You can adjust the size of the slippers by making larger or smaller squares.
| Foot Size | Square Size Needed |
|---|---|
| Small (5–6 US) | 3.5″ x 3.5″ |
| Medium (7–8) | 4″ x 4″ |
| Large (9–10) | 4.5″ x 4.5″ |
🔶 Step 1: Crochet the Basic Granny Square
Here’s a simple classic granny square pattern:
🌟 Classic Granny Square Pattern (Worked in Rounds):
Round 1:
Ch 4, slip stitch to form a ring.
Ch 3 (counts as 1 dc), work 2 dc into the ring, ch 2, 3 dc into the ring; repeat from * 2 more times.
Ch 2, join with slip stitch to top of ch-3. (You should have 4 clusters of 3 dc with ch-2 spaces at corners.)
Round 2:
Slip stitch to the next ch-2 space, ch 3 (counts as 1 dc), 2 dc, ch 2, 3 dc in the same space (corner made).
Ch 1, in next ch-2 space work: 3 dc, ch 2, 3 dc; repeat 2 more times.
Ch 1, slip stitch to top of starting ch-3.
Round 3 (and optionally Round 4):
Continue the pattern, placing 3 dc, ch 2, 3 dc in each corner space and 3 dc in each side space, separated by ch 1.
🔁 Repeat rounds until your square reaches the desired size.
Make 6 identical granny squares for each slipper (12 total for a pair).
🧷 Step 2: Lay Out and Join the Squares
Layout:
- Place 1 square for the toe.
- Attach 2 squares on each side of the toe square to form the sides and heel.
- Use the 6th square as the sole.
Think of the layout like a Tetris shape: one square at the front, 2 on the sides, 1 at the back, 1 on top (sole), and 1 for the top of the foot.
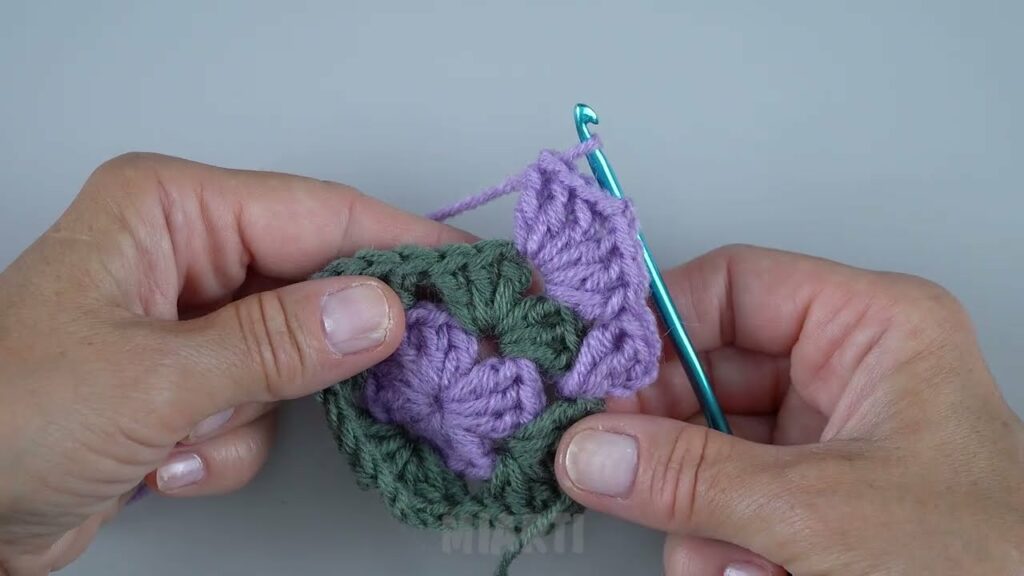
🧵 Joining the Squares:
Use the whip stitch or slip stitch method to join:
Whip Stitch Method:
- Place two squares with the right sides facing.
- Thread your yarn needle, and sew through the back loops only.
- Repeat for all edges until the slipper shape forms.
Slip Stitch Join:
- Hold squares together, right sides facing.
- Insert hook through both loops of each square and slip stitch across.
Tip: Leave a slightly looser tension to avoid puckering.
👣 Step 3: Shape the Slipper
Once all squares are joined, fold and sew the back heel seam. You should now have a basic slipper shape with a square opening for your foot.
Optional: Add a round or two of single crochet around the foot opening for a more finished edge and snug fit.
🪡 Step 4: Weave in Ends
Use a yarn needle to neatly weave in all yarn tails. Make sure your joins are secure but flexible.
🧼 Optional Add-Ons:
- Add a sole: For extra comfort or wear on hard floors, sew a felt or faux leather sole to the bottom.
- Add a tie or button: Crochet a little strap or chain tie for extra grip around the ankle.
- Fur or fleece lining: Sew a soft fabric inside for warmth.
🧽 Care Instructions:
- Hand wash or gentle cycle in cold water.
- Lay flat to dry to preserve shape.
🌈 Customize Your Slippers
- Mix and match colors for each square.
- Use gradient or ombré yarn for a funky look.
- Add appliqués like hearts, flowers, or initials.
✅ Final Tips
- Stick to a consistent gauge across all squares.
- Block your squares for a neater look before assembly.
- Practice with scrap yarn if you’re new to granny squares.
🧦 Conclusion
Granny square slippers are a fantastic crochet project that combines creativity, tradition, and comfort. They’re fun to make, endlessly customizable, and make wonderful gifts. Whether you’re curled up by the fire or padding around your home, your handmade slippers will bring warmth with every step.
So grab your hook and yarn, and let’s get stitching!
Video Tutorial: