 by
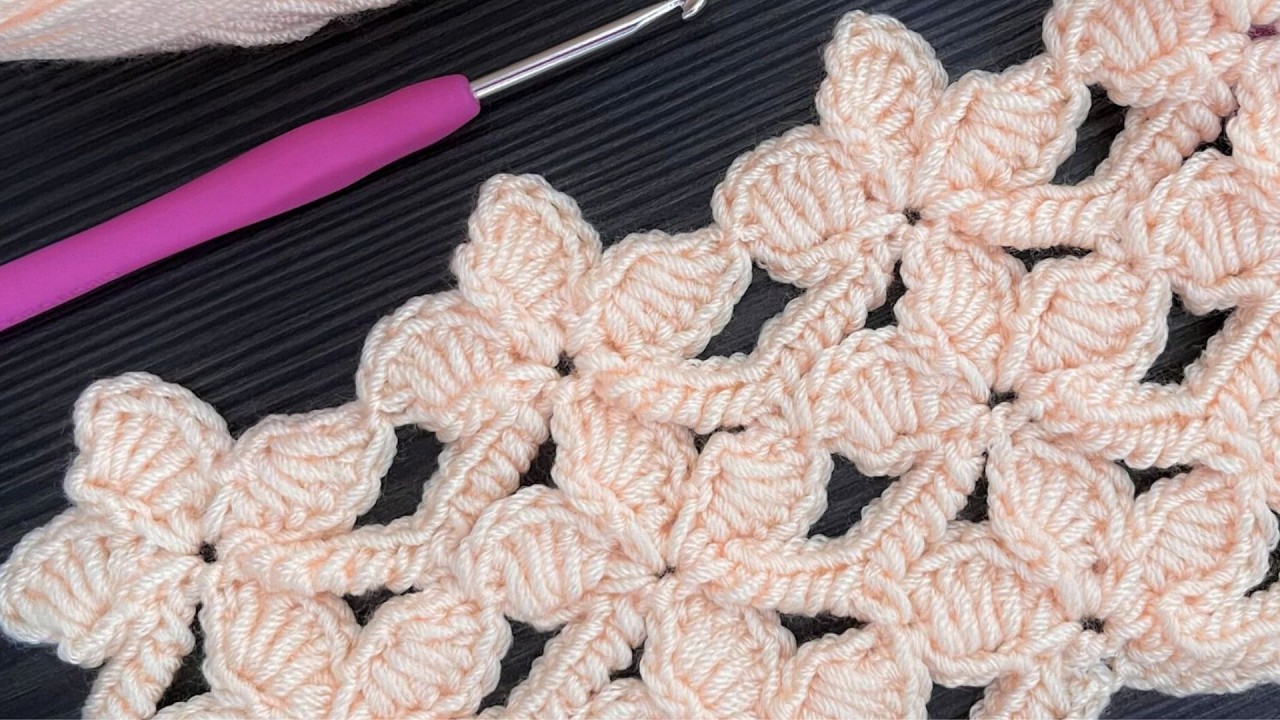
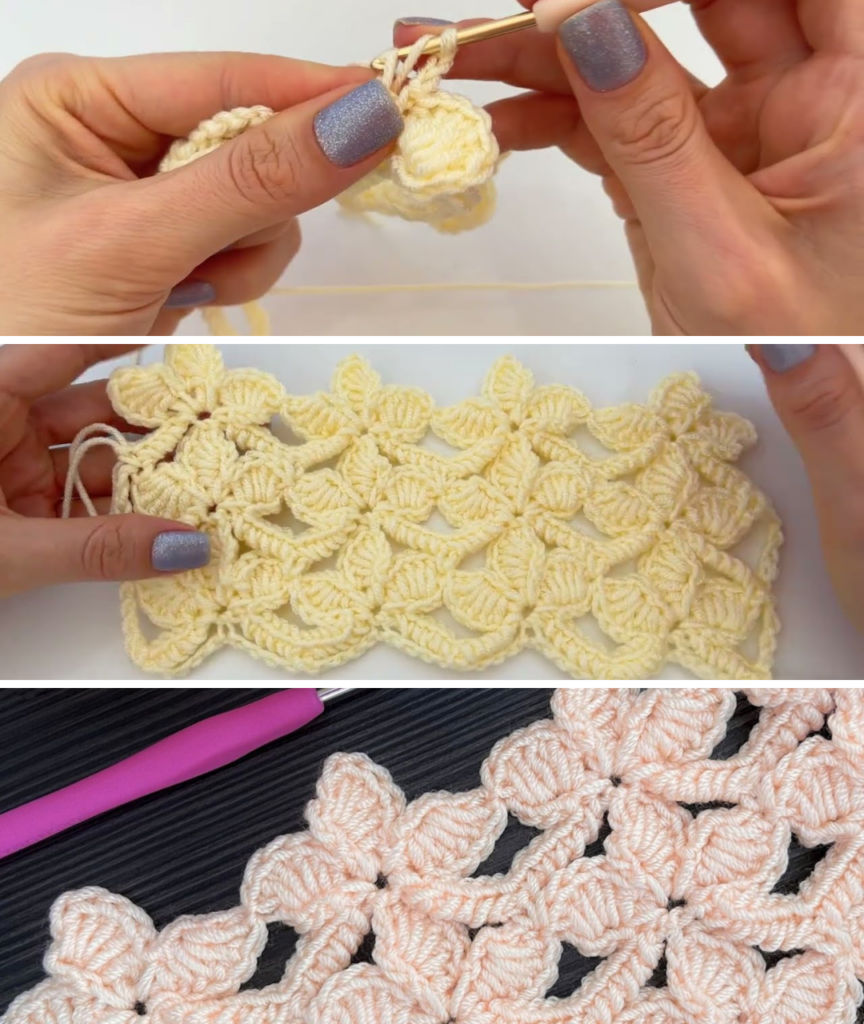
by There are thousands of crochet stitches, but rarely do you find one that manages to be both structurally sound and delicately ethereal. This “Enchanted Meadow” stitch uses a clever combination of Long Extended Stitches and Cluster Joins to create a fabric that doesn’t just lay flat—it pops.
Perfect for heirloom baby blankets, decorative pillow covers, or a show-stopping table runner, this pattern is a “2-Row Revolution” that you’ll want to use for everything.

🧶 Materials & Tools
- Yarn: For best results, use a Mercerized Cotton or a soft Acrylic (DK or Sport weight). The definition of the petals depends on a yarn that holds its shape.
- Hook: 3.0mm or 3.5mm (depending on your yarn choice).
- Notions: Scissors, tapestry needle for weaving ends, and a few stitch markers to mark the start of the petal sets.
📏 Pattern Notes
- Multiples: This stitch is worked in multiples of 10 + 5.
- The “Magic” Stitch: The “Long Extended Double Crochet” (LE-Dc). To do this: Yarn over, insert hook, pull up a loop. Pull through one loop on the hook, then pull through two, then pull through the final two. This adds extra height and “drape” to the petals.
- Terminology: US Crochet Terms.
🛠 Step-by-Step Instructions
Phase 1: The Foundation & Lattice Arches
Before we can grow our flowers, we must build the trellis.
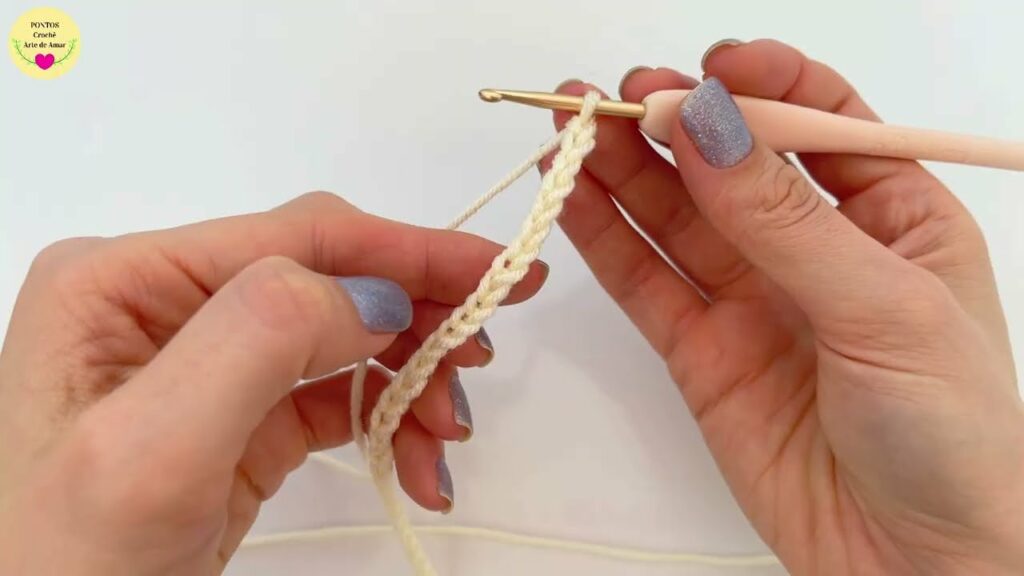
- Foundation: Chain 45 (or any multiple of 10 + 5).
- Row 1 (The Arch Row):
- Count back to the 11th chain from the hook and work 1 Single Crochet (Sc).
- Chain 5, skip 4 chains, Sc in the 5th chain.
- Repeat from * to * until the end of the row. You will have a series of open loops.
Phase 2: The Triple-Petal Bloom
This is where the magic happens. We will work “Petal Sets” into the foundation of the previous row.
- Row 2 (The Petal Row):
- The Edge: Ch 1, turn. Work 5 Sc into the first large loop space.
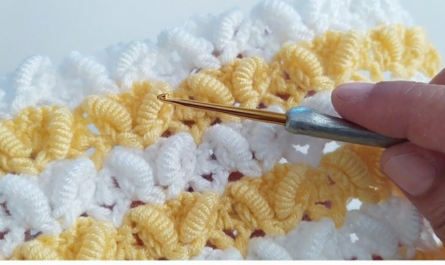
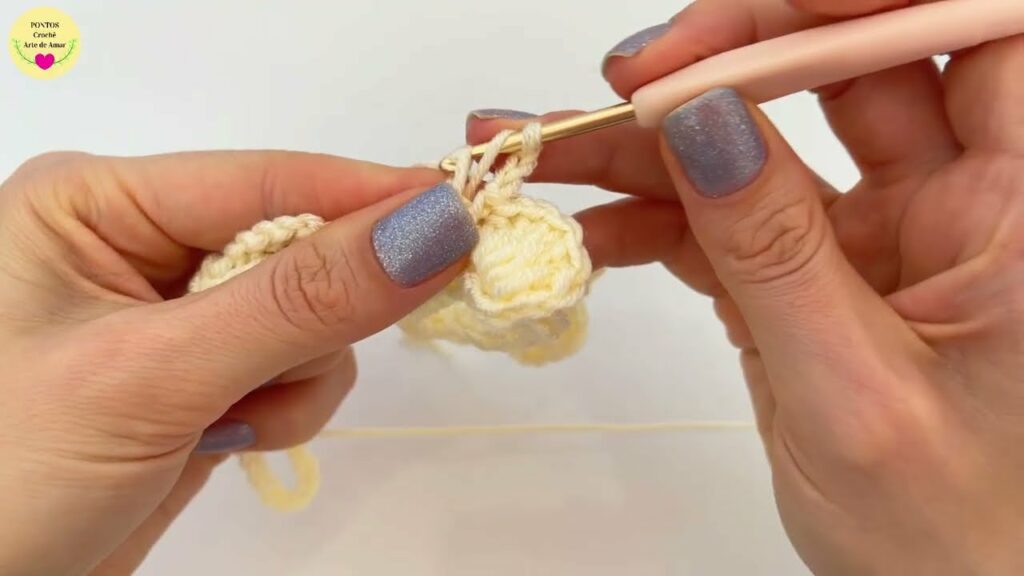
- Building Petal 1: Into the Sc from the row below, work: 1 Sc, Ch 3. Yarn over, and into that same space, work 1 Long Extended Double Crochet.
- Filling the Petal: Ch 1. Now, work 5 Double Crochets (Dc) around the post of the Long Extended stitch you just made.
- Anchoring: Sl St or Sc back into the original base stitch to lock the first petal.
- Creating the Set: Repeat the “Building” and “Filling” steps two more times in the same base stitch to create a Triple Petal Fan.
- The Transition: Work 5 Sc into the next two chain-5 spaces to move across the row.
Phase 3: The Interlocking Join
To make the flowers look professional, we must join the new petals to the old ones.
- The Join : When working your next set of petals, after finishing the “Long Extended” stitch of the first petal, remove your hook. Insert the hook into the top corner of the last petal of the previous flower set. Pull the active loop through to join.
- Continue: Finish the petal as normal. This “invisible bridge” keeps the flowers from flopping forward.
Phase 4: The Repeating Cycle
- Row 3 (Setting the Next Row): Work a row of Ch-5 arches, anchoring them to the center-top of each petal from the previous row.
- Pro Tip: Use a “Triple Treble” or very long stitch at the end of the row to maintain the height of the petal edges.
- Repeat Rows 2 and 3 until your project reaches its desired length.

✨ Design & Finishing
Uses for the Enchanted Meadow Stitch:
- The Luxury Baby Blanket: Use a soft white yarn with a silk blend. The 3D texture is highly tactile and sensory for babies.
- The Coastal Table Runner: Use a natural jute or cotton cord. The “gaps” in the lattice allow the wood of the table to peek through while the flowers provide a centerpiece.
Professional Finishing:
- Blocking: Because this stitch uses heavy petal sets, the fabric can “pull” inward. Pin your finished piece to a blocking mat and use a garment steamer. This will “open” the flowers and show off the lace lattice beneath.
- Edge Work: Finish your project with a simple row of “Reverse Single Crochet” (Crab Stitch) to give the floral edge a sturdy, clean border.
Video tutorial: