 by
by Introduction: The Secret to Instant Floral Elegance
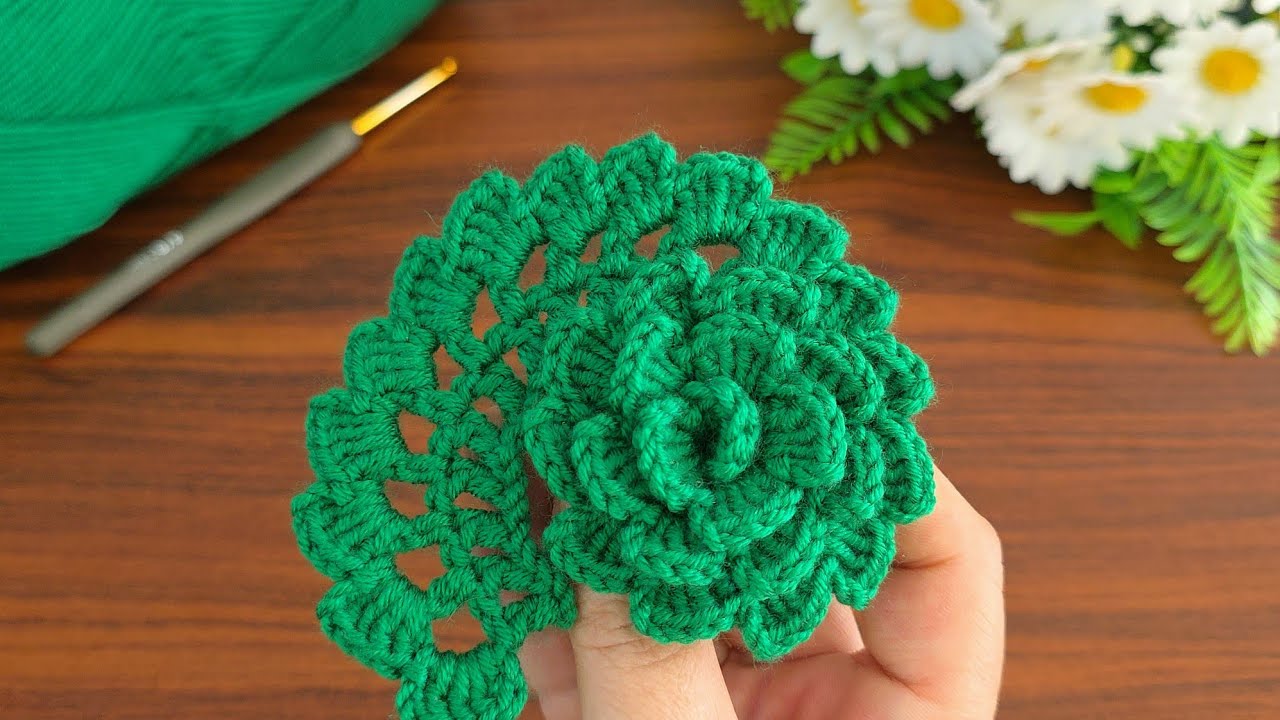
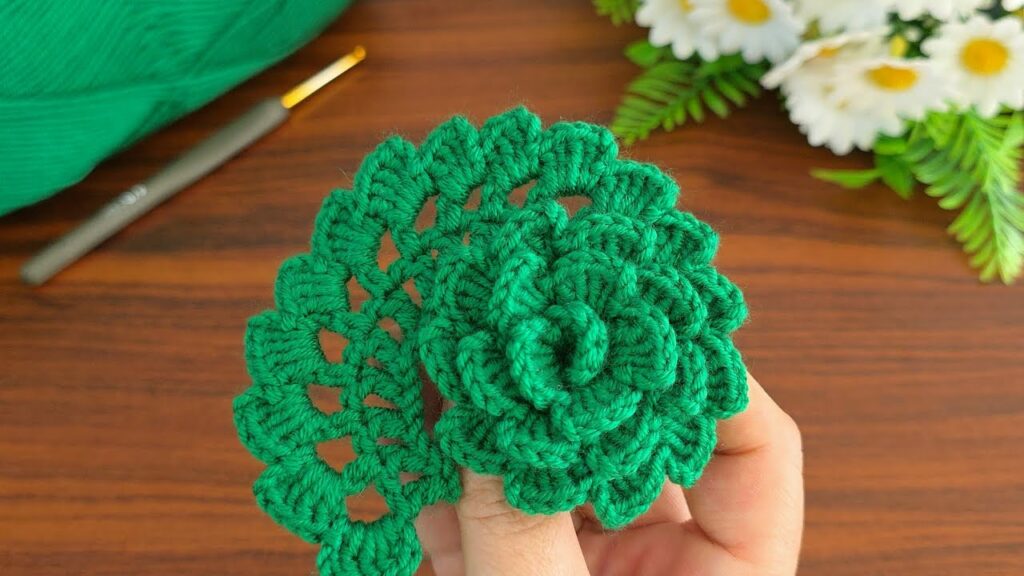
Welcome to the craft table! Have you ever wanted to create a realistic, beautifully textured rose without spending hours on individual petals? Then you’re in the right place!
Today, we’re sharing the pattern for the “Eternal Bloom” Quick-Roll Rose. This project is a miracle of simplicity: we crochet a single, beautifully ruffled strip using varied stitch heights, and then simply roll it up to create a stunning, three-dimensional rose. It’s quick, easy, and incredibly satisfying!
This technique is perfect for beginners and a fantastic scrap-buster. Use your finished roses for:
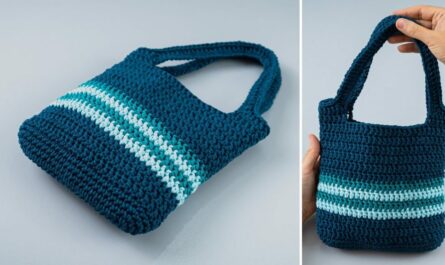
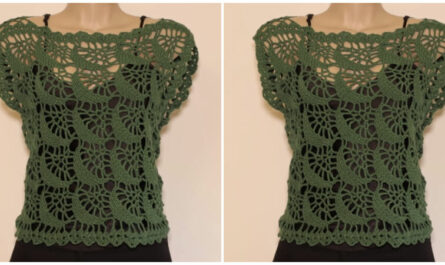
- Embellishments: Sewing onto hats, scarves, or bags.
- Home Decor: Gluing onto wreaths, picture frames, or headbands.
- Bouquets: Adding a simple stem for a permanent floral arrangement.
Let’s turn a straight line of stitches into a gorgeous bloom!
Section 1: Materials & Tools
The finished size of your rose will depend on the length of your foundation chain and the weight of your yarn.
| Material | Description/Recommendation | Notes |
| Yarn | DK (Category 3) or Worsted Weight (Category 4) yarn. | A blend with good structure (like cotton or acrylic) works best for holding the shape. |
| Hook | Size G/6 (4.0 mm) or H/8 (5.0 mm) | Choose a hook size appropriate for your yarn. |
| Scissors | ||
| Yarn Needle | Essential for securing the final rose shape. | |
| Optional | Hot Glue Gun (for quick attachment) or Green Floral Wire (for stems). |
Section 2: The Foundation – The Strip’s Spine
For this tutorial, we will create a medium-sized rose. You can adjust the size by changing the starting chain length (use a multiple of 4 + 1 for easier counting).
| Abbreviation | Stitch Name |
| CH | Chain |
| SL ST | Slip Stitch |
| SC | Single Crochet |
| HDC | Half Double Crochet |
| DC | Double Crochet |
| TC | Treble/Triple Crochet (Yarn over 2 times) |
Part A: Creating the Base
Foundation: CH 41.
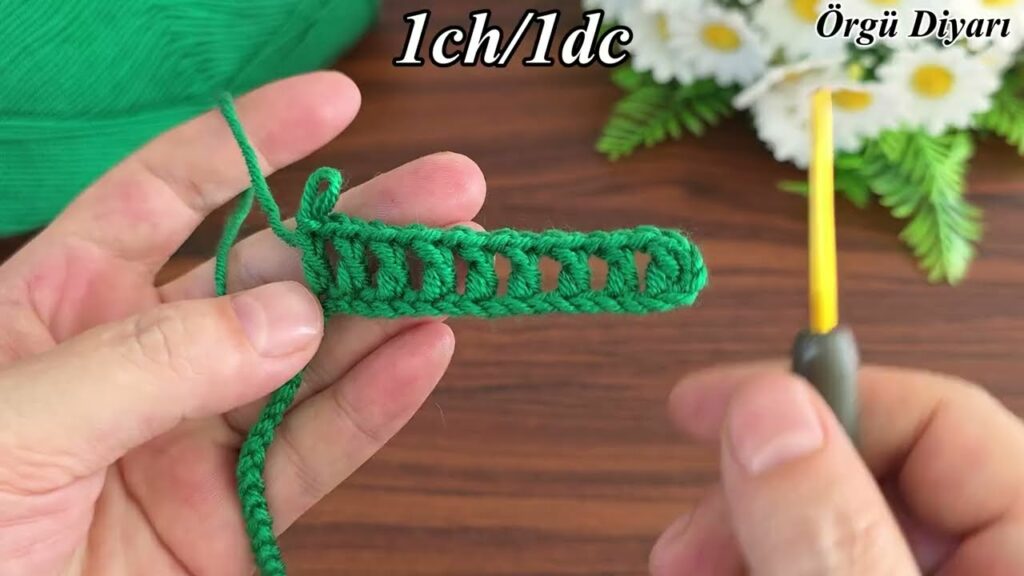
Row 1 (The Spine):
- Work 1 HDC into the 2nd CH from the hook.
- HDC into every CH across the row.
- (You should have 40 HDC stitches).
- CH 1, turn your work. (This row creates the anchor for the petals).
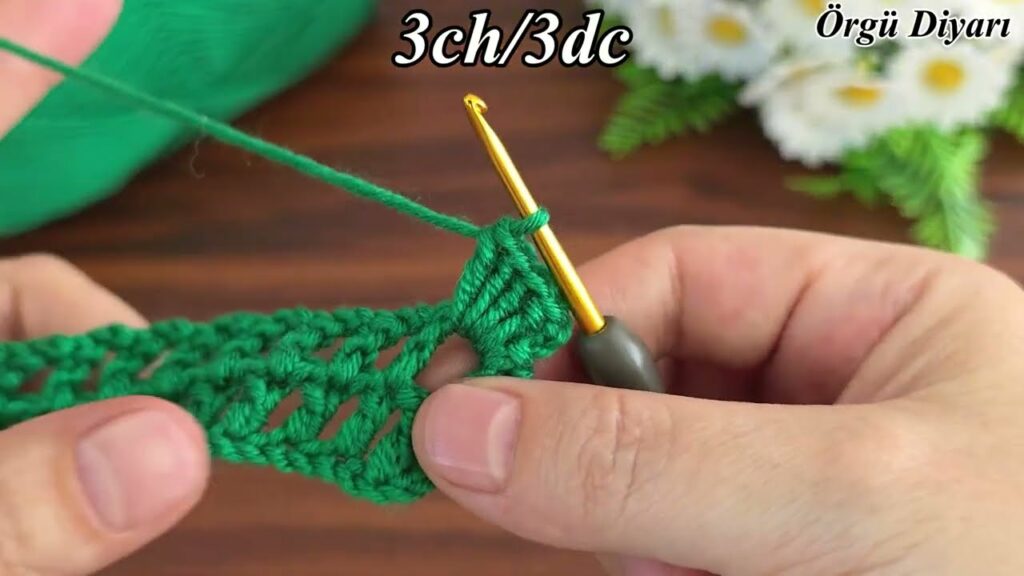
Section 3: The Petals – Ruffles and Height
This is where the magic happens! We will work along the 40 HDC stitches, creating four distinct sections of ruffles. By increasing the stitch height in each section, the strip will naturally curl in on itself when rolled, forming a perfect rose.
Row 2 (The Ruffle Row):
We will be working into the back loop of the HDC stitches of Row 1. Each Ruffle Shell (set of stitches) will be worked into a single stitch of the row below.
Section 1: The Tight Bud (Uses SC and HDC)
(This forms the small, tight center of the rose.)
- Work the following sequence into the first 10 stitches:
- Into the first stitch: SC 2
- Into the next stitch: HDC 3
- Repeat this sequence 5 times (using 10 stitches total).
Section 2: The Mid-Petals (Uses DC)
(This creates the transition to wider, medium-sized petals.)
- Work the following sequence into the next 10 stitches:
- Into the next stitch: DC 4
- Into the next stitch: DC 4
- Repeat this sequence 5 times (using 10 stitches total).

Section 3: The Large Petals (Uses TC)
(This forms the outer, wide-open petals for maximum drama.)
- Work the following sequence into the next 10 stitches:
- Into the next stitch: TC 5
- Into the next stitch: TC 5
- Repeat this sequence 5 times (using 10 stitches total).
Section 4: The Final Ruffle (Uses TC and DC)
(This finishes the strip with a slight taper.)
- Work the following sequence into the final 10 stitches:
- Into the next stitch: TC 4
- Into the next stitch: DC 3
- Repeat this sequence 5 times (using 10 stitches total).
Finishing Row 2: SL ST into the last stitch. Fasten off, leaving an extra-long tail (at least 20 inches/50 cm) for assembly.
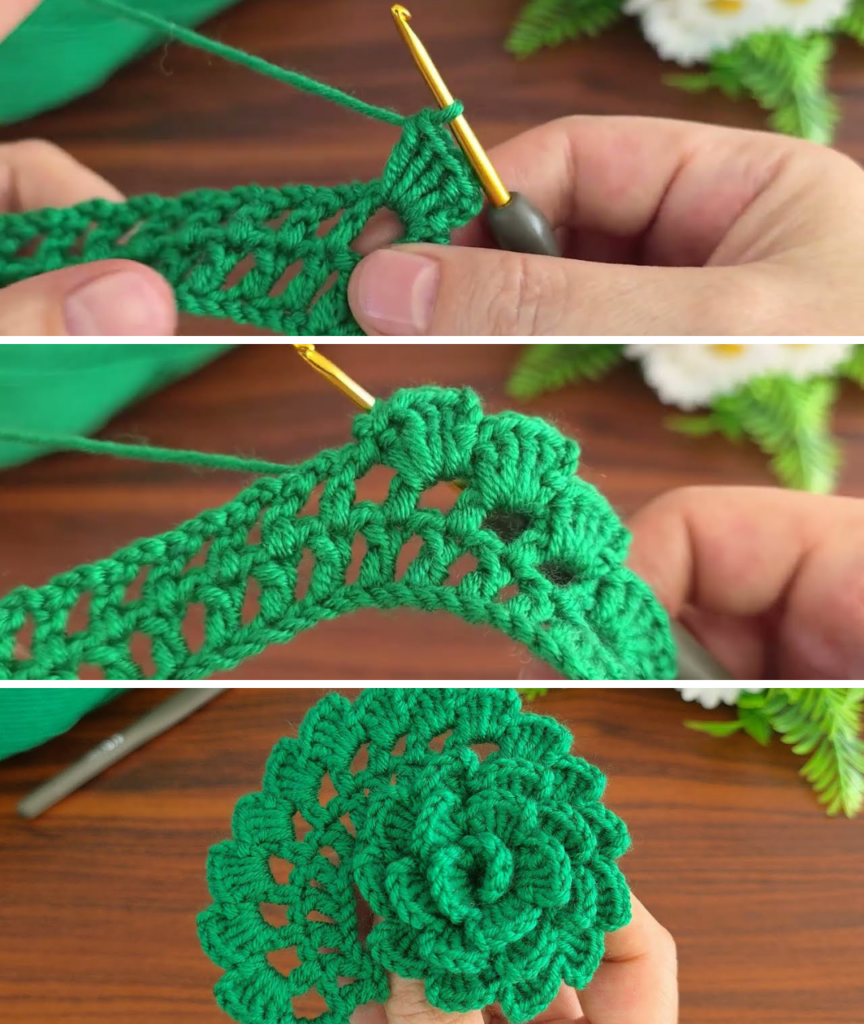
Section 4: Assembly – Rolling and Securing
You should now have a long strip of ruffled crochet work that curls slightly on its own.
Step 1: Starting the Bud
- Take the end of the strip where you started (Section 1: SC/HDC).
- Begin tightly rolling the strip inwards, starting with the very first SC/HDC cluster. Keep the bottom edge (Row 1/the Spine) aligned and flat.
- Roll the first few clusters (Section 1) as tightly as you can to form the compact center bud of the rose.
Step 2: Shaping the Petals
- As you roll through Section 2 and Section 3, begin to roll slightly looser.
- Gently curve the strip outward as you roll, allowing the high TC stitches to fan out and form the characteristic ruffled edges of an open rose.
- Continue rolling until you reach the end of the strip.
Step 3: Securing the Base
- Thread your long yarn tail onto the yarn needle.
- Hold the rose firmly at the base. The rolled spine should form a neat, flat circle.
- Pass the needle up and down through all layers of the base multiple times to secure the roll. Work back and forth in different directions (like stitching an X) to ensure every section of the strip is anchored to the base.
- Once the rose is firmly secured and holds its shape without unraveling, knot the yarn tightly at the back.
Step 4: Finishing
- Weave in the final yarn tail at the back of the rose.
- Fluff and shape the petals gently with your fingers to create the perfect bloom.
Conclusion: An Eternal Treasure
You now have a beautiful, three-dimensional rose! This pattern is a great tool to keep in your crafting toolkit. Experiment with variegated yarn for a multi-tonal rose, or use a contrasting color for the second row to make the ruffles pop even more.
These roses make fantastic gifts and quick market items. Happy crafting, and enjoy your beautiful, everlasting bloom!
Video tutorial: