 by
by Project Overview & Sizing
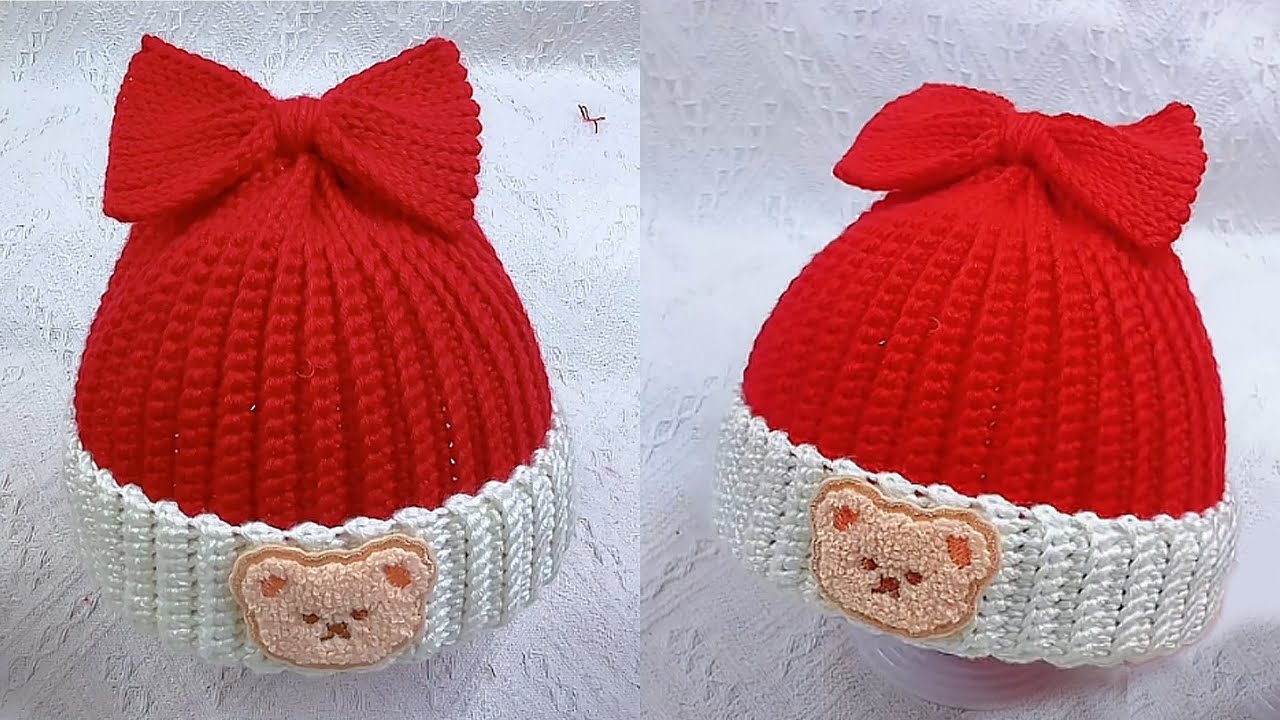
The hat is worked sideways in rows. The total number of stitches determines the height of the hat, and the number of rows determines the width (circumference).
- Total Stitches (Standard): 42 stitches (30 for the main body, 12 for the brim).
- Size Adjustments:
- 2-year-old: 44 total stitches
- 5-year-old: 46 total stitches
- Width: Crochet until the width is about 5cm less than the head circumference to ensure a snug fit (approx. 40cm for standard children)
Materials Needed
- Yarn: Two colors of soft, baby-specific thread (e.g., Red for the main body and White for the brim).
- Tools: Crochet hook, stitch markers, scissors, sewing needle, and optional decorations (pom-poms, bow, or patches).
Phase 1: Foundation and Color Setup
- Main Body (Red): Make a slipknot and crochet 30 chain stitches. Keep them slightly loose
- Color Change: Leave a tail of red yarn. Pull the white thread through the final loop of the red chain to switch colors
- Brim (White): Crochet 12 chain stitches in white. Your foundation is now complete .
Phase 2: Crocheting the Main Body
The “fishbone” texture is achieved by working exclusively in the back half-loops of each stitch.
- Row 1 (Brim to Top):
- Skip the first two chains and start in the 3rd stitch. Work single crochet (SC) stitches in white through the back loops
- As you reach the last white stitches, hide the yarn ends by crocheting over them
- Change Color: Switch to red yarn at the junction. Crochet SC stitches in the back loops
- Tapering the Top: For the final 7 stitches of the row (the top of the hat), work slip stitches instead of SC. This makes the top easier to gather
- Row 2 (Top to Brim):
- Chain 1, turn. Work 7 slip stitches in the back loops. Use a marker on the first stitch to avoid losing your place
- Continue with SC in the back loops for the rest of the red section.
- Switch to white yarn and SC to the end of the brim
Repeat: Continue these rows, alternating between the top (slip stitches) and brim (SC), until you reach your desired width [.
Phase 3: Sewing and Assembly
- Side Seam: Align the two edges. Using a sewing needle, pick up the outer half-stitches from both sides and sew them together
- Closing the Top: * Pass the red yarn through every two “raised ridges” (fishbones) around the top edge.
- Pull the thread tightly to close the hole until no gap remains
- Secure with knots and weave the remaining thread into the inside of the hat
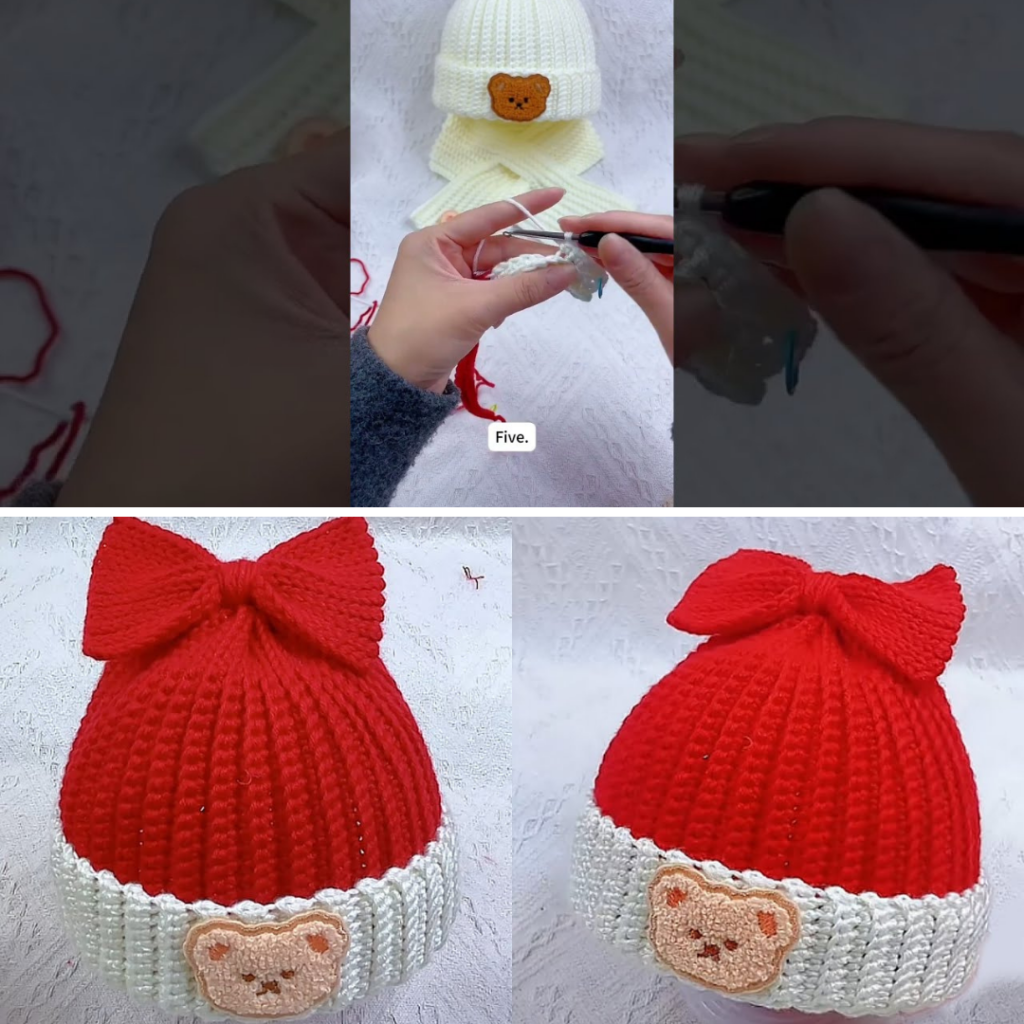
Phase 4: Creating the Bow Decoration (Optional)
If you don’t want a pom-pom, you can crochet a bow:
- Foundation: Chain 25 stitches
- Rows: Work slip stitches in the back loops for about 20–22 rows to create a rectangle
- Shaping: Fold the rectangle in half and pinch the center. Wrap yarn tightly around the middle multiple times to create the bow shape
- Attachment: Sew the bow to the top or side of the hat

Final Flourishes
- Cleaning: Use a crochet hook to pull all loose threads to the inside of the hat and trim any excess
- Accents: You can finish the hat by adding a small bear sticker or patch to the brim
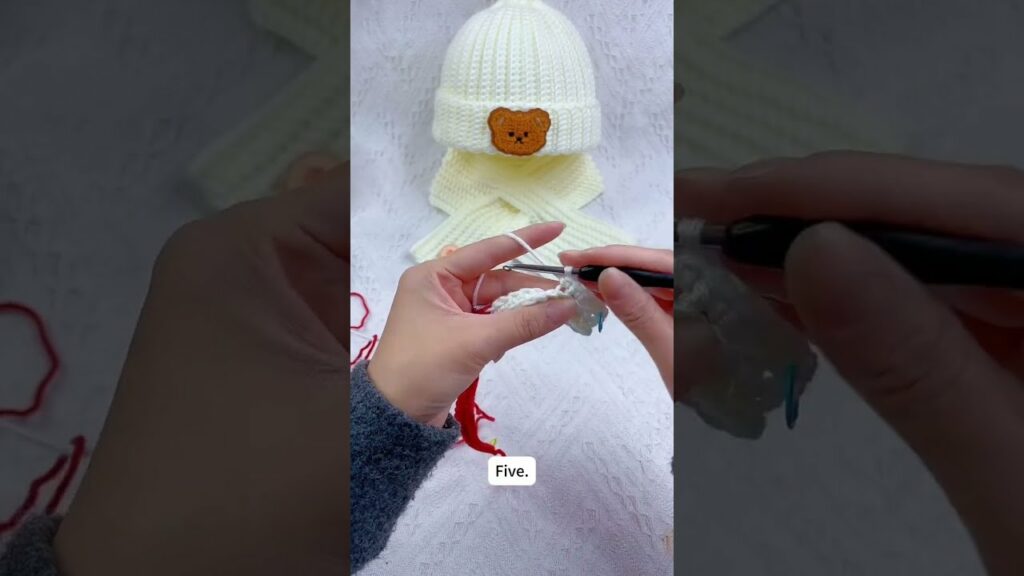
Video Tutorial: