by
by A crocheted hat is one of the most classic and rewarding projects for any crafter. It’s a quick, practical, and highly customizable piece that allows you to experiment with colors, textures, and stitches without a huge time commitment. From a cozy beanie to a stylish sun hat, the possibilities are endless. Crocheting a hat is also a fantastic way for beginners to practice fundamental skills and for experienced crocheters to enjoy a satisfying, portable project.
This detailed article will walk you through the essential components of crocheting a hat, helping you understand the key design choices and techniques needed to create your perfect handmade headwear.
Why Crochet a Hat?
- Quick & Satisfying: Most hats can be completed in just a few hours or a couple of days, giving you the immediate gratification of a finished project.
- Skill Builder: It’s a perfect project for learning new stitches, practicing shaping, and understanding tension.
- Portable Project: A hat is small and easy to carry, making it a great craft for commutes, waiting rooms, or relaxing on the couch.
- Customizable: You have complete control over the color, style, yarn, and fit, allowing you to create a hat that is uniquely you or a perfect gift.
- Practical: A handmade hat is a functional accessory that provides warmth in winter or shade in summer.
Designing Your Crocheted Hat: Key Considerations
Before you pick up your hook, consider these crucial design elements to make sure your hat turns out just right.
1. Yarn Choice: The Fabric of Your Hat
The yarn is the most important factor in determining your hat’s texture, warmth, and drape.
- For Warmth (Winter Hats):
- Wool/Merino Wool: Excellent for warmth, elasticity, and breath definition. It’s a classic choice for beanies and toques.
- Acrylic: A versatile and budget-friendly option that is easy to care for and comes in a wide range of colors. Modern acrylics can be very soft.
- Blends: Wool/acrylic or wool/alpaca blends offer a balance of warmth, softness, and durability.
- For Breathability (Summer Hats):
- Cotton/Cotton Blends: Breathable and great for summer hats or year-round wear. It holds its shape well and has a clean, crisp feel.
- Raffia or Paper Yarn: Specifically used for structured sun hats, these materials create a stiff, durable fabric that holds its shape.
- Weight: Worsted (Category 4) is the most common and versatile choice for hats. Bulky (Category 5) works up very quickly for a chunky hat, while DK (Category 3) or Sport (Category 2) can create a finer, lighter fabric.
2. Construction Method: Top-Down vs. Bottom-Up
You can build a crocheted hat in two main ways.
- Top-Down (Recommended for Beginners):
- You start at the crown (the very top of the hat) with a magic circle or a small chain ring.
- You work in continuous rounds, increasing stitches evenly in each round to create a flat circle.
- Once the circle reaches the desired size for the crown, you stop increasing and work straight down to create the sides of the hat.
- Pros: Easy to adjust size as you go, and you can simply stop increasing when the crown fits. There’s no starting chain to measure.
- Bottom-Up:
- You start with a foundation chain for the brim of the hat.
- You work up in rows or rounds, working straight for the body of the hat.
- At the crown, you begin decreasing stitches to shape the top of the hat.
- Pros: Great for ribbing, as you can create a ribbed band first and then build the hat body on top of it.
3. Stitch Pattern: Texture and Style
The stitch you choose will give your hat its unique look.
- Basic Stitches: Single Crochet (sc), Half Double Crochet (hdc), and Double Crochet (dc) are the most common stitches for hats. They create a dense, warm fabric.
- Ribbing: Achieved by working into the back loop only (BLO) or using front post/back post stitches. This creates a stretchy, classic-looking brim.
- Textured Stitches: Bobbles, puffs, or the star stitch can add a fun, raised texture.
- Lace/Openwork: Shells, V-stitches, or granny stitch clusters can create a more decorative and airy hat, perfect for spring or fall.
4. Sizing & Fit: A Perfect Match
Getting the size right is key to a comfortable hat.
- Measurements: You’ll need two key measurements:
- Head Circumference: The distance around the head, just above the eyebrows.
- Hat Height: The distance from the crown to the bottom of the earlobe or where you want the brim to rest.
- Hat Crown Diameter: This is a crucial number for top-down hats. To calculate it, divide the head circumference by 3.14 (pi). For a slightly stretchy yarn, you can subtract about an inch from this number to ensure a snug fit.
- Gauge Swatch: Don’t skip this! Crocheting a small swatch in your chosen stitch and yarn will tell you how many stitches and rows you get per inch. This allows you to adjust your hook size to match the pattern’s sizing.
Materials You’ll Need
- Yarn: Your chosen yarn in the desired color and weight.
- Crochet Hook: The size recommended on your yarn label for the chosen weight.
- Tapestry Needle (Yarn Needle): A blunt needle with a large eye for weaving in ends.
- Scissors.
- Stitch Marker: Essential for keeping track of the beginning of your rounds when working top-down.
- Measuring Tape: Crucial for checking your crown diameter and hat height.
- Pom-Pom Maker (Optional): For a fun pom-pom on top!
A Step-by-Step Construction Guide (Top-Down Beanie)
This is a great starting point for your first hat project.
Step 1: Start the Crown
Begin with a magic circle or a chain of 4 stitches joined with a slip stitch. In the first round, work a small number of stitches (e.g., 10 double crochets) into the ring.
Step 2: Increase to Form the Circle
Work in continuous rounds, increasing your stitches evenly in each round. For example, in Round 2, you might work 2 stitches into every stitch from the previous round. In Round 3, you might work 2 stitches into every other stitch. This gradual increase helps the circle lay flat. Continue this until your circle measures the correct crown diameter for your size.
Step 3: Work the Body of the Hat
Once your crown is the correct diameter, stop increasing. Simply work one stitch into every stitch around for each subsequent round. The fabric will now stop expanding outwards and will start growing downwards, forming the sides of your hat. Continue working straight rounds until the hat reaches the desired height.

Step 4: Finish the Brim
For a simple brim, you can work a few rounds of a different stitch (like single crochet) or work into the back loop only to create a ribbed cuff.
Step 5: Finish the Hat
- Bind Off: Finish the last round with a slip stitch to join, and then cut your yarn, leaving a long tail.
- Weave in Ends: Use your tapestry needle to meticulously weave in all yarn ends for a clean, professional finish.
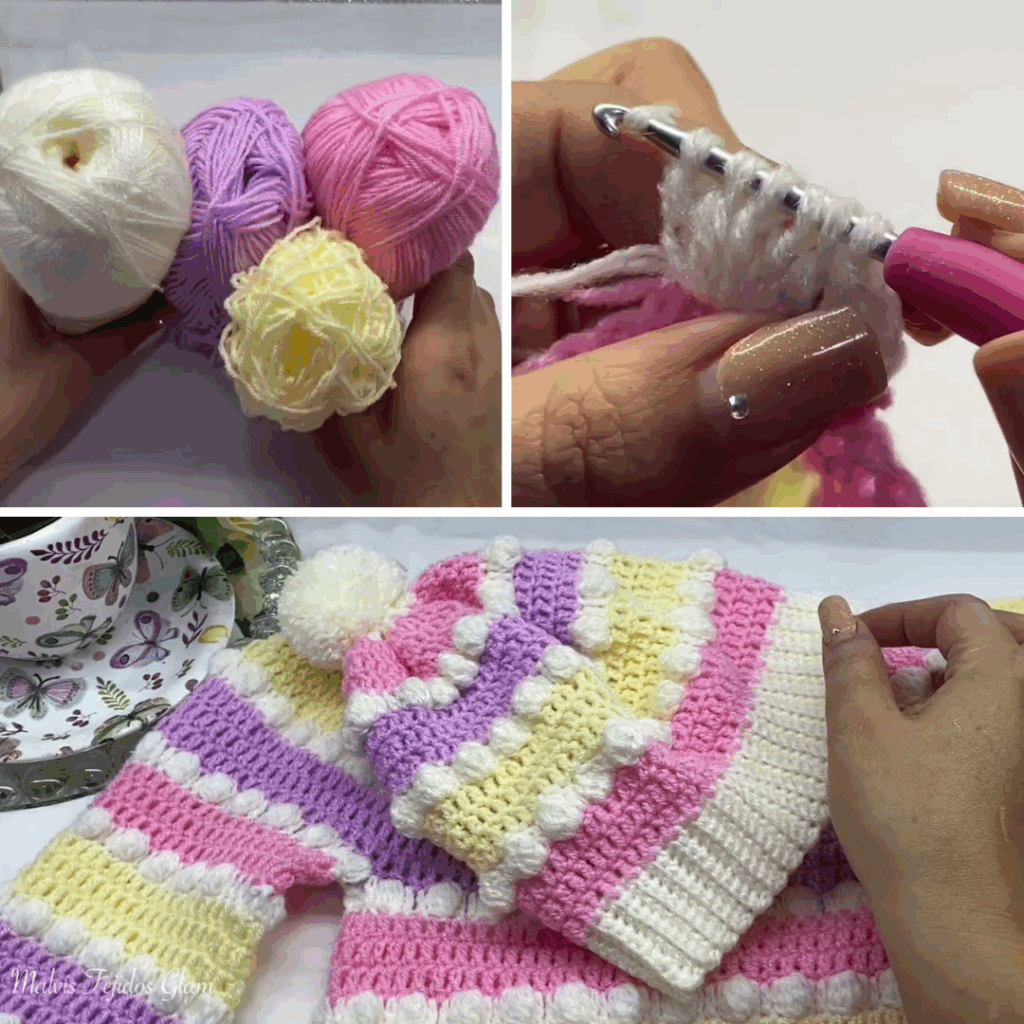
- Add a Pom-Pom: If you wish, create a yarn pom-pom and securely sew it to the top of the hat.
Tips for a Perfect Hat
- Check Your Gauge: We can’t say it enough—a hat that doesn’t fit is just a yarn basket. A gauge swatch is a must!
- Use a Stitch Marker: This simple tool prevents you from losing your place and helps you maintain an accurate stitch count.
- Try It On: For a top-down hat, try it on as you go to check the fit and height.
- Block Your Hat: A quick soak in cool water and laying it flat to dry will help even out your stitches and improve the hat’s drape and shape.
Crocheting a hat is a fantastic journey from a simple skein of yarn to a beloved accessory. With a little planning and these easy techniques, you’ll be creating stylish headwear in no time. Happy hooking!
Video Tutorial ;