 by
by Below is a detailed, beginner-friendly tutorial you can use as a blog post, video script, or written pattern for a Quick and Easy Crochet Bow Bag.
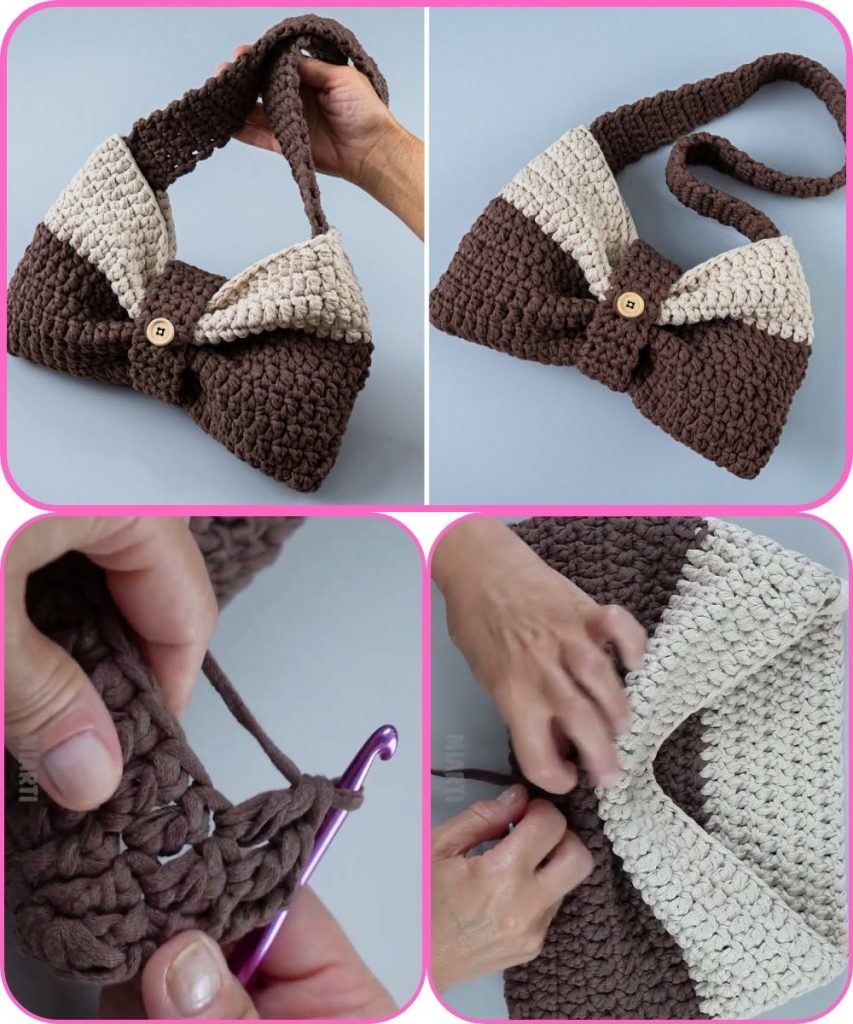
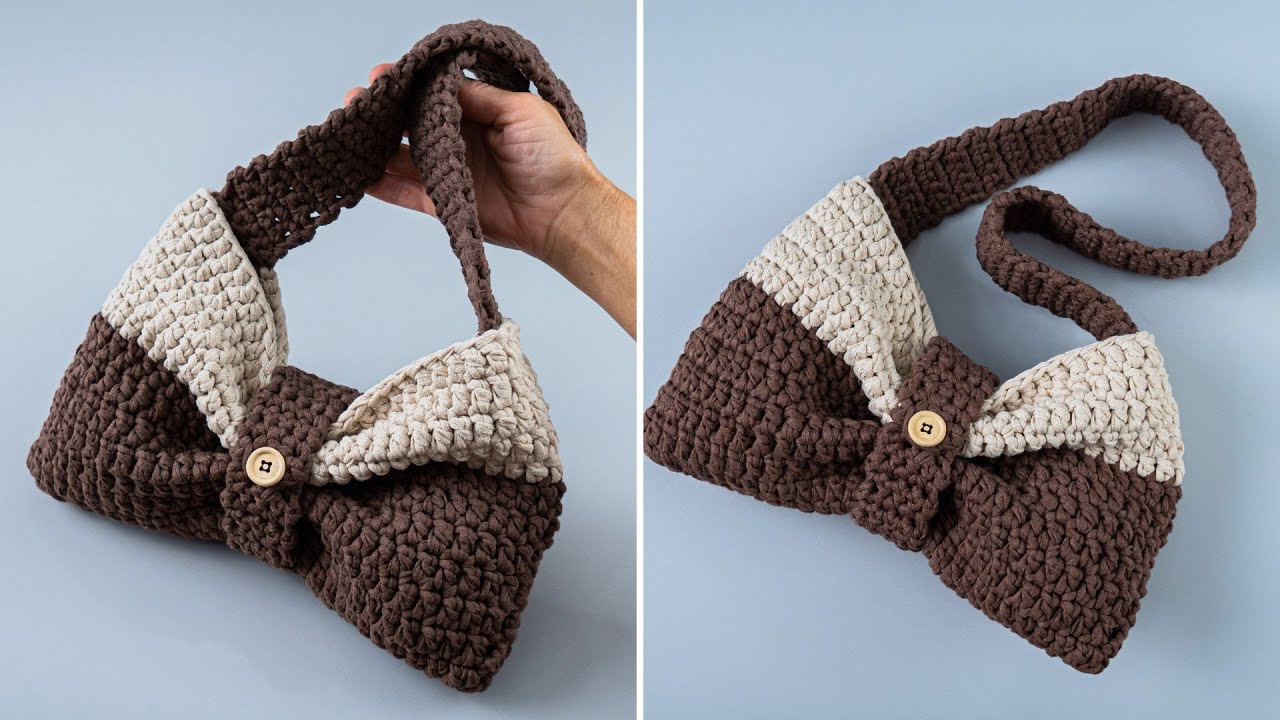
How to Make a Quick and Easy Crochet Bow Bag
A beginner-friendly crochet tutorial
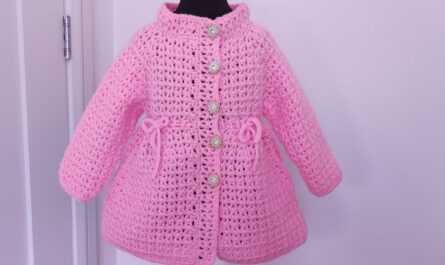
This cute crochet bow bag is a fun and fast project that’s perfect for beginners. It’s small, stylish, and customizable, making it ideal for casual outings, gifts, or even as a trendy accessory. The bag is made using simple stitches and finished with a charming crochet bow for decoration.
Skill Level
Beginner
Materials Needed
- Medium-weight yarn (Category 4 – cotton or acrylic works best)
- Crochet hook (5.0 mm / H-8 recommended)
- Scissors
- Yarn needle
- Stitch marker (optional)
- Button or magnetic snap (optional, for closure)
Crochet Abbreviations (US Terms)
- ch – chain
- sc – single crochet
- hdc – half double crochet
- dc – double crochet
- sl st – slip stitch
- st(s) – stitch(es)
- rep – repeat
Finished Size (Approx.)
- Width: 8–9 inches
- Height: 7–8 inches (excluding strap)
Size can be adjusted by adding more chains or rows.
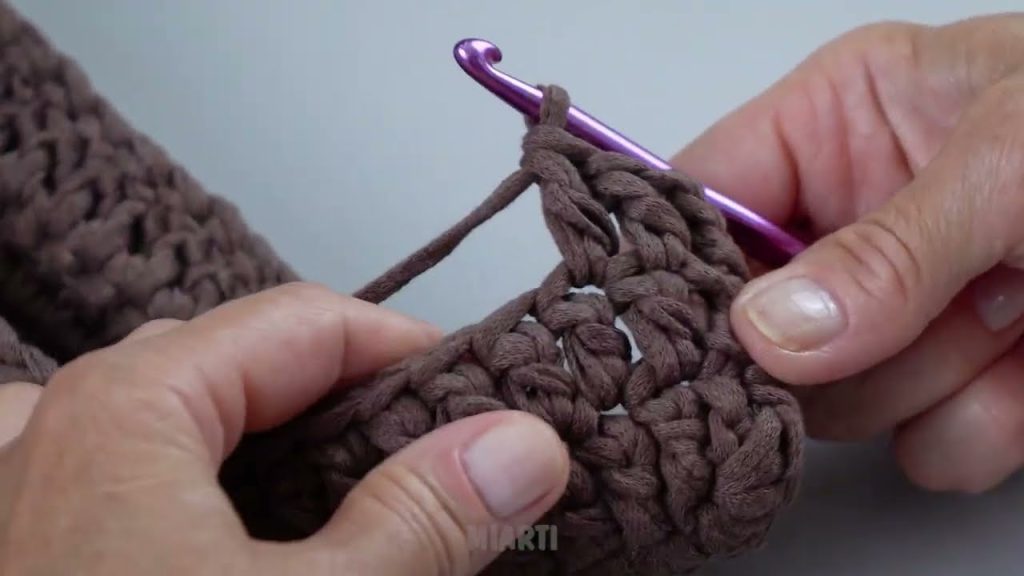
Step 1: Crochet the Bag Body
Foundation Chain
- Chain 31 (or any odd number for width preference).
Row 1
- Hdc in the 2nd chain from the hook.
- Hdc across.
- Ch 1, turn.
Rows 2–20
- Hdc in each stitch across.
- Ch 1, turn at the end of each row.
Continue until the rectangle reaches your desired height.
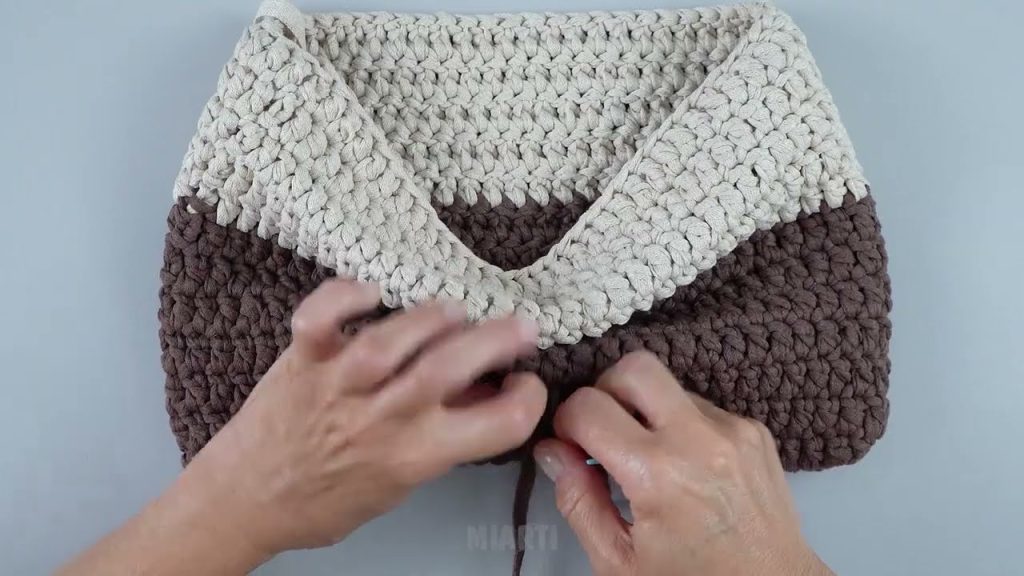
Step 2: Form the Bag Shape
- Fold the rectangle in half (right sides facing together).
- Sl st or sc along both side edges to join.
- Turn the bag right side out.
Step 3: Crochet the Top Border
- Attach yarn at the top edge.
- Sc evenly around the opening.
- Join with sl st.
- Repeat for 2–3 rounds for a clean finish.
Step 4: Make the Strap
- Attach yarn to one side of the bag.
- Ch 60–80 (depending on desired strap length).
- Sc in the 2nd chain from hook and across.
- Attach to the opposite side of the bag with sl st.
- Fasten off and weave in ends.
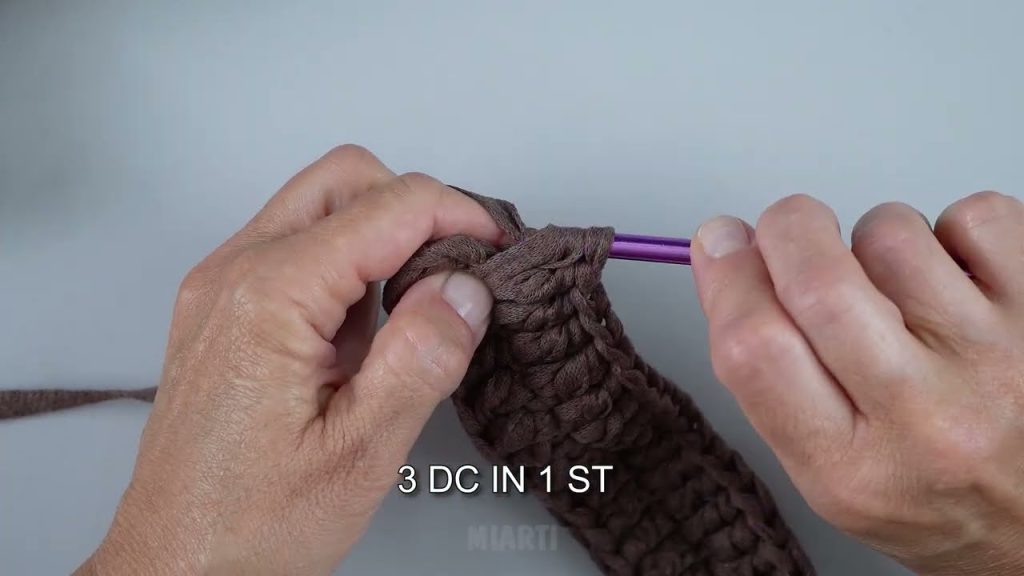
Step 5: Crochet the Bow
Bow Panel
- Ch 16.
- Dc in the 3rd chain from hook and across.
- Ch 2, turn.
- Repeat for 6–8 rows.
Fasten off, leaving a long tail.
Shape the Bow
- Pinch the center of the rectangle.
- Wrap the yarn tail around the center several times.
- Secure tightly and sew the bow onto the front of the bag.
Optional Add-ons
- Add a button or magnetic snap for closure
- Sew in a fabric lining
- Use two colors for a contrast bow
- Add pearls or beads for decoration
Final Touch
Weave in all loose ends, adjust the bow, and your quick and easy crochet bow bag is ready to use!
Watch tutorial: