 by
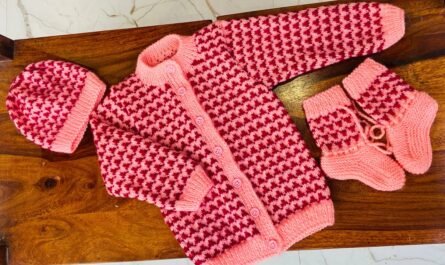
by Sure! Here’s a detailed step-by-step guide for how to knit an easy princess-style baby dress. This guide is suitable for beginner to intermediate knitters and includes the basic materials, pattern instructions, and tips to help you along the way.

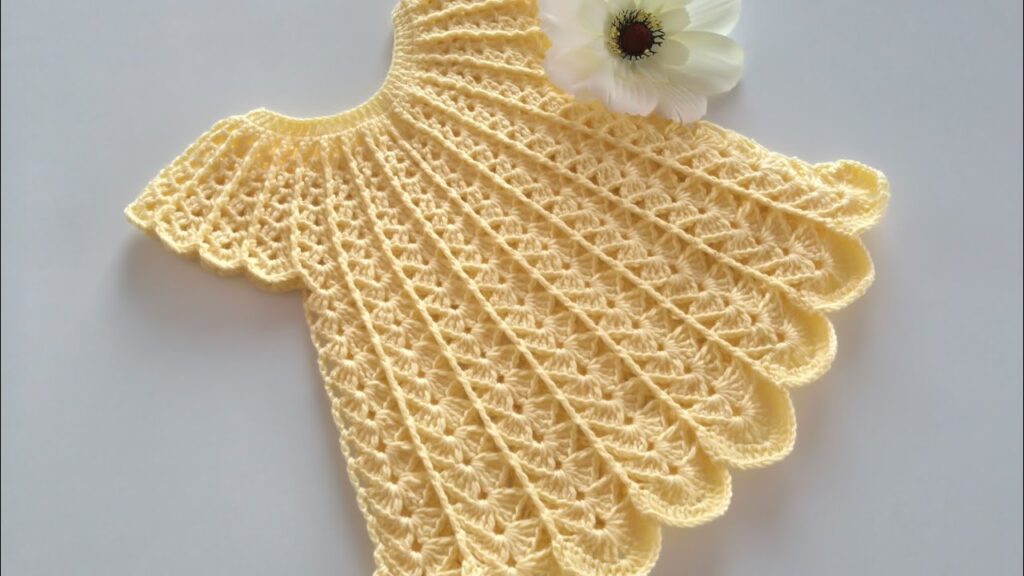
How to Knit a Princess Baby Dress – Step-by-Step Guide
Size:
This pattern will fit a 3–6 month-old baby. You can adjust the sizing by using larger needles/yarn or adding more stitches (guidelines provided).
Materials Needed:
- Yarn: 100g of soft baby DK (double knitting) yarn (cotton or acrylic blend works well). Choose a pastel color like light pink, lilac, or ivory for a “princess” feel.
- Knitting needles: Size 4mm (US 6)
- Darning needle: For sewing pieces and weaving in ends
- Buttons or snaps (2–3 small)
- Stitch markers
- Scissors
- Measuring tape
Pattern Overview:
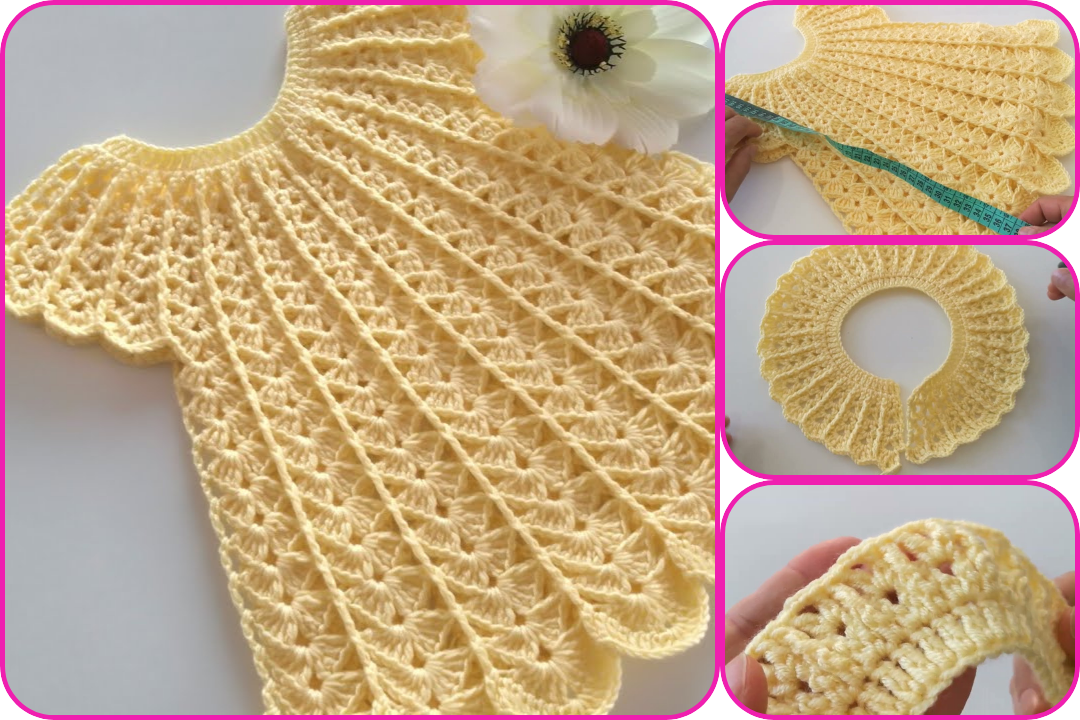
This easy baby dress is knit top-down in one piece with minimal seaming. The bodice is worked flat, and the skirt is knit in the round (or flat if preferred). The dress includes a simple garter stitch yoke and a stockinette skirt with a gentle flare.
Step-by-Step Instructions
Step 1: Cast On for the Bodice
- Cast on 64 stitches using the long-tail cast-on method.
- Knit flat (back and forth).
- Work garter stitch (knit every row) for 8 rows to form the neckline.
Step 2: Raglan Increases (Yoke Section)
- Place stitch markers to separate the sleeves and front/back:
- 10 sts (left front) | 1 marker | 11 sts (sleeve) | 1 marker | 20 sts (back) | 1 marker | 11 sts (sleeve) | 1 marker | 10 sts (right front)
- Begin increasing on right-side rows only:
- Row 1 (RS): Knit to marker, yo, slip marker, knit 1 (raglan stitch), yo, repeat across.
- Row 2 (WS): Knit all stitches.
- Repeat these 2 rows until you have about 30 stitches on each sleeve. This usually takes 12–14 increase rows.
Step 3: Separate for Sleeves
- Transfer the sleeve stitches to waste yarn or holders.
- Continue working the front and back only:
- Cast on 3 stitches under each arm (for underarm join).
- Join to work in the round (or keep flat if you prefer seaming later).
You should now have about 80 stitches on the body.
Step 4: Knit the Skirt
- Switch to stockinette stitch (knit every round).
- Optional: Add increases every 4–6 rows to create a flared, princess-style skirt.
- Example: Knit 4, increase 1 (Kfb) across one row, then continue knitting.
- Knit until the skirt measures about 7–8 inches from underarm.
Step 5: Hem and Finish
- Switch to garter stitch or picot edge for 4 rows for a decorative hem.
- Bind off loosely.
Step 6: Sleeves
- Transfer sleeve stitches back to needles.
- Pick up 3 stitches from underarm.
- Knit in the round (or flat) for 2–3 inches.
- Work 3 rows garter stitch, then bind off.
- Repeat for the second sleeve.
Step 7: Finishing Touches
- Weave in all loose ends using a darning needle.
- Add 2–3 small buttons or snaps at the back of the neckline (if you left an opening).
- Block lightly (optional) for a neater finish.
Optional Embellishments:
- Knit a small bow or flower and sew it to the waistband.
- Add a satin ribbon around the waist.
- Embroider small flowers or hearts using a tapestry needle and contrasting yarn.
Tips:
- Use stitch markers generously to keep track of increases and sections.
- Always knit a gauge swatch to ensure correct sizing.
- Cotton yarn is cooler for summer; wool blends are warmer for winter.
- For larger sizes, cast on more stitches and increase the number of rows proportionally.
Watch video: