 by
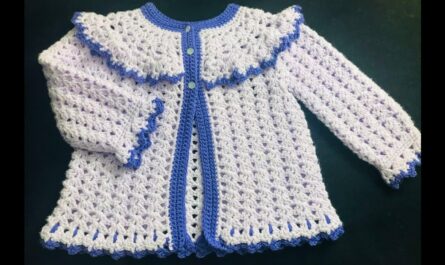
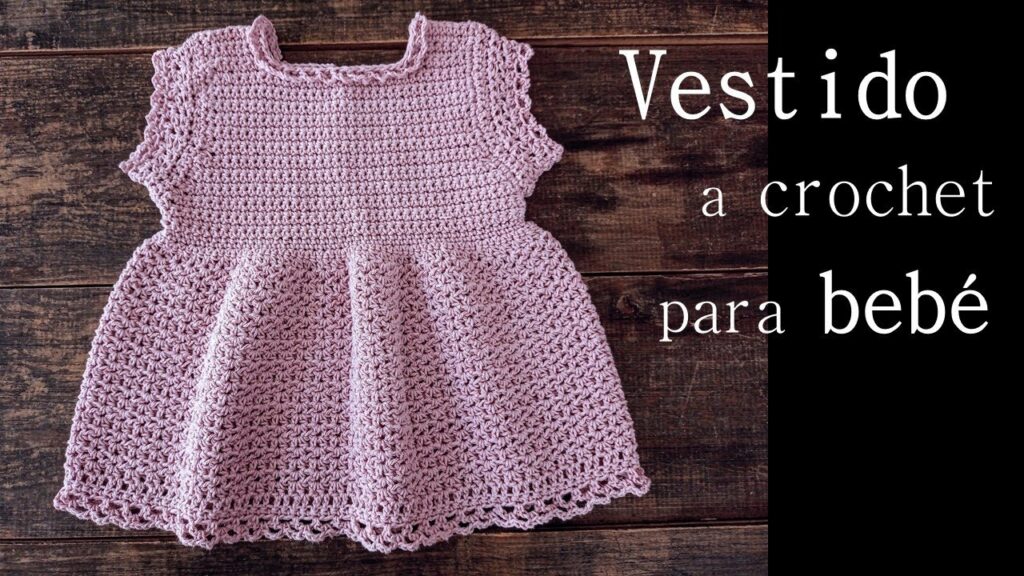
by There’s an unparalleled joy in creating something handmade for a precious little one. A crocheted dress for a baby girl is more than just an outfit; it’s a labor of love, a soft embrace, and often a cherished keepsake. Combining comfort with adorable style, a handmade dress allows you to tailor every detail to perfection.
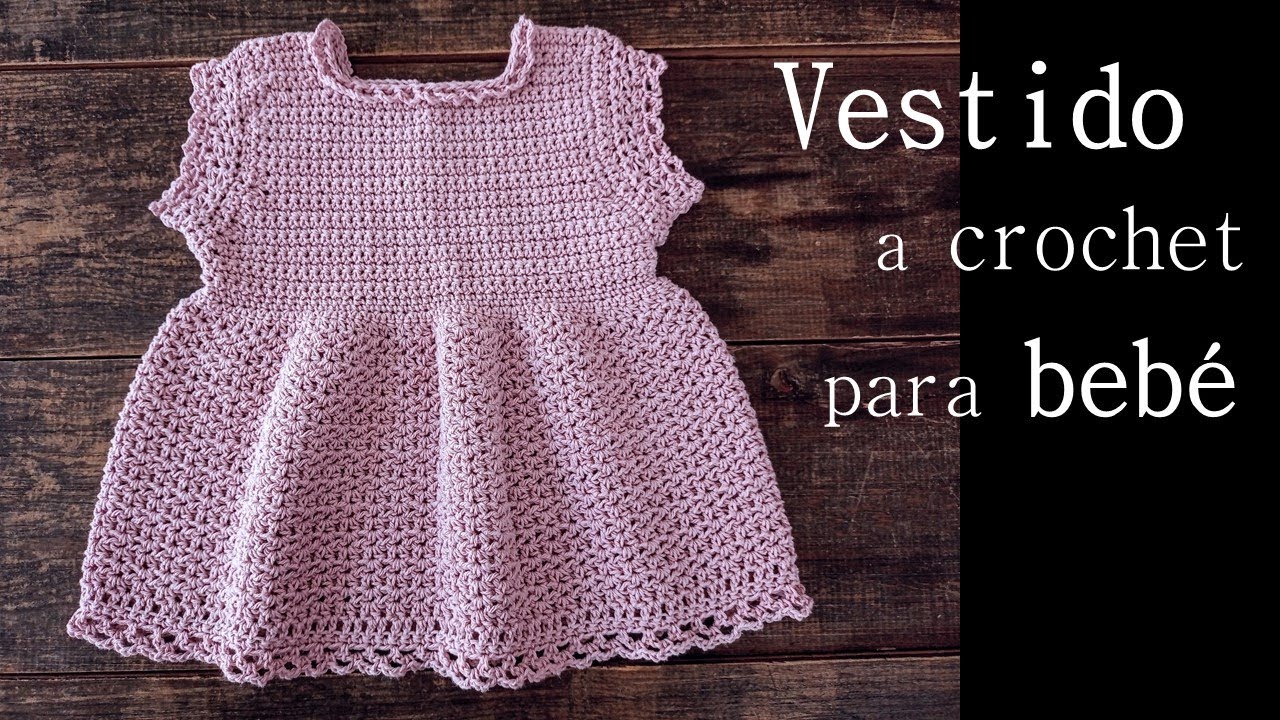
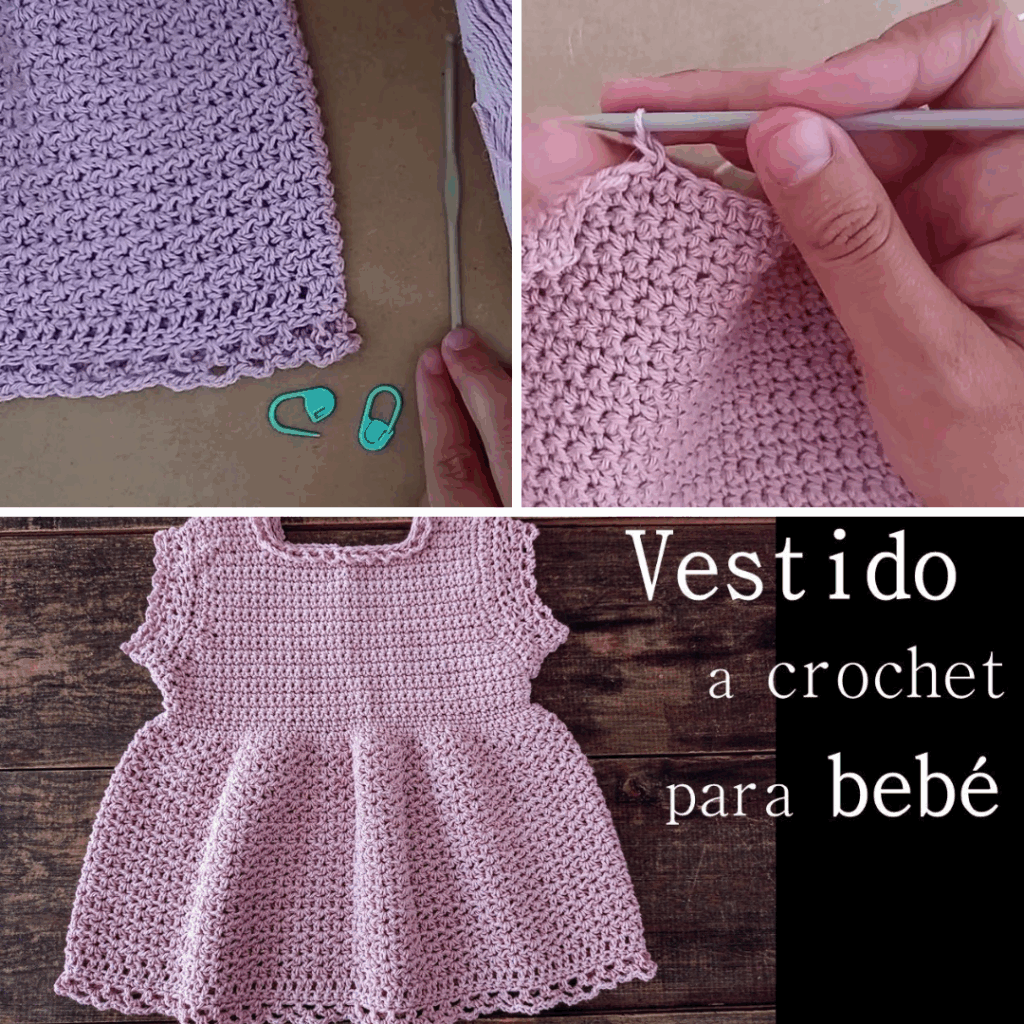
This detailed guide will walk you through the essential steps and considerations for crocheting a beautiful, soft, and unique dress for a baby girl.
Why Crochet a Dress for a Baby Girl?
- Unmatched Softness & Comfort: You have complete control over yarn selection, ensuring only the gentlest, non-irritating fibers touch delicate baby skin.
- Custom Fit: Babies come in all shapes and sizes! A handmade dress can be tailored to a baby’s specific measurements, providing a perfect fit that store-bought clothes might not.
- Adorable & Unique Style: From delicate lace to playful textures, a crocheted dress offers endless design possibilities that reflect your personal touch. It’s a truly special garment that stands out.
- Heirloom Potential: A beautiful handmade baby dress often transcends being just clothing; it becomes a treasured family heirloom, passed down through generations or kept as a precious memento.
- Practical & Versatile: Perfect for special occasions like christenings or photoshoots, but also comfortable and cute enough for everyday wear as a lovely layering piece.
- Rewarding Project: The immense satisfaction of seeing a beautiful garment come to life under your own hands, knowing it’s made with love.
Planning Your Baby Dress Project
Careful planning is the foundation of any successful crochet garment, especially for a baby, where fit and comfort are paramount.
- Size Selection:
- Baby sizes are typically indicated by age ranges (e.g., Newborn, 0-3 months, 3-6 months, 6-12 months, 12-18 months, 18-24 months).
- Always refer to the specific pattern’s measurements (chest circumference, shoulder-to-hem length, armhole depth) rather than relying solely on age, as babies grow at different rates.
- Tip: If you’re unsure or want the dress to last longer, consider making one size up.
- Pattern Selection (Highly Recommended!):
- Essential for Beginners: A well-written pattern is crucial. Look for patterns specifically labeled “beginner-friendly,” “easy,” or “simple” baby dress patterns if this is your first garment project.
- What to Look For:
- Clear schematics and detailed sizing charts.
- Precise stitch counts for each row/round and each size.
- Simple stitch instructions and clear shaping details for the yoke, skirt flare, neckline, and armholes.
- CRUCIALLY, comprehensive gauge information.
- Common Construction Methods:
- Top-Down (Seamless): Highly popular for baby garments due to minimal seaming. You start at the neckline/yoke and work downwards in rounds. This allows you to try it on as you go.
- Bodice First, Then Skirt: You crochet the bodice section (often flat or in the round) then join yarn at the waist to work the skirt downwards.
- Separate Panels (Seamed): Less common for seamless baby items, but involves crocheting front and back panels flat and then seaming them together.
- Gauge Swatch (NON-NEGOTIABLE!):
- This step is critical for achieving the correct size. Crochet a swatch (at least 4×4 inches / 10×10 cm) using your chosen yarn and hook in the main stitch pattern of the dress.
- Wash and block your swatch exactly as you would the finished dress. Then, measure your stitches and rows per inch/cm meticulously.
- If your gauge doesn’t match the pattern’s, adjust your hook size (go up for fewer stitches per inch, down for more) until it matches. Skipping this step is the primary reason for a garment not fitting correctly.
Materials You’ll Need
- Yarn:
- Weight: DK (Double Knitting / Category 3) or Sport (Category 2) are excellent choices for baby dresses, providing good drape and stitch definition without being too bulky. Fingering (Category 1) can be used for very delicate, lacy designs.
- Fiber:
- Baby-Specific Acrylics: Incredibly soft, often anti-pilling, hypoallergenic, widely available, and usually machine washable and dryable – a huge advantage for baby clothes!
- Superwash Merino Wool: Luxuriously soft, warm, breathable, and often machine washable.
- Cotton/Cotton Blends: Great for warmer climates or sensitive skin, breathable, and provides excellent stitch definition. Less elastic than wool or acrylic.
- Avoid: Mohair, regular wool (can be itchy), or any yarn with a coarse texture or fibers that are difficult to care for.
- Color: Traditional baby colors like soft pinks, gentle purples, mint greens, sunny yellows, whites, and creams are timeless. Variegated yarns can also create beautiful, effortless color changes.
- Quantity: Typically 1-3 skeins, depending on the dress size, yarn weight, and desired length.
- Crochet Hook: The size recommended by your pattern, adjusted based on your gauge swatch.
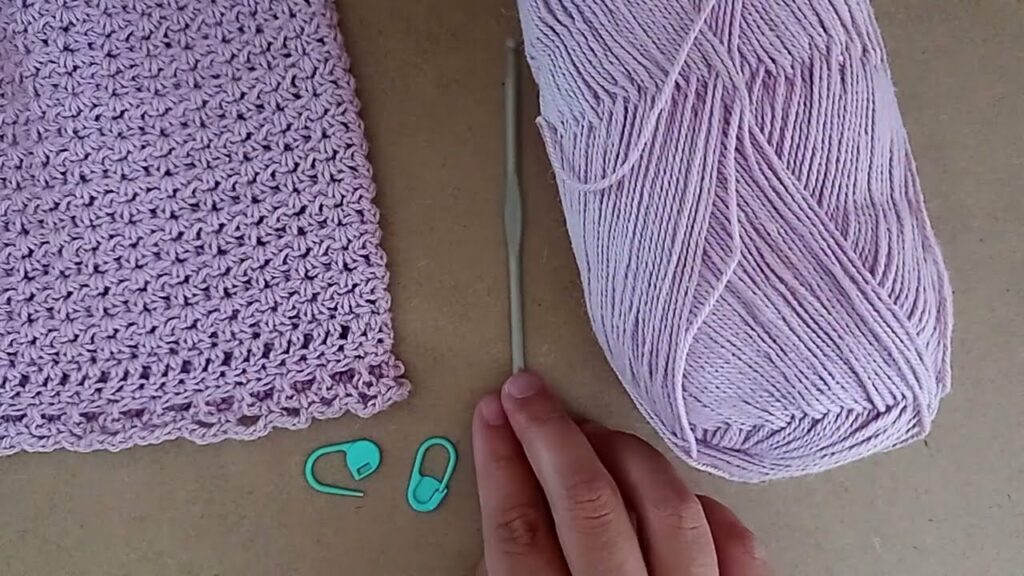
- Notions:
- Stitch Markers: Absolutely essential for marking the beginning of rounds, increase points, and pattern repeats.
- Tapestry Needle: For neatly weaving in all yarn ends.
- Scissors.
- Measuring Tape: For checking gauge and garment dimensions as you progress.
- Buttons/Snaps (Optional): If your dress design includes a back opening or strap closures. Choose small, flat, baby-safe fasteners that can be securely sewn.
- Ribbon/Lace/Appliques (Optional): For decorative embellishments.
- Blocking Mats & T-pins (Optional but Recommended): For a professional and polished finish.
Key Crochet Techniques for a Baby Dress
You’ll utilize fundamental crochet stitches and basic garment shaping techniques:
- Basic Stitches: Chain (ch), Slip Stitch (sl st), Single Crochet (sc), Half Double Crochet (hdc), Double Crochet (dc). These will form the core fabric of your dress.
- Working in Rows: For elements like flat bodices, strap closures, or back openings.
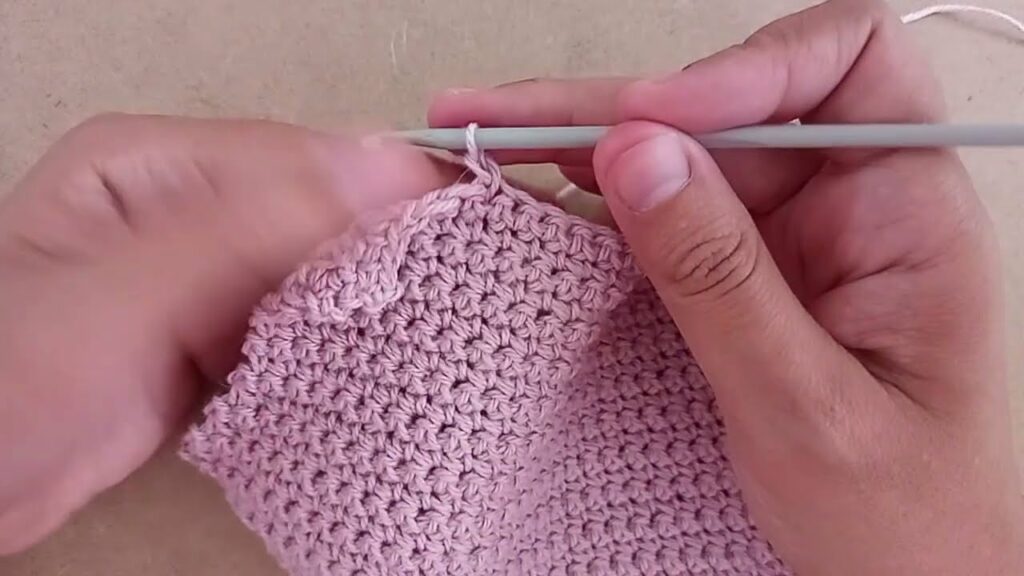
- Working in Rounds: Very common for seamless yokes and skirts. You’ll typically join each round with a slip stitch.
- Increasing Stitches: Crucial for shaping the yoke (shoulders and chest) and creating the desired flare for the skirt. Your pattern will provide specific increase instructions.
- Decreasing Stitches: Less common in simple baby dresses, but might be used for subtle shaping of armholes or necklines.
- Ribbing (Optional but Recommended): For necklines, armholes, or bodices to provide a neat, stretchy, and snug fit.
- Single Crochet in the Back Loop Only (SC in BLO): Creates a neat, dense, horizontal rib.
- Front Post/Back Post Double Crochet (FPDC/BPDC): Creates a more elastic, knit-like vertical rib.
- Openwork/Lace Stitches (Optional): For the skirt or decorative elements, these stitches (e.g., V-stitch, Shell stitch, Fan stitch) add lightness, drape, and elegance.
- Buttonholes/Openings: Simple chain-space buttonholes are common for back openings. Alternatively, patterns might create a split in the back neckline that can be tied with ribbon or secured with a snap.
- Edging: A simple border of single crochet, a delicate picot edge, or a small shell border can provide a neat and polished finish around the neckline, armholes, and bottom hem.
- Seaming (if applicable): If your pattern involves separate panels, the Mattress Stitch creates neat, almost invisible joins.
Step-by-Step Flow (Conceptual Guide – Assuming Top-Down Seamless Dress)
This method is highly popular for baby dresses due to its comfort and minimal finishing.
- Preparation:
- Thoroughly read your chosen pattern from start to finish.
- Make that gauge swatch! Adjust your hook size if necessary until your gauge matches the pattern.
- Gather all your yarn, hook, stitch markers, and other notions.
- Crochet the Yoke:
- Begin with the pattern’s specified foundation chain or starting ring for the neckline.
- Follow the pattern to work the yoke (the upper part of the dress that covers the chest and shoulders). This section is typically worked in the round and will involve increases to shape the shoulders and expand for the chest. Common methods include raglan increases (four distinct lines) or evenly distributed circular yoke increases. Use stitch markers to mark key points.
- Continue working the yoke until it reaches the correct circumference for the baby’s chest and fits comfortably around the upper arm. This is where the “try-on-as-you-go” advantage comes in, though for a baby, comparing to measurements is more practical.
- Divide for Body & Armholes:
- Once the yoke reaches the appropriate size, you’ll “separate” the stitches for the body from those for the armholes.
- Your pattern will instruct you to chain a few stitches for the underarms (to add a bit of ease) and then skip the stitches designated for the armholes/sleeves.
- Join the remaining stitches (which now form the front and back sections) to begin the main body of the dress.
- Crochet the Skirt:
- Continue working in the round on the body stitches.
- Your pattern will then instruct you on how often to increase stitches to create the desired flare for the skirt (e.g., a gentle A-line, a fuller skirt, or a ruffled effect).
- Work until the dress reaches the desired length from the underarms to the hem.
- Finish Neckline, Armholes, and Hem:
- Go back and work a neat edging around the neckline, armholes, and the bottom hem of the skirt. This could be a few rounds of single crochet, a simple picot edge, or a small shell border for a polished finish.
- Add Closures/Openings (if applicable):
- If your dress design includes a back opening (common for easy dressing), your pattern will guide you on creating button bands and buttonholes.
- Securely sew on flat, baby-safe buttons or snaps, ensuring they are tightly fastened to prevent choking hazards.
- Finishing Touches:
- Weave in all yarn ends meticulously using your tapestry needle. This is paramount for safety, preventing loose threads from tangling or causing hazards for babies.
- Add Embellishments (Optional): Sew on small crocheted appliques (like flowers or leaves), thread a ribbon through a specific stitch pattern at the waist or neckline, or add delicate lace trim.
- Blocking (Recommended):
- Gently wet or steam the finished dress according to your yarn’s care instructions.
- Carefully reshape it to the pattern’s dimensions, paying attention to the flare of the skirt and the evenness of all your stitches. Pin it flat on blocking mats and allow it to dry completely. Blocking evens out stitches, enhances drape, and sets the final shape beautifully.
Tips for Success
- Read the Pattern Thoroughly: Understand the entire construction, stitch abbreviations, and shaping instructions before you even pick up your hook.
- Don’t Skip the Gauge Swatch! (Absolutely critical for baby clothes to fit properly and achieve the intended drape).
- Use Stitch Markers! They are your best friend for marking the beginning of rounds, increase points, and specific pattern repeats.
- Count Your Stitches! Regularly verify your stitch counts at the end of each row or round. This simple habit helps you catch any errors early, preventing frustration and significant unraveling later.
- Choose Baby-Safe Yarn: Prioritize softness, non-irritating fibers, and ease of care (machine washability is a huge plus for baby items!).
- Secure Fasteners: If using buttons or snaps, sew them on extremely securely to avoid any choking hazards.
- Weave in Ends Meticulously: Loose ends on baby garments can be dangerous; ensure every end is woven in tightly and neatly.
- Blocking is Your Friend: It truly transforms the finished look of your crocheted garment, making stitches appear more even and improving the overall drape.
Caring for Your Crocheted Baby Dress
Proper care will ensure your handmade baby dress stays soft, beautiful, and durable for a long time:
- Follow Yarn Label Care Instructions Strictly: This is your primary guide.
- Gentle Washing: Machine wash on a gentle/delicate cycle with cool water (if suitable for your yarn), or hand wash gently in cool water with a mild, baby-friendly detergent.
- Reshape and Lay Flat to Dry: Gently squeeze out excess water (never wring or twist!). Reshape the dress back to its original dimensions and lay it flat on a clean towel or a mesh drying rack to air dry completely.
- Never Hang Wet: The weight of a wet crocheted garment will cause it to stretch and distort if hung.
Video Tutorial ;
Crocheting a dress for a baby girl is a truly delightful and deeply rewarding project. With each stitch, you’re not just creating a garment, but weaving in love, care, and a personal touch that will be felt and cherished for years to come. Embrace the process, and enjoy crafting this charming and unique piece for a little one!