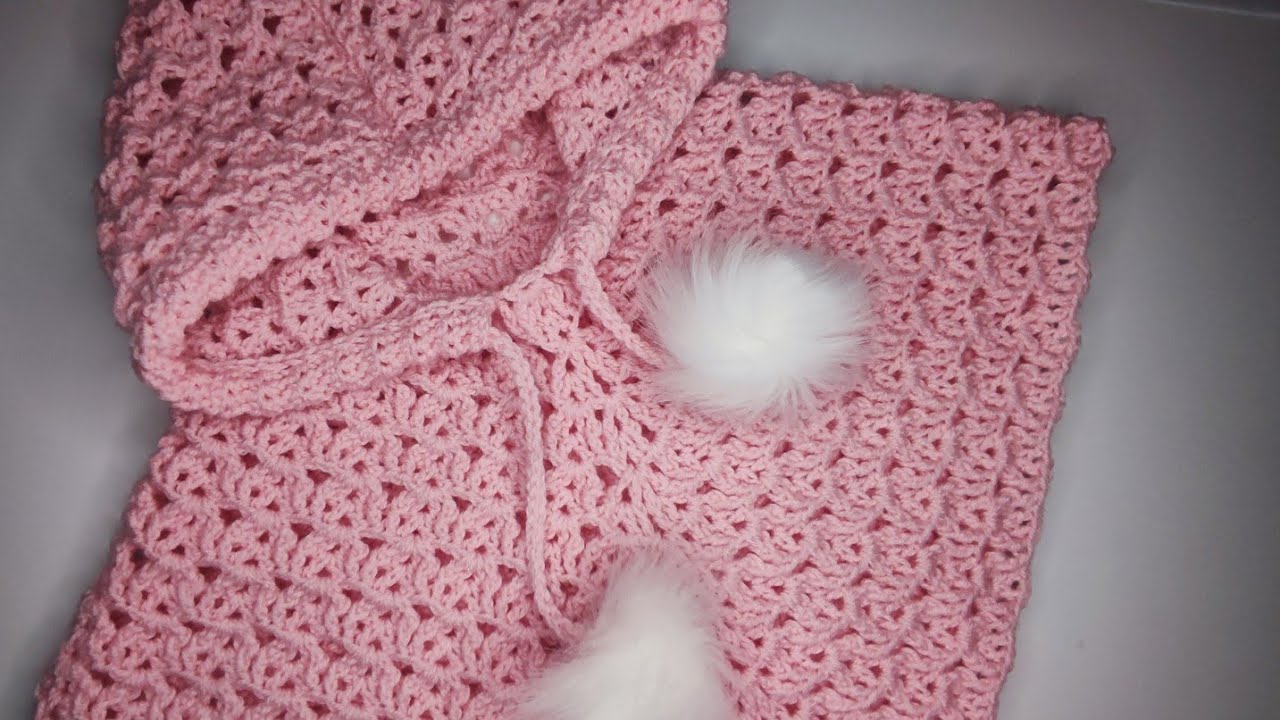
Cozy Capers: How to Crochet a Hooded Winter Poncho for Girls (1-5 Years)
Imagine a little girl bundled up, full of warmth and joy, as she plays outdoors on a crisp winter day. A handmade crocheted hooded poncho is the perfect garment for this picture – combining snug comfort, freedom of movement, and an undeniable charm. Ideal for active toddlers and preschoolers (ages 1-5), a poncho offers a delightful alternative to traditional coats, allowing for easy layering and a playful silhouette.
This detailed guide will walk you through the essential steps and considerations for crocheting a warm, stylish, and utterly adorable hooded winter poncho for your favorite little girl.
Why Crochet a Hooded Winter Poncho?
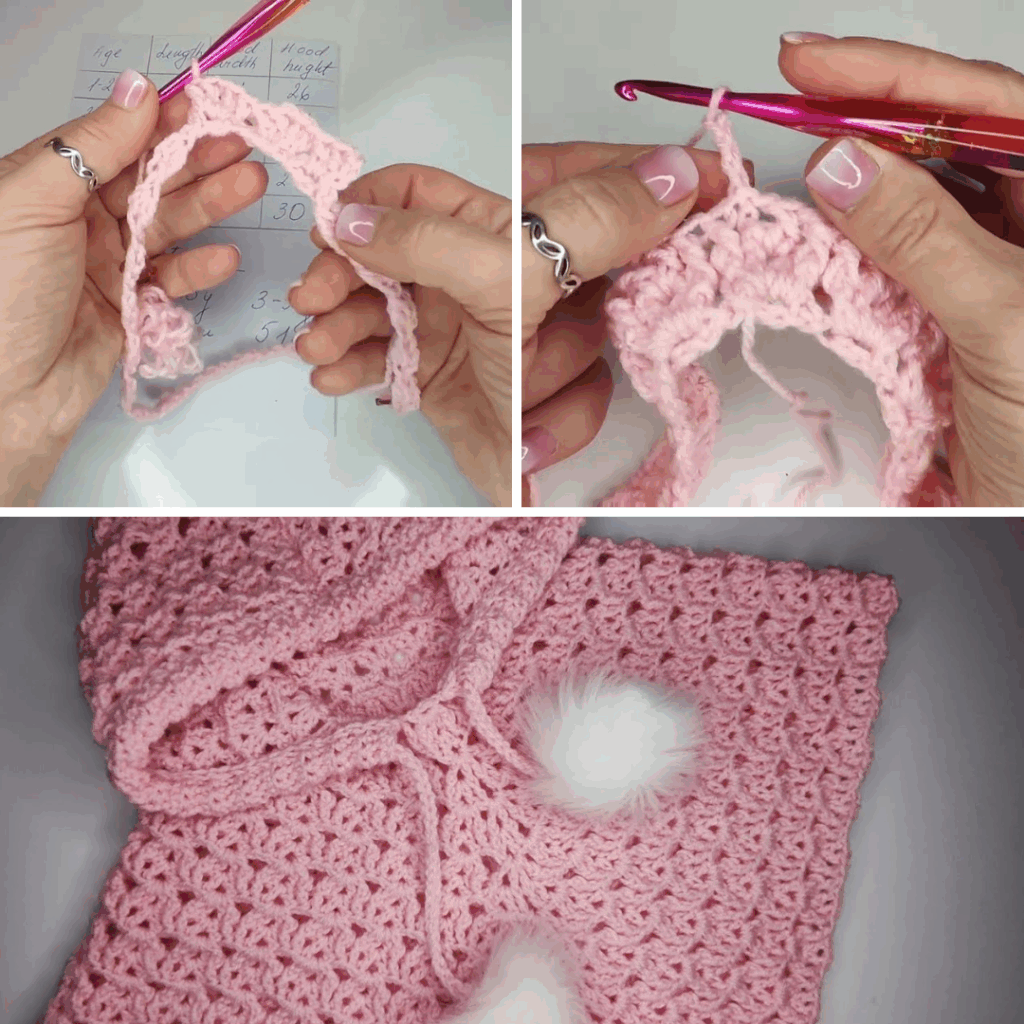
- Exceptional Warmth & Comfort: Ponchos provide excellent insulation for the body without the bulk or restriction of sleeves. The added hood offers crucial head and neck warmth, making it ideal for chilly weather.
- Easy to Wear: No more struggling with tricky sleeves! Ponchos simply slip over the head, making dressing a breeze for both parents and independent little ones.
- Versatile Layering: This outer layer is perfect for slipping over sweaters, long-sleeved shirts, or even a light jacket for extra warmth, adapting easily to changing temperatures.
- Playful & Adorable: The flowing design and the addition of a cozy hood create a whimsical and charming look that little girls adore. It’s perfect for outdoor adventures or cozy indoor play.
- Personalized & Unique: With crochet, you have full creative control over yarn color, texture, and embellishments like tassels or pom-poms, ensuring a one-of-a-kind piece.
- Skill Building: It’s an excellent project to practice working in the round, shaping garments with increases, and constructing and attaching a hood.
- Thoughtful & Practical Gift: A handmade hooded poncho is a deeply loving gift that is both beautiful and highly functional for cooler climates.
Key Elements of a Hooded Winter Poncho:
Understanding these basic components will help you plan your project:
- Yoke/Neckline: The starting point of the poncho. It’s usually worked in the round or started flat (with a slit for easy head entry) and then joined. This section needs to be wide enough for the head but snug enough to prevent drafts.
- Body: The main part of the poncho, which flares out from the neckline. It’s typically worked in increasing rounds to create a triangular or circular shape with graceful drape.
- Hood: The defining feature! This provides essential head warmth and adds to the playful aesthetic. It’s often worked separately and then attached, or sometimes worked directly from the back of the neckline.
- Closure: Often a single button, toggle, or a small tie at the neck opening to keep it secure. Some designs simply rely on the snugness of the neck opening.
- Warm Fabric: Achieved through the choice of yarn weight and dense, insulating stitch patterns.
- Length: Ponchos for this age group typically fall anywhere from hip-length to mid-thigh, offering good coverage without impeding movement.
Choosing Your Tools & Materials:
Careful selection of materials is paramount for achieving the desired warmth, softness, and durability for a winter garment.
- Yarn: The Source of Warmth and Comfort!
- Fiber:
- Superwash Merino Wool: An excellent choice for its exceptional softness, superior warmth, breathability, and convenient machine washability (always check the label!). It drapes beautifully and is gentle on sensitive skin.
- Chunky Acrylic Blends: Many modern acrylics are incredibly soft, warm, durable, hypoallergenic, and very easy to care for (often machine wash and dry). They offer great stitch definition and come in a vast range of colors.
- Alpaca Blends: Luxuriously soft and exceptionally warm, with a beautiful drape. Be aware that many alpaca yarns require hand washing.
- Avoid: Any yarn that feels scratchy, stiff, or is prone to excessive shedding. Always prioritize extreme softness and non-irritating qualities for children’s wear.
- Weight:
- Worsted (Aran / Category 4): A versatile choice for a warm poncho, offering a good balance of warmth and working speed.
- Bulky (Chunky / Category 5): Ideal for maximum warmth and a quicker project, resulting in a very cozy fabric.
- Super Bulky (Category 6): For an incredibly fast project and ultimate warmth, but can be quite heavy for smaller children.
- Color Palette: The possibilities are endless! Bright and cheerful colors, soft pastels, classic neutrals, or fun variegated yarns. Consider contrasting colors for edgings or decorative elements.
- Quantity: Ponchos are quite yarn-hungry. Expect to need 800-1200 yards for 1-3 year sizes and 1200-1800+ yards for 3-5 year sizes, depending on yarn weight and desired length. Always consult your chosen pattern’s specific recommendations.
- Fiber:
- Crochet Hook:
- Consult your chosen yarn label for a suggested hook size (e.g., 5.0mm, 5.5mm, 6.0mm, 6.5mm, 8.0mm).
- Crucial for Garments: Your actual hook size will be determined by achieving the correct gauge for your pattern. You will almost certainly need to adjust your hook size (up or down by half a size) to ensure the proper fit, comfortable drape, and desired density of your fabric.
- Other Notions:
- Stitch Markers: Essential for marking increase points, the beginning of rounds, and specific shaping points.
- Tapestry Needle: For neatly weaving in all yarn ends and sewing any seams (especially the hood).
- Scissors.
- Large Button or Toggle (Optional): For the neck closure. Choose a sturdy button that complements the coat and is safe for a child.
- Sewing Needle & Matching Thread: To securely attach the button/toggle.
- Measuring Tape: For frequent measurements during construction.
- Pom-pom Maker or Tassel Maker (Optional): For fun embellishments.
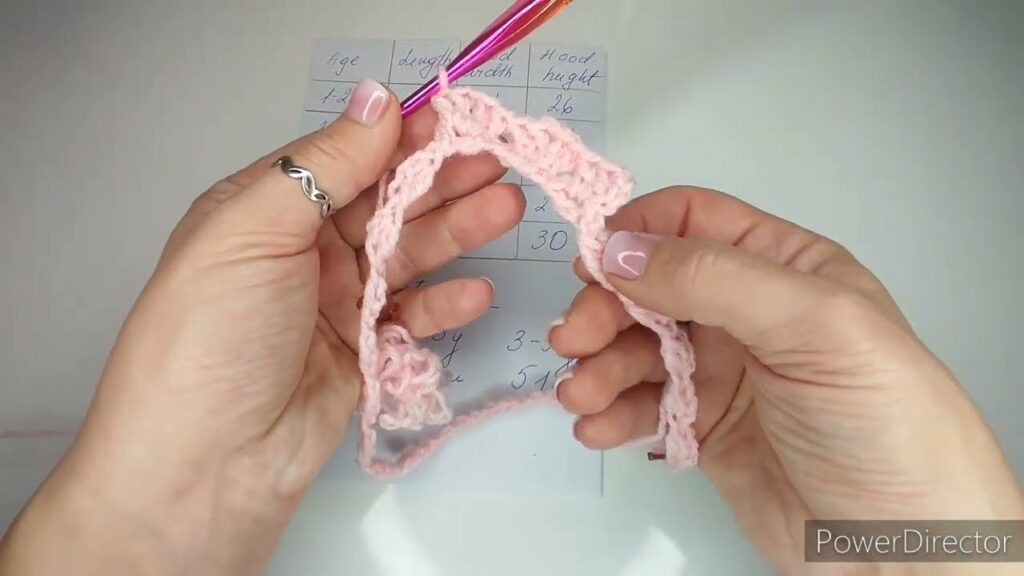
Understanding Sizing & Gauge (ABSOLUTELY CRITICAL for Garments!)
Accurate sizing is paramount for a comfortable, well-fitting, and functional hooded poncho.
General Girls’ Poncho Sizing (Approximate Measurements):
| Size | Approx. Head Circ. | Approx. Neck Circ. | Approx. Finished Length (Shoulder to Hem) |
|---|---|---|---|
| 1-2 Years | 18-19 inches | 13-14 inches | 15-17 inches |
| 2-3 Years | 19-20 inches | 14-15 inches | 17-19 inches |
| 3-4 Years | 20-20.5 inches | 15-16 inches | 19-21 inches |
| 4-5 Years | 20.5-21 inches | 16-17 inches | 21-23 inches |
Export to Sheets
Disclaimer: These are general averages. Always refer to the specific pattern’s measurements and sizing chart. A generous fit is often desired for ponchos.
How to Make a Gauge Swatch (Do NOT Skip This Step!):
- Chain: Chain about 25-30 stitches, plus any turning chains (e.g., ch 3 for dc) as per your chosen main stitch pattern.
- Work: Crochet a square of at least 6×6 inches (15×15 cm). A larger swatch provides a more accurate measurement.
- Wash & Block: Fasten off your swatch. Crucially, wash and block your swatch exactly as you plan to treat the finished poncho. This step relaxes the fibers and reveals the true stitch size and drape after washing, which can change significantly.
- Measure: Once dry, lay the swatch flat. Place a ruler over the center. Count how many stitches fit within 4 inches (10 cm) and how many rows fit within 4 inches (10 cm).
- Adjust:
- If you have more stitches per inch than your pattern (or desired gauge) states (your work is too tight), go up half a hook size and re-swatch.
- If you have fewer stitches per inch than your pattern states (your work is too loose), go down half a hook size and re-swatch.
- Repeat until your gauge precisely matches.
General Stitch Patterns for a Hooded Winter Poncho:
- Main Body (for warmth and drape):
- Half Double Crochet (hdc): Creates a dense, warm fabric with good drape. An excellent choice for a cozy poncho.
- Double Crochet (dc): Works up quicker, creates a slightly softer drape.
- Textural Stitches: Basketweave stitch, clusters, puff stitches, or even simple post stitch patterns can add extra insulation, visual interest, and a lovely texture.
- Granny Stitch (dc, ch 1, dc): While creating a looser fabric, using smaller hook size or thicker yarn can make it warm and quick to work.
- Ribbing (for neckline and hood edge):
- Front Post/Back Post Double Crochet (fpdc/bpdc): Creates a strong, elastic, and professional-looking ribbed edge that sits neatly around the neck and face.
- Single Crochet in Back Loop Only (sc blo): A simpler, stretchy ribbing option.
- Hood: Often worked in hdc or dc for a solid, warm fabric.
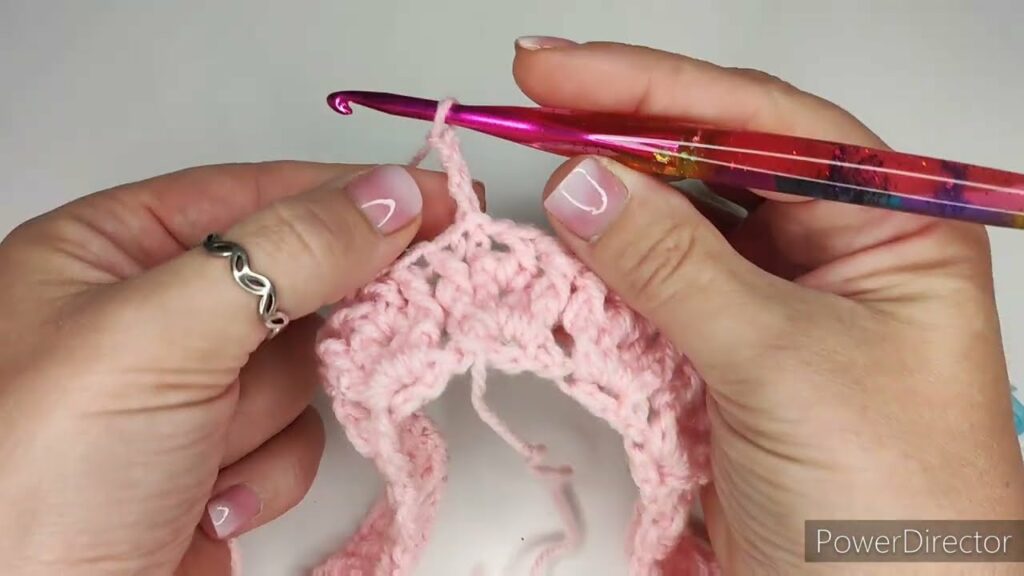
Step-by-Step Construction: The Top-Down Hooded Poncho
This outline describes a common and practical construction method that creates a largely seamless poncho. This is a general guide to the methodology; for precise stitch counts, specific increase/decrease rates for different sizes, and unique design details, you MUST follow a detailed crochet pattern.
Phase 1: The Neckline/Yoke
This forms the opening for the head and the initial flare of the poncho.
- Step 1.1: Starting Chain & Neckband
- Foundation Chain: Chain the number of stitches specified by your pattern for the desired neckline circumference. For easier head entry, many poncho patterns start with a flat chain and join it in the round later, leaving a small slit at the back. If starting flat, incorporate a buttonhole on one side of the opening in the first few rows.
- Neckband Rows: Work 3-5 rows in a neat, sturdy stitch like sc, hdc, or ribbing (e.g., sc blo or fpdc/bpdc) to create a defined neck edge.
- Step 1.2: Initial Poncho Body Formation (Starting Increases)
- Joining (if applicable): If you started flat, join the two ends of your neckband to form a circle (leaving the slit open if desired).
- First Body Rounds: Begin working in rounds using your chosen main stitch pattern. In the first few rounds, you will introduce increases to start the flare of the poncho. Common methods include increasing at 2 or 4 specific points in each round, or distributing increases evenly. Place stitch markers at these increase points to help you keep track.
Phase 2: The Body of the Poncho
This forms the main triangular/circular shape of the garment.
- Main Body Rounds: Continue working in rounds using your chosen main stitch pattern.
- Increase Points: Maintain consistent increase points (e.g., working 2 stitches into the same space or following a pattern of increasing at specific intervals) in each round (or every other round, depending on desired drape) to continue the widening shape of the poncho.
- Length: Continue working rounds until the poncho reaches the desired length (hip to mid-thigh).
- Hem: Finish the bottom edge of the poncho with a neat hem. This can be a few rounds of sc, hdc, or a simple ribbed border.
Phase 3: The Hood
The defining feature that provides warmth and charm. It’s often worked separately and then attached, or directly from the neckline.
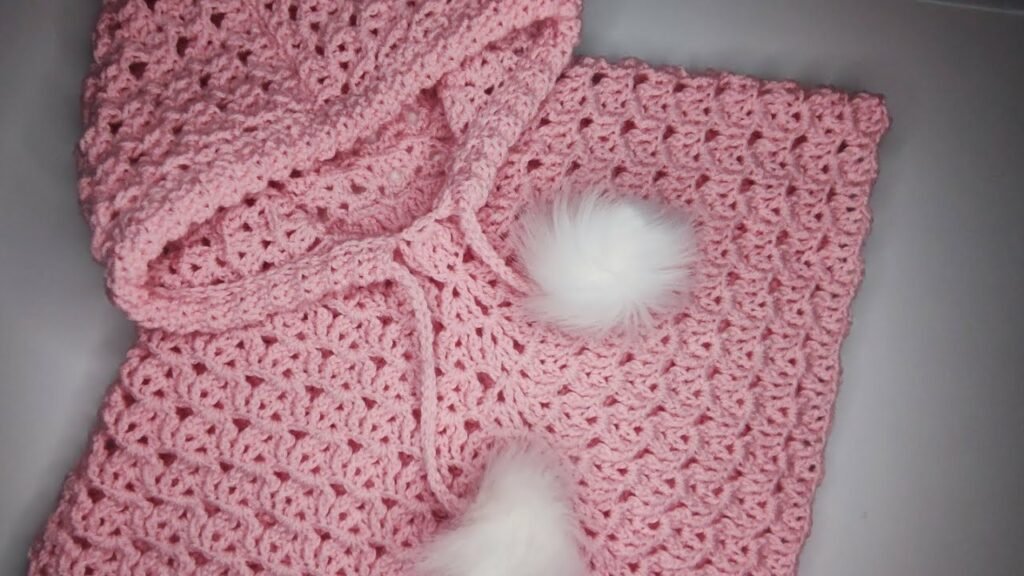
- Foundation:
- Option A (Directly from Neckline): Identify the stitches around the back half (or entire) of your poncho’s neckline. Attach your yarn to the center back and begin picking up stitches evenly around the designated area.
- Option B (Separate Piece): Your pattern will instruct you to chain a specific number of stitches and work a rectangular or shaped piece for the hood.
- Working in Rows: The hood is typically worked flat in rows initially, then seamed along the top (crown of the head).
- Main Stitch: Use a dense, warm stitch like hdc or dc for the body of the hood.
- Shaping: Increase stitches at the front edges (and sometimes subtly at the back for more depth) of the hood to create the curve that fits comfortably over the head. Continue working rows until the hood is deep enough to cover the head well.
- Seaming the Crown: Once the hood is the correct depth, fold it in half and seam the top edge together. This can be done with a simple slip stitch seam, a single crochet seam, or a mattress stitch for an invisible join.
- Attaching (if separate): If you worked the hood separately, carefully align it with the back neckline of the poncho and securely sew it in place using your tapestry needle.
- Hood Edging: Finish the front opening and bottom edge of the hood with a few rounds of neat sc, hdc, or a comfortable ribbed edge (like
Phase 4: Finishing Touches
These final steps bring your hooded poncho to a professional and delightful completion.
- Weave in All Ends: Using your tapestry needle, meticulously weave in every single yarn tail. Secure them firmly by weaving them into existing stitches in different directions. This is crucial for a neat, durable, and safe finish (no loose ends for little fingers to tug!).
- Attach Button/Toggle (if applicable): If your poncho has a neck closure, securely sew a large button or toggle to one side of the neck opening, aligning it precisely with the buttonhole on the other side. Double-check that it is very firmly attached.
- Tassels/Pom-Poms (Optional): Create fun tassels or fluffy pom-poms and securely attach them to the points of the poncho’s hem, or to the ends of a drawstring if your hood design includes one.
- Blocking (ABSOLUTELY CRUCIAL for Garments!):
- Gentle Wash: Fill a basin with cool water and a small amount of mild, wool-friendly detergent (even for acrylic blends). Gently submerge the poncho and let it soak for 20-30 minutes. Do not agitate vigorously.
- Remove Excess Water: Gently squeeze out the soapy water (do not wring or twist). Roll the poncho in a clean, dry towel and press firmly to absorb as much moisture as possible.
- Shape & Dry: Lay the poncho flat on blocking mats. Gently stretch and shape it to the correct finished dimensions (neckline, length, and particularly the hood). Smooth out any unevenness and define the edges. Use rust-proof T-pins to hold the shape firmly, especially around the hood opening.
- Air Dry Completely: Allow the poncho to air dry completely. Blocking truly transforms the fabric, softening it, evening out your stitches, enhancing the drape, and giving your hooded poncho a beautifully polished, professional appearance.
Tips for Hooded Poncho Success:
- Yarn is KEY: Choose soft, warm, and easily washable yarn suitable for active kids. Comfort and durability are paramount.
- Gauge & Drape: Achieving the correct gauge is crucial for the poncho’s comfortable fit and graceful swing.
- Hood Fit: The hood needs to be neither too tight nor too baggy. Measure the child’s head circumference (and consider if it will be worn over hats) to ensure a comfortable fit.
- Neck Opening: Make sure it’s wide enough for easy head entry but not so wide that it gaps and allows drafts.
- Safety First: Securely attach all buttons or toggles. Avoid any small, loose embellishments that could pose a choking hazard.
Care Instructions for Your Handmade Poncho:
- Always follow your chosen yarn label’s specific care instructions.
- Reshape and Lay Flat to Dry: Gently reshape the poncho while wet and lay it flat on a clean towel or drying rack to air dry completely. Pay extra attention to reshaping the hood to ensure it retains its intended form. Do not hang, as this can stretch the fabric and distort the garment’s shape.
Video tutorial ;
Creating a crocheted hooded winter poncho for a special little girl is a deeply rewarding project. With each stitch, you’re not just making a garment; you’re crafting a cozy embrace, ensuring she stays warm, comfortable, and utterly adorable through the chilly months. Happy hooking! Sources
Generate Audio Overview
