 by
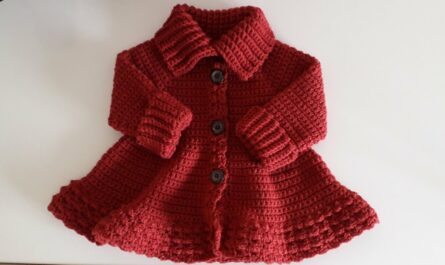
by Simplified Style, Maximum Comfort: How to Crochet the “Four Stitch Hoodie” for Girls
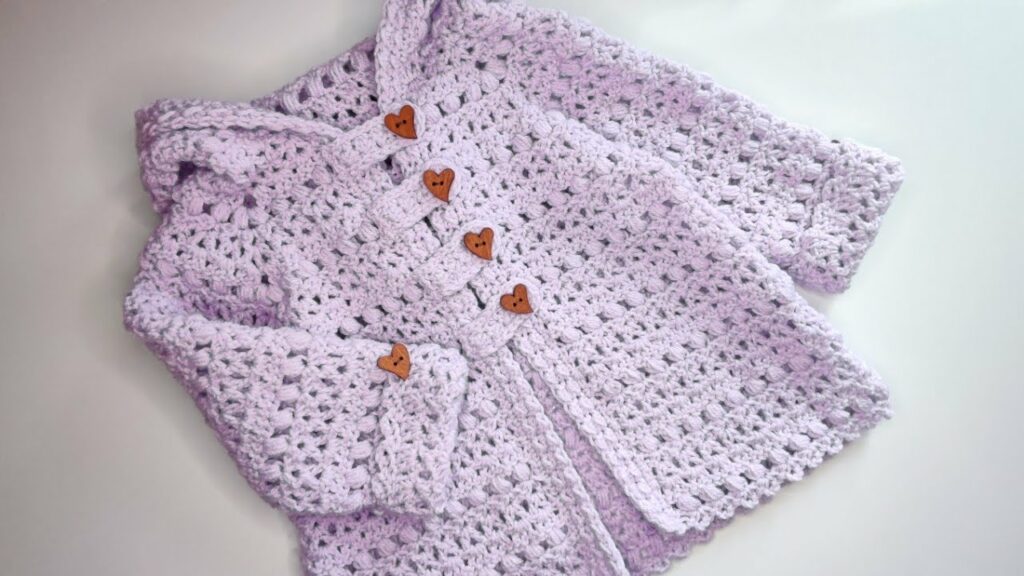
Imagine crafting a beloved, cozy hoodie for the special girl in your life – a practical garment perfect for chilly mornings, evening strolls, or simply lounging around. The “Four Stitch Hoodie” concept streamlines the crochet process, making it surprisingly accessible without sacrificing an ounce of charm or comfort. This ingenious design focuses on a core, repeatable stitch pattern, allowing you to create a beautiful, textured fabric that is both approachable for crocheters and adorable for the wearer.
This detailed guide will walk you through the essential steps and considerations for creating a stylish, functional, and surprisingly straightforward “Four Stitch Hoodie” for girls.
What is the “Four Stitch Hoodie” Concept?

The “Four Stitch Hoodie” isn’t about literally using only four stitches for the entire garment (as joining and shaping often require other basic stitches). Instead, it refers to a design that primarily utilizes a specific, repeating stitch pattern composed of four basic crochet stitches or a four-step sequence. This clever approach offers several benefits:
- Simplicity & Memorability: With a repeating four-stitch pattern, you quickly master the fabric, reducing the need to constantly check complex instructions.
- Unique Texture: The repeated sequence creates a subtle yet distinct texture that adds visual interest to the fabric.
- Faster Progress: Once you get into the rhythm of the repeat, your work can progress more quickly than with highly intricate stitch patterns.
- Beginner-Friendly: It’s an excellent project for those new to garment making, as it teaches fundamental shaping while building confidence with a manageable stitch pattern.
Example “Four Stitch” Patterns (Hypothetical but common types):
- Simple Texture: Work
(single crochet, half double crochet, double crochet, half double crochet)all into the same stitch or chain space, then skip stitches and repeat. - Dense Fabric: Alternating
(single crochet, double crochet)with(half double crochet, slip stitch)in a repeating sequence across rows. - Moss Stitch Variation: A simple
(single crochet, chain 1, skip 1)pattern combined with an additional stitch or row repeat.
For the purpose of this guide, we will assume a “Four Stitch” pattern that provides good fabric for a hoodie, perhaps a repeat of (single crochet, half double crochet, double crochet, half double crochet) worked into a designated space or sequence of stitches.
Why Crochet a “Four Stitch Hoodie” for a Girl?
- Comfort & Warmth: A handmade hoodie provides exceptional warmth, perfect for layering during cooler weather or as a standalone top on milder days.
- Beginner-Accessible Garment: If you’re new to crocheting sweaters, the simplified stitch pattern of a “Four Stitch Hoodie” makes it an ideal learning project for garment construction without overwhelming complexity.
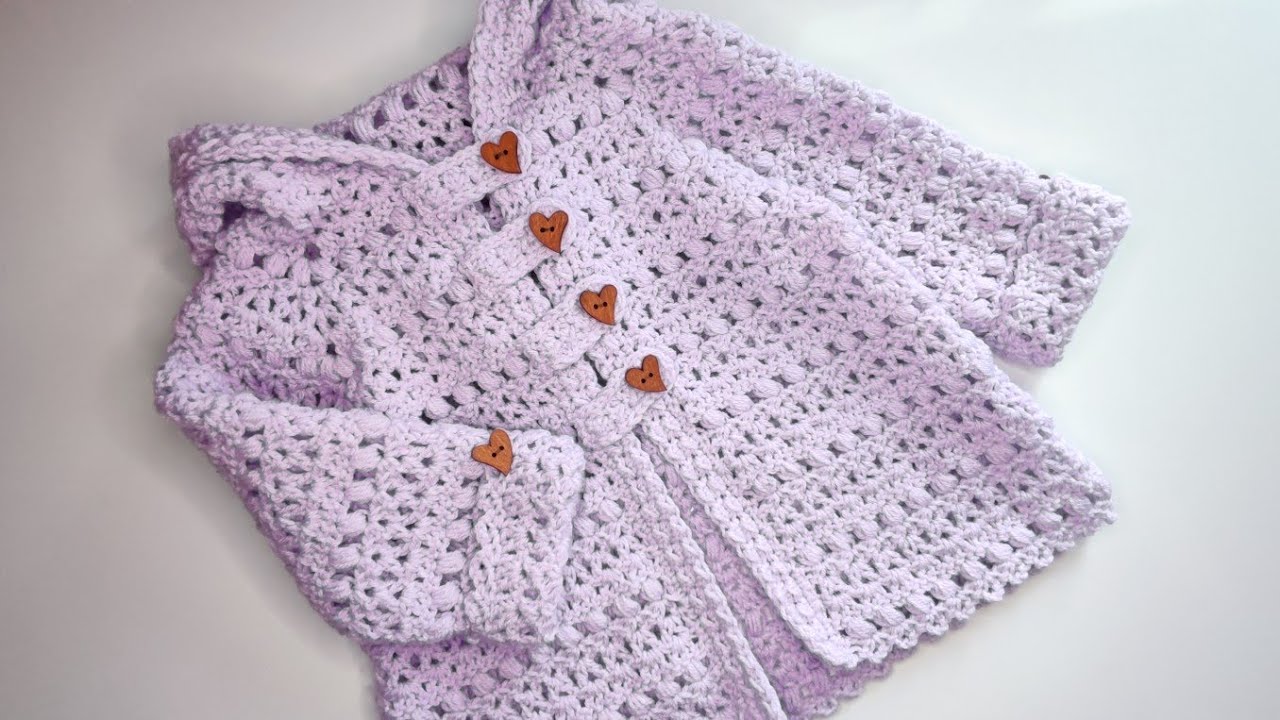
- Customizable Style: Easily adapt the hoodie with her favorite colors, add stripes by changing yarn at specific rows, or personalize with small embroidered details.
- Practical & Durable: Made with carefully chosen washable yarns, these hoodies are designed to withstand the active lifestyle of children.
- Skill Advancement: Perfect for practicing essential techniques like working a yoke, separating for body and sleeves, creating a hood, and finishing edges.
- Thoughtful Gift: A cherished, handmade item that will be loved and worn frequently.
Choosing Your Tools & Materials:
The right supplies are paramount for creating a soft, warm, durable, and comfortable hoodie for an active girl.
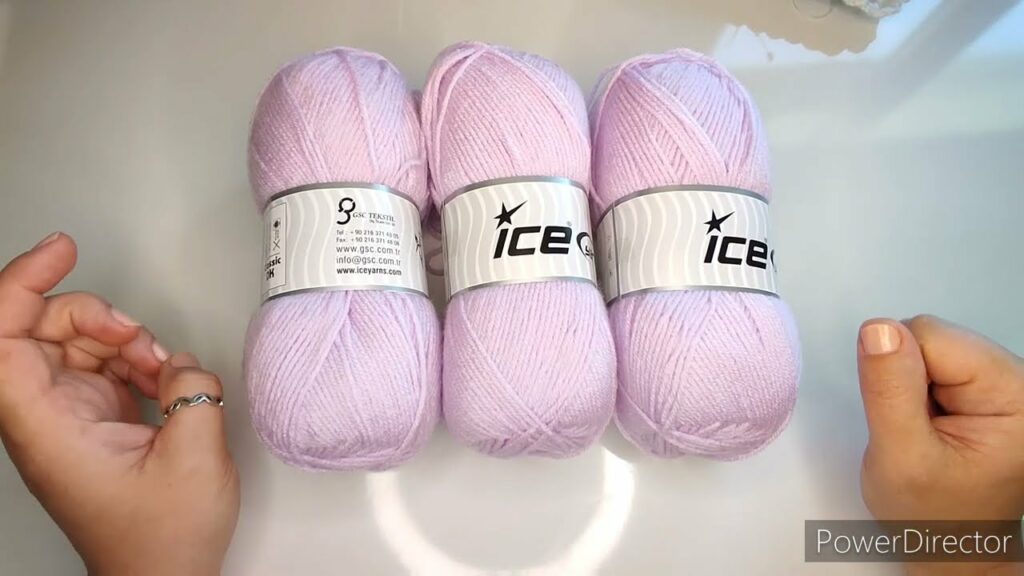
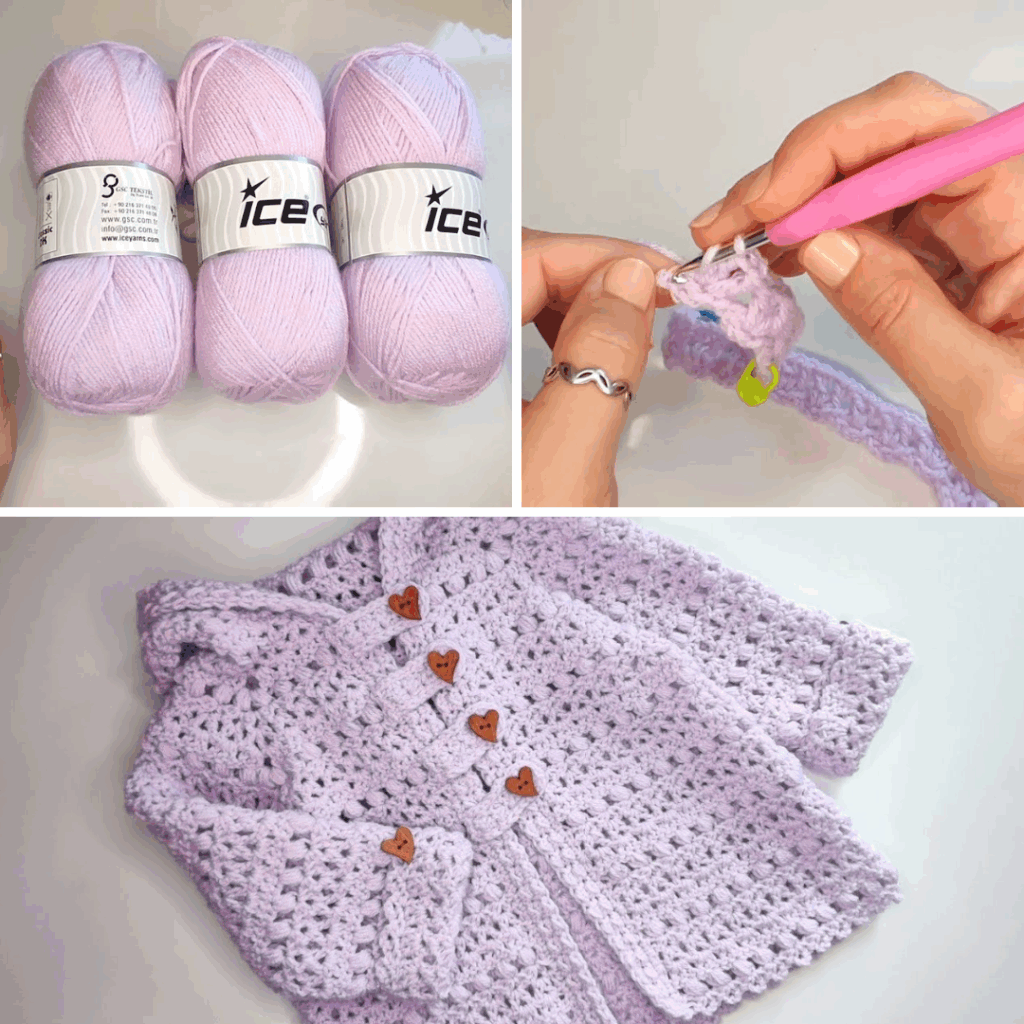
- Yarn: The Heart of Comfort and Durability!
- Fiber:
- Superwash Merino Wool: An excellent choice for its incredible softness, superior warmth, breathability, and convenient machine washability (always check the label!).
- Durable Acrylics or Acrylic Blends: Many modern acrylic yarns are wonderfully soft, hard-wearing, colorfast, and very easy to care for (often machine wash and dry). Look for “anti-pilling” varieties for longevity.
- Cotton Blends: Can be suitable for milder climates or a lighter-weight hoodie, offering breathability.
- Weight:
- Worsted (Aran / Category 4): Generally ideal for hoodies, providing good warmth, a reasonable working pace, and a sturdy fabric.
- DK (Double Knitting / Category 3): For a slightly lighter version, perhaps for spring or early autumn.
- Bulky (Chunky / Category 5): For a very quick-to-make and super chunky, warm hoodie.
- Color Palette: The choice is yours! Bright and vibrant colors, soft pastels, classic neutrals, or fun variegated yarns all work beautifully. Consider a contrasting color for the drawstring or pocket trim.
- Quantity: Hoodies are substantial! Expect to need 800-1200 yards for toddler sizes (2T-4T) and 1200-1800+ yards for older girl sizes (6Y-12Y), depending on yarn weight and desired length. Always consult your chosen pattern’s specific recommendations.
- Fiber:
- Crochet Hook:
- Consult your chosen yarn label for a suggested hook size (e.g., 4.5mm, 5.0mm, 5.5mm, 6.0mm).
- Crucial for Garments: Your actual hook size will be determined by achieving the correct gauge for your pattern. You will almost certainly need to adjust your hook size (up or down by half a size) to ensure the proper fit, comfortable drape, and desired fabric density.
- Other Notions:
- Stitch Markers: Essential for marking raglan lines, the beginning of rounds, or specific shaping points.
- Tapestry Needle: For neatly weaving in all yarn ends and seaming the hood.
- Scissors.
- Measuring Tape: For frequent measurements during construction.
- Drawstring (Optional): Can be a crocheted chain, i-cord, or a store-bought cord.
- Buttons (Optional): For decorative purposes or pocket closures.
Understanding Sizing & Gauge (ABSOLUTELY CRITICAL for Garments!)
Accurate sizing is paramount for a comfortable, well-fitting, and functional hoodie that allows for ease of movement.
General Girls’ Hoodie Sizing (Approximate Measurements):
| Size | Approx. Chest Circ. | Approx. Finished Body Length (Shoulder to Hem) | Approx. Sleeve Length (Underarm to Cuff) | Hood Depth (top of head to base of neck) |
|---|---|---|---|---|
| 2T | 21-22 inches | 14-15 inches | 9-10 inches | 8-9 inches |
| 4T | 23-24 inches | 16-17 inches | 11-12 inches | 9-10 inches |
| 6Y | 25-26 inches | 18-19 inches | 13-14 inches | 10-11 inches |
| 8Y | 27-28 inches | 20-21 inches | 15-16 inches | 11-12 inches |
| 10Y | 29-30 inches | 22-23 inches | 17-18 inches | 12-13 inches |
Export to Sheets
Disclaimer: These are general averages. Always refer to the specific pattern’s measurements and sizing chart. Allow for 2-4 inches of positive ease (extra room) for comfort and layering.
How to Make a Gauge Swatch (Do NOT Skip This Step!):
- Chain: Chain about 25-30 stitches, plus any turning chains, using your “Four Stitch” pattern as the primary stitch for the swatch.
- Work: Crochet a square of at least 6×6 inches (15×15 cm). A larger swatch provides a more accurate measurement.
- Wash & Block: Fasten off your swatch. Crucially, wash and block your swatch exactly as you plan to treat the finished hoodie. This step relaxes the fibers and reveals the true stitch size and drape after washing, which can change significantly.
- Measure: Once dry, lay the swatch flat. Place a ruler over the center. Count how many stitches fit within 4 inches (10 cm) and how many rows fit within 4 inches (10 cm).
- Adjust:
- If you have more stitches per inch than your pattern (or desired gauge) states (your work is too tight), go up half a hook size and re-swatch.
- If you have fewer stitches per inch than your pattern states (your work is too loose), go down half a hook size and re-swatch.
- Repeat until your gauge precisely matches.
General Stitch Patterns for a “Four Stitch Hoodie”:
While the main body of the hoodie will utilize your repeating “Four Stitch” pattern, other basic stitches are often used for details and structure:
- Main Body (“Four Stitch” Pattern): As discussed, this will be your primary repeatable sequence (e.g.,
(sc, hdc, dc, hdc)repeat). This creates the unique texture of your hoodie. - Ribbing (Cuffs, Hem, Hood Edge): For elasticity and neatness.
- Front Post/Back Post Double Crochet (fpdc/bpdc): Creates a sturdy, professional-looking ribbed edge that springs back well.
- Single Crochet in Back Loop Only (sc blo): A simpler, flexible ribbing option.
- Basic Stitches for Structure: Single crochet (sc) and half double crochet (hdc) might be used for initial chains, joining, or simple neat edgings.
Step-by-Step Construction: The Top-Down “Four Stitch Hoodie” (Raglan Yoke)
The top-down raglan construction is highly recommended for hoodies due to its seamless nature, which is comfortable for children, and its ease of trying on for fit as you go. This is a general guide to the methodology; for precise stitch counts, specific increase/decrease rates for different sizes, and unique design details, you MUST follow a detailed crochet pattern.
Phase 1: The Yoke (Top-Down, Raglan Shaping)
This forms the neckline, shoulders, and upper chest, worked from the top down.
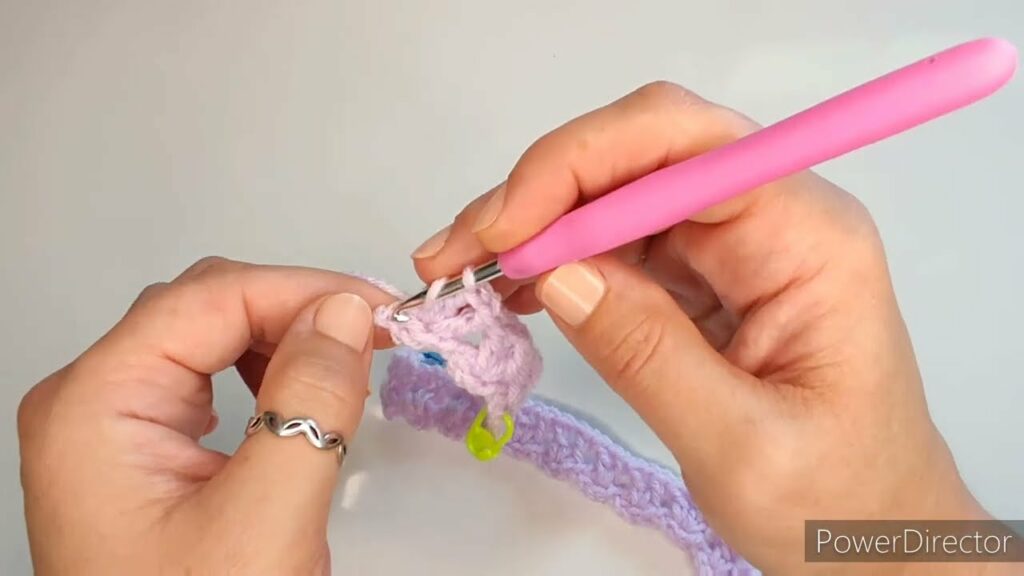
- Step 1.1: Starting Chain & Neckline Rounds
- Foundation Chain: Chain the number of stitches specified by your pattern for the desired neckline circumference.
- Neckline Rounds: Work a few rounds in a simple stitch like sc or hdc, or a soft ribbing (e.g., sc blo), to create a neat and comfortable neck edge. Join with a slip stitch to form a round.
- Step 1.2: Setting Up Raglan Yoke Divisions (First Increase Round)
- This round divides your total stitches into: Back Panel, Sleeve 1, Front Panel, Sleeve 2. You will have 4 raglan corners where all shaping increases occur.
- Begin working your “Four Stitch” pattern for the Back Panel. At the first raglan corner, work your specified increase (e.g.,
(2 dc, ch 2, 2 dc)or a set of increases within the “Four Stitch” pattern). Place a stitch marker (SM) in the increase space. Continue this pattern for Sleeve 1, Front Panel, Sleeve 2, with increases at each raglan corner.
- Step 1.3: Continuing Yoke Increases
- Subsequent Yoke Rounds: Continue working in rounds, repeating your “Four Stitch” pattern across all sections. Work your specified increase into each of the 4 raglan spaces from the previous round. Move your stitch markers up to the new increase spaces.
- Continue working these increase rounds until the yoke measures the correct depth from the top of the neckline to the underarm for your chosen size. This is a crucial measurement for a comfortable fit.
Phase 2: Separating for Body & Sleeves
Once the yoke is the correct depth, you’ll divide the stitches to create the armholes and begin the main body of the hoodie.
- Separation Round:
- Work stitches for the Back Panel using your “Four Stitch” pattern.
- Work into Raglan Corner 1.
- Skip Sleeve 1: Place all stitches of Sleeve 1 (the stitches between Raglan Corner 1 and Raglan Corner 2) onto a piece of scrap yarn or a stitch holder.
- Underarm Chain: Chain 2-4 stitches (this creates extra room at the underarm and fills the gap, preventing tightness).
- Work into Raglan Corner 2.
- Work stitches for the Front Panel using your “Four Stitch” pattern.
- Work into Raglan Corner 3.
- Skip Sleeve 2: Place all stitches of Sleeve 2 onto a holder.
- Underarm Chain: Chain 2-4 stitches.
- Work into Raglan Corner 4.
- Join with a slip stitch to the first stitch of the round to form a continuous circle for the body of the hoodie.
Phase 3: The Body of the Hoodie
This forms the main torso section of the garment below the armholes.
- Body Rounds: Continue working in rounds using your “Four Stitch” pattern.
- Shaping (Optional): You can maintain a straight circumference, or add very subtle decreases around the waist area for a slightly tapered fit, or slight increases for a more relaxed, boxy shape.
- Length: Continue working rounds until the body reaches the desired length for the hoodie (typically to the hip).
- Hem: Finish the bottom edge of the hoodie with a substantial ribbed hem (e.g., 2-3 inches of fpdc/bpdc or sc blo ribbing). If strictly adhering to the “Four Stitch” concept, you could finish with a few rounds of sc or hdc for a simpler edge.
Phase 4: The Sleeves (Make 2)
Each sleeve is worked individually, typically in the round, starting from the armhole.
- Attach Yarn: Attach your yarn to the center underside of one armhole opening (where your underarm chain was).
- Pick Up Stitches: Work a round, picking up stitches evenly around the armhole opening (including into the underarm chain stitches). Join with a slip stitch to the first stitch to form a round.
- Working the Sleeve: Continue working in continuous rounds using your “Four Stitch” pattern.
- Shaping: Gradually decrease stitches evenly spaced over several rounds to taper the sleeve towards the wrist. Your pattern will specify the decrease rate.
- Length: Work until the sleeve reaches the desired full length from the underarm to the wrist.
- Cuff: Finish the sleeve with a robust ribbed cuff (e.g., fpdc/bpdc or sc blo ribbing) that provides a snug, neat finish. If strictly adhering to the “Four Stitch” concept, finish with a neat edge matching the body hem.
- Fasten off. Repeat all steps for the second sleeve, ensuring it is symmetrical to the first.
Phase 5: The Hood
The defining feature of a hoodie, providing warmth and a signature look.
- Foundation: Pick up stitches evenly around the neckline opening of the hoodie. The number of stitches picked up will determine the base width of your hood.
- Working Flat: The hood is typically worked flat in rows, often starting with a few rounds of the main “Four Stitch” pattern.
- Shaping: Increase stitches at the front edges of the hood to create the curve that will comfortably fit over the head. Continue working rows until the hood is deep enough (measures from the top of the head down to the base of the neck).
- Seaming the Crown: Once the hood is the correct depth, fold it in half and seam the top edge together. This can be done with a simple slip stitch seam, a single crochet seam, or a mattress stitch for an invisible join.
- Hood Edging: Finish the front opening of the hood with a few rounds of neat sc or hdc, or a simple ribbed edge (e.g., sc blo or fpdc/bpdc) if you want to create a channel for a drawstring.
Video Tutorial Part 1 :
Phase 6: Finishing Touches
These final steps bring your garment to a professional and durable completion.
- Weave in All Ends: Using your tapestry needle, meticulously weave in every single yarn tail. Secure them firmly by weaving them into existing stitches in different directions to prevent unraveling. This is crucial for a neat, durable, and comfortable finish.
- Add Pocket (Optional): If your pattern includes a pocket (often a kangaroo pocket on the front), crochet it as a separate panel using your “Four Stitch” pattern. Securely sew it onto the front of the hoodie, leaving the top edge(s) open.
- Drawstring (Optional): If you created a channel in the hood edging, crochet a long chain or i-cord, or use a store-bought cord, and thread it through the channel using your tapestry needle or a safety pin.
- Blocking (ABSOLUTELY CRUCIAL for Garments!):
- Gentle Wash: Fill a basin with cool water and a small amount of mild, wool-friendly detergent. Gently submerge the hoodie and let it soak for 20-30 minutes. Do not agitate or wring.
- Remove Excess Water: Gently squeeze out excess water. Roll the hoodie in a clean, dry towel and press firmly to absorb as much moisture as possible.
- Shape & Dry: Lay the hoodie flat on blocking mats. Gently stretch and shape it to the correct finished dimensions (chest width, body length, sleeve length, and hood shape). Smooth out any unevenness and define the ribbed edges. Use rust-proof T-pins if needed to hold the shape firmly.
- Air Dry Completely: Allow the hoodie to air dry completely. Blocking is a transformative step that relaxes the fibers, evens out your stitches, enhances the drape, and gives your hoodie a beautifully polished, professional appearance.
Tips for “Four Stitch Hoodie” Success:
- Yarn Choice is Paramount: Always prioritize soft, durable, and easily washable yarns suitable for active children. Anti-pilling acrylics or superwash wools are excellent choices.
- Gauge Precision: This is the most critical factor for a well-fitting garment. Don’t skip the swatch!
- Embrace the Simplicity: The beauty of the “Four Stitch Hoodie” lies in its repeatable pattern. Trust the design, and let the texture shine.
- Hood Fit: Ensure the hood is neither too tight nor too baggy. Measure the girl’s head circumference.
- Pocket Placement: If adding a pocket, ensure it’s functional and visually balanced on the front of the hoodie.
- Measure Frequently: Compare your work to a favorite commercial hoodie or the girl’s actual measurements to ensure the dimensions are correct as you go.
Care Instructions for Your Handmade Hoodie:
- Always follow your chosen yarn label’s specific care instructions. This is especially important for natural fibers.
- Reshape and Lay Flat to Dry: Gently reshape the hoodie while wet and lay it flat on a clean towel or drying rack to air dry completely. Pay extra attention to reshaping the hood, cuffs, and hem to ensure they retain their intended form. Do not hang, as this can stretch the fabric and distort the garment’s shape.
video Tutorial Part 2 :
Creating a crocheted “Four Stitch Hoodie” for a special girl is a truly rewarding endeavor. With its straightforward yet charming stitch pattern, you’ll craft a cozy, durable piece that will keep her warm and stylish through countless adventures. Happy hooking!