by
by Crocheting the Red Heart Flower Power Square is a rewarding project that leverages the innovative “All-in-One” self-changing yarn from Red Heart. This yarn is designed to change colors automatically as you work, creating a beautiful floral center and a solid background without the need to manually join new colors.
This guide, based on the expert tutorial from Daisy Farm Crafts, will walk you through the process step-by-step to create a perfect floral motif.
Project Overview
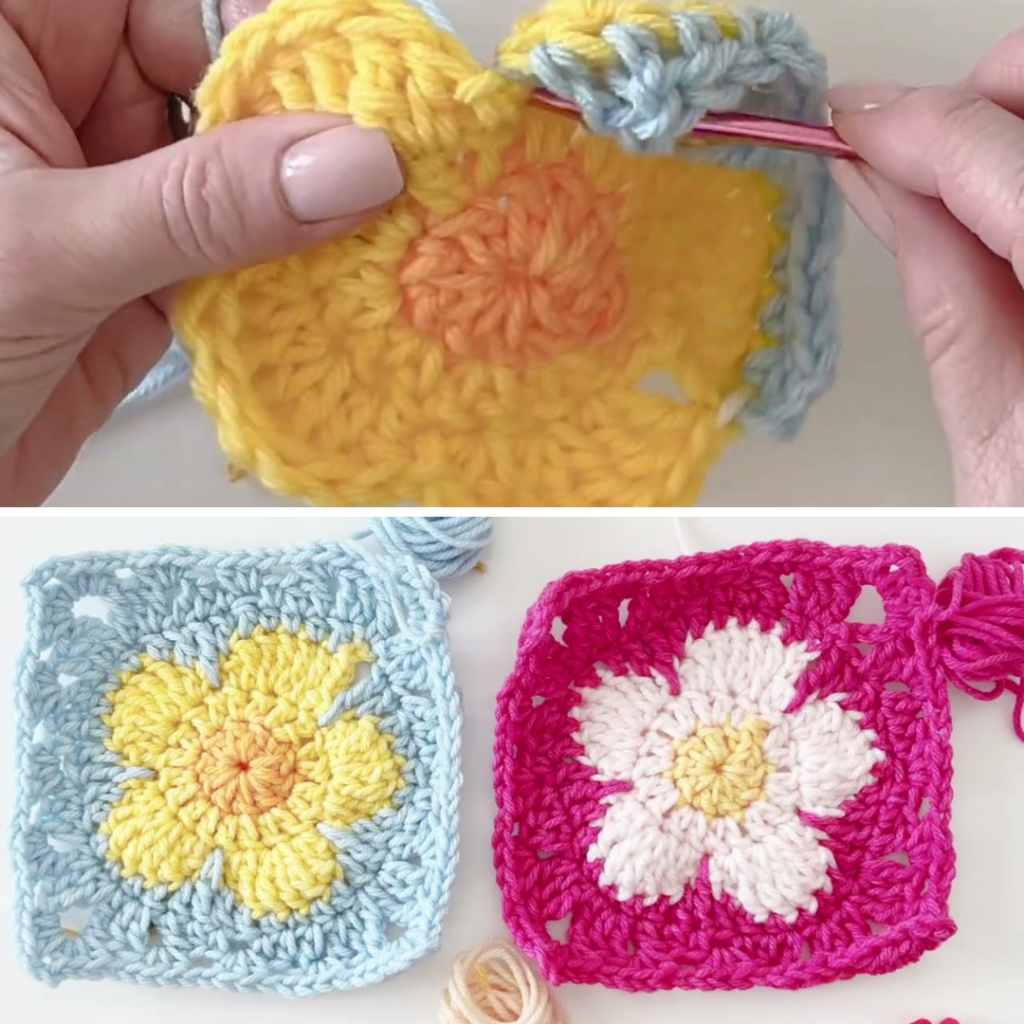
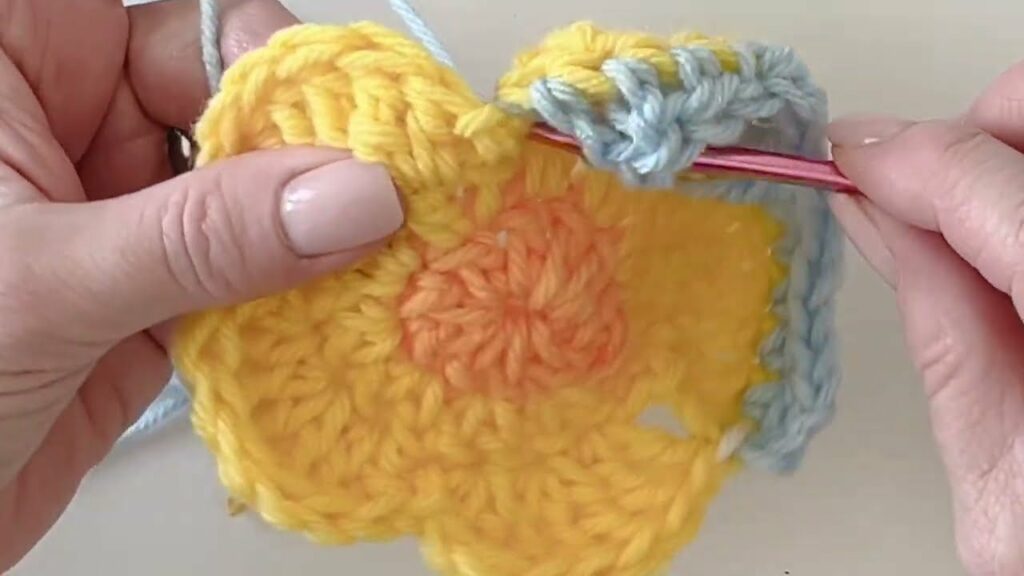
The “Flower Power” square is a modern evolution of the traditional granny square. It is more user-friendly than previous all-in-one versions because the color changes are designed to align with specific rounds, primarily requiring focus on the petal round to ensure the floral shape hits the color marks correctly. A major benefit of this yarn is the generous amount of leftover yarn provided at the end of each square, which is intended for seaming your squares together into a larger project later.
Materials Needed
- Yarn: Red Heart All-in-One Flower Power.
- Hook: Size J (6.0mm) or the size needed to meet the color-change tension.
- Tools: Tapestry needle for weaving in ends and joining.
Step-by-Step Construction
Round 1: The Center Ring
- The Foundation: Start by leaving a tail of approximately 4 inches. Chain four and slip stitch to the first chain to form a small ring.
- Stitches: Chain three (this counts as your first double crochet). Work nine more double crochets around the center of the ring, ensuring you are working over the starting chain.
- Finish: You should have a total of 10 stitches. Slip stitch to the top of the initial chain three to close the round.
Round 2: Expanding the Circle
- The Increase: Chain three and work one double crochet into the same space as the join.
- Growth: Work two double crochets into the top of each double crochet from the previous round.
- Finish: You should finish this round with 20 double crochets (10 pairs). Join with a slip stitch to the top of the starting chain three.
Round 3: Shaping the Petals
This round uses varying stitch heights to create the rounded “flower” shape.
- The Petal Sequence: Slip stitch into the next double crochet. Chain three and work one treble crochet in the same space. In the next stitch, work three treble crochets. In the third stitch of the sequence, work one treble crochet and one double crochet.
- Connecting: Finish the petal by working a slip stitch into the next stitch.
- Repeat: Repeat this sequence (Double/Treble, 3 Trebles, Treble/Double, Slip Stitch) four more times around the circle to create a total of five petals.
Round 4: Smoothing the Edges
This round bridges the gaps between petals to prepare the flower for its square border.
- Stitches: Chain three and double crochet into the next stitch.
- The “Valley” Transition: Work a half-double crochet, a single crochet, and another half-double crochet across the tops of the three trebles from the petal round.
- The Treble Spike: To create the “pinched” flower look, work a treble crochet deep down into the row below (Round 2), specifically underneath the slip stitch that sits between the petals.
- Finish: Join to the starting chain three.
Round 5: Squaring Off
- Corner Start: Chain six (this counts as one treble crochet and a two-chain corner space). Work another treble crochet in the same space to create the first corner point.
- The Sides: Work a sequence of double crochets, half-double crochets, and single crochets to level out the edge.
- The Side Pattern: Work two double crochets, chain one, then work one double, one half-double, and one single crochet. Chain one, skip a stitch, then work back up: one single, one half-double, and one double crochet.
- Corner Repeat: Work the corner (treble, chain two, treble) in the next designated stitch and repeat the side sequence around the square.
Round 6: The Final Border
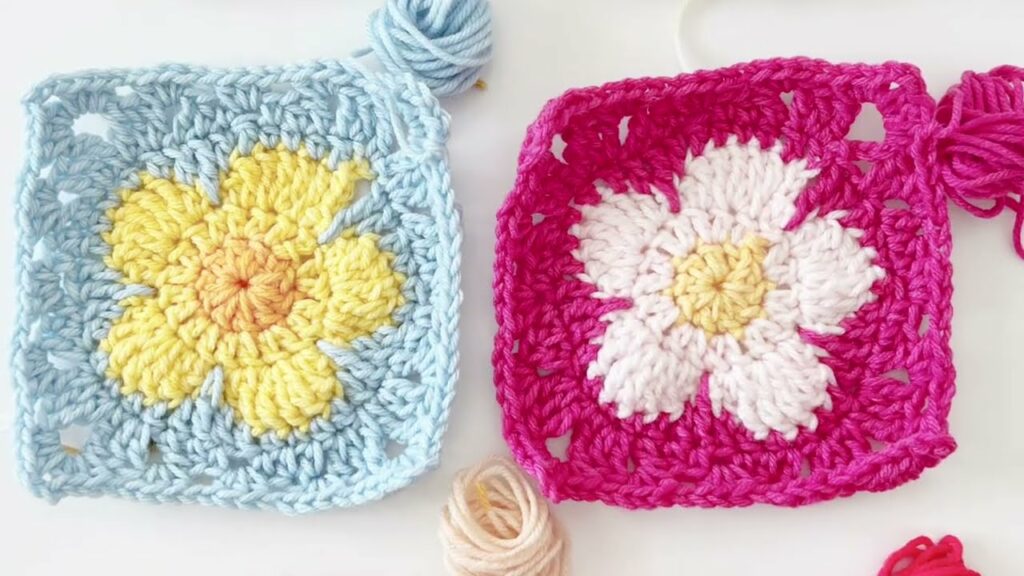
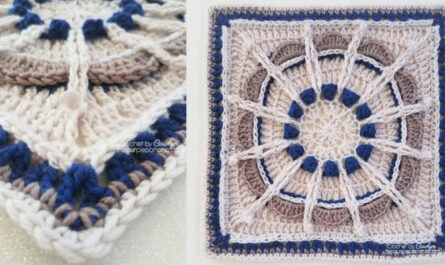
This final round gives the square its finished “granny” look using clusters of stitches.
- The Corner: In each chain-two corner space, work three half-double crochets, chain three, and three more half-double crochets.
- The Side Clusters: Work three half-double crochets into each chain-one space along the sides. Place a chain-one between each group of three half-double crochets.
- Closing: Slip stitch to the first stitch of the round to finish the square.
Finishing and Assembly
Once the square is complete, do not cut the yarn immediately. Observe where the color change occurs—the yarn is designed to provide extra of the final background color.
Pro-Tips for Success:
- Tension is Key: If your color changes are happening too early, tighten your tension. If they are happening too late, loosen your stitches.
- Joining: Use the generous yarn tails to join your squares. The invisible join or a mattress stitch is recommended for a clean, professional finish that hides the seams.
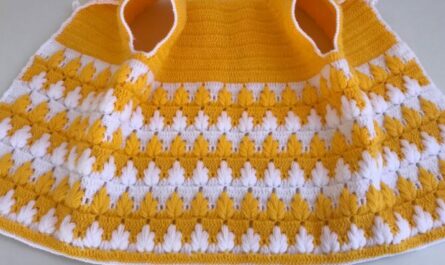
- Versatility: These squares are perfect for baby blankets, bohemian-style shrugs, or decorative home throws.
For more information and visual inspiration, you can visit the Daisy Farm Crafts website or check out the variety of colorways available through Red Heart Yarn.
Video Tutorial: