This detailed article will take you through everything you need to know about crocheting a sweater, from initial design considerations and yarn choices to essential techniques and construction methods, empowering you to embark on this rewarding journey.
Why Crochet a Sweater?
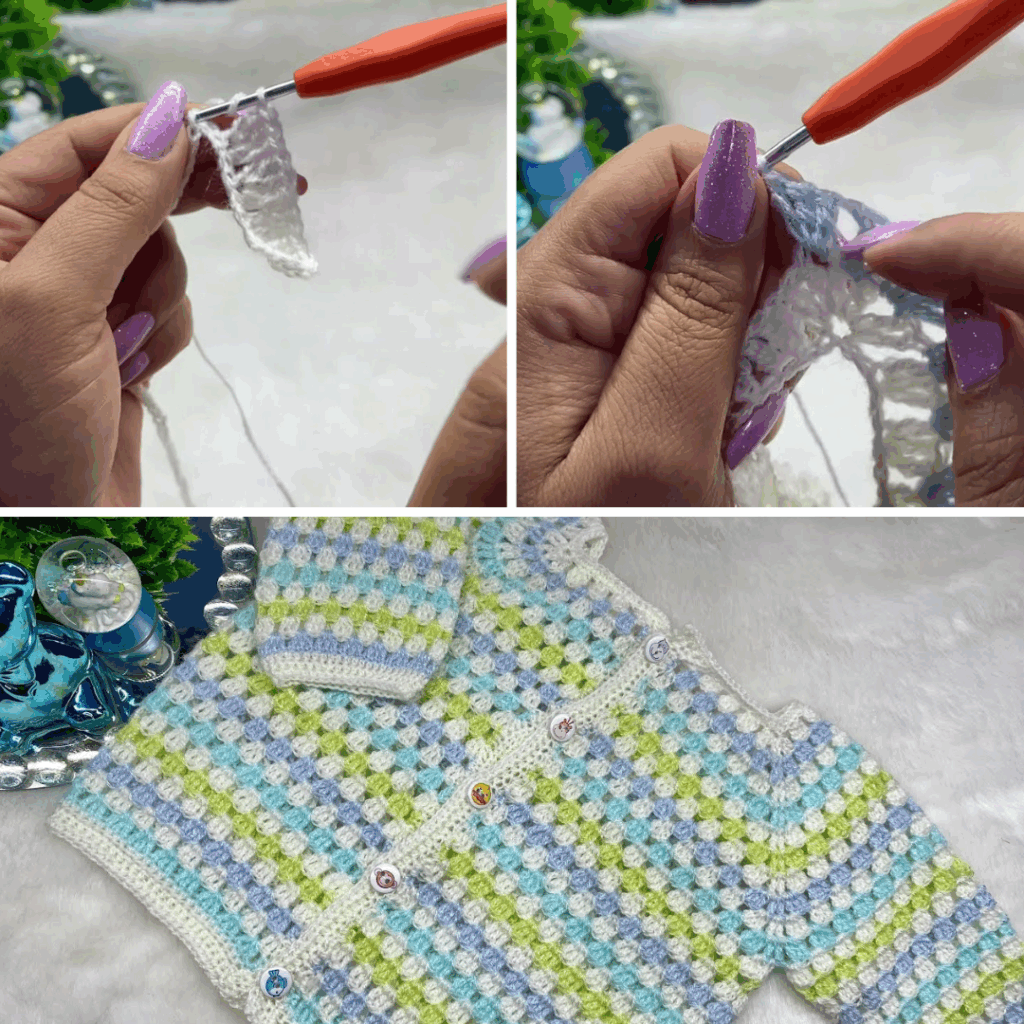
- Custom Fit: Unlike ready-to-wear clothing, a handmade sweater can be tailored to your exact measurements, ensuring a comfortable and flattering fit.
- Unique Design: Choose your own yarn, color palette, stitch patterns, and embellishments to create a one-of-a-kind piece that truly reflects your personality.
- Skill Development: Crocheting a sweater challenges you to master various techniques, including shaping, working in the round or flat, seaming (if applicable), and achieving consistent gauge.
- Warmth & Comfort: A well-crafted crochet sweater provides unparalleled warmth and coziness, making it a beloved addition to any wardrobe.
- Sustainable Fashion: Embrace slow fashion by investing your time in creating a durable, long-lasting garment that reduces textile waste.
Designing Your Dream Sweater: Key Considerations
Before picking up your hook, taking time for planning can significantly impact your project’s success and enjoyment.
- Style & Fit:
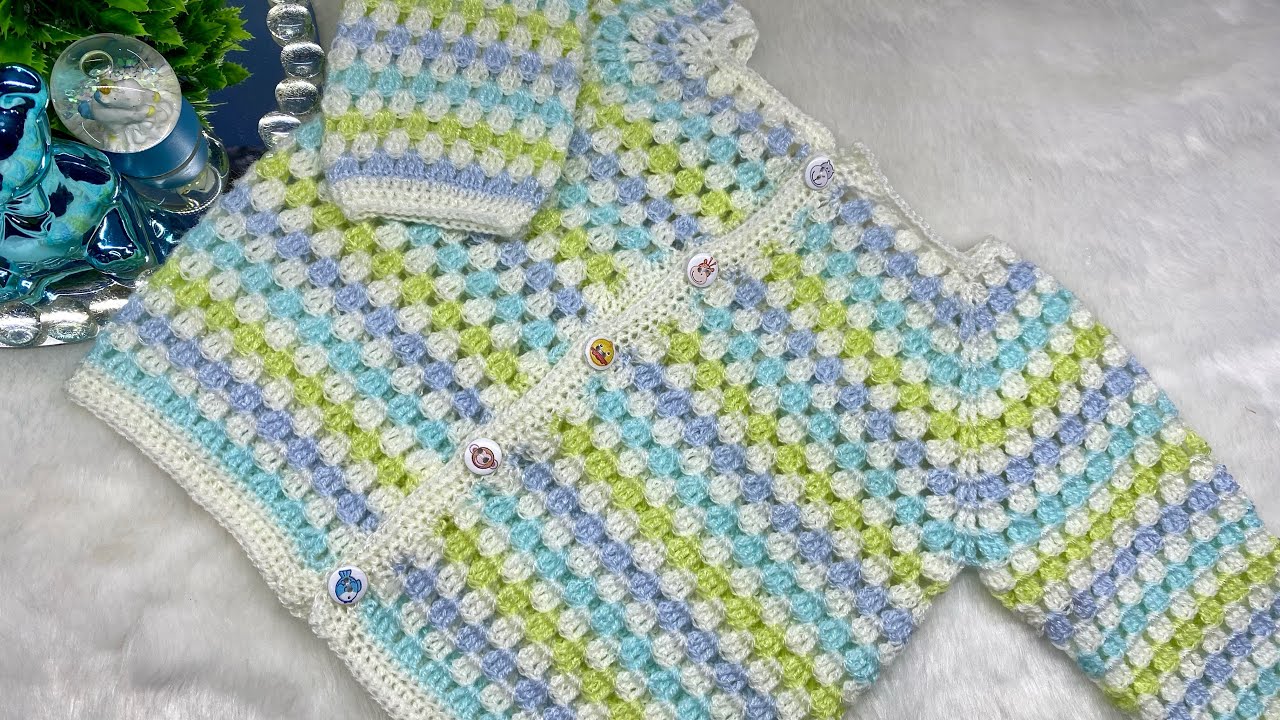
- Pullover vs. Cardigan: Will it be a closed sweater pulled over the head, or an open-front cardigan? This impacts construction and closure needs.
- Fitted vs. Oversized: Do you want a snug fit, a relaxed fit, or a trendy oversized look? This will dictate the amount of “positive ease” (extra room) you build into the garment.
- Length: Cropped, standard hip-length, or tunic-length?
- Neckline: Crew neck, V-neck, boat neck, turtleneck, or cowl neck?
- Sleeves: Long, 3/4 length, short, or sleeveless? Tapered, straight, or voluminous?
- Yarn Choice (Crucial!):
- Fiber:
- Wool (Merino, Alpaca, etc.): Excellent for warmth, elasticity, and often great drape. Superwash wools are easier to care for.
- Cotton/Linen: Breathable, durable, great stitch definition, ideal for warmer climates or lighter sweaters, but less elastic.
- Acrylic: Hypoallergenic, affordable, vast color range, easy-care, but can sometimes lack drape or breathability depending on quality.
- Blends: Often combine the best qualities of different fibers (e.g., wool-acrylic for warmth and easy care, cotton-bamboo for softness and drape).
- Weight: This impacts the finished fabric’s drape, warmth, and the project’s speed.
- Fingering/Sport: Creates lighter, finer fabric; takes longer.
- DK (Double Knitting): Versatile, medium-weight; popular for sweaters.
- Worsted: A common workhorse weight; good for warmer sweaters, faster to crochet.
- Bulky/Super Bulky: Creates very warm, quick-to-crochet garments; often results in a bold, chunky look.
- Quantity: Sweaters require a significant amount of yarn. Always check your chosen pattern’s yardage. When in doubt, buy an extra skein, especially if you’re using a specific dye lot.
- Fiber:
- Stitch Pattern:
- Solid Stitches: Single Crochet (SC), Half Double Crochet (HDC), Double Crochet (DC) – create dense, warm fabrics. SC/HDC can be stiff if tension is too tight.
- Textured Stitches: Puff stitches, bobbles, cables (created with post stitches), basketweave – add visual interest and warmth.
- Open/Lacy Stitches: Shell stitches, V-stitches, open mesh – create lighter, airier fabrics, great for warmer weather or layering.
- Consider how the stitch pattern will drape with your chosen yarn. A very dense stitch with a stiff yarn can result in a rigid garment.
- Construction Method (The Big Decision):
- Panels & Seams: (Common for beginners) Work front, back, and sleeve pieces flat in rows, then seam them together.
- Pros: Great for learning shaping, pieces are manageable, seams provide structure and can help prevent stretching.
- Cons: Requires seaming, which takes time and practice to do neatly.
- Top-Down (Seamless): Start at the neckline and work downwards, increasing stitches to form the yoke (circular, raglan, or contiguous methods). The body and sleeves are then worked seamlessly in the round.
- Pros: No seaming (mostly), easy to try on as you go, adjustable length.
- Cons: Can require more attention to yoke shaping; fitting can be tricky for first-timers.
- Bottom-Up (Seamless Body): Work the body in the round from the hem up to the armholes, then split the work for the front and back, working flat to the shoulders. Sleeves are usually worked separately in the round and then joined or seamed.
- Pros: Seamless body, easy to try on for length.
- Cons: Can be heavy to hold as you work the body; shoulders usually require seaming.
- Panels & Seams: (Common for beginners) Work front, back, and sleeve pieces flat in rows, then seam them together.
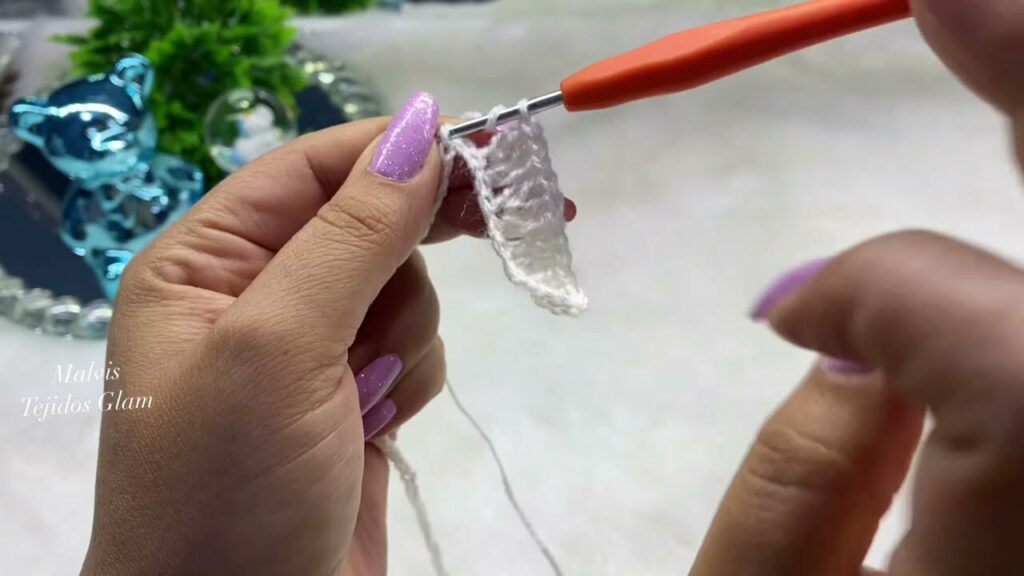
Materials: Your Essential Toolkit
- Yarn: Chosen based on the above considerations.
- Crochet Hooks: The size(s) recommended by your pattern. You might need different sizes for ribbing vs. the main body.
- Stitch Markers: Indispensable for marking rounds, stitch counts, and shaping points.
- Tapestry Needle (or Blunt Yarn Needle): For weaving in ends and seaming.
- Scissors.
- Measuring Tape: Crucial for gauge swatching and checking garment dimensions.
- Blocking Mats & T-pins: Absolutely essential for shaping and finishing your sweater.
- Buttons/Zipper/Ties (if cardigan): As per your pattern’s design.
Key Crochet Techniques for Sweaters
You’ll utilize a blend of fundamental and garment-specific techniques:
- Foundation Chains/Foundation Single Crochet (FSC)/Foundation Half Double Crochet (FHDC): For starting edges. FSC/FHDC provide more elasticity.
- Basic Stitches: Chain (ch), Slip Stitch (sl st), Single Crochet (sc), Half Double Crochet (hdc), Double Crochet (dc), and potentially Treble Crochet (tr) or more complex stitches.
- Working in Rounds vs. Rows: Depending on your construction method.
- Increasing Stitches: Crucial for shaping (e.g., expanding the yoke, shaping sleeves or body flare). M1 (make one) or working multiple stitches into one space are common.
- Decreasing Stitches: For shaping (e.g., tapering sleeves, shaping armholes, necklines, shoulders). SC2tog, HDC2tog, DC2tog are standard.
- Ribbing/Edging: For hems, cuffs, and necklines, providing stretch and a neat finish. Can be done by working in back loops only, or using post stitches.
- Buttonholes/Button Bands (for cardigans): Creating functional and decorative openings for buttons and the strips of fabric they attach to.
- Seaming (if applicable):
- Mattress Stitch: The gold standard for invisible vertical seams, creating a professional finish.
- Slip Stitch Seam: Creates a defined, raised seam.
- Whip Stitch: A basic seam, more visible.
- Picking Up Stitches: For neckbands, armbands, or button bands along raw edges.
- Blocking: Absolutely transformative! It evens out stitches, relaxes the fabric, opens up lace patterns, and sets the final shape and drape of your sweater.
Planning Your Project: Laying the Foundation for Success
- Sizing & Measurements:
- Measure your (or the recipient’s) bust/chest circumference, desired length from shoulder to hem, and sleeve length.
- Understand “ease”: Positive ease means the garment is larger than the body for a relaxed fit; negative ease means it’s smaller for a very fitted look.
- Gauge Swatch (The Golden Rule!):
- This is the single most important step for garment knitting.
- Knit a swatch at least 6×6 inches (15×15 cm) using your chosen yarn and hook in the main stitch pattern of your sweater.
- Crucial Step: Wash and block your swatch exactly as you plan to wash and block the finished sweater. Yarn and stitch patterns can change significantly after laundering and blocking (especially affecting drape and size).
- Measure your stitches and rows per inch/cm accurately. If your gauge doesn’t match the pattern’s, adjust your hook size (go up a size if you have too many stitches per inch, down if you have too few) and knit another swatch until it matches.
- Yarn Calculation: Your gauge swatch will also help you estimate how much yarn you truly need if you’re not following a specific pattern’s yardage exactly.
Construction Journey: Bringing Your Sweater to Life (Conceptual Guides)
Method 1: Panels & Seams (Work Flat)
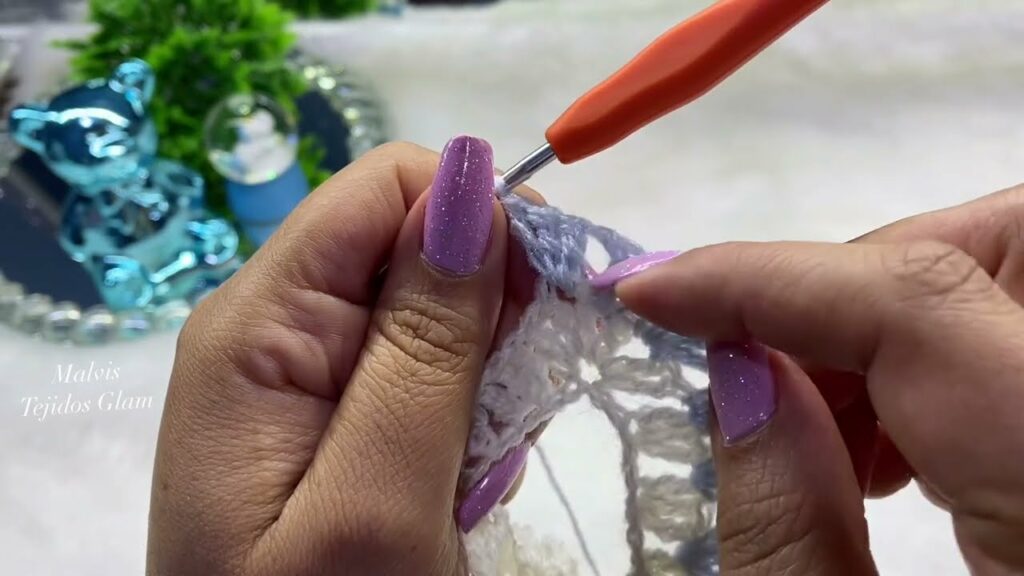
- Front Panel: Cast on for the bottom hem, work ribbing, then work body in rows, shaping for waist (optional), armholes, neckline, and shoulders with increases/decreases.
- Back Panel: Similar to the front, but typically with a shallower neckline.
- Sleeves: Work each sleeve flat from cuff to cap, shaping with increases/decreases.
- Assembly: Join shoulder seams. Sew sleeves into armholes. Join side seams and under-sleeve seams using Mattress Stitch.
- Finishing: Add neckband/collar by picking up stitches. Add button bands if it’s a cardigan. Weave in ends. Block.
Method 2: Top-Down (Seamless)
- Yoke: Start with a foundation chain/FSC for the neckline. Work in the round, increasing stitches in specific increments to form the yoke (circular, raglan, or contiguous shaping) until it reaches below the armpits.
- Separate for Body & Sleeves: On a designated round, put sleeve stitches on hold (waste yarn or separate stitch holders), and join the body stitches to work the main body of the sweater.
- Body: Continue working the body in the round to the desired length, adding increases if an A-line shape is desired. Finish with a hem.
- Sleeves: Join yarn to one armhole, pick up any needed stitches, and work the sleeve in the round down to the cuff, decreasing as needed. Repeat for the second sleeve.
- Finishing: Add a neckband by picking up stitches (if not already part of the yoke). Weave in ends. Block.
Method 3: Bottom-Up (Seamless Body)
- Body: Work the body in the round from the hem up to the armholes, finishing with ribbing.
- Split for Front & Back: At the armholes, split the work and continue working the front and back panels flat, shaping armholes, necklines, and shoulders with decreases.
- Shoulder Joins: Join shoulders using a seam or Kitchener stitch.
- Sleeves: Work each sleeve in the round from the cuff up to the sleeve cap.
- Assembly: Join sleeves to armholes (often using a seam, or by joining the last round of the sleeve to the armhole opening with slip stitches).
- Finishing: Add a neckband by picking up stitches. Weave in ends. Block.
Finishing Touches: The Polish of a Pro
- Weave in All Ends: Meticulously weave in every single yarn tail using your tapestry needle. Secure them well to prevent unraveling.
- Edgings: Neatly finish all raw edges (neckline, cuffs, hems). This adds a professional, polished look.
- Blocking (Don’t Skip It!): This step is transformative. Gently wet your finished sweater (or steam it), carefully lay it out on blocking mats, shaping it to the correct dimensions (pinning firmly with T-pins if needed). Allow to dry completely. Blocking evens out stitches, relaxes the fabric, enhances drape, and sets the final size and shape.
- Add Closures: If it’s a cardigan, sew on buttons securely. If it has a zipper, install it carefully.
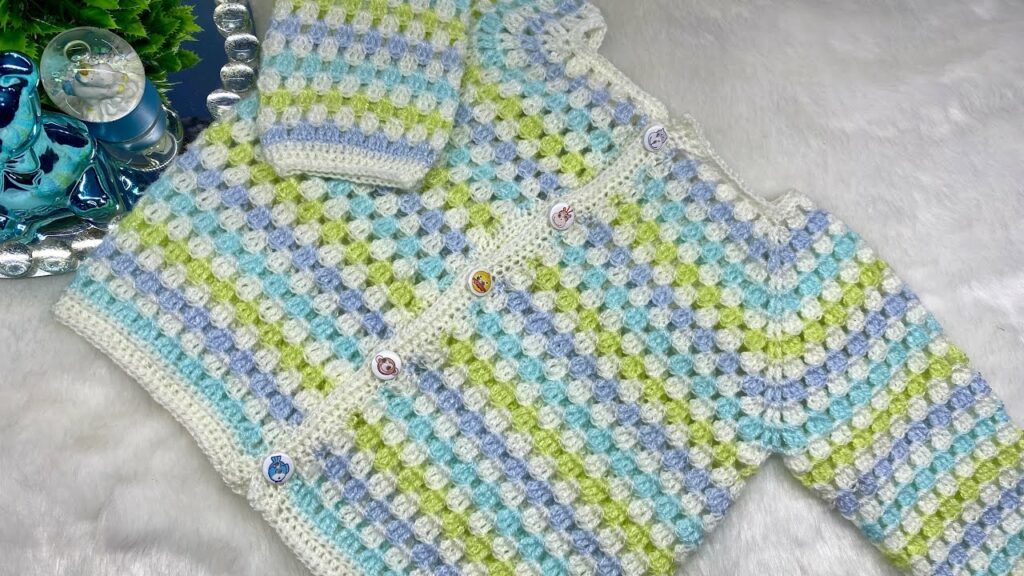
Tips for Sweater Success
- Gauge is King: Seriously, make that swatch!
- Yarn Choice Matters: For drape, comfort, and the overall look of your fabric.
- Read the Pattern: Before you start, read the entire pattern from beginning to end. Highlight key instructions.
- Take Breaks: Don’t be afraid to put your project down and come back with fresh eyes.
- Try it On: If possible, try on your sweater as you go (especially with seamless methods) to check the fit.
- Don’t Fear Blocking: It’s not optional for a garment; it’s essential for a professional finish.
Caring for Your Crocheted Masterpiece
- Follow Yarn Label Instructions: Always refer to your specific yarn’s care guidelines for washing and drying.
- Hand Wash Recommended: For most handmade sweaters (especially wools), gentle hand washing in cool water with a mild detergent is safest.
- Reshape and Lay Flat to Dry: Never wring, twist, or hang a wet crocheted sweater, as this will stretch and distort its shape. Gently squeeze out excess water (rolling in a towel helps), reshape the sweater to its original dimensions, and lay it flat on a clean towel or a mesh drying rack to air dry completely.
Conclusion
Crocheting a sweater is a deeply rewarding endeavor. It’s a journey that builds skills, tests patience, and culminates in a beautiful, custom-made garment that will provide comfort and style for years to come. Whether you choose a simple panel construction or dive into seamless techniques, the process of bringing a sweater to life with your own hands is an experience every crocheter should enjoy. So choose your pattern, pick your yarn, and start crafting your next cozy masterpiece! Sources
Video Tutorial ;
