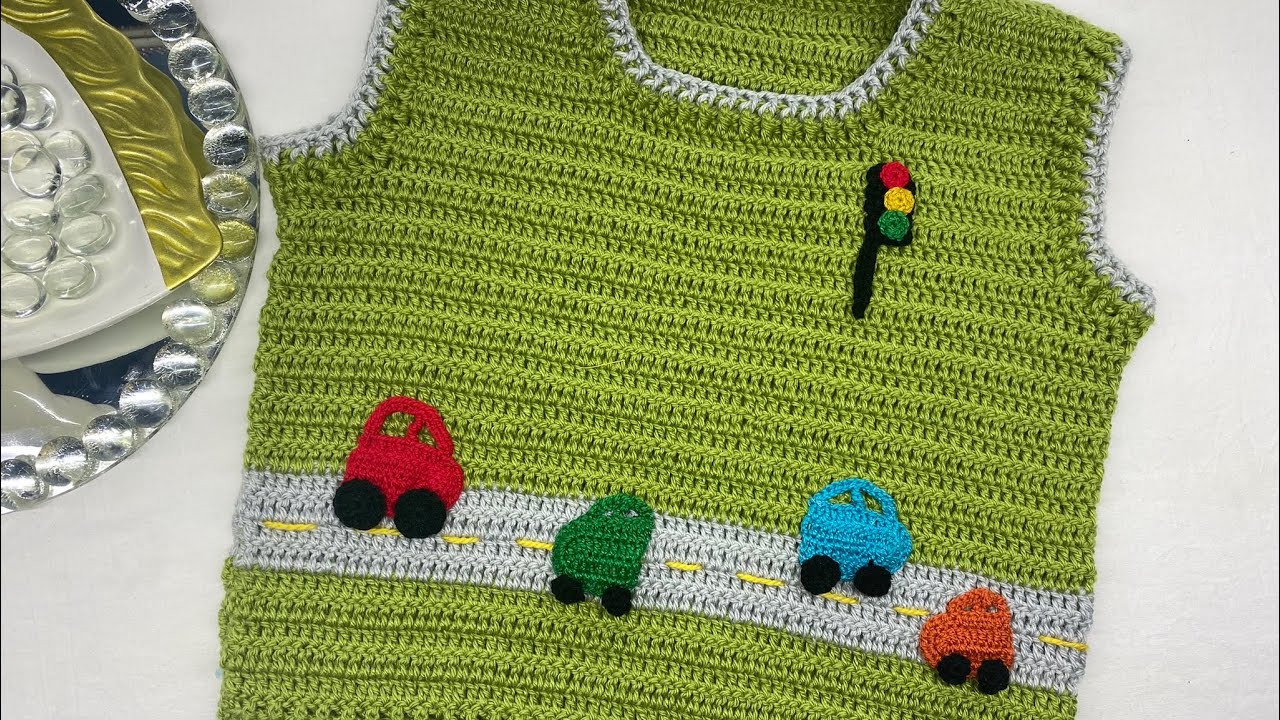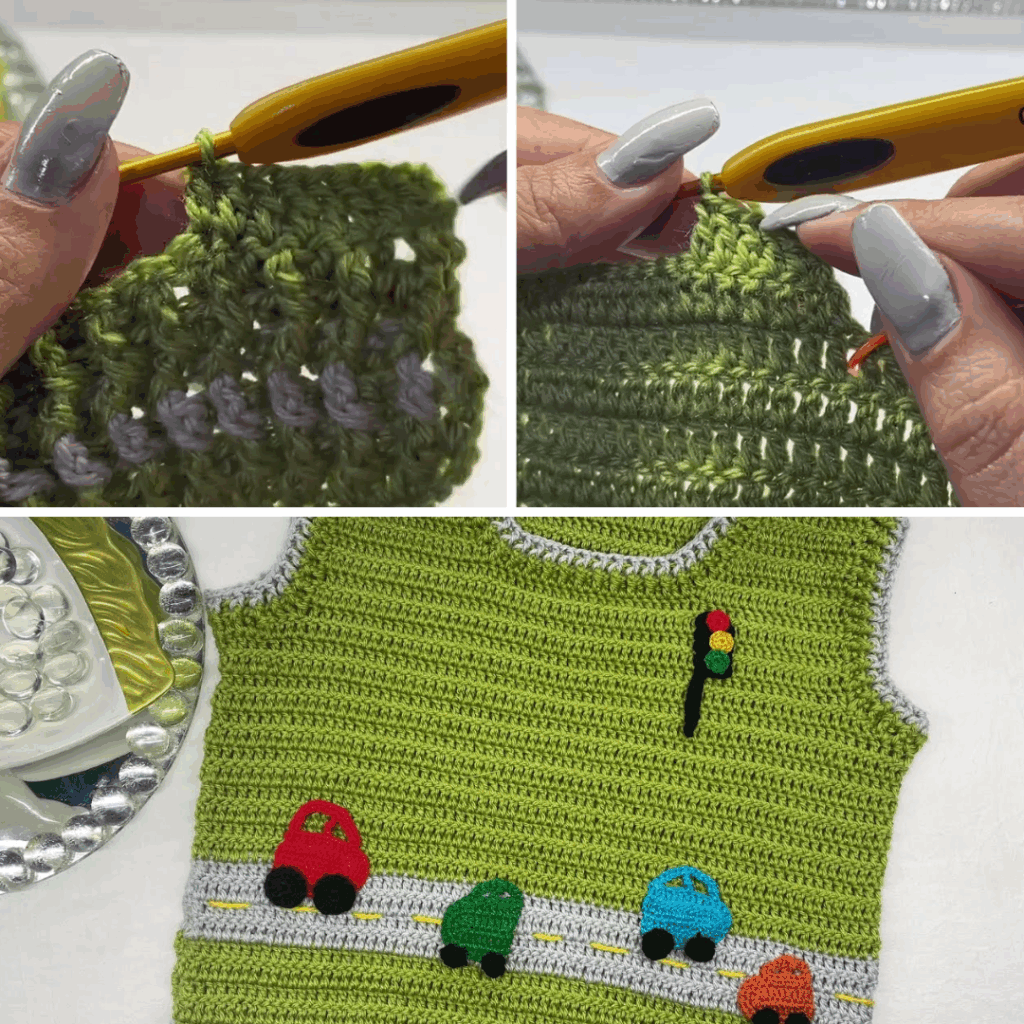
Dreaming of knitting a cozy, stylish vest but feel intimidated by complicated patterns? Good news! You can absolutely knit a super easy vest that looks fantastic and builds your confidence, even if you’re a beginner. This approach often involves simple shapes, basic stitches, and chunky yarn, letting you quickly create a wearable garment you’ll love. Think of it like building with large, simple blocks – straightforward, satisfying, and fast!
This detailed article will guide you through the principles of knitting a truly beginner-friendly vest, exploring why it’s so accessible, the key design elements, and how to create your own in no time.
Why This Vest Is “Super Easy”
The secret to a super easy knit vest lies in embracing simplicity:
- Minimal Shaping: Forget complex armhole curves or intricate necklines. These vests often rely on straight panels and clever seaming to create shape.
- Basic Stitches: You’ll primarily use just the knit stitch (and possibly the purl stitch for simple textures or ribbing). No need for advanced techniques.
- Chunky Yarn & Large Needles: This is your speed boost! Thicker yarn on bigger needles means fewer stitches per row and faster progress. Your vest will grow quickly.
- Straightforward Construction: Many easy vests are made from simple rectangles or squares that are then seamed together, much like building a simple car from basic components.
- Quick Satisfaction: Seeing your project take shape rapidly is incredibly motivating, encouraging you to keep knitting.
Designing Your Simple Knit Vest
Even with an “easy” approach, you have plenty of creative freedom to make your vest unique.
1. Yarn Choice: Comfort and Speed
The right yarn is crucial for both ease and appeal.
- Fiber: For a beginner-friendly and cozy vest, acrylic, a wool blend, or bulky cotton are excellent choices. They’re forgiving, durable, and often machine washable. Avoid very fine, slippery, or highly textured yarns for your first garment.
- Weight: Bulky (Category 5) or Super Bulky (Category 6) yarn is highly recommended. These weights work up quickly and create a lovely, substantial fabric.
- Color: Choose a color you love! Solids highlight stitch texture, while variegated or self-striping yarns create effortless color interest.
2. Stitch Pattern: Simple Yet Effective
Keep it simple for your first vest to build confidence.
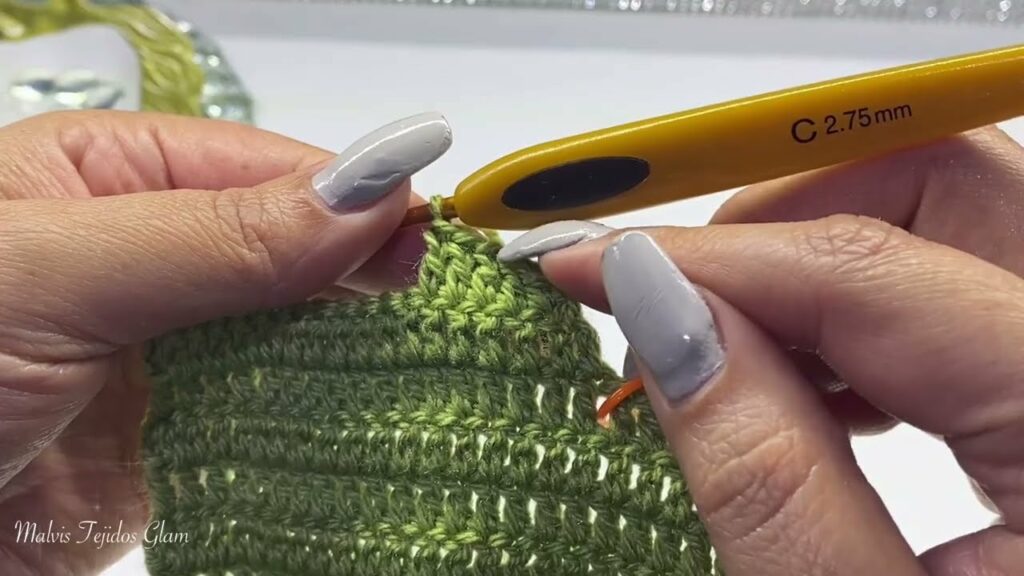
- Garter Stitch: This is the easiest knit stitch (you just knit every row). It creates a squishy, reversible fabric that lies flat and has a lovely textured look. It’s perfect for beginners as it doesn’t curl.
- Stockinette Stitch: This creates the classic “V” stitch pattern (knit one row, purl one row). It’s smooth and beautiful but tends to curl at the edges, so it often requires a border of garter or ribbing to keep it flat.
- Ribbing (Optional): Simple 1×1 (knit 1, purl 1) or 2×2 (knit 2, purl 2) ribbing can be used for the bottom hem, armholes, or neckline to provide elasticity and a neat, professional finish. This adds a little more complexity but is a valuable skill to learn.
3. Vest Style and Fit
- Shape: Most super easy vests are rectangular or slightly tapered. You can opt for a cropped length, hip-length, or even a longer tunic style.
- Fit: An oversized or relaxed fit is often easiest as it requires less precise shaping.
- Neckline: A simple V-neck (created by dividing your work and decreasing along the front edges) or a wide boat neck (simply leaving a wide opening when seaming shoulders) are common.
- Armholes: These are usually created by leaving unseamed sections when joining the front and back panels.
Materials You’ll Need to Get Started
- Yarn: Your chosen bulky or super bulky yarn (check your pattern for specific yardage, but typically 300-600 yards for an adult vest).
- Knitting Needles: The size recommended on your yarn label for the chosen weight (e.g., US 11-15 / 8.0-10.0mm).
- Scissors: For cutting yarn.
- Tapestry Needle (Yarn Needle): A blunt needle with a large eye, essential for seaming your vest pieces together and weaving in yarn ends.
- Stitch Markers (Optional but Recommended): Useful for marking sides, stitch counts, or the beginning of rows.
- Measuring Tape: Crucial for checking your gauge and panel dimensions.
Essential Knitting Skills You’ll Master
This project is designed to build fundamental knitting skills:
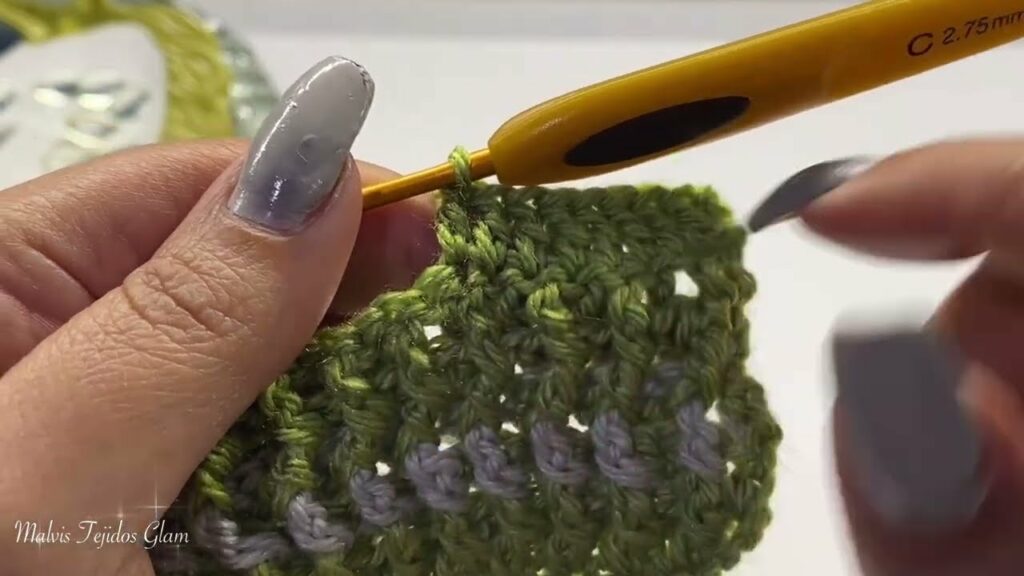
- Casting On: How to start your knitting project by getting stitches onto your needle.
- Knit Stitch (K): The core of most knitting.
- Purl Stitch (P) (if using Stockinette or ribbing): The counterpart to the knit stitch.
- Binding Off: How to finish your knitting securely so stitches don’t unravel.
- Seaming: How to neatly join knitted pieces together using a tapestry needle. This is vital for the modular construction.
- Weaving in Ends: The final step to a tidy, professional finish.
Construction Journey: Your “Easy Ride” to a Finished Vest
The most common “super easy” vest construction involves knitting two identical, simple rectangles.
- The Gauge Swatch (Do Not Skip This Step!):
- This is the single most important step for any knit garment. Before doing anything else, knit a swatch (at least 6×6 inches / 15×15 cm) in your chosen yarn and stitch pattern with your chosen needles.
- Block your swatch. Wash it gently, lay it flat, and let it dry. This is crucial because knitted fabric can change significantly after washing.
- Measure your stitches and rows per inch/cm accurately. If you have too many stitches per inch, go up a needle size. Too few, go down a size. Adjust your needles until your gauge matches your pattern’s recommendation (or your desired size). This ensures your vest will fit!
- Knit Panel 1 (The Back):
- Based on your gauge and desired finished width, cast on the calculated number of stitches.
- Work in your chosen stitch pattern (e.g., Garter stitch for ultimate ease) in straight rows until the panel reaches your desired length from the top of your shoulder to your hip.
- Bind off all stitches.
- Knit Panel 2 (The Front):
- Repeat the exact same steps as for Panel 1 to create an identical piece. If you want a V-neck, you’ll divide the front panel in half and work each side separately, decreasing stitches along the neck edge.
- Joining the Panels (The “Assembly Line”):
- Lay the two panels flat, right sides facing up.
- Shoulder Seams: Using your tapestry needle and a length of matching yarn, seam the top edges of the panels together. You’ll seam from the outer edge inwards, leaving a wide opening in the center for the neck (e.g., seam 4-6 inches in from each side, leaving a central 8-10 inch gap for the neck, depending on desired neck size).
- Side Seams: Seam the side edges of the panels together from the bottom hem upwards, leaving an opening at the top for the armholes (e.g., seam up 12-14 inches from the bottom, leaving an 8-10 inch gap at the top for the armholes, depending on desired armhole size).
- Finishing Touches (Optional but Recommended):
- Neckline/Armhole Edging: For a more polished look and added comfort, you can pick up stitches around the neck opening and armhole openings. Knit a few rows of garter stitch or ribbing, then bind off loosely. This helps define the edges and prevents curling (especially with Stockinette).
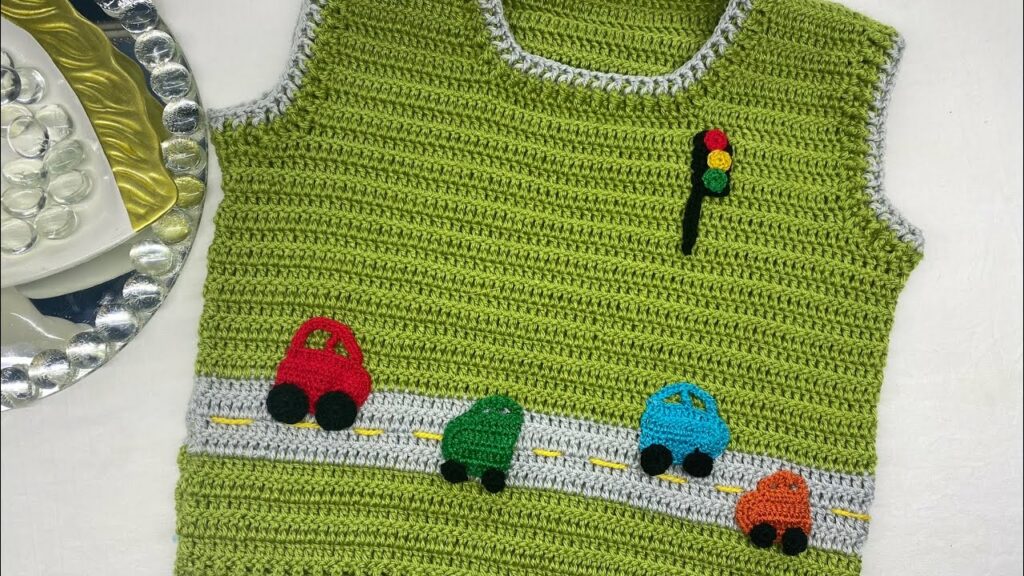
The Grand Finale: Polishing Your Vest
- Weave in All Ends: This is essential for a neat and durable vest. Take your time to meticulously hide all yarn tails securely within the stitches using your tapestry needle.
- Blocking: Even for a simple vest, blocking makes a huge difference. Gently wet your finished vest (or steam it), gently squeeze out excess water, reshape it to your desired dimensions (lay it flat on towels or blocking mats), and let it air dry completely. Blocking evens out stitches, relaxes the fabric, and gives your vest a beautiful, professional drape.
Knitting a “super easy” vest is a fantastic entry point into garment making. It allows you to quickly achieve a sense of accomplishment while building essential knitting skills. So, grab your needles and yarn, and zoom ahead to knit your very own comfortable and stylish vest!
What color are you imagining for your easy knit vest?
Video Tutorial ;
