by
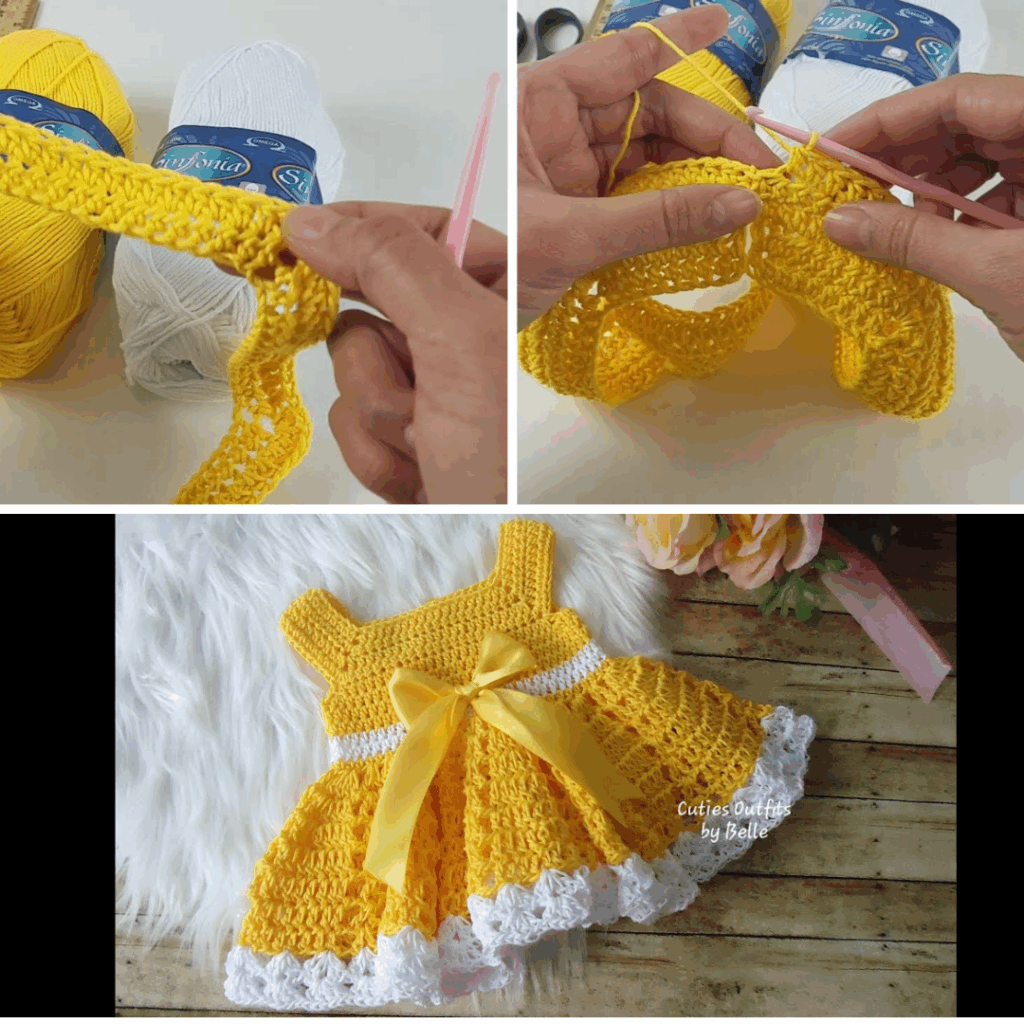
by There’s something truly special about a handmade gift for a new baby. A crocheted dress for a little one aged 0-3 months is not only adorable but also a project filled with love. This small size works up surprisingly quickly, making it a perfect project for a beginner looking to create a cherished keepsake. Imagine a little one wearing this soft, beautiful dress in the warm Phnom Penh weather!
This detailed, step-by-step tutorial will guide you through creating a simple, charming baby dress, starting from the top-down yoke, which means no seaming the body!
1. Planning Your Baby Dress: Key Decisions
A bit of planning ensures a smooth process and a beautiful finished dress.
- Choose Your Yarn: This is the most crucial decision for a baby item.
- For Baby’s Skin: Prioritize softness and washability. Baby acrylics are popular for their softness, durability, and easy care. Baby cotton or bamboo blends are excellent choices for their breathability, especially important in warmer climates like Phnom Penh. Avoid wool unless it’s specifically “superwash” and very soft, as it can be itchy for sensitive skin.
- Weight: DK (Double Knitting, Category 3) or Light Worsted (Category 3/4) weight yarn is ideal. It works up quickly but isn’t too bulky for a tiny dress.
- Color: Pastels are classic for babies (pinks, purples, mint green, yellow, white). Consider a variegated yarn for an easy multi-color effect.
- Choose Your Hook Size: Check your yarn label for the recommended hook size. For a 0-3 month dress, you’ll likely use a 3.5mm (E) to 4.5mm (G) hook, depending on your yarn and tension.
- Choose Your Stitch Pattern: Simple stitches are best for baby garments.
- Double Crochet (dc): A classic and fast stitch that creates a soft, somewhat open fabric.
- Half Double Crochet (hdc): Creates a denser fabric.
- Granny Stitch: Creates a lovely texture with small gaps, good for airflow.
- This tutorial will primarily use Double Crochet (dc) for the main body for speed and simplicity.
2. Essential Materials and Tools
Gather your supplies before you begin.
- Yarn: Approximately 100-150 yards (90-135 meters) of your chosen baby yarn.
- Crochet Hook: The size matching your yarn and desired tension (e.g., 4.0mm / G).
- Stitch Markers: Essential for marking increase points and the beginning of rounds.
- Tapestry Needle: For weaving in ends.
- Scissors.
- Small Buttons: 2-3 small, flat buttons (approx. 1/2 inch or 1.25 cm) for the back closure.
3. Understanding the Top-Down Construction
This dress is worked from the top down, starting with the yoke. The yoke is the top portion that covers the shoulders and chest. It’s worked flat initially to create a back opening, then joined to work in the round for the skirt. This method means no seaming for the body of the dress!
Standard Baby Size Chart (0-3 Months Approx.):
- Head Circumference: 14-16 inches (35.5-40.5 cm)
- Chest Circumference: 16-17 inches (40.5-43 cm)
- Yoke Depth (from neck to underarm): 4-4.5 inches (10-11.5 cm)
4. The Construction Journey: Step-by-Step Crochet
Let’s begin crocheting your sweet baby dress!
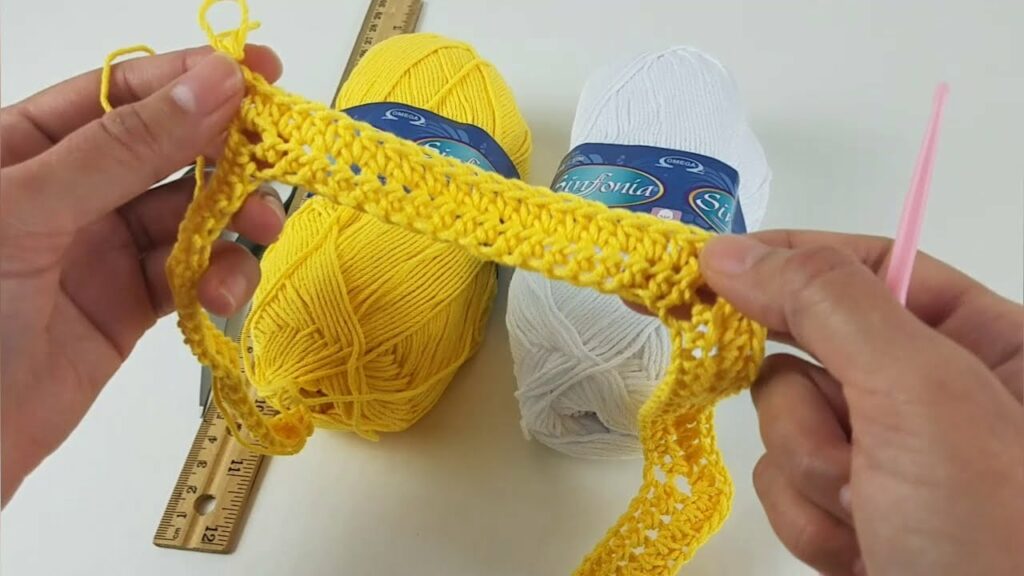
Step 1: The Yoke (Starting Chain & First Rounds)
The starting chain should loosely fit around the baby’s neck. A chain of 50-60 stitches is a good starting point for 0-3 months.
- Starting Chain: Chain 50 (or your desired starting chain).
- Row 1: In the 3rd chain from hook, dc. Dc in each chain across. (48 dc) Turn.
- Row 2 (Increase Row): Chain 2 (counts as first dc). 2 dc in first st, 1 dc in next 5 sts (this creates the corner). Repeat * from * 3 more times. You’ll now have your 4 main increase points. Use stitch markers to mark the second dc of each 2-dc increase. Dc in each remaining st across. Turn.
- Self-correction example breakdown for a Chain 50 start:
- Chain 50.
- Row 1: Dc in 3rd ch from hook and each ch across. (48 dc)
- Row 2 (Start of shaping): Ch 2 (counts as 1st dc).
- (Dc, Ch 1, Dc) in first st (or just 2 dc in one st, depending on pattern preference, a ch 1 corner often makes it flatter).
- Dc in next 8 sts (Front Panel).
- (Dc, Ch 1, Dc) in next st (Armhole Corner 1).
- Dc in next 12 sts (Sleeve Panel 1).
- (Dc, Ch 1, Dc) in next st (Back Corner).
- Dc in next 8 sts (Back Panel).
- (Dc, Ch 1, Dc) in next st (Armhole Corner 2).
- Dc in next 12 sts (Sleeve Panel 2).
- (Dc, Ch 1, Dc) in next st (Front Corner).
- Dc in remaining 8 sts (Front Panel).
- Turn.
- Adjusting the counts: The key is to have the increases distribute stitches for two front panels, two sleeves, and one back panel. A common starting distribution for 0-3 months might be: 6 sts (front), corner, 10 sts (sleeve), corner, 14 sts (back), corner, 10 sts (sleeve), corner, 6 sts (front).
- Self-correction example breakdown for a Chain 50 start:
- Repeat Increase Rows: Continue working increase rows (often 2 dc, ch 1, 2 dc or just 2 dc in the corner chain-1 space or designated stitch) in each of the four corner points for several rows until the yoke measures approximately 4-4.5 inches (10-11.5 cm) from the neckline to the bottom of the armhole.
- Periodically, fold the yoke and lay it flat to check the size. It should roughly fit the chest circumference when measured flat across.
Step 2: Divide for Body and Sleeves
Once the yoke is the correct depth, you will separate the armholes.
- Next Row: Chain 2. Work in dc across the stitches of the first Front Panel.
- Skip Sleeve: Chain 2 (this creates the underarm space). Skip all stitches of the first Sleeve Panel.
- Work Back Panel: Work in dc across all stitches of the Back Panel.
- Skip Sleeve: Chain 2. Skip all stitches of the second Sleeve Panel.
- Work Second Front Panel: Work in dc across the stitches of the second Front Panel.
- Join: At the end of this row, you will join with a slip stitch to the top of the initial chain-2 to begin working in the round. This closes the circle for the body of the dress.
Step 3: The Skirt (Working in the Round)
Now, the dress body will grow downwards.
- Work Straight: Continue working in dc in continuous rounds, or join each round with a slip stitch and chain up, depending on your preference.
- Increase for Flare (Optional): If you want a more flared skirt, you can add a few increases evenly around every few rounds (e.g., 2 dc in one stitch every 10th stitch). For a gentle A-line, you might not need many increases, or none at all if your stitch is naturally open.
- Continue Working: Work until the dress reaches the desired length for a mini or knee-length dress for a baby. (A common length for 0-3 months is 9-11 inches / 23-28 cm from shoulder to hem).

Step 4: Finishing Touches
- Sleeve Edging (Optional): Attach yarn to the bottom of an armhole. Work a few rounds of single crochet (sc) or a pretty shell stitch border around the armhole opening to finish the edges. Repeat for the second armhole.
- Neckline & Back Opening Edging: Work a round of single crochet around the entire neckline and down both sides of the back opening. This cleans up the edges and prepares for buttons.
- Button Loops: On one side of the back opening, create button loops. You can do this by chaining 3-4 stitches (depending on button size) and slip stitching into a nearby stitch. Space these loops evenly for your buttons.
- Buttons: Sew your small buttons onto the opposite side of the back opening, aligning them with the button loops.
- Weave in All Ends: Use your tapestry needle to meticulously weave in every yarn tail for a neat and professional finish.
Video Tutorial :
You’ll be delighted by how easy it is to create this sweet and cheerful baby dress. It’s a wonderful reminder that with a bit of yarn and creativity, you can stitch warmth and love into any garment for a special little one!