 by
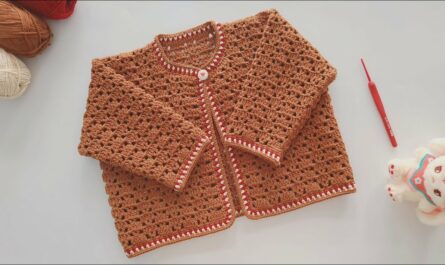
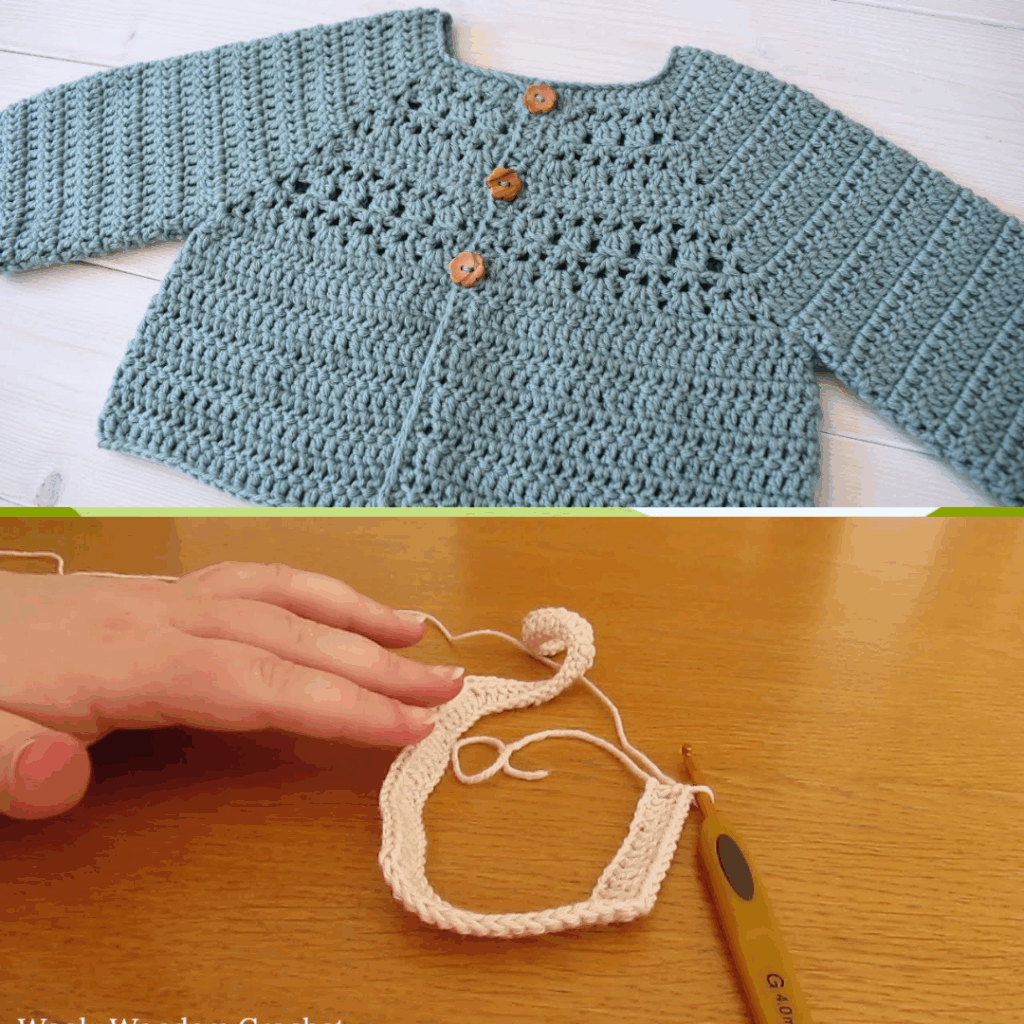
by Crocheting a baby cardigan is a heartwarming project, perfect for gifting, cherishing, or preparing for a little one. A handmade cardigan not only keeps a baby warm but also showcases the time, care, and love stitched into every loop. Whether you’re an experienced crocheter or a beginner looking for a new challenge, this guide will walk you through how to make a pretty baby cardigan with ease.
🧶 What You’ll Need
Before you begin crocheting, gather the right tools and materials:
Materials:
- Soft Baby Yarn (DK or lightweight #3 yarn) – approx. 200g for a 0-6 month size
- Crochet Hook – Size 4mm (G-6) or recommended for your yarn
- Yarn Needle – for weaving in ends
- Scissors
- Buttons (3-5 small, optional)
- Measuring tape
- Stitch Markers (optional)
📏 Sizing Guide
You can adjust your cardigan size based on the baby’s age. Here’s a quick reference:
| Age | Chest (inches) | Length (inches) | Yarn Needed |
|---|---|---|---|
| 0-3 months | 16” | 9” | ~150g |
| 3-6 months | 17” | 10” | ~175g |
| 6-12 months | 18” | 11” | ~200g |
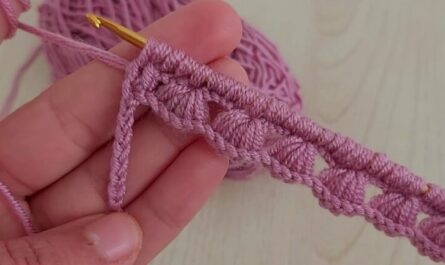
🧵 Basic Stitches Used
- Chain (ch)
- Slip Stitch (sl st)
- Single Crochet (sc)
- Half Double Crochet (hdc)
- Double Crochet (dc)
- Increasing & Decreasing – used for shaping
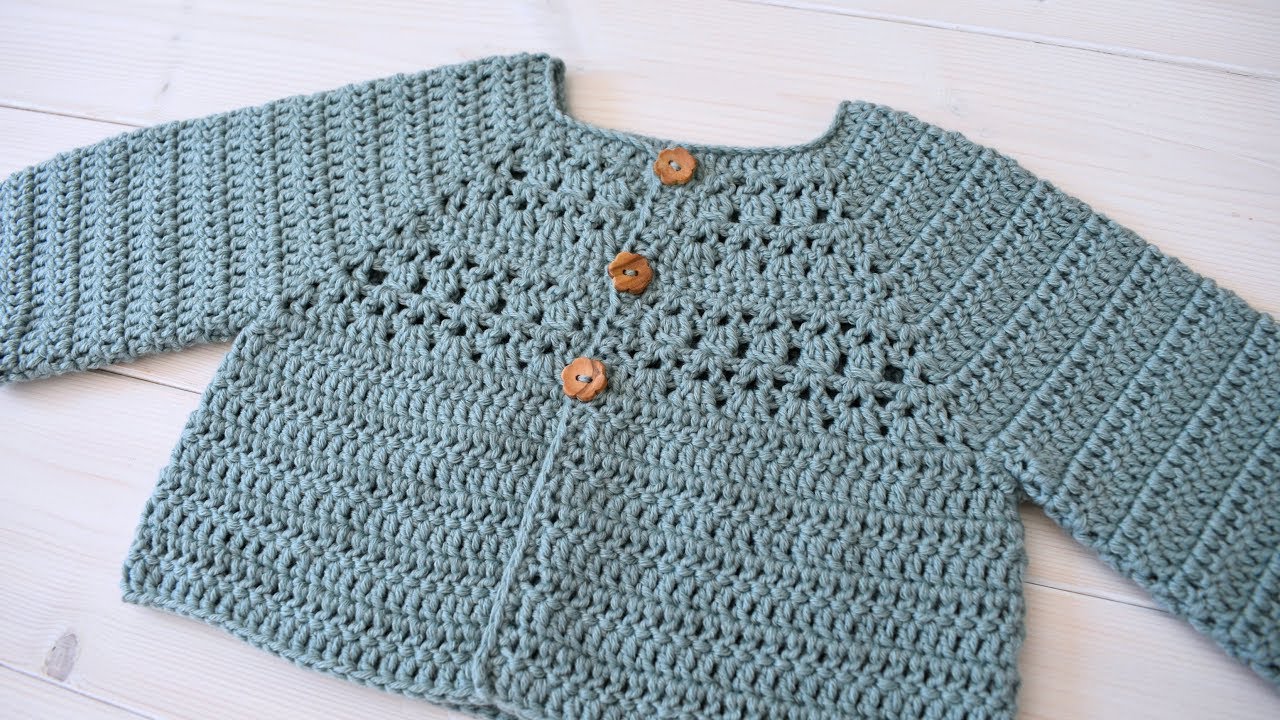
🧷 Step-by-Step Pattern: Top-Down Baby Cardigan
This pattern uses a top-down yoke method, meaning you work from the neck down, forming the body and sleeves as you go.
🔹 Step 1: Create the Yoke
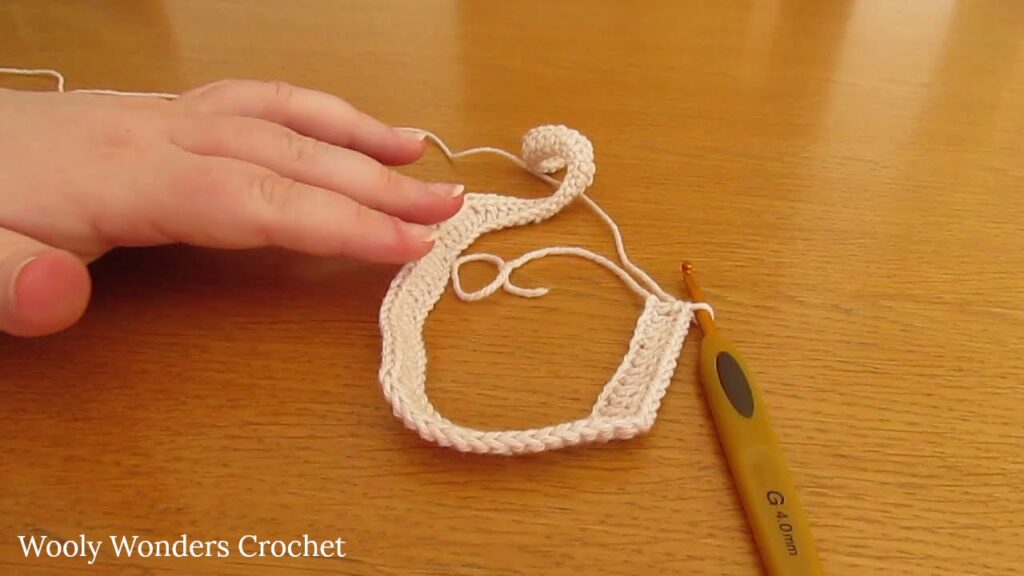
- Chain 50 (or adjust to size needed for neckline)
- Row 1: Dc in 4th ch from hook and across. (47 dc)
- Row 2: Ch 2 (counts as dc), turn. Place stitch markers to divide into 5 sections:
- Left front (7 dc)
- Sleeve (7 dc)
- Back (19 dc)
- Sleeve (7 dc)
- Right front (7 dc)
- Row 3-10: Increase on either side of each stitch marker (2 dc in same stitch) every row.
- This creates a rounded yoke for the neck and shoulder area.
- Your stitch count should increase every row.
🔹 Step 2: Divide for Sleeves
On your final yoke row:
- Crochet across the left front, then
- Chain the number of stitches skipped for the sleeve (usually 3–5 more than the arm section for flexibility),
- Skip the sleeve stitches,
- Continue crocheting across the back,
- Repeat the same chain-skip process for the second sleeve,
- Finish the row across the right front.
🔹 Step 3: Work the Body
Now that the sleeves are separated:
- Continue working dc (or hdc for a denser fabric) rows back and forth for the body.
- Repeat until the cardigan reaches your desired length (usually 9–11 inches from the neckline).
- Optionally, add a ribbed edge by:
- Working front post double crochet (fpdc) and back post double crochet (bpdc) for 2-3 rows at the hem.
🔹 Step 4: Add the Sleeves
- Join yarn at the underarm.
- Crochet in rounds or rows around the sleeve opening using dc or hdc.
- Decrease a few stitches gradually if you want tapered sleeves.
- Continue until sleeve reaches desired length (4–6 inches for short sleeves, 6–8 for long).
- Finish with the same ribbing used on the body.
🔹 Step 5: Add Edging & Button Bands
- With your cardigan open, attach yarn to the bottom front edge.
- Work sc evenly up the front, around the neck, and down the other side.
- Do 1-2 rounds of sc for a neat edge.
- On the second front panel, create buttonholes:
- For every 6-8 rows, leave a chain gap (e.g., ch 2, skip 2 stitches) to place buttons.
🔹 Step 6: Finishing Touches
- Sew buttons securely on the opposite front panel.
- Weave in all yarn ends using a yarn needle.
- Gently block the cardigan by steaming or wetting it slightly and laying it flat to shape.
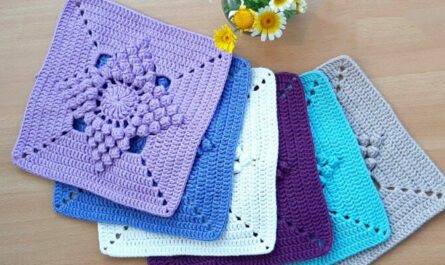
🎀 Optional Embellishments
- Crochet flowers or hearts sewn onto the front
- Lacy edging along the hem or cuffs
- Contrasting color yarn for borders or sleeves
- Appliqués like teddy bears or stars for decoration

🧼 Care Instructions
Use machine-washable, hypoallergenic yarn made for babies. Most baby yarns are soft acrylic or cotton blends. Wash the cardigan on gentle cycle, cold water, and lay flat to dry to maintain its shape.
🪡 Final Tips
- Practice the stitches first if you’re new to crochet.
- Use stitch markers to keep track of increase points.
- If unsure about sizing, make the cardigan slightly bigger—babies grow fast!
- Consider making a matching hat or booties for a full set.
❤️ Why Crochet a Baby Cardigan?
Handmade garments are cherished gifts. A crocheted cardigan offers warmth, comfort, and sentimental value, making it a perfect present for baby showers, birthdays, or “just because.” Plus, once you get the hang of it, you can experiment with patterns, yarns, and styles to make truly unique pieces.
Video Tutorial: