 by
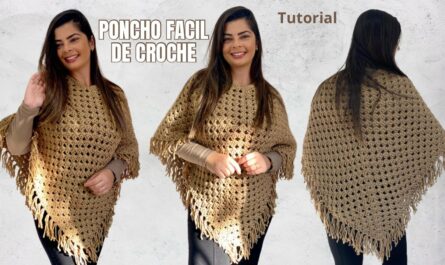
by Fair Isle crochet sweaters aren’t just beautiful — they’re warm, customizable, and a fun way to work with color. While traditional Fair Isle patterns are often associated with knitting, crocheters can replicate the look using tapestry crochet or intarsia techniques. This guide will walk you through making a Fair Isle-style sweater for children, using crochet techniques to mimic the iconic colorwork style.
🧵 What is Fair Isle Crochet?
Fair Isle crochet refers to using two or more colors in a row to create repeating patterns or motifs. In crochet, this is typically done using tapestry crochet—where you carry unused yarn along while working stitches with the active color—or intarsia, where colors are dropped and picked up as needed.
📏 Skill Level:
Intermediate
This project assumes familiarity with:
- Working in the round
- Changing colors in crochet
- Reading color charts
- Shaping with increases and decreases
📋 Materials Needed
| Item | Description |
|---|---|
| Yarn | DK or worsted weight (size 3 or 4) yarn in at least 2–4 colors (main color + contrast colors) |
| Hook | 4.0 mm (G) or 4.5 mm (7) depending on yarn |
| Tapestry Needle | For weaving in ends |
| Stitch Markers | Useful for marking sleeve joins and rounds |
| Measuring Tape | For checking sizing |
| Graph Paper/Chart | Or a printed Fair Isle motif chart |
✅ Yarn Suggestion: Use soft acrylic or superwash wool blends that are machine washable and comfortable against the skin.
👶 Sizing Guide (Estimate for Children)
| Size | Chest Circumference | Sweater Length |
|---|---|---|
| 2–4 yrs | 22″ | 14–16″ |
| 5–7 yrs | 24–26″ | 17–19″ |
| 8–10 yrs | 28–30″ | 20–22″ |
Note: It’s best to take actual measurements or refer to a child’s clothing for more precise sizing.
🧶 Basic Stitches & Techniques
- Ch – Chain
- Sc – Single Crochet
- Hdc – Half Double Crochet
- Dc – Double Crochet
- Sl St – Slip Stitch
- Inc – Increase (2 stitches in one stitch)
- Dec – Decrease (combine two stitches)
For the Fair Isle look, use single crochet in the back loop only (sc-blo) — it creates a tighter, neater colorwork fabric.
🪡 Step-by-Step Pattern: Fair Isle Children’s Sweater
We’ll crochet this sweater top-down, working in the round with raglan-style increases and incorporating Fair Isle patterns in the yoke and lower body.
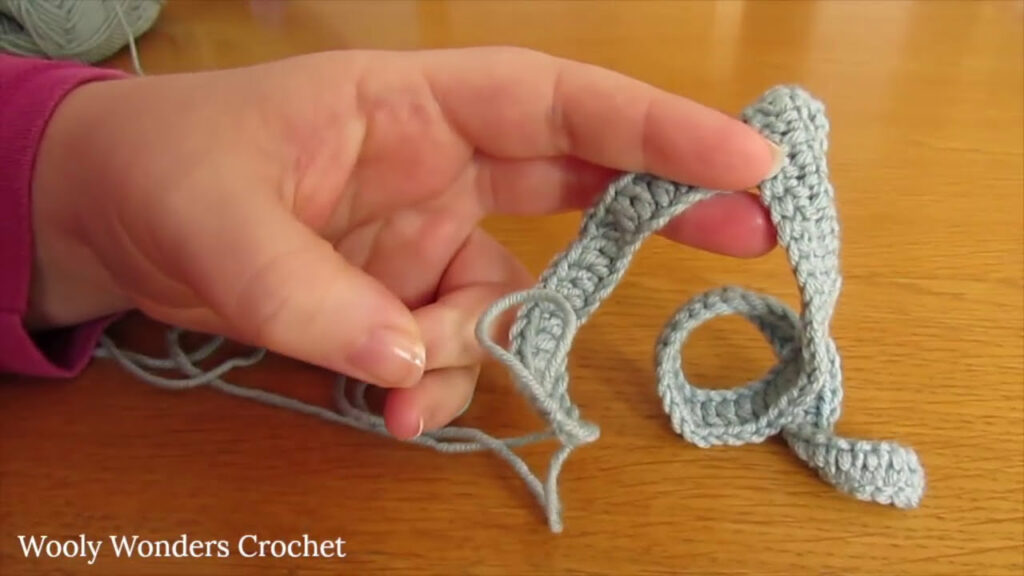
✳️ Step 1: Create the Neckline
Foundation Round:
Ch a number that matches the child’s neck size, e.g., 56 chains (2–4 yrs), and join with a slip stitch.
Ch 1, sc in each stitch around. Join.
Neck Ribbing (Optional):
Work 4–5 rounds of sc-blo for a stretchy ribbed look.
🔼 Step 2: Work the Yoke with Raglan Increases
Switch to dc for body of sweater.
Round 1:
Place stitch markers to divide the neckline into 4 equal parts (front, back, and two sleeves).
Example:
For 56 stitches:
- 10 front, 10 back, 3 for each sleeve, and 4 stitches for raglan increase (1 at each corner).
Raglan Increase Rounds (Rounds 2–8):
At each marker, do: (dc, ch 1, dc) to create raglan lines. Work dc in all other stitches.
Repeat these rounds, increasing in the same spots, until the yoke reaches the child’s upper chest (approx. 5–6” for toddler size).
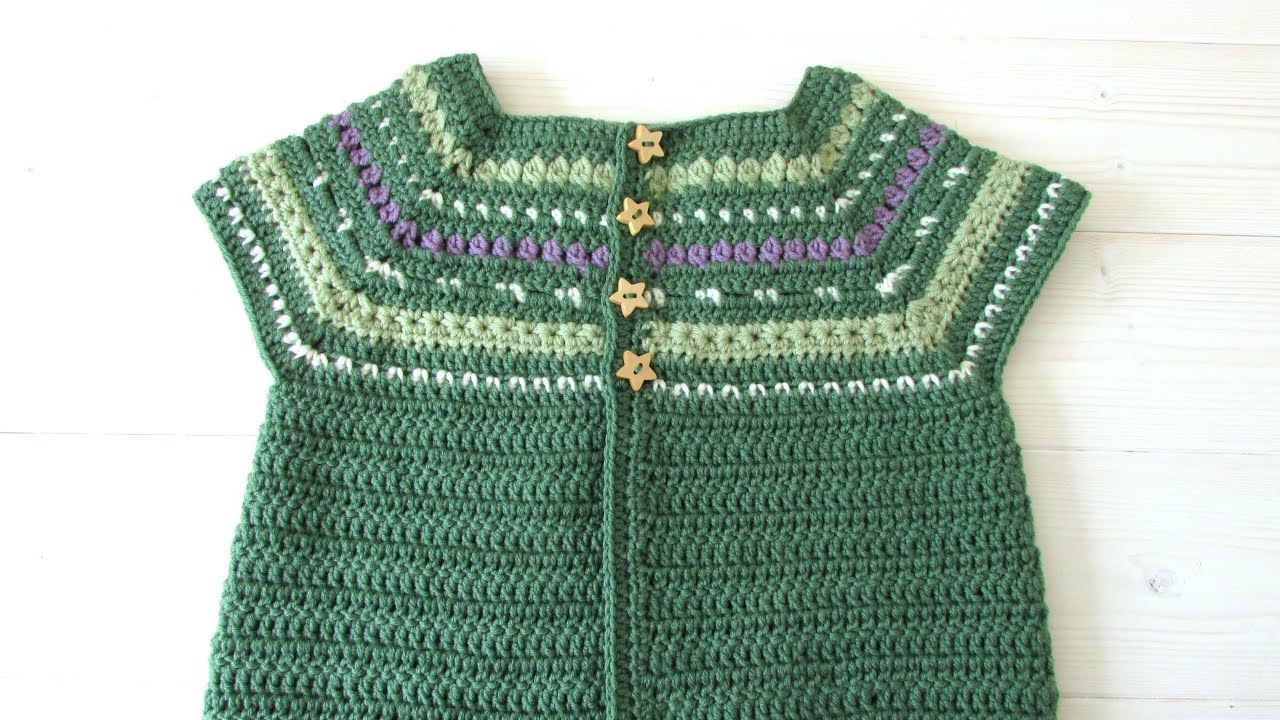
🧶 Step 3: Add Fair Isle Motif to the Yoke
Choose a Simple Motif:
Snowflakes, diamonds, hearts, or zigzag lines are ideal. Use a chart or make your own.
Colorwork Setup:
- Switch to sc-blo to work the motif.
- Carry unused yarn loosely inside stitches (tapestry style) or use bobbins for intarsia if large gaps exist.
- Keep floats loose and smooth inside.
Work 5–10 rounds of your chosen Fair Isle pattern.
Example:
Round 1: [1 MC, 1 CC] repeat – checkerboard
Round 2: [3 MC, 1 CC] repeat – dots
Round 3: [V shape motif with CC on MC background]
🟡 Step 4: Divide for Sleeves and Body
At the end of the yoke:
- Place stitches for sleeves on stitch holders or scrap yarn.
- Join the front and back under the arms by chaining 4–6 stitches between them.
- Continue working in the round for the body.
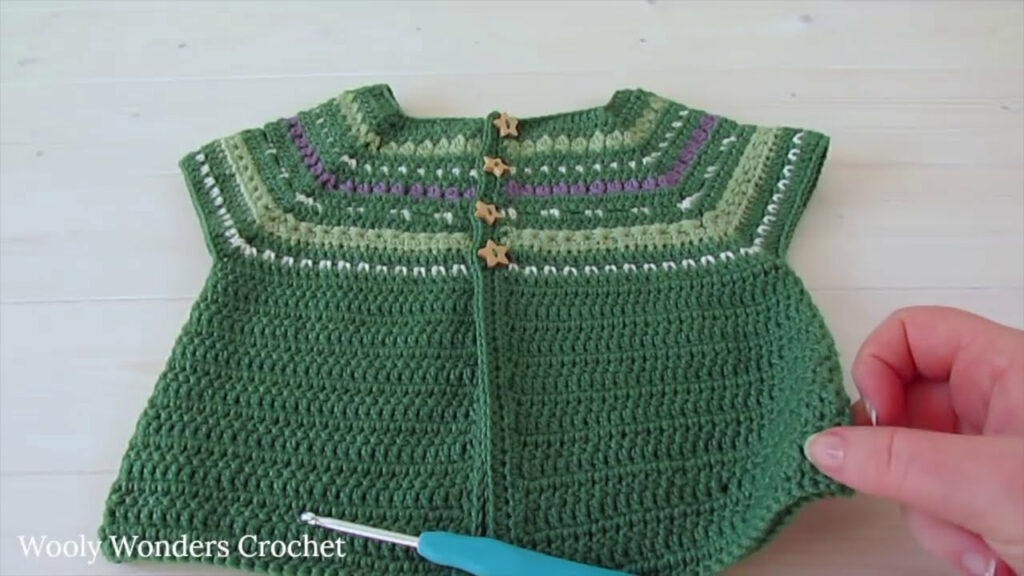
🧣 Step 5: Crochet the Body
Continue in dc rounds (or sc-blo for a tighter texture).
Optional: Add another Fair Isle band at the bottom section using a different motif.
Work until the sweater reaches the desired length (see sizing chart).
Hem:
Switch to sc-blo for the last 4–5 rounds for a ribbed look, or use fpdc/bpdc (front post/back post dc) for ribbing.
👕 Step 6: Sleeves
Return to held sleeve stitches.
- Attach yarn and work in rounds.
- Decrease every few rounds for shaping (e.g., dc2tog every 6th round).
- Add Fair Isle section near the cuff if desired.
Cuff:
Finish with 4–5 rounds of sc-blo or fpdc/bpdc for ribbing.
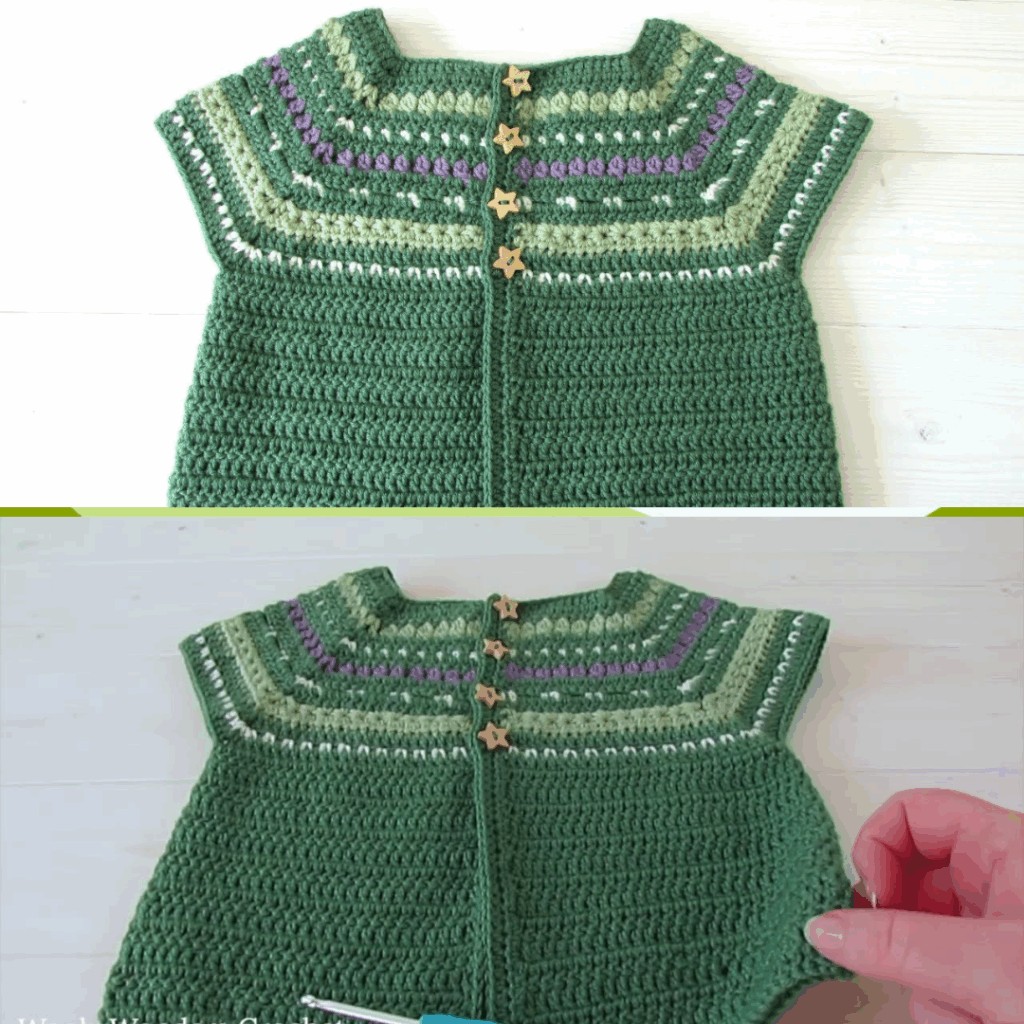
🧼 Step 7: Finishing
- Weave in all ends securely.
- Steam block or lightly wet block to smooth and relax stitches (especially the colorwork).
- Sew on decorative buttons or patches if desired.
🖌️ Customization Ideas

- Colors: Choose high contrast between MC (main color) and CC (contrast colors) for bold motifs.
- Motif Placement: Use motifs only in the yoke, or repeat at hem and sleeve cuffs.
- Neckline Options: Try a rolled collar or buttoned shoulder for easy dressing.
- Bottom-Up Option: Advanced crocheters can reverse the construction for a different fit.
✅ Tips for Crocheting Fair Isle
- Always carry yarn loosely across the back — too tight and the fabric puckers.
- Work in good lighting to see color changes clearly.
- If colorwork is hard in rounds, you can work flat in panels and seam later (less stretch, though).
- Keep your tension even — gauge matters more with colorwork.
🧵 Conclusion
A Fair Isle crochet children’s sweater is a stylish, practical, and rewarding project. With colorful motifs and cozy yarn, you can create a custom sweater that’s as warm as it is adorable. Once you master the technique, you can adapt the pattern for different sizes, seasons, or even adult versions.
Video Tutorial: