 by
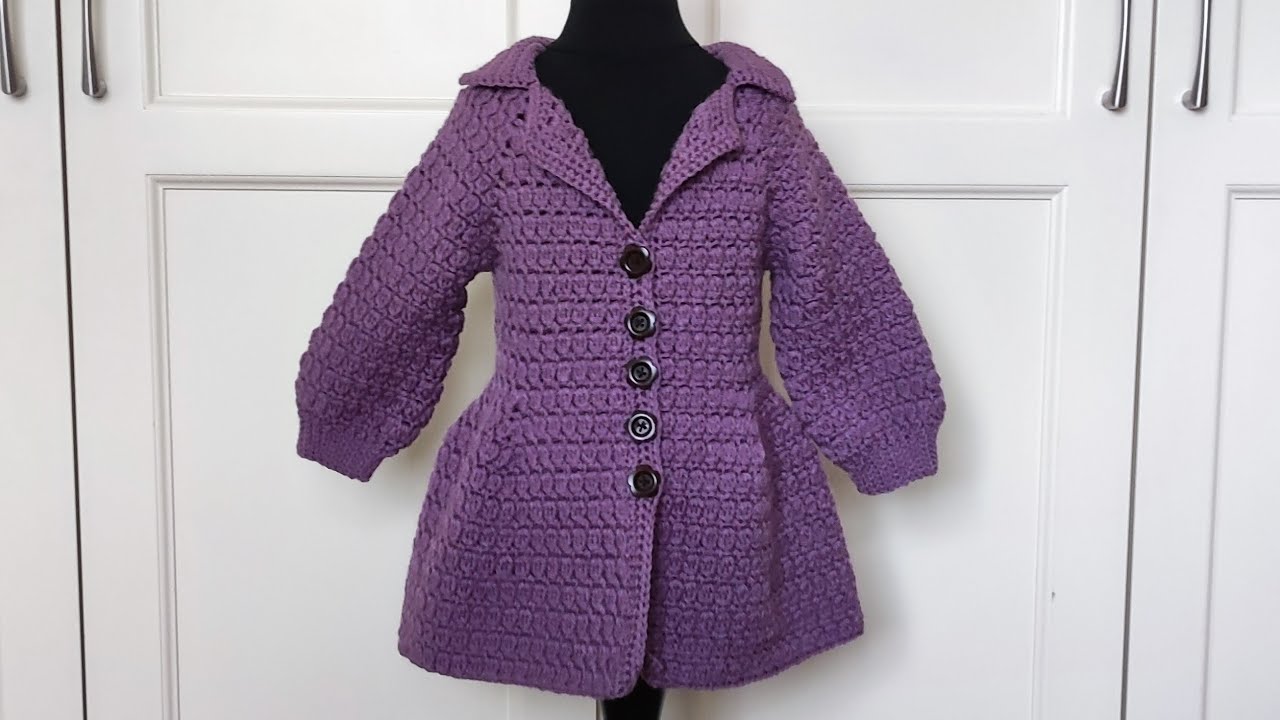
by An open-neck cardigan for a girl is a versatile and stylish addition to any wardrobe. Unlike a full coat, it’s perfect for layering, offering just the right amount of warmth for transitional weather or cooler indoor environments. The “open neck” design provides a relaxed, comfortable fit and allows for showcasing the outfit underneath.
This detailed guide will walk you through the process of crocheting an open-neck cardigan for a girl, focusing on elements that ensure it’s both beautiful and practical.
Understanding the “Open Neck” Design
The “open neck” cardigan, sometimes called an “open front” or “waterfall” cardigan, is characterized by:
- No Closure: Typically, there are no buttons, zippers, or ties at the front. The fronts simply drape open.
- Relaxed Neckline: The front edges often curve gently, creating a soft, unconstricted opening that can sometimes extend to a “V” shape or a subtle waterfall effect.
- Layering Focus: Designed to be worn over other garments, allowing the base layer to show through.
Key Considerations for a Girl’s Cardigan
When crocheting for a child, comfort, durability, and ease of wear are paramount:
- Softness: Choose yarns that feel gentle against sensitive skin.
- Washability: Kids’ clothes get dirty! Opt for machine-washable yarns whenever possible.
- Durability: Stitches and yarn should hold up to active play and frequent washing.
- Ease of Movement: Ensure the design allows for unrestricted movement.
- Growth: Consider making it slightly oversized or choosing a size up to allow for growth.
Planning Your Open-Neck Cardigan Project
A successful garment project starts with thorough planning:
- Size Selection: Refer to standard children’s clothing size charts (e.g., 2T, 4T, 6, 8, etc.). Measure the child’s chest circumference, arm length from shoulder to wrist, and desired overall length from shoulder to hip/thigh. Cardigans are forgiving in fit, but accurate measurements help.
- Choose a Pattern (Highly Recommended!): While this guide provides general principles, a well-written pattern is invaluable. Look for patterns specifically designed for open-neck or open-front cardigans for children. Patterns will provide:
- Detailed stitch counts for various sizes.
- Specific instructions for shaping (armholes, neckline, sleeve tapering).
- Crucially, gauge information.
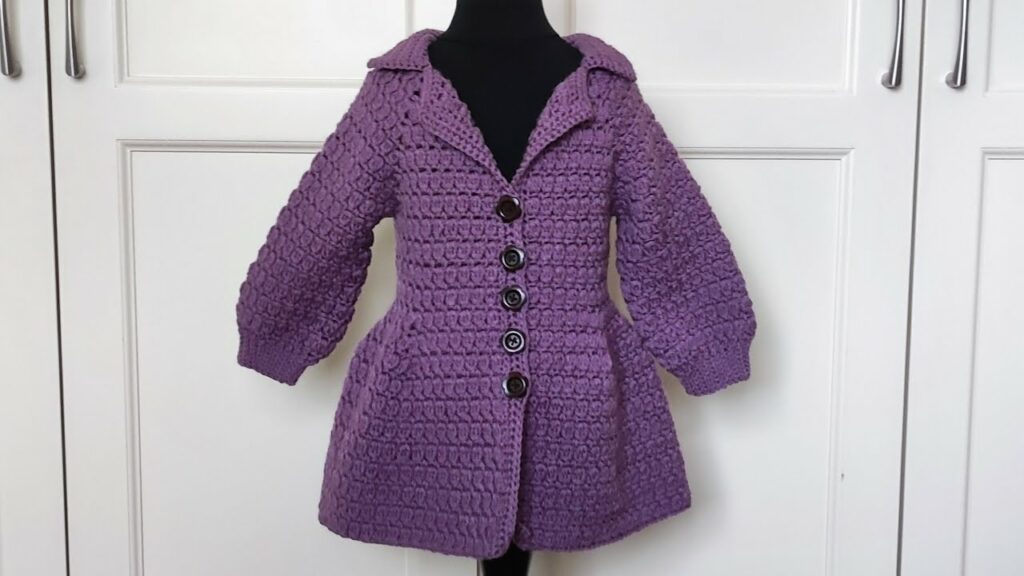
- Clear photos of the finished cardigan.
- Construction Method:
- Top-Down (Seamless Raglan): A popular and excellent choice for children’s garments. You start at the neckline and work downwards, increasing stitches along “raglan lines” to form the shoulders and body in one seamless piece. Sleeves are then worked directly from the armholes. This minimizes seaming.
- Panel Construction (Bottom-Up or Side-to-Side): Crochet the back panel, two front panels, and two sleeves separately, then seam them together. This method offers more control over shaping and can be easier for stitch patterns that work best flat.
- Rectangle-Based: Some very simple open-front cardigans are made from one or two large rectangles, folded and seamed. This is very beginner-friendly but offers less tailored shaping.
- Gauge Swatch (Essential!): This step cannot be skipped for wearable items. Crochet a swatch (at least 4×4 inches / 10×10 cm) using your chosen yarn and hook, working in the main stitch pattern of the cardigan. Measure your stitches and rows carefully. If your gauge doesn’t match the pattern’s, adjust your hook size (go up for fewer stitches per inch, down for more) until it does. An incorrect gauge will result in a cardigan that’s too big, too small, or has the wrong drape.
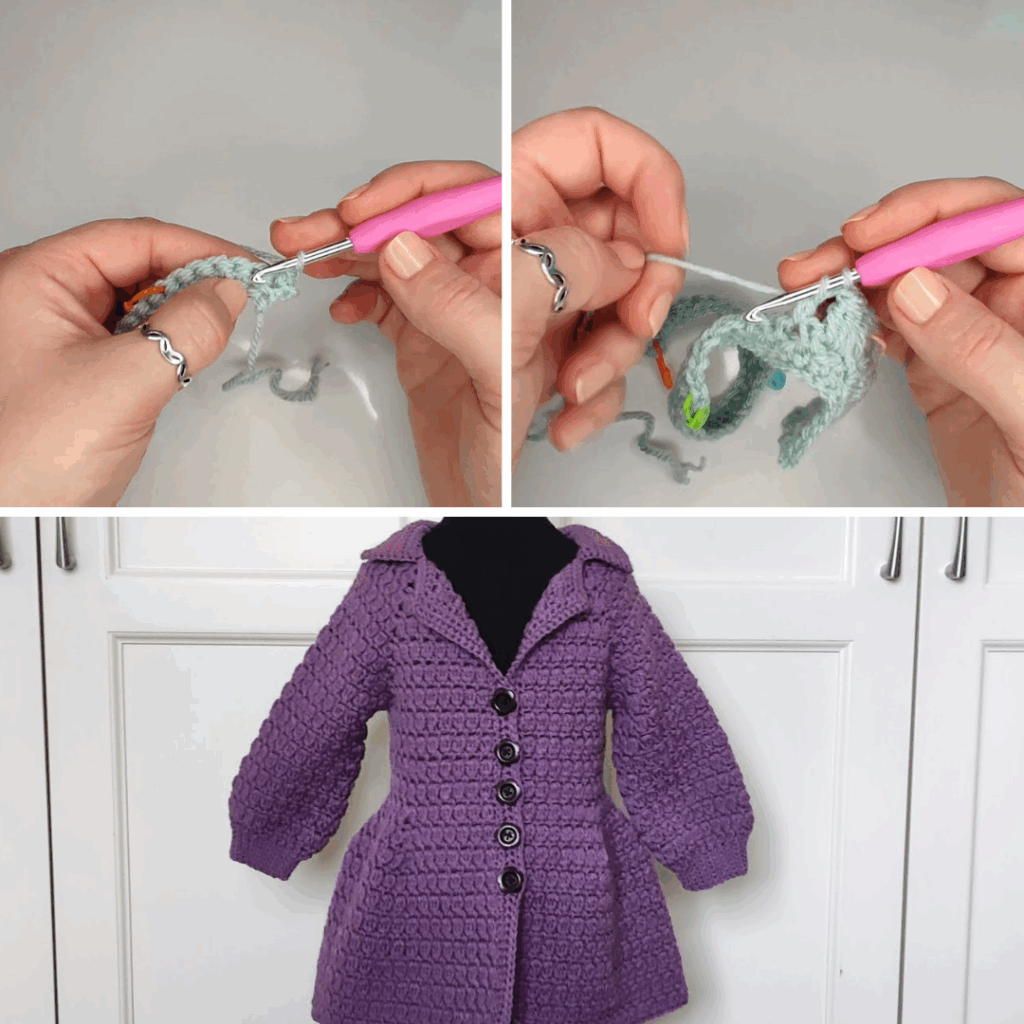
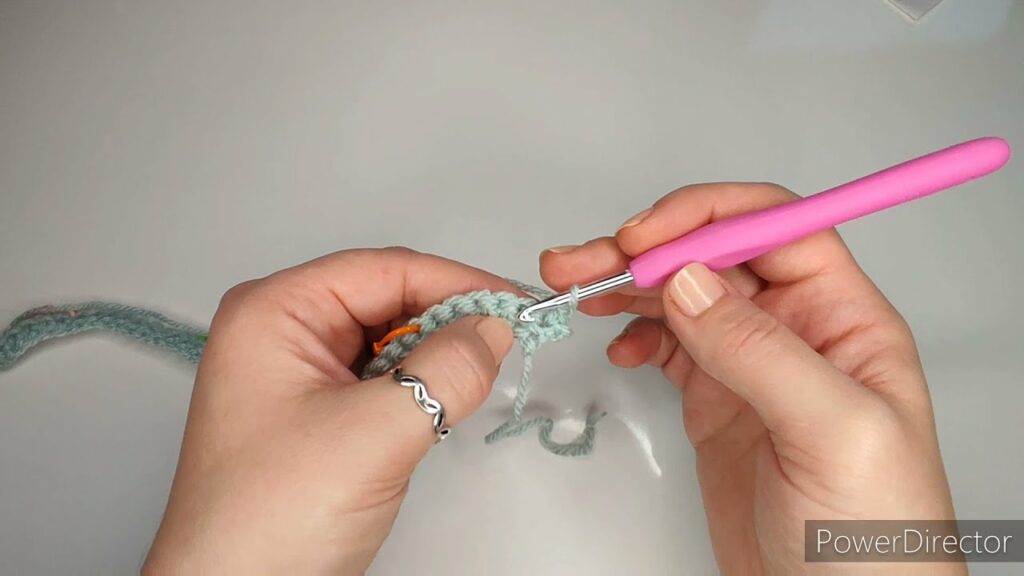
VIDEO TUTORIAL PART 1 ;
Materials You’ll Need
- Yarn:
- Weight: DK (Double Knitting / Category 3) or Worsted (Category 4) are excellent choices, offering a good balance of warmth and drape. For a lighter cardigan, Sport (Category 2) can work.
- Fiber:
- Superwash Merino Wool: Incredibly soft, warm, breathable, and machine washable, making it ideal for children.
- Cotton or Cotton Blends (Cotton/Acrylic, Cotton/Bamboo): Great for warmer climates or if breathability is a priority. They offer good stitch definition and are often machine washable.
- High-Quality Acrylic (Anti-pilling): Modern acrylics are very soft, durable, hypoallergenic, and extremely easy to care for, available in a vast array of colors.
- Bamboo Blends: Known for their softness and lovely drape.
- Quantity: Typically 2-5 skeins, depending on the size of the cardigan and the yarn weight.
- Crochet Hook: The size recommended by your pattern, adjusted based on your gauge swatch.
- Notions:
- Stitch Markers: Invaluable for marking raglan lines (if top-down), beginning of rows/rounds, and important shaping points.
- Tapestry Needle: For neatly weaving in yarn ends.
- Scissors: Sharp and dedicated for yarn.
- Measuring Tape: For checking gauge and dimensions.
- Blocking Mats and T-pins (Optional but Recommended): For professional shaping and finish.
Key Crochet Techniques for an Open-Neck Cardigan
You’ll utilize a combination of fundamental and garment-specific techniques:
- Basic Stitches: Chain (ch), Slip Stitch (sl st), Single Crochet (sc), Half Double Crochet (hdc), Double Crochet (dc). These will form the core fabric.
- Increasing & Decreasing: Essential for shaping the body (e.g., raglan increases), sleeves (tapering), and creating the open neckline.
- Working in Rows & Rounds: Depending on your chosen construction method.
- Ribbing: For cuffs and the bottom hem. This provides structure and a neat finish. Common methods include:
- Front Post/Back Post stitches (FPDC/BPDC or FPHDC/BPHDC): Creates an elastic, textured ribbing.
- Single Crochet in the Back Loop Only (SC in BLO): Creates a dense, horizontal ribbing.
- Edging/Borders: A simple row of single crochet, a subtle shell stitch, or a picot edge can provide a polished finish along the front opening and neckline.
- Seaming (if using panels): The Mattress Stitch creates an almost invisible and very strong seam, ideal for garments.
Step-by-Step Flow (Conceptual Guide – Assuming Top-Down Raglan)
This method is popular for open-neck cardigans as it’s seamless and allows for easy length adjustments.
- Preparation: Read your chosen pattern thoroughly. Make that gauge swatch and adjust your hook if necessary. Gather all materials.
- Start the Yoke: Begin at the neckline. Your pattern will instruct you on the foundation chain and how to place your first increases. You’ll typically work in rows (back and forth) for an open-front cardigan.
- Shape the Yoke (Raglan Increases): Continue working rows, placing increases at specific “raglan lines” (usually 4 points) to form the shoulders and upper chest. Use stitch markers to clearly identify these increase points.
- Divide for Body & Sleeves: Once the yoke reaches the correct size (check pattern measurements), you’ll typically chain a few stitches for the underarm, skip the stitches designated for the sleeves, and then join the front sections to the back section to continue working the main body.
- Crochet the Body: Continue working the body in rows (back and forth) until the desired length is reached. Finish with your chosen ribbing or edging for the bottom hem.
- Crochet the Sleeves: Join yarn at one armhole opening. Work the sleeve in rounds, decreasing stitches as instructed to taper it down to the cuff. Finish with ribbing. Repeat for the second sleeve.
- Add Front Bands/Edging: Work a neat border along the entire front opening and around the neckline. This could be a few rows of single crochet, a simple ribbing, or a decorative edging. For an open-neck cardigan, you typically won’t add buttonholes.
- Finishing Touches: Weave in all your yarn ends meticulously using a tapestry needle.
- Blocking (Recommended): Gently wet or steam the finished cardigan, carefully shape it to the desired dimensions, and pin it flat. Allow it to dry completely. Blocking relaxes the stitches, evens out the fabric, and gives your cardigan a polished, professional look.
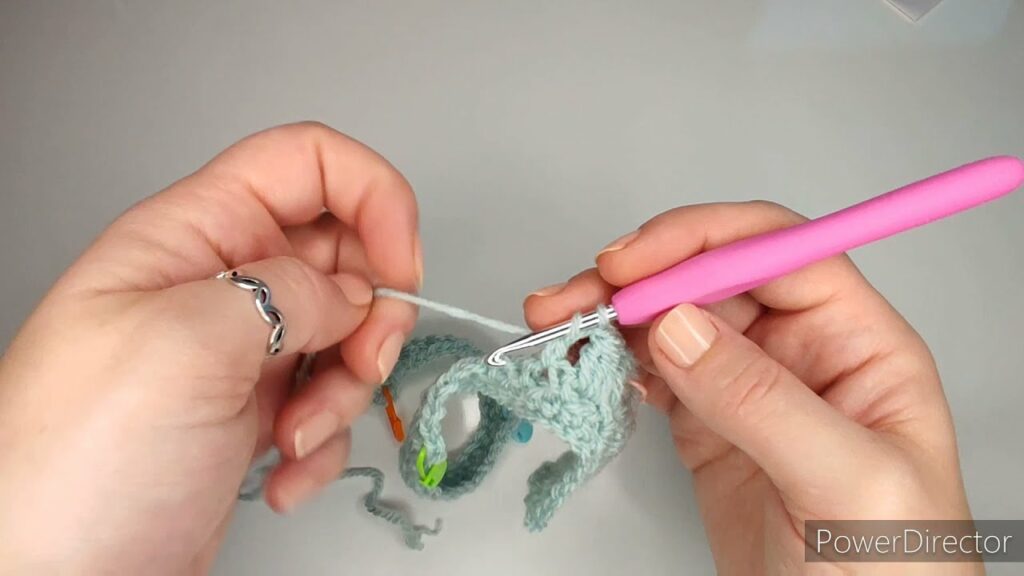
VIDEO TUTORIAL PART 2
Tips for Success
- Read Your Pattern Thoroughly: Understand the entire construction process before you begin.
- Don’t Skip the Gauge Swatch! (Worth repeating a third time for garments!)
- Use Stitch Markers: They are indispensable for raglan increases and marking the start/end of rows/rounds.
- Count Your Stitches: Regularly count your stitches at the end of each row or round to catch any errors early.
- Be Patient: Crocheting a garment takes time. Enjoy the process and don’t rush.
- Weave in Ends as You Go: Or commit to a meticulous weaving session at the very end.
- Blocking Transforms: It makes a huge difference in the final look and drape of your cardigan.
Caring for Your Crocheted Cardigan
To keep your open-neck cardigan looking beautiful and cozy:
- Follow Yarn Label Instructions: Always refer to the specific care instructions on your yarn skein.
- Gentle Washing: Hand wash in cool water with a mild, baby-safe detergent, or use a machine’s gentle/delicate cycle if the yarn is machine washable.
- Reshape and Dry Flat: Gently squeeze out excess water (do not wring!). Reshape the cardigan to its original dimensions and lay it flat on a clean towel or a mesh drying rack to air dry completely.
- Avoid Hanging: Never hang a wet crocheted garment, as it will stretch and distort under its own weight.
An open-neck crocheted cardigan is a delightful project that offers both style and practicality for a girl. It’s a garment that can be dressed up or down, providing a perfect layer of comfort and warmth. With careful planning and attention to detail, you’ll create a cherished, handmade piece that she’ll love to wear.