 by
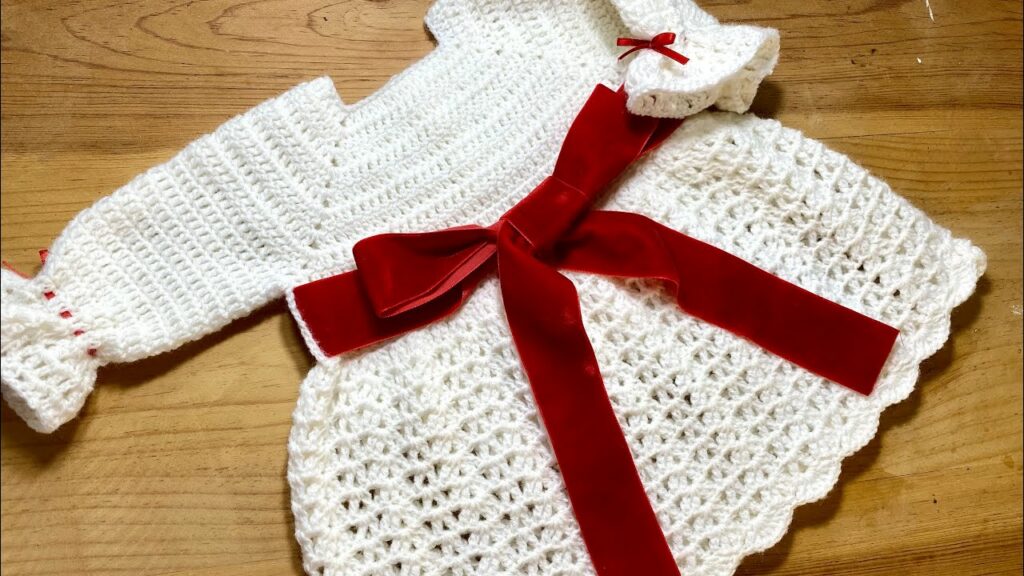
by The long-sleeved crochet dress stands as a testament to the versatility and artistry of the craft. More than just a garment, it’s a statement piece – a blend of cozy warmth and sophisticated style, meticulously crafted stitch by stitch. Unlike smaller projects, a dress is a significant undertaking, demanding attention to detail, shaping, and drape. The result, however, is a unique, custom-fit masterpiece that reflects your personal flair and the enduring beauty of handmade fashion.
This detailed article will take you through every aspect of crocheting a long-sleeved dress, from the initial spark of design to the final, transformative blocking, empowering you to create a truly remarkable addition to your wardrobe.
Why Crochet a Long-Sleeved Dress?
- Unparalleled Customization: Design your dress to your exact specifications – a precise fit, a unique color, a stitch pattern that speaks to you, and a length that flatters your silhouette.
- Unique Style Statement: Stand out with a garment that cannot be found in mass-produced stores. Crochet offers a distinctive texture and aesthetic.
- Ultimate Skill Achievement: Crocheting a dress is a major project that challenges and refines numerous techniques, making it a proud accomplishment for any crocheter.
- Versatile Wardrobe Staple: A long-sleeved crochet dress can be styled for various occasions, from casual daywear to elegant evening attire, depending on yarn, stitch, and accessories.
- Warmth & Comfort: Perfect for cooler seasons or evenings, providing cozy comfort with style.
- Sustainable Fashion: Invest your time and skill into creating a durable, long-lasting garment that champions slow fashion principles.
Designing Your Dream Dress: Key Considerations
Before picking up your hook, thoughtful planning is paramount for a successful dress project.
- Style & Silhouette:
- Fit: Do you envision a form-fitting, body-con style, a gently A-line flare, an elegant empire waist, or a relaxed shift dress?
- Length: Mini, knee-length, midi, or sweeping maxi?
- Neckline: Crew, V-neck, boat neck, scoop, turtleneck, or a more elaborate collar?
- Sleeve Style: Fitted and straight, elegant bell sleeves, romantic puff sleeves, or perhaps a slight bishop sleeve with a fitted cuff?
- Back Detail: A simple back, a keyhole, a low scoop, or a button placket?
- Yarn Choice (Paramount!): The yarn will dictate the drape, feel, and overall look of your dress.
- Fiber:
- Wool (Merino, Alpaca, etc.): Excellent for warmth, elasticity, and often superb drape. Ideal for cozy winter dresses. Superwash wools are easier to care for.
- Cotton/Linen: Breathable, durable, great stitch definition. Perfect for spring/summer dresses, but can be heavier and less elastic.
- Acrylic: Hypoallergenic, affordable, vast color range, easy-care. Modern acrylics can be very soft and drape well.
- Blends: Often offer the best of multiple worlds (e.g., wool-cotton for warmth and definition, bamboo-rayon for softness and drape).
- Weight: This impacts fabric density, drape, and project speed.
- Fingering/Sport: Creates light, flowing, often lacy fabric; takes longer.
- DK (Double Knitting): Versatile, medium-weight; popular for balanced drape and warmth.
- Worsted: A common workhorse weight; good for warmer, more substantial dresses.
- Bulky/Super Bulky: Creates very warm, quick-to-crochet garments, resulting in a bold, chunky look (less common for elegant dresses unless designed specifically).
- Quantity: Dresses consume a significant amount of yarn. Always check your chosen pattern’s yardage and consider buying an extra skein, especially if using a specific dye lot.
- Fiber:
- Stitch Pattern:
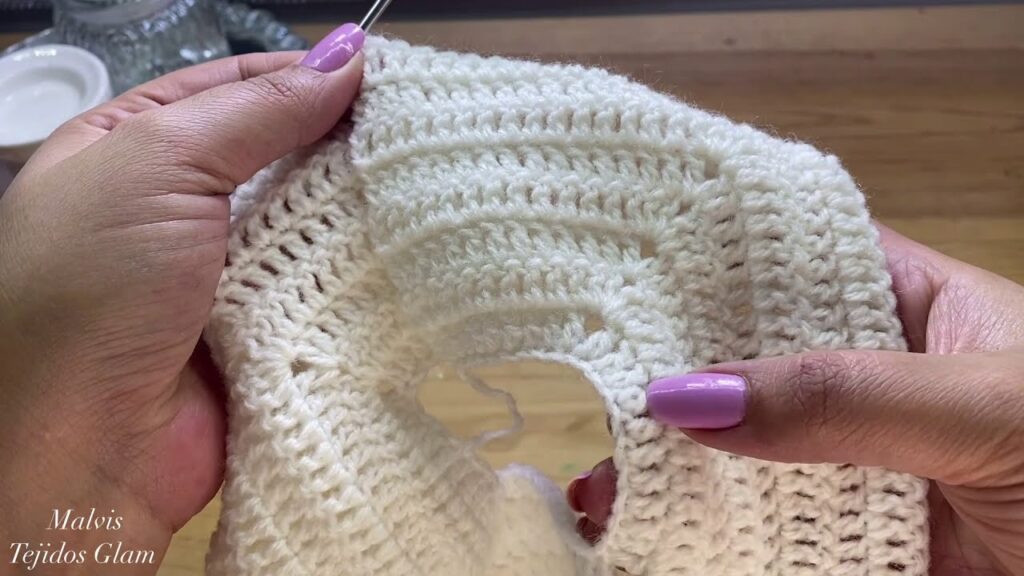
- Drape is King for a Dress: Choose stitches that allow the fabric to flow rather than stand stiffly. Open, lacier stitches (shell, V-stitch) naturally have more drape. Denser stitches (SC, HDC) can be used, but you might need to go up a hook size or choose a very soft, pliant yarn to avoid stiffness.
- Texture: Simple DC or HDC creates a smooth fabric. Post stitches, cables, or bobbles add texture and visual interest but can also add bulk.
- Flexibility: Consider how the stitch stretches. A very rigid stitch will make fitting challenging.
- Construction Method (The Big Decision):
- Panels & Seams: Work front, back, and sleeve pieces flat in rows, then meticulously seam them together.
- Pros: Great for precise shaping (bust darts, waist shaping), manageable individual pieces, seams can provide structure.
- Cons: Requires extensive seaming, which takes time and practice to do neatly and invisibly.
- Top-Down (Seamless): Start at the neckline and work downwards, increasing stitches to form the yoke (circular, raglan, or contiguous methods). The body and sleeves are then worked seamlessly in the round.
- Pros: No seaming (mostly), easy to try on as you go, adjustable length.
- Cons: Can become heavy to hold; shaping for bust and waist can be more complex to integrate seamlessly.
- Bottom-Up (Seamless Body): Work the body in the round from the hem up to the armholes, then split the work for the front and back, working flat to the shoulders. Sleeves are usually worked separately in the round and then joined or seamed.
- Pros: Seamless body up to the armholes, easy to adjust length.
- Cons: Can be very heavy to hold; shoulders usually require seaming.
- Panels & Seams: Work front, back, and sleeve pieces flat in rows, then meticulously seam them together.
Materials: Your Essential Toolkit for a Major Project
- Yarn: Chosen based on the above considerations.
- Crochet Hooks: The size(s) recommended by your pattern. You might need different sizes for ribbing vs. the main body, or for achieving specific drape.
- Stitch Markers: Indispensable for marking rounds, stitch counts, shaping points, and especially for keeping track of increases/decreases in a complex pattern.
- Tapestry Needle (or Blunt Yarn Needle): For weaving in ends and professional seaming.
- Scissors.
- Measuring Tape: Crucial for detailed body measurements, gauge swatching, and checking garment dimensions as you go.
- Blocking Mats & T-pins: Absolutely essential for shaping and finishing a large garment like a dress.
- Lining Material (Optional but recommended): For lacy or openwork designs, a simple slip or lining fabric will prevent transparency and provide structure.
- Buttons/Zippers/Elastic: As per your design for closures or waist shaping.
Key Crochet Techniques for Dresses
You’ll utilize a comprehensive range of fundamental and advanced techniques:
- Foundation Chains/Foundation Single Crochet (FSC)/Foundation Half Double Crochet (FHDC): For starting edges; FSC/FHDC provide more elasticity and a neater edge.
- Basic Stitches: Chain (ch), Slip Stitch (sl st), Single Crochet (sc), Half Double Crochet (hdc), Double Crochet (dc), and potentially Treble Crochet (tr) or more complex stitches as per your chosen pattern.
- Working in Rounds vs. Rows: Depending on your construction method.
- Increasing Stitches: Extensive use for bust shaping, hip curves, A-line flares, and sleeve fullness.
- Decreasing Stitches: Extensive use for waist shaping, armholes, necklines, shoulder slopes, and sleeve tapering.
- Ribbing/Edging: For hems, cuffs, and necklines, providing structure and a neat finish. Can be done with back loop only, front/back post stitches, or specific rib patterns.
- Buttonholes/Button Bands/Closures: For cardigans or back openings, creating functional and decorative elements.
- Waist Shaping: Achieved through specific decrease/increase sequences. Sometimes elastic thread is crocheted in, or an elastic band is threaded through a dedicated row, for a defined waist.
- Seaming (if applicable):
- Mattress Stitch: The gold standard for virtually invisible vertical seams. Crucial for a professional finish on large garments.
- Slip Stitch Seam: Creates a defined, raised seam.
- Picking Up Stitches: For neckbands, armbands, or plackets along raw edges.
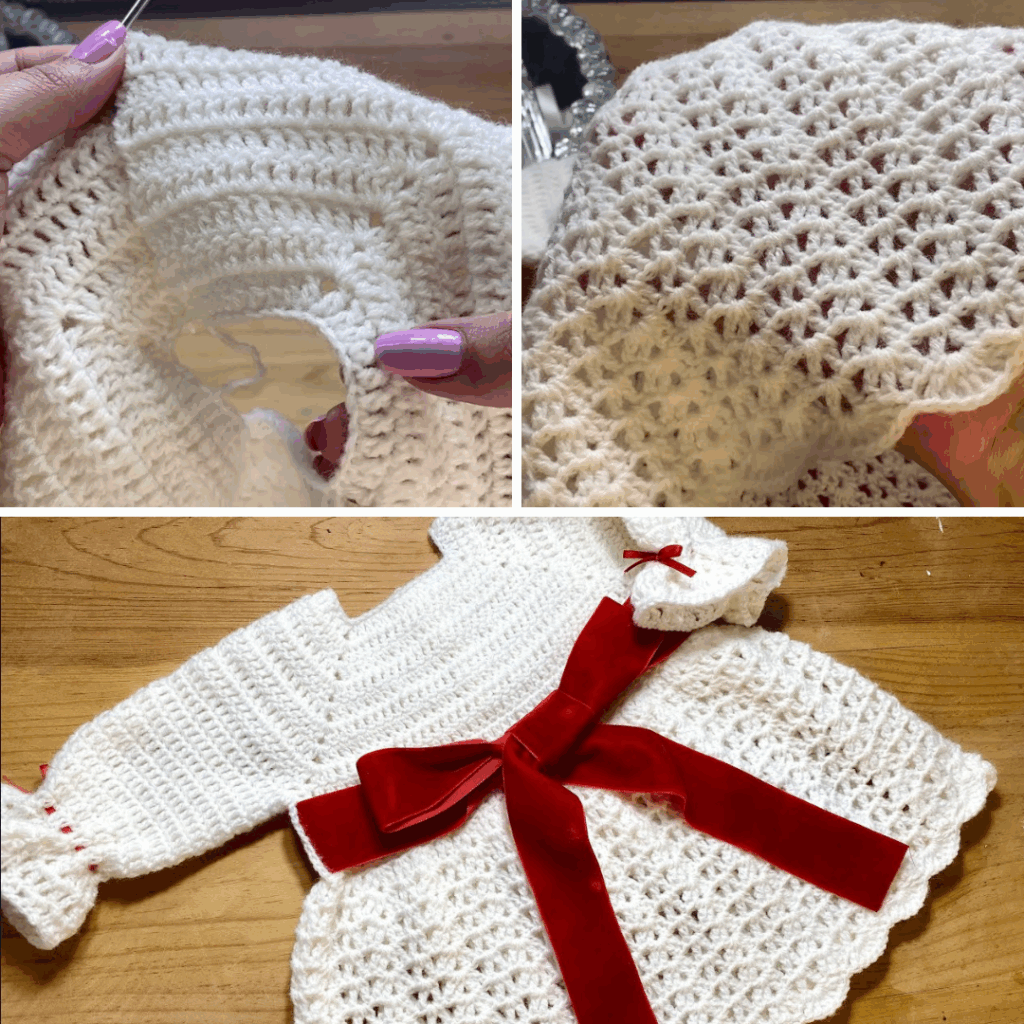
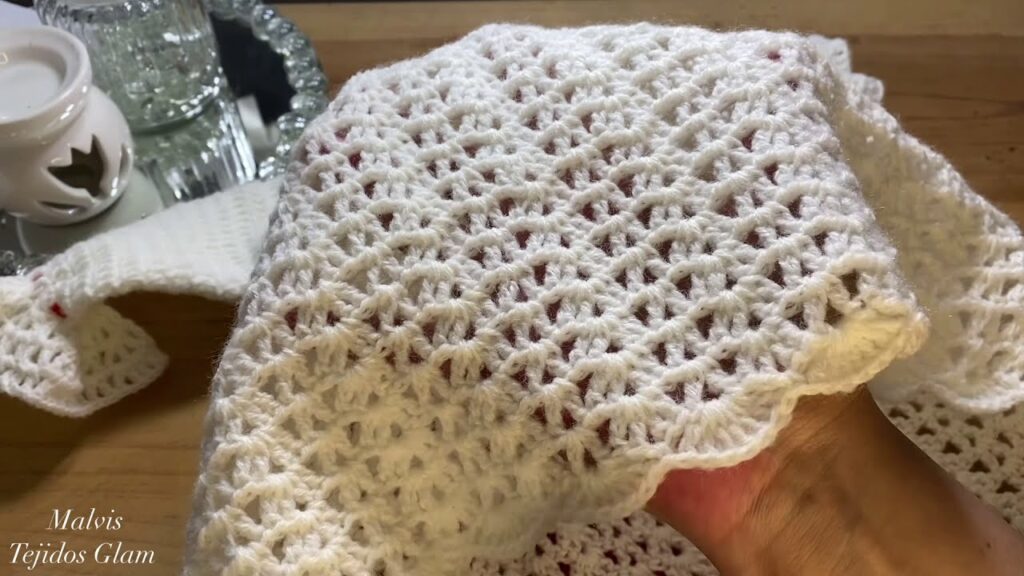
- Blocking: The most critical finishing step. It transforms the fabric, evens out stitches, enhances drape, opens up lace, and sets the final shape and dimensions.
Planning Your Project: Laying the Foundation for a Perfect Fit
- Detailed Sizing & Measurements:
- Take accurate body measurements: full bust, underbust, waist (natural waistline), high hip, full hip, shoulder to natural waist, shoulder to hem (desired length), upper arm circumference, wrist circumference, and shoulder to wrist (sleeve length).
- Understand “ease”: How much extra room do you want beyond your body measurements for comfort and style?
- Gauge Swatch (The Golden Rule – Even More So!):
- Knit a substantial swatch (at least 6×6 inches / 15×15 cm) using your chosen yarn and hook in the main stitch pattern of your dress.
- Crucial Step: Wash and block your swatch exactly as you plan to wash and block the finished dress. Yarn and stitch patterns can change significantly, especially affecting drape, stretch, and size, after laundering and blocking.
- Measure your stitches and rows per inch/cm accurately. If your gauge doesn’t match the pattern’s, adjust your hook size and knit another swatch until it matches. Pay attention to how the fabric drapes.
- Yarn Calculation: Based on your gauge and chosen size, calculate the necessary yardage. Always round up and consider buying an extra skein for peace of mind.
Construction Journey: Bringing Your Dress to Life (Conceptual Guides)
Method 1: Panels & Seams
- Front Panel: Work flat from the bottom up (or top down). Incorporate significant shaping for the bust (e.g., using short rows or strategic increases/decreases), waist (decreases/increases), and hips. Shape armholes, neckline, and shoulders.
- Back Panel: Similar to the front, but with less bust shaping and a potentially shallower neckline.
- Sleeves: Work each sleeve flat from cuff to cap, shaping with increases/decreases for the arm and sleeve cap.
- Assembly: Join shoulder seams. Sew sleeves into armholes. Join side seams and under-sleeve seams using the Mattress Stitch for an invisible finish.
- Finishing: Add neckband/collar. Weave in ends. Block.
Method 2: Top-Down (Seamless)
- Yoke: Start at the neckline, working in the round. Increase stitches to form the yoke, accommodating the shoulders and bust. This might involve complex increase patterns, especially for bust shaping (e.g., contiguous method).
- Separate for Body & Sleeves: Once the yoke reaches below the armpits and covers the bust, put sleeve stitches on hold (waste yarn). Join the remaining body stitches.
- Body: Work the body in the round, incorporating waist shaping (decreases/increases) and hip shaping to achieve your desired silhouette. Continue to the desired length. Finish with a hem.
- Sleeves: Join yarn to one armhole, pick up any needed stitches, and work the sleeve in the round down to the cuff, decreasing as needed for tapering. Repeat for the second sleeve.
- Finishing: Add a neckband/collar. Weave in ends. Block.
Method 3: Bottom-Up (Seamless Body)
- Body: Work the body in the round from the hem up, incorporating hip and waist shaping. Continue up to the armholes.
- Split for Front & Back: At the armholes, split the work and continue working the front and back panels flat, shaping armholes, necklines, and shoulders with decreases.
- Shoulder Joins: Join shoulders using a seam or Kitchener stitch.
- Sleeves: Work each long sleeve in the round from the cuff up to the sleeve cap, shaping with increases/decreases.
- Assembly: Join sleeves to armholes (often by seaming).
- Finishing: Add a neckband/collar. Weave in ends. Block.
Finishing Touches: The Polish of a Professional
- Weave in All Ends: Meticulously weave in every single yarn tail. This is crucial for a large garment.
- Edgings: Neatly finish all raw edges (neckline, cuffs, hem) with slip stitch, single crochet, or a simple ribbed band.
- Blocking (The Most Critical Step!): This is where your dress truly comes to life.
- Gently wet your finished dress (or steam it).
- Carefully lay it out flat on blocking mats, shaping it to the correct measurements and emphasizing the intended drape and silhouette. Use T-pins to hold it firmly in place.
- Allow to dry completely (this can take 24-48 hours for a large garment). Blocking evens out stitches, relaxes the fabric, opens up lace patterns, enhances drape, and sets the final shape and dimensions of your dress.
- Add Lining (If Necessary): For lacy or openwork designs, you might want to sew in a simple fabric slip or lining.
- Add Closures: Securely sew on any buttons or install zippers as per your design.
Tips for Dress Success
- Gauge is King (and Drape is Queen): Don’t just match stitches/rows; ensure your swatch fabric has the desired drape. A dress needs to move with the body.
- Take Accurate Measurements: Re-measure yourself or the recipient thoroughly.
- Try it On Frequently: If working top-down or bottom-up, try the dress on periodically (especially before splitting for sleeves or shaping the waist/hips) to check the fit.
- Patience is a Virtue: A dress is a marathon, not a sprint. Enjoy the process.
- Don’t Fear Mistakes: Mistakes are part of the learning process. Better to “frog” (unravel) and fix than to finish a garment you’re unhappy with.
- Invest in Quality Yarn: Given the amount of yarn, a higher quality yarn will make the process more enjoyable and the finished dress more beautiful and long-lasting.
Caring for Your Crocheted Masterpiece
- Follow Yarn Label Instructions: Always refer to your specific yarn’s care guidelines for washing and drying.
- Hand Wash Recommended: For most handmade crochet dresses, especially those made from wool or with intricate stitches, gentle hand washing in cool water with a mild detergent is safest.
- Reshape and Lay Flat to Dry: Never wring, twist, or hang a wet crocheted dress, as this will stretch and distort its shape. Gently squeeze out excess water (rolling in a clean towel helps), reshape the dress to its original dimensions, and lay it flat on a clean towel or a mesh drying rack to air dry completely.
Crocheting a long-sleeved dress is a significant undertaking, but the journey is as rewarding as the destination. The satisfaction of creating a custom-fit, beautifully textured garment with your own hands is immense. Wear your crocheted dress with pride, knowing you’ve woven not just yarn, but artistry and dedication into every loop. Sources
Video Tutorial ;