 by
by There’s an undeniable charm in dressing a newborn in something soft, delicate, and lovingly handmade. The “Rose Crochet Dress” for a 0-3 month old baby encapsulates this perfectly – a garment designed to evoke the tender beauty of a blooming rose, crafted with the gentlest touch for the newest of arrivals. This detailed article will guide you through the enchanting world of creating such a dress, focusing on the unique considerations for newborns and the delightful aesthetic inspired by nature’s most romantic flower.
The Enchantment of the Rose Crochet Dress
The “Rose Crochet Dress” isn’t just a garment; it’s a tiny ode to spring, new beginnings, and soft elegance.
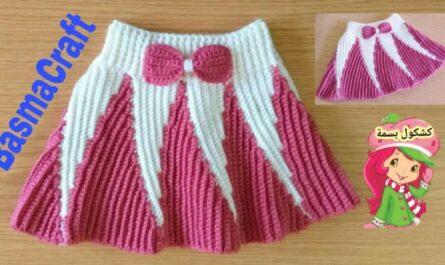
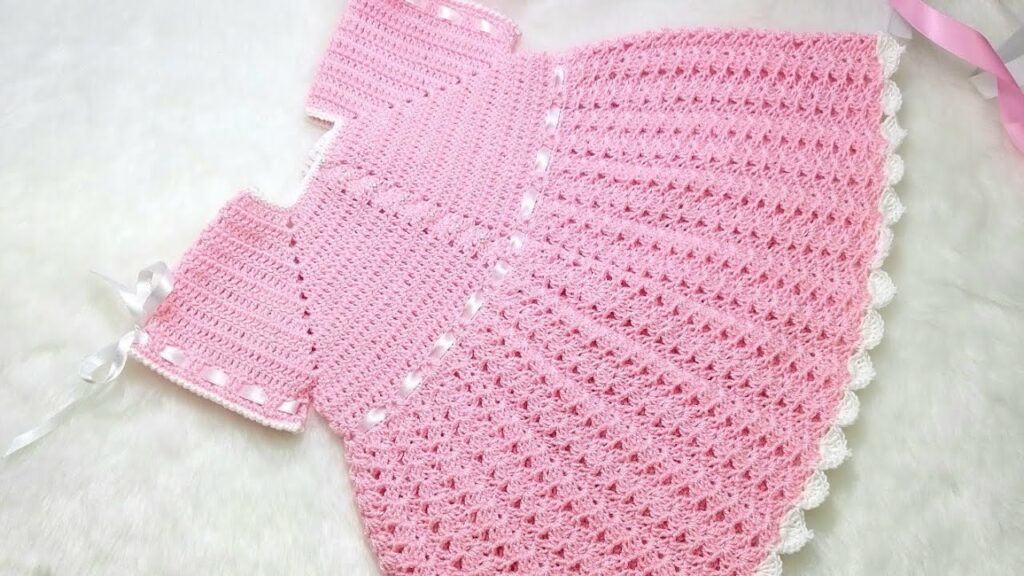
- Inspired by the Rose 🌹: This theme suggests features like:
- Petal-like layers: Achieved through ruffled skirts, tiered designs, or textured stitches.
- Gentle colors: Soft pinks, creams, muted greens, or even a deep rose hue.
- Delicate details: Small crocheted roses as appliqués, subtle lace patterns, or picot edgings that mimic tiny petals.
- Designed for Newborns (0-3 Months) 👶: This critical age range dictates specific considerations:
- Supreme Softness: The yarn must be incredibly gentle against sensitive newborn skin.
- Ease of Dressing: Wide necklines, practical button closures, and generous shaping to accommodate diapers.
- Comfort & Safety: No irritating seams, loose threads, or small detachable parts.
- Breathability: Especially important for regulating a baby’s temperature.
Why Crochet the Rose Dress for a Newborn?
- Heartfelt Gift: A handmade dress for a newborn is an incredibly thoughtful and cherished present for baby showers, christenings, or coming-home outfits.
- Unique & Personalized: You control every detail, from the exact shade of “rose” to the stitch pattern and fit.
- Skill Refinement: Working on a small garment helps you master shaping, delicate edgings, and precise stitch counts.
- Heirloom Potential: A beautifully made newborn dress can become a treasured family keepsake, passed down for future generations.
- Quick Project: Given the small size, it works up relatively fast, offering a sense of accomplishment.
Designing Your Blooming Masterpiece: Key Considerations
- Yarn Choice (The Softness Factor): This is the single most important decision for a newborn garment.
- Fiber:
- Baby Acrylics: Often specifically designed to be ultra-soft, hypoallergenic, and machine washable, making them a practical and safe choice.
- Cotton or Organic Cotton: Excellent for breathability, softness, and durability, especially for warmer climates or sensitive skin.
- Bamboo Blends: Known for their luxurious drape and silky softness, making them feel wonderful against baby’s skin.
- Superwash Merino Wool (Baby Weight): Provides warmth without bulk, is incredibly soft, and often machine washable.
- Weight: Fingering (Category 1) or Sport (Category 2) are typically ideal for newborns, creating a lightweight, delicate fabric. DK (Category 3) can also be used for a slightly quicker and cozier dress.
- Colors: Embrace the “Rose” theme! Soft blush pinks, creamy whites, ivory, pale mint green, or even a deeper, muted rose tone for contrast. Variegated yarns with gentle color shifts can also evoke a blooming effect.
- Fiber:
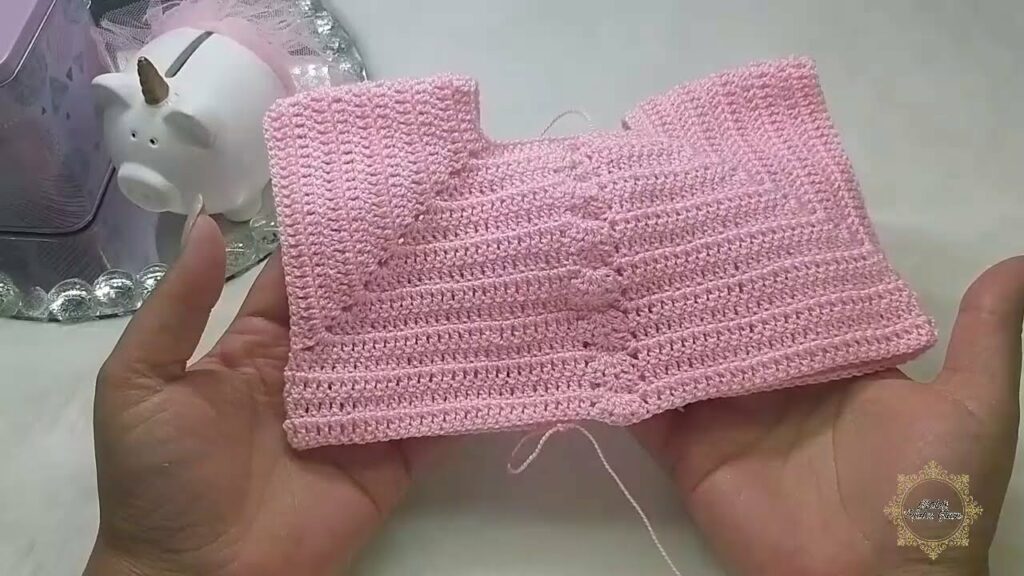
- Stitch Patterns (Mimicking Petals & Texture):
- For the Main Body: Simple, consistent stitches like Half Double Crochet (HDC) or Double Crochet (DC) provide a good foundation.
- For Petal-like Effects:
- Shell Stitch: Creates a lovely, fan-like texture reminiscent of petals.
- Picot Edging: Small, decorative points that resemble tiny rosebuds or ruffled edges.
- Puff Stitch or Bobble Stitch: Can be strategically placed to create subtle raised “rosebuds” within the fabric.
- Lace/Openwork: Delicate patterns (like simple V-stitches or chained spaces) create an airy, ethereal feel.
- For Stability: Single Crochet (SC) or HDC is often used for necklines, armholes, and button bands to create a firmer edge.
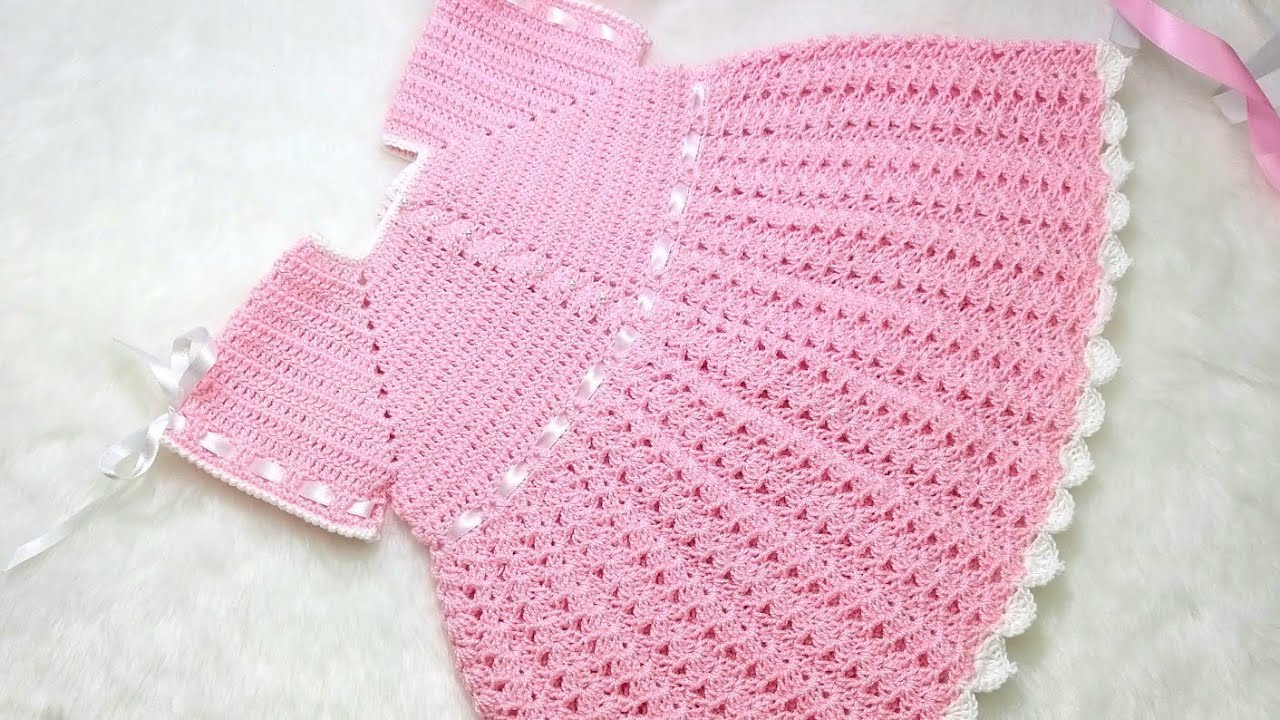
- Construction Method:
- Top-Down (Seamless): This is often preferred for baby dresses as it minimizes seaming against delicate skin and allows for easy length adjustment. You start at the neckline and work downwards.
- Panels & Seams: Crocheting front and back panels flat, then seaming them, is also an option, especially if working with more complex stitch patterns or shaping.
- Key Design Elements for Newborns:
- Neckline: Must be wide enough to easily slip over a baby’s head. A back neck opening with button closures is highly recommended.
- Armholes: Generous enough to not restrict movement, but not so large that they gape.
- Diaper Accommodation: The skirt should be wide enough and long enough to comfortably fit over a diaper without bunching.
- Closures: Small, flat, baby-safe buttons are ideal for back openings.
Materials: Your Toolkit for a Blooming Project
- Yarn: Your chosen soft, baby-safe yarn in desired “rose” colors.
- Crochet Hook: The size recommended by your pattern for your chosen yarn weight.
- Stitch Markers: Essential for marking the beginning of rounds, stitch counts, and shaping points.
- Tapestry Needle (or Blunt Yarn Needle): Crucial for weaving in ends neatly and securely (paramount for baby items!).
- Scissors.
- Measuring Tape/Ruler: For checking gauge and garment dimensions.
- Small, Flat Buttons (2-4): For the back neck closure. Choose buttons that are securely sewn and large enough not to be a choking hazard.
- Blocking Mats & T-pins: Highly recommended for shaping and setting the final delicate garment.
Essential Crochet Techniques for a Newborn Dress
You’ll utilize a blend of fundamental and garment-specific techniques:
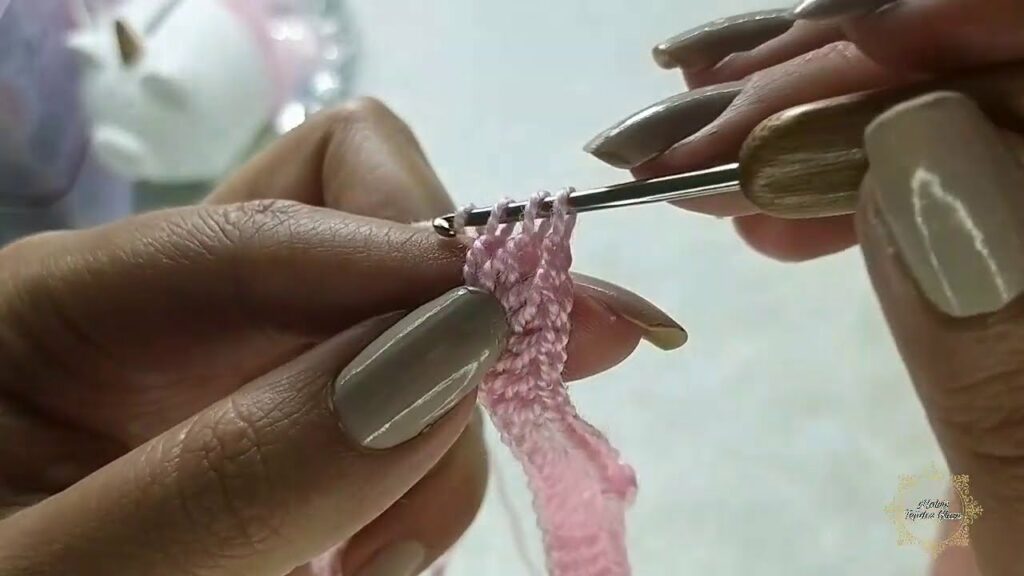
- Foundation Chains/Foundation Single Crochet (FSC): For starting edges; FSC often provides more elasticity for necklines.
- Basic Stitches: Chain (ch), Slip Stitch (sl st), Single Crochet (sc), Half Double Crochet (hdc), Double Crochet (dc).
- Working in Rounds vs. Rows: Depending on your construction (top-down usually starts in rows for the back opening, then joins in the round).
- Increasing Stitches: Used extensively for shaping the yoke (shoulders and chest) and creating the flare of the skirt.
- Decreasing Stitches: Less common in simple newborn dresses, but might be used for subtle armhole shaping.
- Ribbing/Edging: For neatening necklines, armholes, and hems. Simple SC or HDC rows are common, or a delicate picot/shell border.
- Buttonholes: Creating small chain spaces for buttons on the back opening.
- Seamless Joins (for Top-Down): Techniques to join work into rounds without noticeable seams.
- Blocking: Critical for opening up lace patterns, evening out stitches, enhancing drape, and achieving the correct final size and shape.
Construction Journey: Bringing Your Rose Dress to Life (Conceptual Guide)
A common and beginner-friendly method for newborn dresses is top-down construction:
- Preparation:
- Sizing (0-3 Months): Most patterns will provide specific measurements. Remember a newborn’s head is relatively large compared to their body, so the neck opening must be generous.
- Gauge Swatch (Crucial!): Crochet a swatch in your main stitch pattern. Wash and block it. This ensures your dress will be the correct size and have the desired drape – especially important for softness against newborn skin.
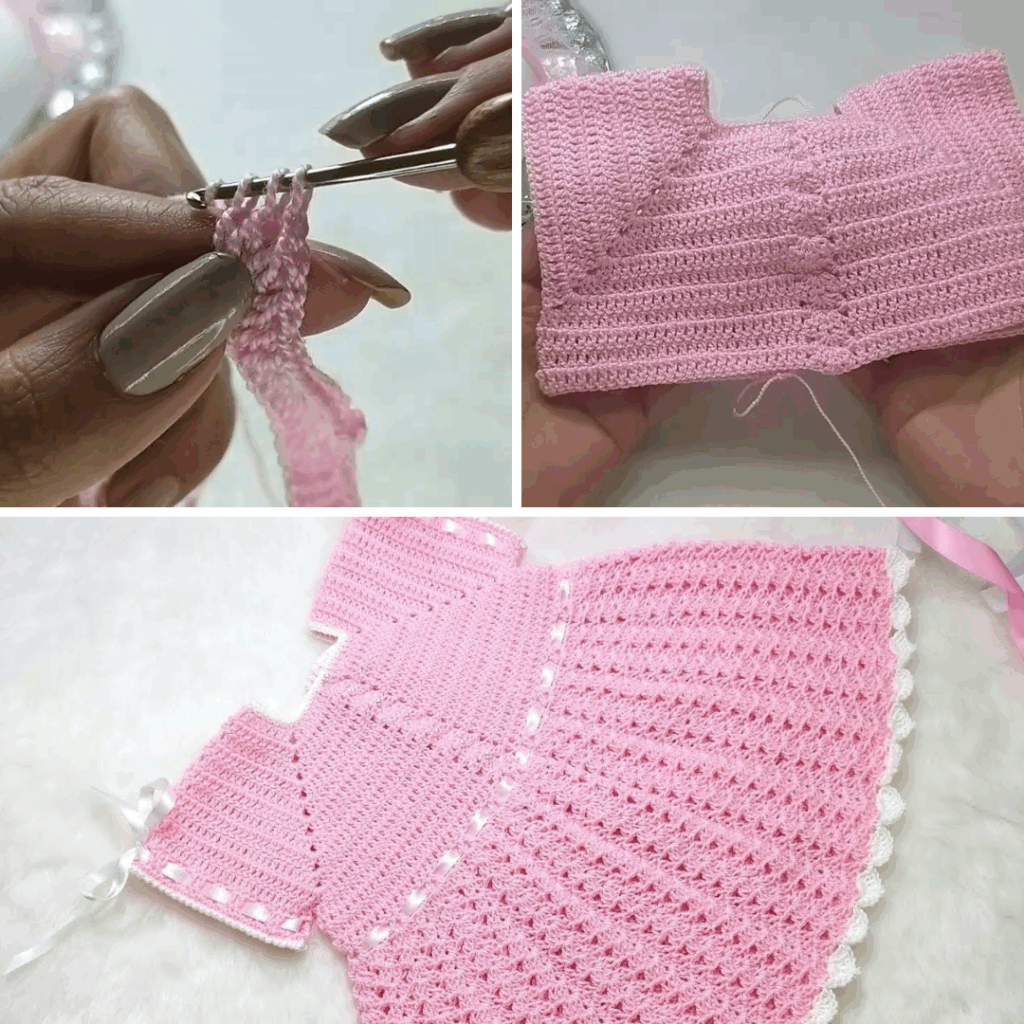
- Step 1: The Yoke (Top-Down)
- Start the Neckline: Begin with a foundation chain that forms the neck circumference, leaving a small opening at the back for buttons (work flat in rows for this section).
- Initial Rounds/Rows: Work a few rows in your chosen stitch, incorporating increases evenly to form the flat or slightly curved top of the yoke. These increases are typically placed in specific “raglan” points (corners) or distributed evenly for a round yoke.
- Yoke Shaping: Continue increasing stitches over several rows/rounds until the yoke reaches the desired width across the chest and shoulders, allowing room for armholes.
- Step 2: Armhole Separation:
- Once the yoke is wide enough, you’ll reach a crucial row where stitches are put on hold (or chained over) for the armholes. The remaining stitches for the front and back of the dress are then joined to form the body.
- Step 3: The Dress Body:
- Continue working in continuous rounds for the body of the dress.
- Skirt Flare: You’ll typically incorporate gradual increases every few rounds to create a gentle A-line flare for the skirt, ensuring comfortable diaper accommodation.
- Length: Continue working until the dress reaches the desired length for a 0-3 month old (usually knee-length or slightly shorter). This is where you might incorporate tiers of “petal” ruffles using shell stitches.
- Step 4: Finishing Touches:
- Back Opening/Button Band: If you worked a back opening, create neat button bands along the edges, with small chain spaces for buttonholes on one side.
- Neckline Edging: Work a round or two of single crochet (sc) or a simple decorative edging (like picots or small shells) around the entire neckline.
- Armhole Edging: Work a round or two of sc or a matching delicate edging around each armhole.
- Hemline Edging: Finish the bottom of the dress with a neat border, often matching the neckline/armhole edging, or creating a more elaborate “petal” ruffle with a shell stitch border.
- Add Embellishments (The “Rose” Detail):
- Crochet small, flat roses separately and securely stitch them to the yoke, waist, or hem.
- If using textured stitches for “pearls,” ensure they are evenly placed.
- Attach Buttons: Securely sew on small, flat, baby-safe buttons to the back opening, ensuring they are firmly attached and pose no choking hazard.
- Weave in All Ends: Meticulously weave in every single yarn tail using your tapestry needle. For newborn items, this is paramount for safety and comfort – no loose ends or scratchy knots!
- Step 5: Blocking (The Magic Touch):
- Essential for Delicate Garments: Gently wet the finished dress.
- Shape & Pin: Carefully lay it out flat on blocking mats, shaping it to the correct dimensions (pinning gently with T-pins if needed).
- Dry: Allow it to dry completely. Blocking will relax the stitches, open up any lace patterns, even out tension, and give the dress its beautiful drape and professional finish.
Tips for Rose Dress Success
- Prioritize Softness: Always choose yarns specifically labeled “baby yarn” or known for their extreme softness.
- Test on Skin: Before committing to a yarn, rub a small piece against your inner wrist or neck to ensure it’s not scratchy.
- Consistent Tension: Maintain even tension for a uniform and beautiful fabric.
- Don’t Skip Blocking: It makes a huge difference in the drape and appearance of the final dress.
- Safety First: Double-check that all buttons and embellishments are securely attached and pose no choking hazard. No loose threads!
- Embrace the Rose: Let the theme guide your color choices and decorative elements.
Caring for Your Crocheted Rose Dress
- Follow Yarn Label Instructions: Always refer to your specific yarn’s care guidelines for washing and drying.
- Hand Wash Recommended: For delicate items, especially those with appliqués or fine lace, hand washing gently in cool water with a mild, baby-friendly detergent is best.
- Reshape and Lay Flat to Dry: Never wring, twist, or hang a wet crocheted dress, as this will cause it to stretch and distort. Gently squeeze out excess water, reshape the dress to its original dimensions, and lay it flat on a clean towel or a mesh drying rack to air dry completely.
Crafting the Rose Crochet Dress for a 0-3 month old baby is a tender act of love, resulting in a garment as beautiful and delicate as a fresh bloom. It’s a cherished project that will wrap a little one in comfort and style, creating memories as sweet as a spring rose. Sources
Video Tutorial ;