by
by Clarifying the “Granny Square” in Knitting
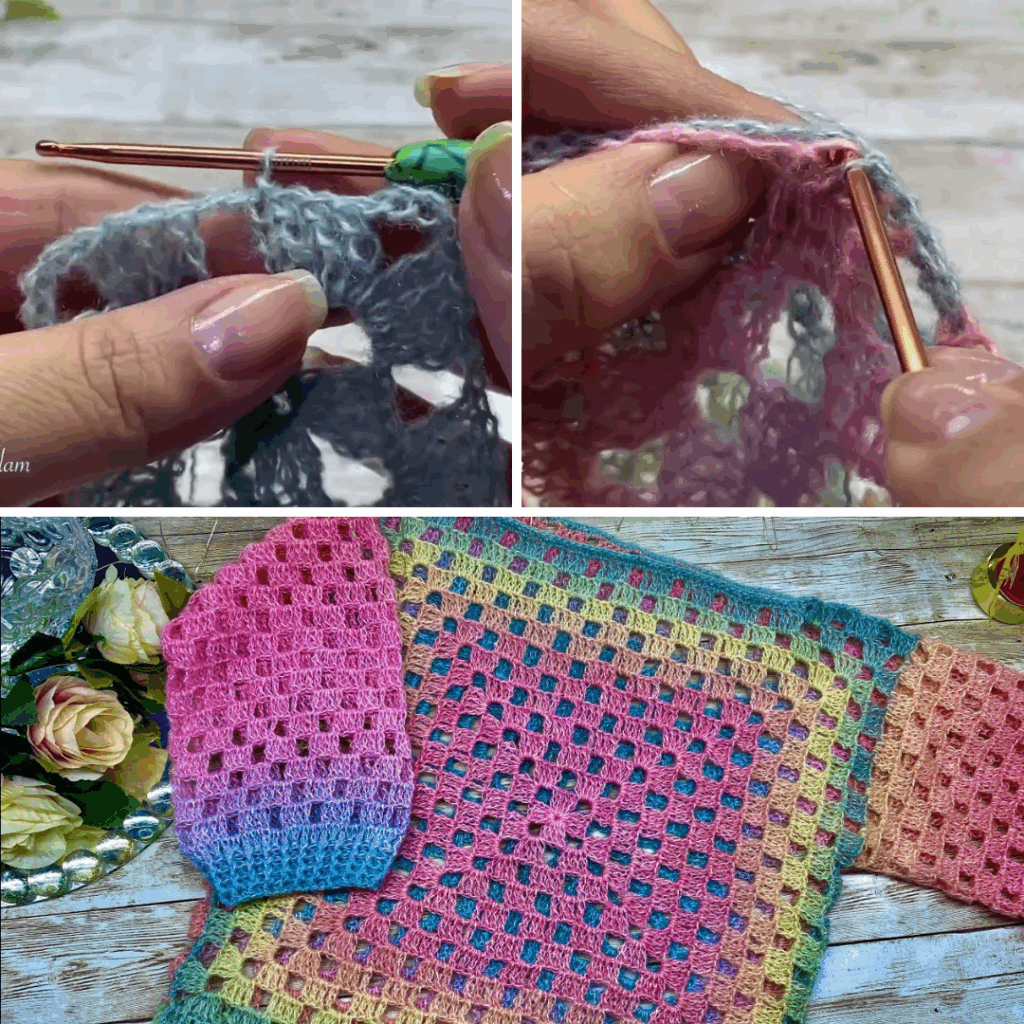
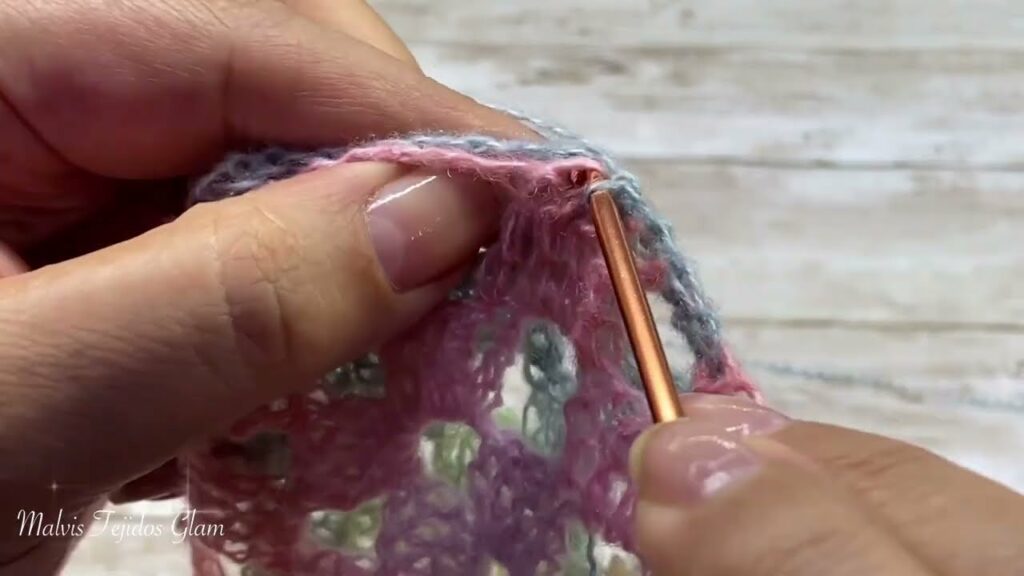
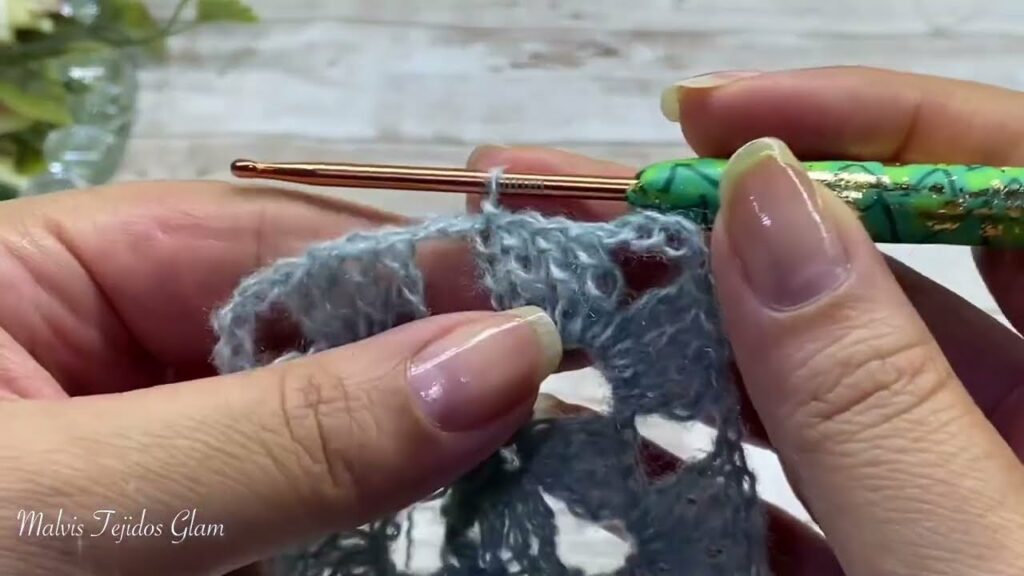
First, let’s gently clarify: Granny squares are a crochet technique, characterized by their iconic cluster stitches worked in rounds to form a square. While you can’t knit a granny square in the traditional sense, you can certainly knit simple square or rectangular panels that, when joined, create a charming and easy-to-construct sweater with a similar modular, comforting feel.
The beauty of this approach is its simplicity and efficiency, especially for new knitters!
Why This Knit Sweater is “Super Easy”
This “two-panel” sweater design is often recommended for beginners because it:
- Uses Basic Stitches: You’ll primarily work with just the knit stitch (and possibly the purl stitch for Stockinette or ribbing), allowing you to focus on consistency.
- Employs Simple Shapes: The core of the sweater is two large, flat rectangles or squares. No complex shaping like armhole curves or necklines until the very end.
- Leverages Chunky Yarn & Large Needles: Thicker yarn on bigger needles means fewer stitches per row and faster progress. Your sweater will grow quickly!
- Minimizes Complex Shaping: Instead of intricate increases and decreases throughout, shaping often occurs through strategic seaming or simple pick-up techniques.
- Provides Instant Gratification: You’ll see a garment take shape rapidly, which is incredibly motivating for new knitters.
- Offers Customization: Easily adjust the size, color, and texture to make it uniquely yours.
Materials You’ll Need
Gathering your supplies is the exciting first step!
- Yarn:
- Fiber: For a cozy and easy-care sweater, acrylic, a wool blend, or bulky cotton are excellent choices. They’re durable, come in a wide range of colors, and are often machine washable. Avoid very fine or overly slippery yarns for your first sweater.
- Weight: Bulky (Category 5) or Super Bulky (Category 6) yarn is highly recommended for speed.
- Quantity: For a medium adult size, expect to need anywhere from 400-800 yards (or 4-8 skeins, depending on brand/skein size) of bulky yarn. Always check your chosen pattern’s specific requirements.
- Knitting Needles: The size recommended by your yarn label for your chosen yarn weight (e.g., US 11-15 / 8.0-10.0mm for bulky yarn). Using needles at the larger end of the recommended range will create a looser, more drapey fabric, while smaller needles will make it denser.
- Scissors: For cutting yarn.
- Tapestry Needle (Yarn Needle): A blunt needle with a large eye, essential for seaming your panels together and weaving in yarn ends.
- Stitch Markers (Optional but Recommended): Useful for marking sides, stitch counts, or the beginning of rows if needed.
- Measuring Tape: Crucial for checking your gauge and panel dimensions.
Essential Knitting Skills You’ll Master
By knitting this simple sweater, you’ll gain confidence in fundamental techniques:
- Casting On: The method of getting stitches onto your needle to start your project.
- Knit Stitch (K): The most basic knitting stitch, forming the “V” shape on the front of your fabric.
- Purl Stitch (P) (Optional): If you choose Stockinette stitch (knit one row, purl one row), you’ll learn this stitch, which forms horizontal bumps.
- Garter Stitch: Created by knitting every row, this forms a squishy, reversible fabric that lies flat. Perfect for beginners.
- Stockinette Stitch: Created by alternating knit and purl rows (knit on the right side, purl on the wrong side), this is the classic “V” stitch fabric but tends to curl.
- Binding Off: The method of finishing your knitting so stitches don’t unravel.
- Seaming: How to neatly join knitted pieces together using a tapestry needle.
- Weaving in Ends: The final crucial step for a tidy finish.
Designing Your Simple “Square” Sweater
The beauty of this project lies in its adaptability:
- Yarn & Color:
- Solid Color: Allows the texture of your stitches to shine.
- Stripes: Easy to incorporate by changing colors every few rows. Great for adding visual interest and using up stash yarn.
- Variegated Yarn: A single skein can create a beautiful, effortless color play.
- Color Blocking: Use large sections of different solid colors for a bold, modern look.
- Stitch Pattern:
- Garter Stitch: Easiest, reversible, doesn’t curl, and creates a cozy, textured fabric. Highly recommended for absolute beginners.
- Stockinette Stitch: Creates the classic knit “V” fabric, but remember it tends to curl at the edges unless bordered with garter or ribbing.
- Simple Ribbing: (e.g., K1, P1 rib) for necklines, cuffs, and hems provides elasticity. This adds a little complexity but is very effective.
- Size & Dimensions:
- Decide on your desired bust circumference (add 4-8 inches of “positive ease” for a comfortable, slightly oversized fit).
- Your two main panels will typically be half of that circumference in width, and long enough to cover your torso from shoulder to hip.
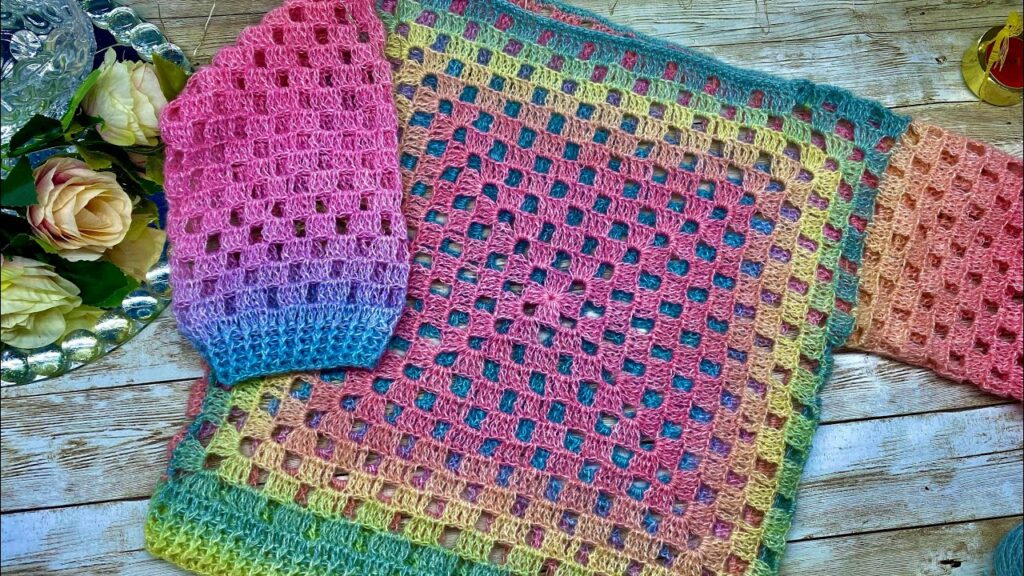
Construction Journey: The “Two Simple Squares” Method
This is a simplified approach, focusing on two main panels:
- The Gauge Swatch (Do Not Skip!):
- Before anything else, knit a swatch (at least 6×6 inches) in your chosen yarn and stitch pattern with your chosen needles.
- Block your swatch (wash it gently, lay it flat, and let it dry). This is crucial as knitting can change significantly after washing.
- Measure your stitches and rows per inch/cm accurately. If you have too many stitches per inch, go up a needle size. Too few, go down a size. This ensures your sweater will be the correct size.
- Knit Panel 1 (The Front):
- Based on your gauge and desired finished width (half of your total bust circumference), cast on the calculated number of stitches.
- Work in your chosen stitch pattern (e.g., Garter stitch) in rows until the panel reaches your desired length from shoulder to hip.
- Bind off all stitches.
- Knit Panel 2 (The Back):
- Repeat the exact same steps as for Panel 1 to create an identical piece.
- Joining the Panels:
- Lay the two panels flat, right sides facing up.
- Shoulder Seams: Using your tapestry needle and a length of matching yarn, seam the top edges of the panels together from the outer edge inwards, leaving an opening in the center for the neck (e.g., seam 4-6 inches in from each side, leaving a central 8-10 inch gap for the neck).
- Side Seams: Seam the side edges of the panels together from the bottom hem upwards, leaving an opening at the top for the armholes (e.g., seam up 12-14 inches from the bottom, leaving an 8-10 inch gap at the top for the armholes).
- Adding Sleeves (Optional – Simple Method):
- Crochet a Rectangle: This is often the easiest for beginners. Knit two smaller rectangles to your desired sleeve length and width. Seam them into tubes.
- Attach Sleeves: Sew the knit tubes into the armhole openings you created on the main sweater body.
- Pick Up Stitches: A more advanced technique, you can pick up stitches around the armhole opening and knit tubes directly from the body, decreasing slightly for shaping.
- Finishing Touches (Optional):
- Neckline: Pick up stitches around the neck opening and knit a few rows of garter stitch or ribbing, then bind off loosely.
- Cuffs & Hem: For a more polished look, you can pick up stitches along the bottom hem and sleeve cuffs and knit a few rows of garter stitch or ribbing.
Finishing Touches: The Polish of a Pro
- Weave in All Ends: This is crucial for a neat and durable sweater. Take your time to hide all yarn tails securely within the stitches using your tapestry needle.
- Blocking (Highly Recommended): Even for a simple sweater, blocking makes a huge difference. Gently wet your finished sweater (or steam it), gently squeeze out excess water, reshape it to your desired dimensions (lay it flat on towels or blocking mats), and let it air dry completely. Blocking evens out stitches, relaxes the fabric, and gives your sweater a beautiful, professional drape.
Tips for Success
- Don’t Overthink It: The beauty of this project is its simplicity. Focus on consistent stitches.
- Learn One Stitch Well: Master the knit stitch (and purl if using Stockinette) before moving on to anything else.
- Watch Videos: YouTube is an amazing resource for visual learners. Search for “how to cast on,” “basic knit stitch,” “how to seam knitting,” etc.
- Count Your Stitches: Periodically count the stitches on your needle to ensure your panels stay the same width.
- Relax Your Hands: If your hands start to ache, you might be holding your needles or yarn too tightly. Take a break and try to loosen your grip.
Creating your first knitted sweater, especially one as straightforward as this two-panel design, is an incredibly empowering experience. You’ll not only master essential knitting skills but also create a cozy, customized garment that you can proudly say you made yourself. Happy knitting!
Video Tutorial ;