by
by Introduction: Effortless Elegance for Autumn
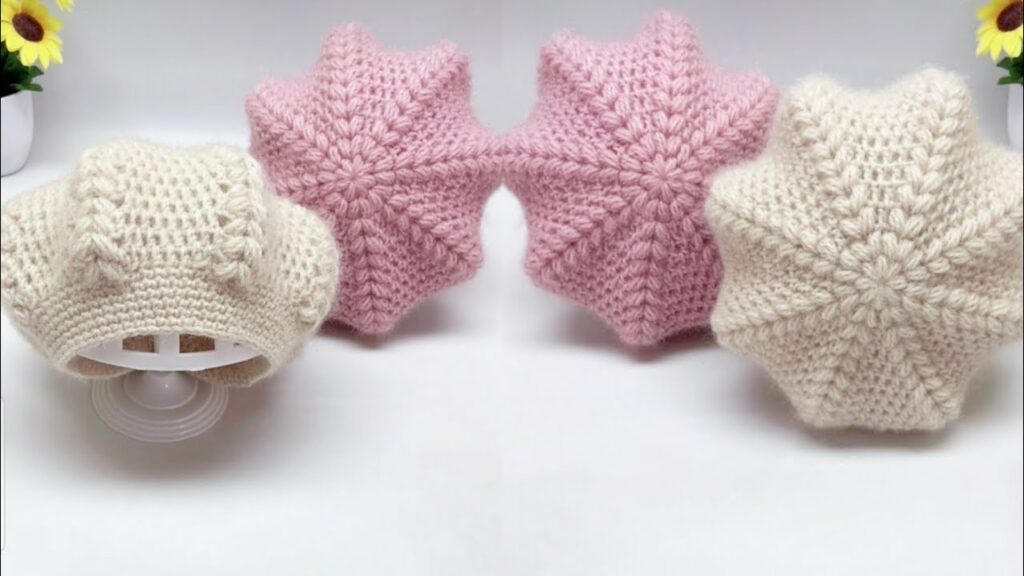
Welcome, knitting enthusiasts! If you’ve been looking for a hat pattern that combines the timeless style of cabling with the ease of a simple repeat, you’ve found it. Today we’re diving into the Modern Cable Twist Beanie, a stylish and incredibly easy project perfect for absolute beginners learning to read a pattern.
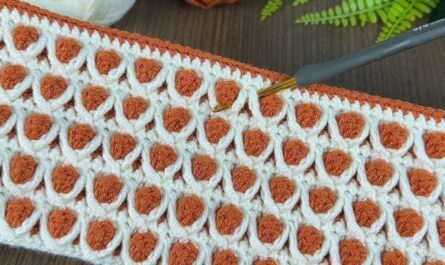
This hat is constructed using a simple 4-row repeat that creates a continuous, ribbed cable texture without the need for a complicated cable needle! We achieve a beautiful, diagonal twist by alternating between knit and purl stitches and strategically crossing them every few rows. The result is a cozy, stretchy, and beautifully textured hat that is perfect for cool autumn days.
Grab your needles—you’ll be amazed at how quickly this professional-looking hat comes together!
Section 1: Materials & Tools
Choosing the right yarn and needles is key to achieving the defined texture of this cable twist.
| Material/Tool | Recommendation | Notes |
| Yarn | 1 Skein (approx. 200 yards) of Worsted Weight (Category 4) Yarn | A smooth, wool or acrylic blend works best to define the stitch texture. |
| Needles (Ribbing) | US Size 6 (4.0 mm) 16-inch Circular Needles | For a tight, professional-looking brim. |
| Needles (Body) | US Size 8 (5.0 mm) 16-inch Circular Needles | For the main hat body. |
| Needles (Crown) | US Size 8 (5.0 mm) Double Pointed Needles (DPNs) OR longer circular needle for Magic Loop method. | Used for the decreases at the crown. |
| Notions | Stitch Marker (essential for marking the beginning of the round), Tapestry Needle, Scissors. |
Gauge (In Pattern Stitch):
Approximately 18 stitches and 24 rows = 4 inches (10 cm) after blocking, using the larger needles (5.0 mm).
Sizing (Adult Medium):
- Finished Circumference: 18 inches (unstretched, fits 21-23 inches)
- Finished Height: 9 inches
Section 2: The Stitches You Need to Know
This pattern uses simple knitting terms, plus one basic twist technique.
| Abbreviation | Stitch Name | Description |
| CO | Cast On | |
| K | Knit | |
| P | Purl | |
| K2tog | Knit 2 Together | Decrease stitch. |
| PM | Place Marker | |
| SM | Slip Marker | |
| P2tog | Purl 2 Together | Decrease stitch. |
| LT | Left Twist | The simple cable technique (see instructions below). |
The Left Twist (LT) Technique
The LT is the heart of the pattern and is worked over 4 stitches.
LT: Skip 2 stitches, K the 3rd stitch, K the 4th stitch, then go back and K the 1st and 2nd stitches. Slip all 4 stitches off the needle simultaneously. (A simple way to cross stitches without a cable needle)
Section 3: The Beanie Pattern
Part A: The Ribbed Brim
Using the smaller (4.0 mm) circular needles.
- CO 88 stitches (a multiple of 4 is required for the pattern).
- Join to work in the round, being careful not to twist the stitches. Place a stitch marker (PM) to mark the beginning of the round.
- Brim Round: *K2, P2* Repeat from * to * around.
- Repeat the Brim Round until your brim measures approximately 1.5 inches (about 8-10 rounds).
Part B: The Hat Body (The Modern Cable Twist)
Switch to the larger (5.0 mm) circular needles.
Setup Round: Knit every stitch around. (88 stitches)
The 4-Round Repeat:
| Row | Instructions | Notes |
| Round 1 (Twist): | *LT (Left Twist), P2* Repeat from * to * around. | Work the LT over the first 4 stitches, then Purl 2. |
| Round 2: | *K4, P2* Repeat from * to * around. | Knit the 4 twisted stitches, Purl 2. |
| Round 3: | *K4, P2* Repeat from * to * around. | Knit the 4 twisted stitches, Purl 2. |
| Round 4: | *K4, P2* Repeat from * to * around. | Knit the 4 twisted stitches, Purl 2. |
Continue: Repeat these four rounds until the hat body measures approximately 7.5 inches from the cast-on edge (ending with a Round 4). This should be about 9-10 full repeats of the 4-round sequence.
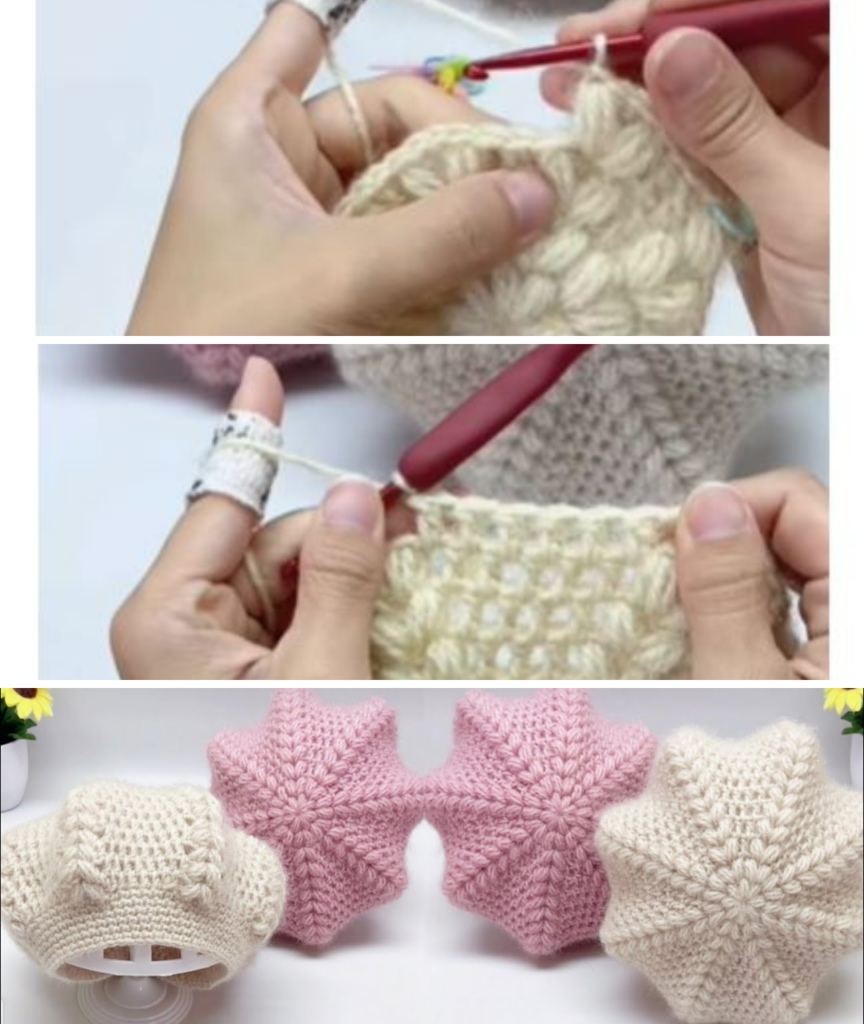
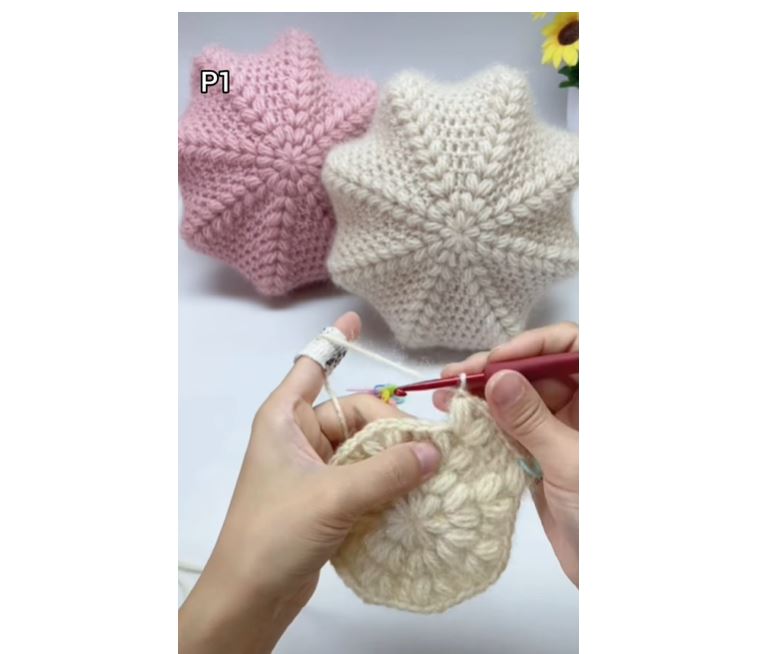
Part C: The Crown Decreases
Switch to DPNs or the Magic Loop method when the stitch count becomes too small for the circular needles.
The goal is to shape the top while maintaining the textured lines.
Decrease Set 1:
- Round 1: *K4, P2tog* Repeat from * to * around. (77 stitches)
- Round 2: *LT, P1* Repeat from * to * around. (LT on the next 4 stitches)
- Round 3: *K4, P1* Repeat from * to * around.
- Round 4: *K4, P1* Repeat from * to * around.
Decrease Set 2:
- Round 5: *K2tog, K2, P1* Repeat from * to * around. (66 stitches)
- Round 6: *K3, P1* Repeat from * to * around.
- Round 7: *K3, P1* Repeat from * to * around.
- Round 8: *K3, P1* Repeat from * to * around.
Decrease Set 3:
- Round 9: *K2tog, K1, P1* Repeat from * to * around. (55 stitches)
- Round 10: *K2, P1* Repeat from * to * around.
Decrease Set 4:
- Round 11: *K2tog, P1* Repeat from * to * around. (44 stitches)
- Round 12: *K1, P1* Repeat from * to * around.
Final Decreases:
- Round 13: *K2tog* Repeat from * to * around. (22 stitches)
- Round 14: *K2tog* Repeat from * to * around. (11 stitches)
Section 4: Finishing Touches
- Cut the Yarn: Cut the working yarn, leaving a long tail (about 12-15 inches).
- Thread the Tail: Thread the yarn tail onto a tapestry needle.
- Close the Top: Slip the remaining 11 stitches off the needle and onto the yarn tail. Pull the yarn tail tightly to cinch the top opening closed.
- Secure: Pass the needle through the center hole to the inside of the hat, knot the end securely, and weave the tail down the inside of the hat for a few inches.
- Optional: For a playful finish, attach a faux fur or yarn pom-pom to the top of the hat.
- Blocking: Wet block the finished hat to allow the cable texture to settle and the brim to lie flat.
Conclusion: Your New Favorite Beanie
Congratulations! You have now mastered the simple “Modern Cable Twist” and created a gorgeous, warm beanie. This pattern proves that complicated-looking texture can be achieved with just a few basic techniques.
Wear your new hat with pride! Don’t forget to tag your finished projects and let us know what color you chose for your autumn wardrobe staple. Happy Knitting!
Video tutorial: