by
by A knitted christening gown or dress is more than just a garment; it’s a timeless heirloom, a symbol of love, faith, and tradition. Hand-knitting a gown for a baby’s christening, baptism, or special blessing creates a cherished keepsake that can be passed down through generations. While the project may seem monumental, it’s a rewarding journey that combines intricate stitches with a simple, classic silhouette.
This detailed guide will walk you through the essential steps, from choosing the perfect yarn to shaping the delicate lace and assembling a gown that is truly a work of art.
1. The Foundation: Planning Your Heirloom
A bit of careful planning is essential before you cast on your first stitch.
- Choose the Perfect Yarn: The yarn is the soul of the gown. Opt for a fiber that is soft, breathable, and gentle against a baby’s sensitive skin.
- Natural Fibers: Lace-weight or fingering-weight merino wool, silk, or cotton are excellent choices. They offer beautiful drape, a delicate sheen, and are hypoallergenic.
- Blends: A merino/silk blend is a luxurious choice that is soft, warm, and has a lovely luster. A cotton/bamboo blend is perfect for a lighter, more breathable gown suitable for warmer climates.
- Color: Traditional gowns are white or cream, symbolizing purity. Choose a shade that complements the baby’s skin tone.
- Select Your Pattern: Look for a pattern that matches your skill level.
- Beginner: Choose a pattern with simple lace repeats or a basic Garter or Stockinette stitch bodice with a simpler lace skirt.
- Intermediate/Advanced: Challenge yourself with intricate lace motifs like a Feather and Fan or Lace Leaf pattern.
- Needle Size: The needle size will be determined by your yarn and chosen pattern. Using a smaller needle than recommended on the yarn label will create a denser fabric, which is great for lace definition.
2. Essential Materials and Tools
Gather all your materials before you begin.
- Yarn: The amount needed will depend on the pattern and the gown’s length.
- Knitting Needles: A pair of straight needles or circular needles in the size specified by your pattern.
- Stitch Markers: Invaluable for marking lace repeats.
- Tapestry Needle: For seaming and weaving in ends.
- Scissors.
- Measuring Tape: Crucial for checking your gauge and dimensions.
- Ribbon (Optional): For a waist tie or neckline ribbon.
- Buttons: Small, delicate buttons for the back opening.
Video Tutorial Part 1 :
3. The Construction Journey: Step-by-Step
A christening gown is often knitted in one of two ways: from the top down (working from the neckline to the hem) or from the bottom up (working from the hem to the neckline). We’ll outline a top-down construction as it allows you to adjust the length as you go.
Step 1: The Gauge Swatch (Absolutely Essential!)
This is the most critical step for any garment. Knit a swatch (at least 6×6 inches) in your chosen stitch and yarn. Wash and block the swatch according to your yarn’s care instructions. Lace patterns can grow significantly after blocking, so this step is vital for a correct fit. Measure your stitches and rows per inch. Adjust your needle size until your gauge matches your pattern’s recommendation.
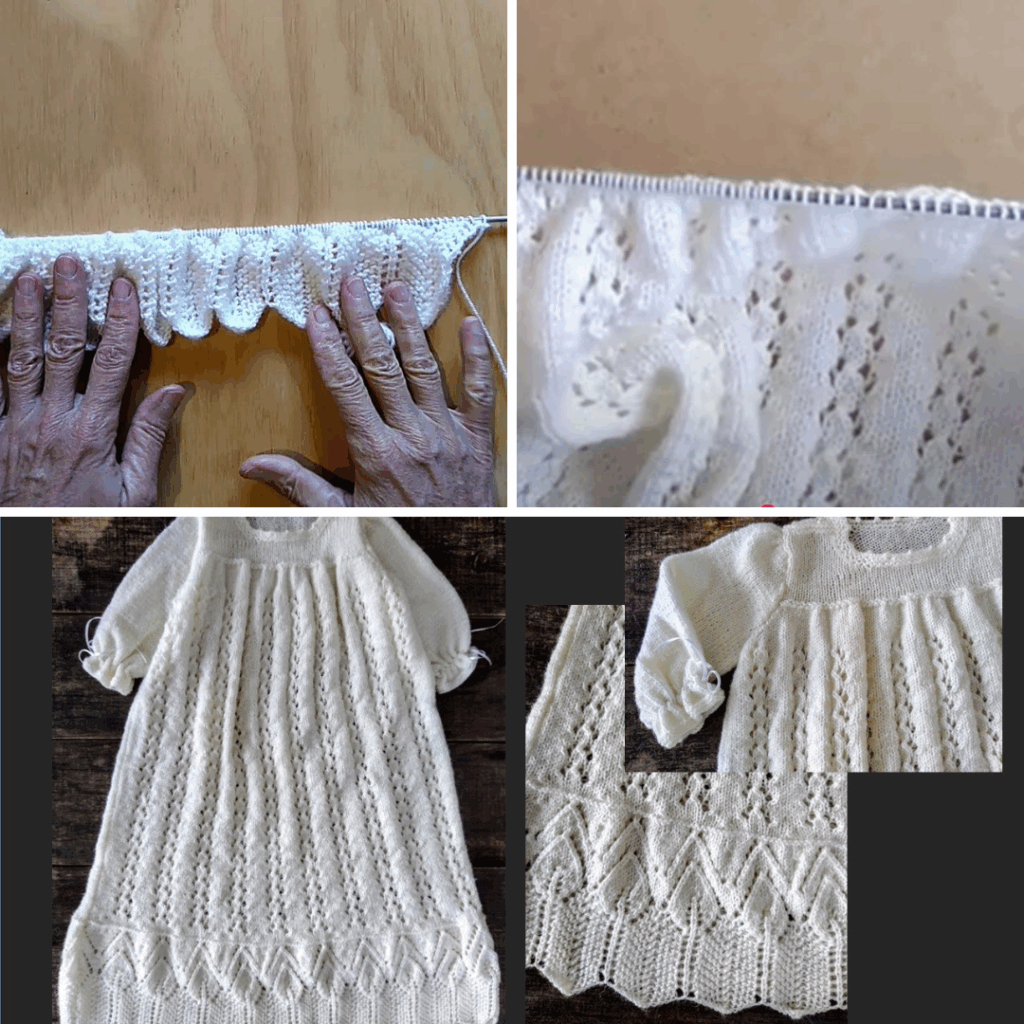
Step 2: Knit the Yoke (Bodice)
- Cast On: Cast on the number of stitches required for the neckline.
- Work the Yoke: The yoke is the upper part of the dress. Work in rows, typically in a simple stitch like Stockinette or Garter, while adding increases at regular intervals. These increases will shape the yoke to fit over the baby’s shoulders.
- Separate for Sleeves and Body: Once the yoke is the correct size, you will divide the stitches into four sections: two for the front, one for the back, and two for the sleeves. You’ll put the sleeve stitches on a holder or scrap yarn and continue working on the body stitches.
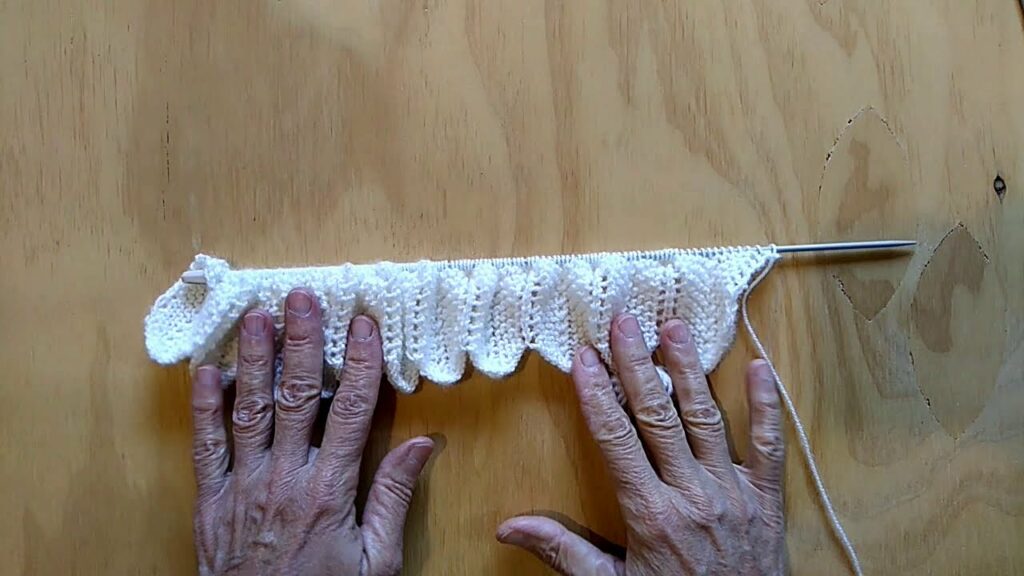
Step 3: Knit the Skirt (Lace Section)
- Join and Work: Once the sleeve stitches are set aside, you’ll join the front and back body stitches to work in the round to create the skirt.
- Start the Lace Pattern: Now, begin your chosen lace pattern. Follow the chart or written instructions carefully, using stitch markers to keep track of repeats.
- Shape the Flare: To create the gown’s full, flared shape, you will add increases within the lace pattern at regular intervals. These can be eyelet increases or simple knit-front-and-back increases, depending on your pattern.
- Knit to Length: Continue working the lace pattern until the gown reaches the desired length.
Step 4: Knit the Sleeves and Finish Neckline
- Sleeves: Go back to the stitches you set aside for the sleeves. Put them back on your needles and work in the round to knit the sleeves to the desired length. You can also add a simple lace pattern or a ribbed cuff.
- Neckline: The neckline is often finished with a simple edging like a knitted-in I-cord or a few rows of garter stitch. You can also add a small ruffle or lace border.
Step 5: Assembly and Blocking
- Seam: If your pattern requires any seaming (e.g., at the back), use your tapestry needle and the mattress stitch for a nearly invisible seam.
- Add Closures: Sew delicate buttons onto the back opening of the gown.
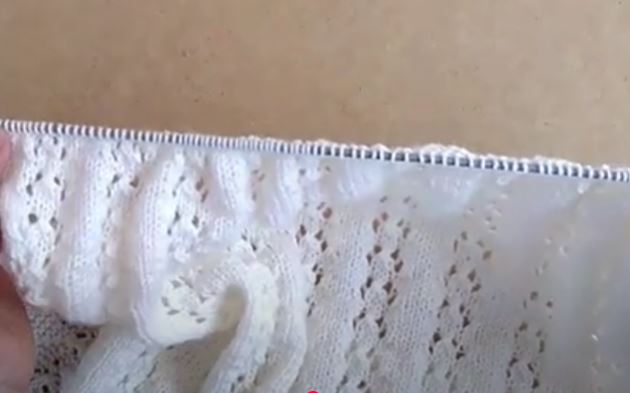
- Blocking (The Magic Step!): Blocking is critical for a lace garment.
- Gently soak the entire gown in cool water with a wool wash.
- Carefully squeeze out the excess water (do not wring!).
- Lay the gown flat on a blocking mat or towel and gently pin it into shape, stretching out the lace to open up the pattern.
- Let it dry completely.
This process will transform your knitting from a crumpled fabric into a beautifully draped, delicate masterpiece.
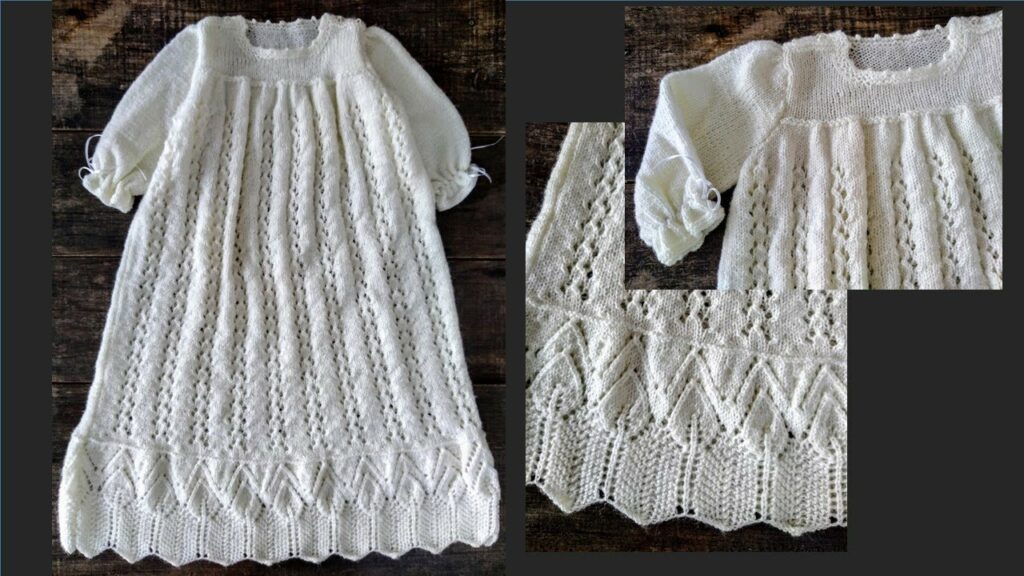
Creating a knitted christening gown is a journey of love and patience. The finished garment will not only be a beautiful outfit for a special day but a cherished family treasure for years to come.
Video Tutorial Part 2 :