 by
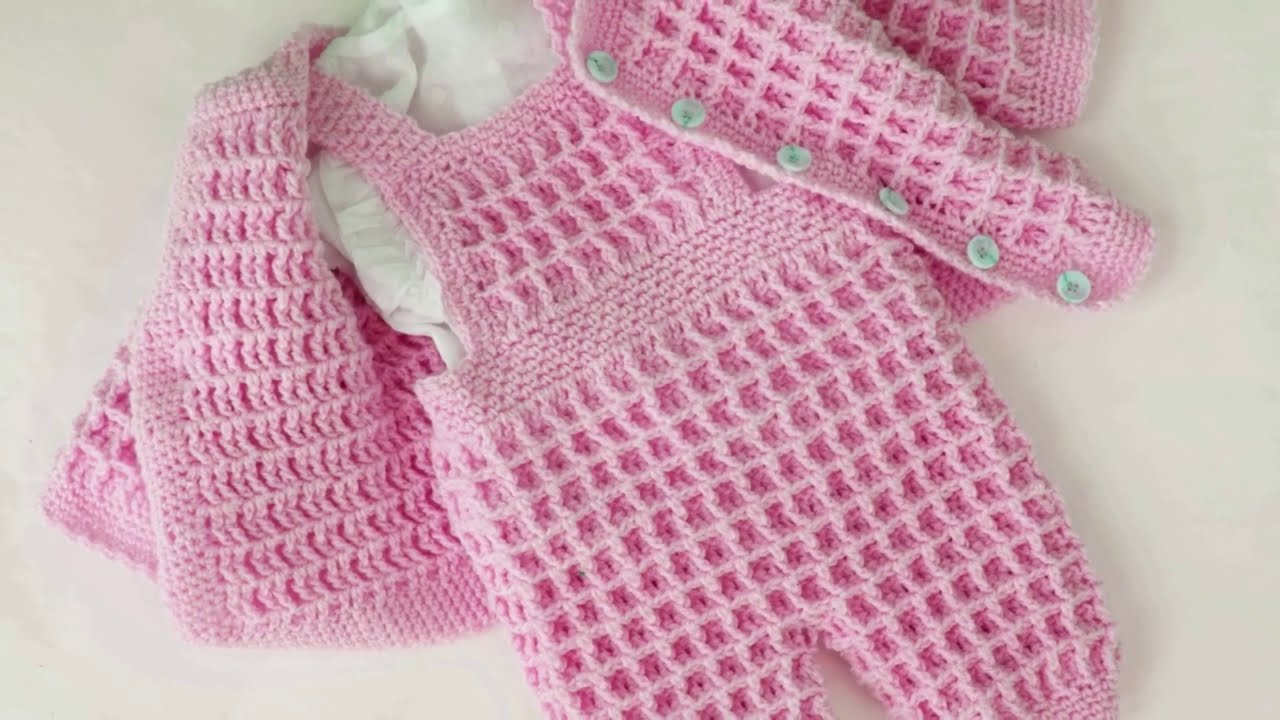
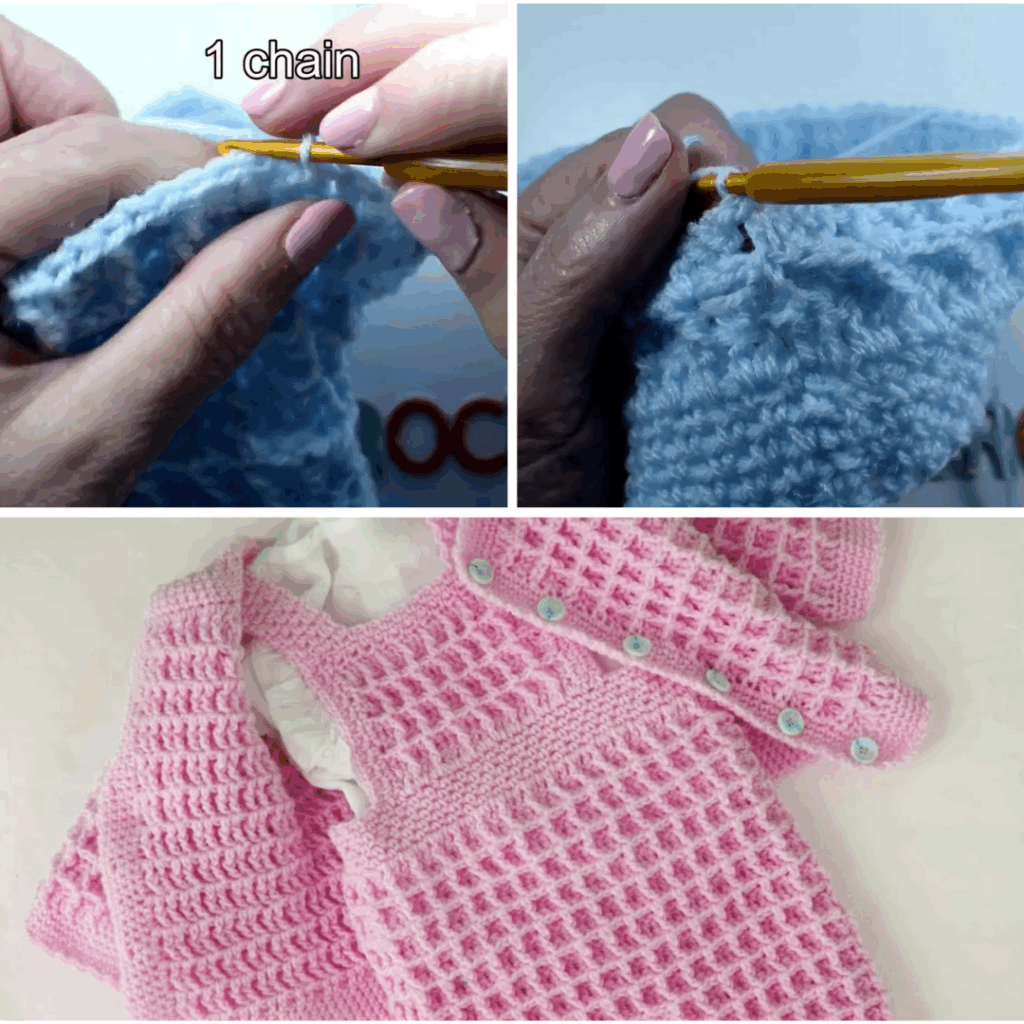
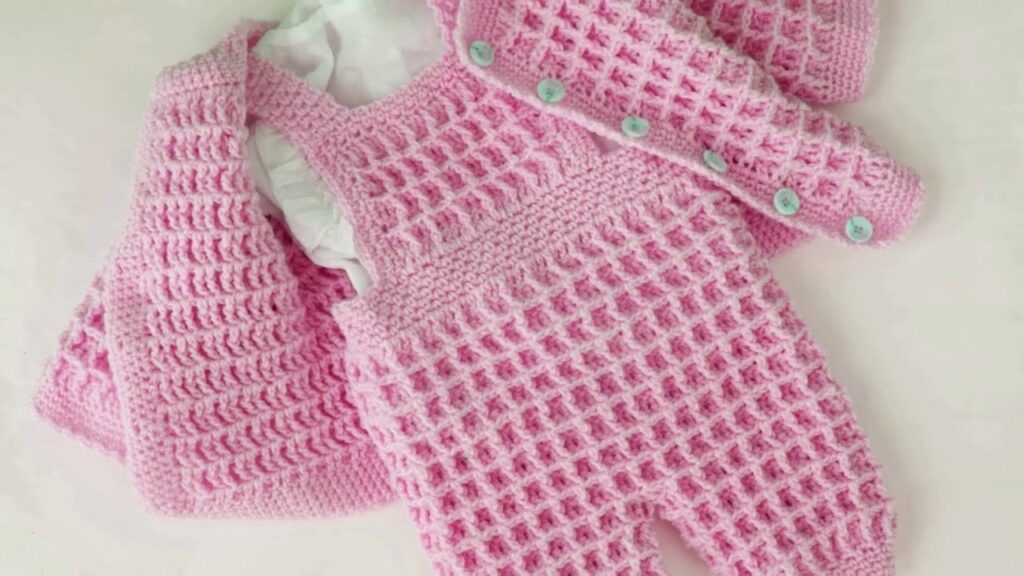
by Crocheting adorable outfits for babies is one of the most rewarding projects a maker can take on — and baby dungarees are an all-time favorite! These overalls are cute, comfortable, and surprisingly simple to make, even for beginners.
In this guide, you’ll learn how to crochet an easy baby dungaree using basic stitches, minimal shaping, and customizable sizing. Whether you’re creating a handmade gift or adding to your baby’s wardrobe, this pattern is sweet, stylish, and functional.

🧵 Skill Level: Very Easy / Beginner
You’ll use simple stitches such as:
- Single Crochet (sc)
- Half Double Crochet (hdc) or Double Crochet (dc)
- Simple shaping (increases and decreases)
- Basic sewing for straps and buttons
📏 Sizing Information
This simple pattern can be adjusted for different sizes. Below is a basic size reference:
| Age | Waist (inches) | Height (from shoulder) |
|---|---|---|
| 0–3 mo | 14–16″ | 14–15″ |
| 3–6 mo | 16–17″ | 15–16″ |
| 6–12 mo | 17–18.5″ | 16–17.5″ |
You can adjust the number of rows and stitches to increase or decrease size as needed.
🧶 Materials You’ll Need
- Worsted weight cotton or soft acrylic yarn (Size 4) – ~150–200g
- Crochet hook – 4.0 mm (G-6) or 4.5 mm (7)
- Scissors
- Yarn needle – for weaving in and seaming
- Stitch markers
- 2–4 buttons – for straps or decorative sides
- Measuring tape – for customizing size
📐 Construction Overview
The dungaree is worked in two identical panels (front and back), then seamed together. Straps and cuffs are added last.
Sections:
- Legs (worked flat)
- Torso/body
- Bib (upper front chest)
- Straps
- Assembly + buttons
🪡 Step-by-Step Instructions
🦵 1. Start with the Legs
Make 2 panels (front and back) — both are worked from the bottom up.
Right Leg:
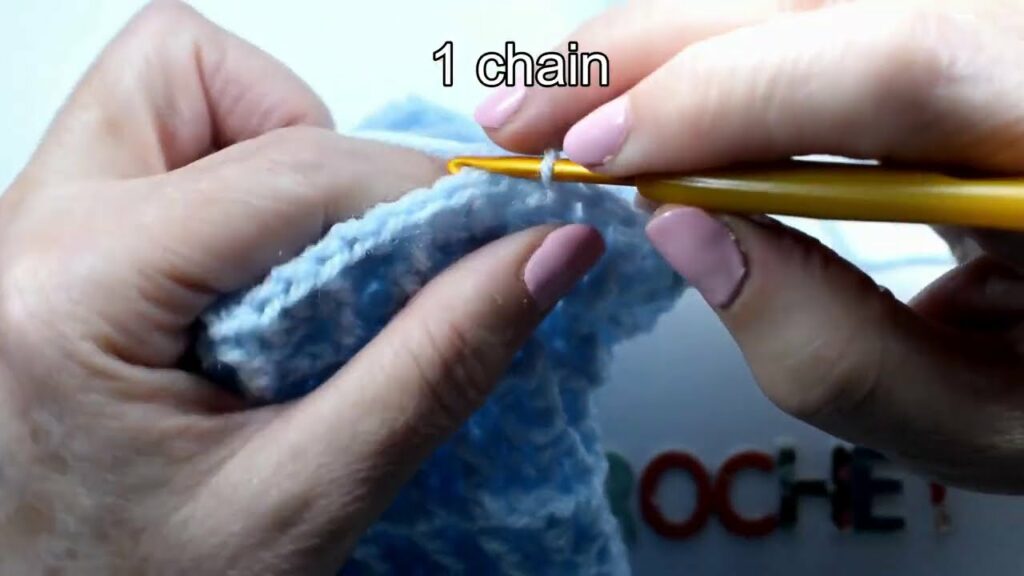
- Chain 20 (or adjust for width)
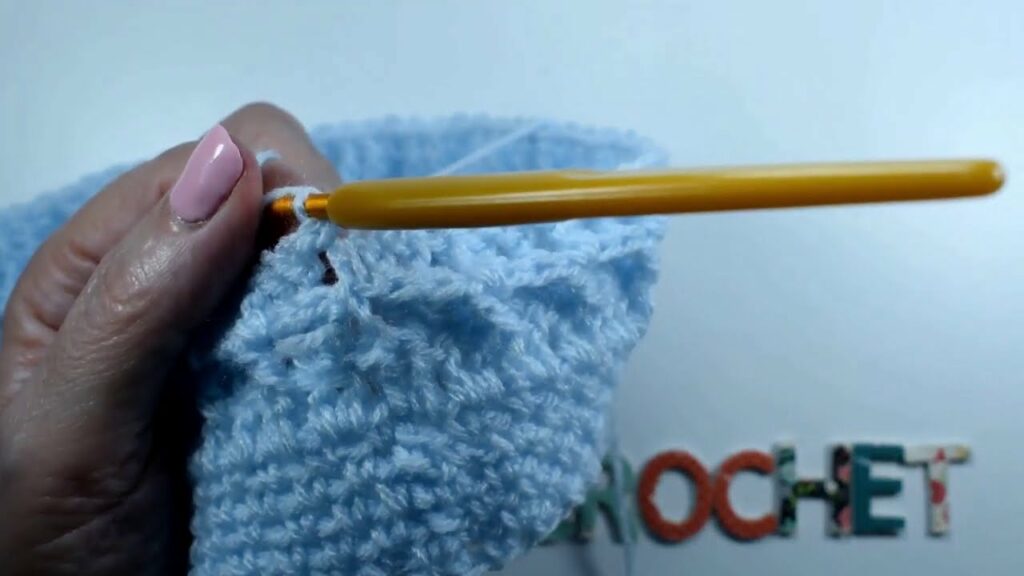
- Row 1: Hdc in 2nd chain from hook and across (19 sts)
- Rows 2–10: Ch 1, turn, hdc across. (Creates leg length)
- Fasten off.
Left Leg:
Repeat as for the right leg but don’t fasten off — continue to connect both legs.
🩳 2. Join Legs and Work Body
Joining Round:
- Chain 2 (this is the space between the legs), hdc across the first leg, hdc in each chain of the center chain (2 hdc), hdc across the second leg.
Now you should have a single row across both legs, creating a “U” shape.
Continue Up the Body:
- Work 12–16 rows of hdc evenly (or to desired torso length)
- Place markers 6–7 stitches in from each side for the underarm points (you’ll shape armholes next).

👕 3. Shape the Bib (Front Upper Chest)
The bib is centered at the top front of the body panel.
- Count center 12–14 sts, place markers
- Row 1 (Bib start): Attach yarn at one marker, hdc across to the next marker
- Rows 2–5: Ch 1, turn, hdc across
- Optional: Decrease 1 stitch on each side to slightly taper
🎒 4. Make the Straps (Make 2)
- Ch 22–26 (adjust for size)
- Row 1: Hdc in 2nd ch from hook and across
- Optional: Work 2–3 rows for thicker straps
- Fasten off, leaving long tail for sewing
Attach straps to top back of the dungaree, aligning them so they can criss-cross or go straight over the shoulders and button to the front bib.
🧷 5. Assembly
- Sew sides and crotch using a yarn needle and whip stitch
- Attach straps with yarn or buttons to bib
- Weave in all ends
- Optional: Add cuffs at the leg hem (sc or ribbed edging)
🎀 Optional Finishing Touches
- Ribbed Edges: Add sc or front-post/back-post dc to the waistband or leg cuffs
- Appliqués: Sew on a crocheted bear, star, or flower patch
- Pockets: Add a small square pocket on the bib or bum
🧼 Washing & Care Tips
- Machine wash on gentle cycle (if yarn is machine safe)
- Lay flat to dry
- Avoid using fabric softener for baby garments
🎁 Perfect For:
- Newborn photoshoots 📸
- Baby shower gifts 🎁
- Everyday wear or special occasions
- Handmade keepsakes 👶
🧶 Final Thoughts
This easy crochet baby dungaree pattern is beginner-friendly, quick to work up, and endlessly customizable. With soft yarn and a few buttons, you can create a sweet little outfit that’s handmade with love.
Whether you’re making it for your own baby or as a heartfelt gift, this project is sure to be treasured. And with a few color tweaks or appliqués, you can easily turn it into a bunny, bear, or rainbow-themed set!
Video Tutorial :