by
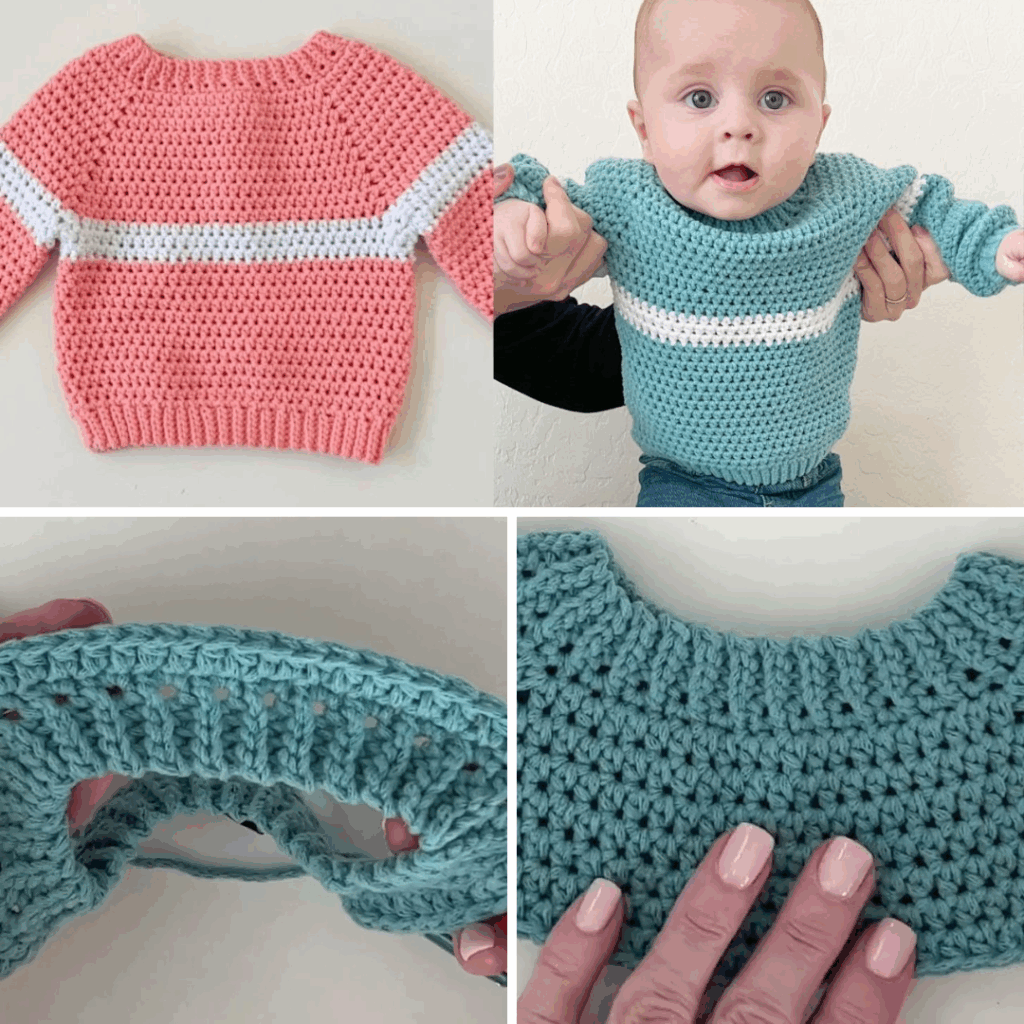
by A simple stripe sweater is a timeless staple in any wardrobe. Its clean lines and versatile style make it a perfect project for crocheters of all skill levels, especially those looking to tackle their first garment. The beauty of a crochet simple stripe pullover sweater lies in its straightforward construction and the endless color combinations you can create.
This detailed guide will walk you through the process of making a classic striped pullover, covering the key techniques, yarn choices, and tips to ensure a successful and stylish result.
1. Why a Striped Pullover is the Perfect Crochet Project
- Beginner-Friendly: This style of sweater is typically constructed from basic rectangular or square panels (front, back, and two sleeves), which are then sewn together. This eliminates complex shaping and makes it much more accessible than a seamless, top-down design.
- Skill Building: It’s a great project for practicing fundamental skills like working with simple stitches (e.g., single crochet, half double crochet, or double crochet), seaming panels, and weaving in ends.
- Color Play: Stripes offer a fantastic opportunity to experiment with color. You can go for a classic two-color design, a bold rainbow, or subtle, tonal stripes.
- Stash Buster: This is an excellent project for using up leftover yarn from previous projects, as you’ll only need a small amount of a contrasting color for each stripe.
2. Planning and Materials
Choosing the right materials is the first step toward a beautiful and comfortable sweater.
- Yarn: A medium-weight yarn (e.g., worsted or DK weight) is ideal. It works up quickly and creates a cozy, substantial fabric. Acrylic or a wool blend is a great choice as it’s durable, easy to wash, and comes in a huge range of colors.
- Crochet Hook: Choose a hook size that is appropriate for your yarn. The yarn label will provide a recommended size. If your gauge is too loose, your fabric will be drapey and floppy. If it’s too tight, it will be stiff.
- Gauge: Making a gauge swatch is crucial for any garment. This ensures your finished sweater will be the correct size. The pattern you follow will specify a required gauge (e.g., “4 stitches and 4 rows = 1 inch”). Crochet a small square and measure it. Adjust your hook size accordingly (use a larger hook if your swatch is too small, or a smaller hook if it’s too large).
- Other Supplies: You will also need scissors, a tapestry needle for weaving in ends and seaming, and stitch markers.
3. The Construction: A Step-by-Step Guide
A typical simple stripe pullover is made from four separate panels: a front panel, a back panel, and two sleeves.
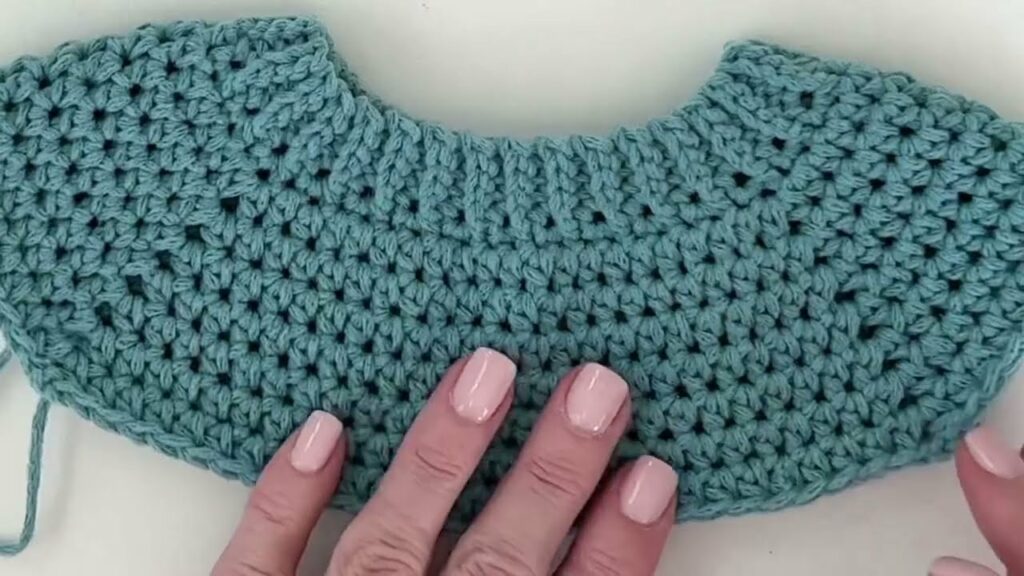
Part 1: The Front and Back Panels
These are essentially large rectangles.
- Chain: Begin by chaining the number of stitches required for the width of the front panel, as specified in your pattern.
- Stitch: Work in rows using a simple stitch like half double crochet (HDC) or double crochet (DC). This creates a quick and uniform fabric.
- Color Changes: To create your stripes, change colors every few rows. To make a clean change, pull through with the new color on the final yarn-over of the last stitch of a row.
- Repeat: Continue working in rows, following your stripe pattern, until the panel reaches the required length. This will determine the overall length of your sweater.
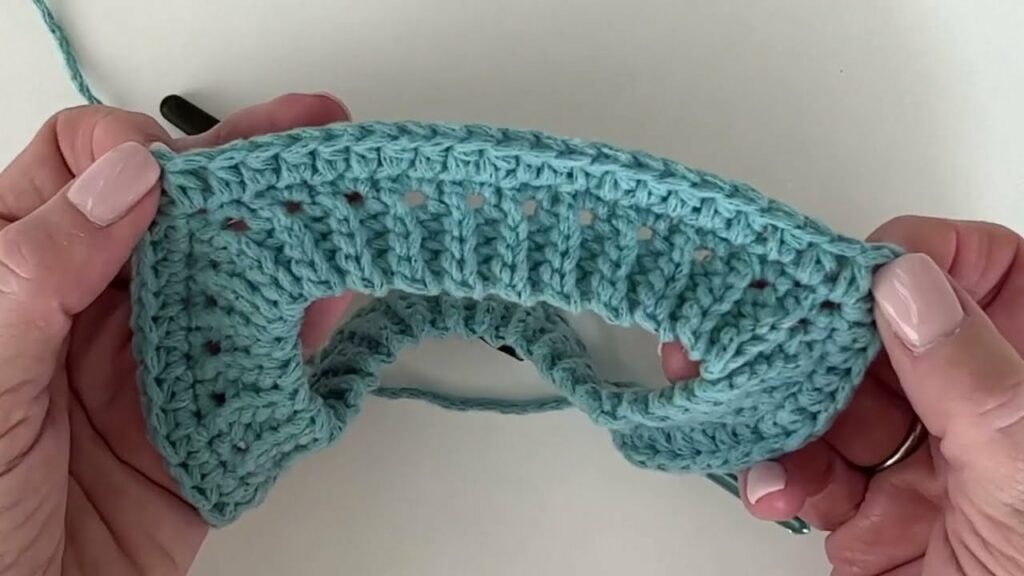
- Shaping the Neckline (Optional): For a more defined neckline, the pattern may instruct you to stop working in the center stitches for the final few rows, creating a gap for the neck.
- Create the Back Panel: Repeat all of the above steps to create an identical back panel.
Part 2: The Sleeves
The sleeves are also worked as flat panels.
- Chain: Begin by chaining the number of stitches required for the width of the sleeve cuff.
- Increases: To create the arm shape, the pattern will likely have you increase a few stitches at the beginning or end of each row, or every few rows. This gradually widens the sleeve as you work up the arm.
- Stripe Pattern: Follow the same stripe pattern you used for the body panels.
- Repeat: Work until the sleeve reaches the required length.
- Create the Second Sleeve: Repeat all of the above steps to create an identical second sleeve.
Part 3: Assembly
This is where your panels come together to form the sweater.
- Block the Panels: Blocking is highly recommended. It evens out your stitches, helps the fabric drape nicely, and makes seaming much easier. Simply wet each panel, lay it flat, shape it to the correct dimensions, and allow it to dry.
- Sew Shoulder Seams: Lay the front and back panels on top of each other, right sides together. Use a tapestry needle and yarn to sew the shoulder seams together. Leave an opening for the neck.
- Sew Sleeve Seams: Fold each sleeve in half lengthwise, with the right sides together. Sew the long seams of each sleeve.
- Attach Sleeves: Lay the main body flat, right side up. Position the sleeve along the armhole opening, aligning the center of the sleeve with the shoulder seam. Pin it in place and sew the sleeve to the armhole.
- Sew Side Seams: Fold the entire sweater in half, right sides together. Sew the side seams, from the bottom hem all the way up to the armpit. Continue sewing from the armpit down the sleeve seam.
- Add Ribbing (Optional): You can crochet a simple ribbing (alternating front and back post stitches or a half double crochet ribbing) around the cuffs, neckline, and bottom hem for a clean, finished look.
4. Final Touches
- Weave in All Ends: Take your tapestry needle and carefully weave in all loose ends.
- Final Blocking: Give the finished sweater one last block to ensure all seams lay flat and the garment has a beautiful, professional drape.
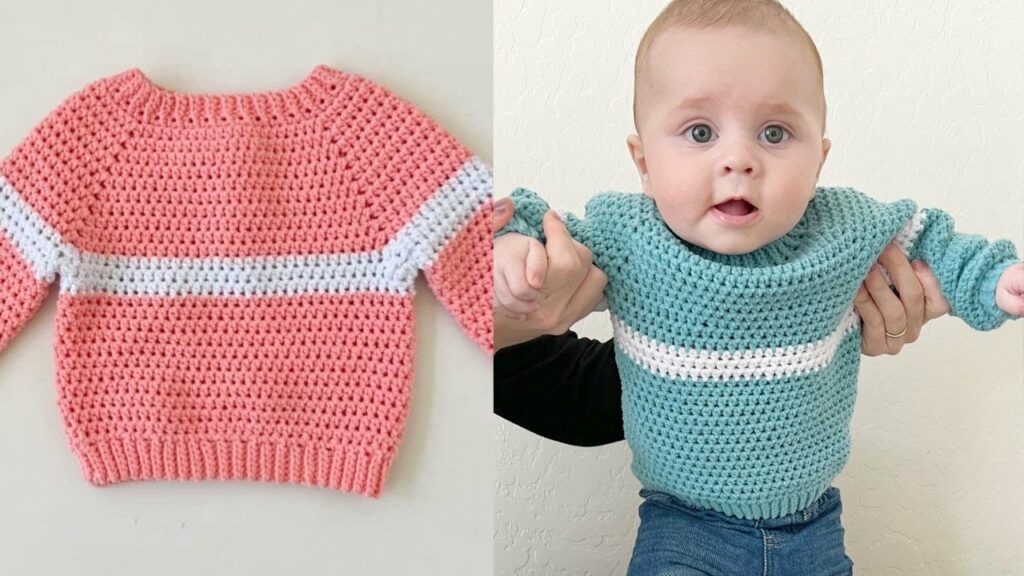
Following these steps will help you create a cozy and stylish simple stripe pullover. With its classic design and customizable colors, this is a garment you’ll be proud to wear or give as a gift.
Video Tutorial :