 by
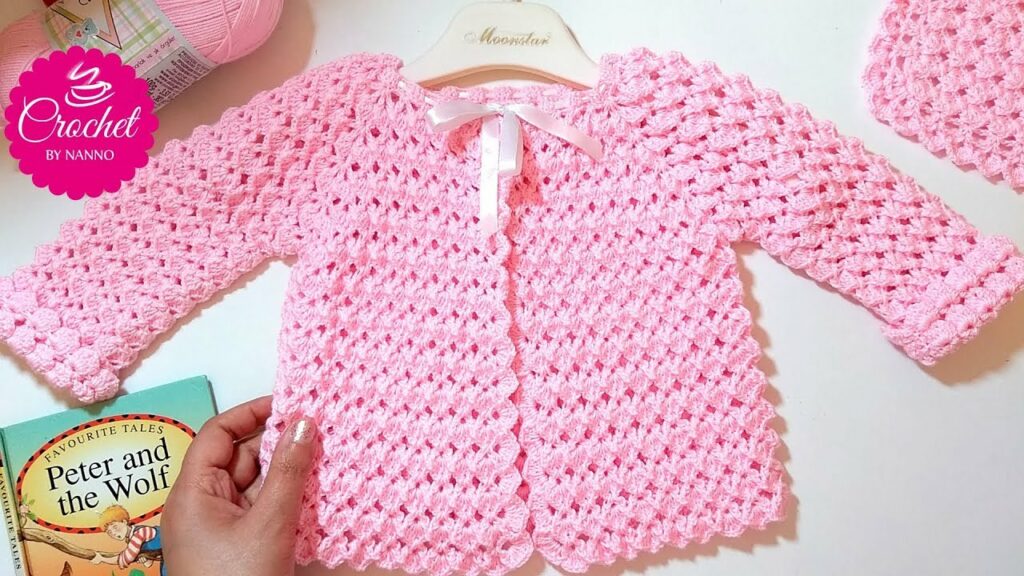
by A handmade crochet sweater cardigan is the perfect addition to any wardrobe. It’s a versatile and cozy layering piece that can be dressed up or down, and its classic design makes it a project you’ll be proud to wear for years. While the idea of crocheting a full garment might seem intimidating, a cardigan is an excellent project for intermediate crocheters looking to build their skills. With its straightforward construction and customizable features, you can create a beautiful piece that is uniquely your own.
This detailed guide will walk you through the essential steps, from planning your project to finishing the final details, ensuring your handmade cardigan is a success.

1. Planning Your Cardigan: Key Decisions & Materials
Careful planning is the first step toward a beautiful finished cardigan. Before you pick up your hook, consider these key elements.
- Choose Your Style: Cardigans come in many styles! Do you want a long, duster-style cardigan, a cropped one, a classic button-up, or a cozy, open-front design? This decision will influence your pattern choice.
- Yarn & Fiber: The yarn you choose will determine the look, feel, and drape of your finished cardigan.
- Weight: A DK (light worsted) or worsted weight yarn is a popular choice for cardigans. It works up quickly but isn’t too bulky.
- Fiber:
- Acrylic: A great beginner-friendly option. It’s affordable, durable, and comes in a huge range of colors.
- Wool/Wool Blends: Offer warmth and a lovely drape, but may require more delicate washing.
- Cotton/Cotton Blends: Perfect for a lightweight, breathable cardigan, especially for warmer climates.
- Hook Size: Choose a hook size that is appropriate for your yarn. The yarn label will provide a recommendation.
- Gauge Swatch: This is the most crucial step for any garment project. Before you begin, crochet a small swatch in your chosen stitch and measure it to ensure your gauge matches the pattern. This guarantees your cardigan will be the correct size.
- Other Supplies: You will also need a tapestry needle for weaving in ends and seaming, scissors, and stitch markers.
2. Understanding the Construction
Most crocheted cardigans are built from a few simple panels that are then sewn together. This modular approach makes the project much more manageable.
Common Construction Methods:
- Bottom-Up, Flat Panels: This is the most traditional method. You’ll crochet three separate panels: a back panel and two front panels. The sleeves are then crocheted separately and sewn on later. This method is excellent for beginners as it uses simple, straight rows.
- Top-Down, Seamless: This method involves working the entire cardigan in one piece, starting from the neckline. Increases are made to shape the yoke, and the body and sleeves are then separated and worked in the round. This method is more advanced but eliminates the need for seaming.
For this guide, we’ll focus on the bottom-up, flat panel construction as it’s a great way to learn garment-making basics.
3. The Step-by-Step Process (Bottom-Up)
Once you have a pattern and your materials ready, you can start crocheting.
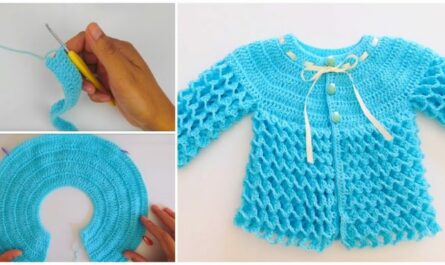
Part 1: The Back Panel
- Foundation Chain: Chain the number of stitches required for the width of the back of your cardigan.
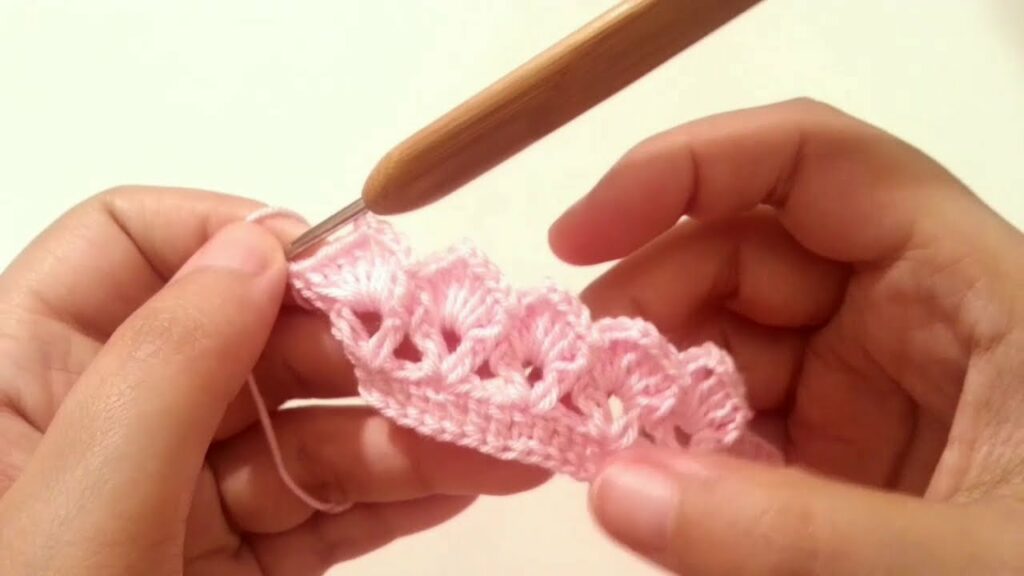
- Stitch Pattern: Work in straight rows using your chosen stitch pattern (e.g., half double crochet, double crochet, or a textured stitch).
- Shaping (Optional): Some patterns may require you to decrease stitches at the armholes to create a shaped opening. If not, you’ll simply work a large rectangle.
- Repeat: Continue working rows until the panel reaches the required length, from the waist to the top of the shoulder. Fasten off.
Part 2: The Front Panels
- Foundation Chain: Chain the number of stitches for one of the front panels. This will be about half the width of your back panel.
- Stitch Pattern: Work in rows just like you did for the back panel.
- Shaping (Optional): For a V-neck cardigan, you will need to gradually decrease stitches along the front edge to create the neckline.
- Repeat: Continue until the front panel matches the length of the back panel. Fasten off.
- Create the Second Front Panel: Repeat all of the above steps to create an identical second front panel.
Part 3: The Sleeves
- Foundation Chain: Chain the number of stitches for the width of the cuff.
- Increases: Work in rows, increasing a few stitches periodically on both ends to gradually widen the sleeve as you work up the arm.
- Repeat: Continue until the sleeve reaches the desired length and width for the armhole. Fasten off.
- Create the Second Sleeve: Repeat all of the above steps to create an identical second sleeve.
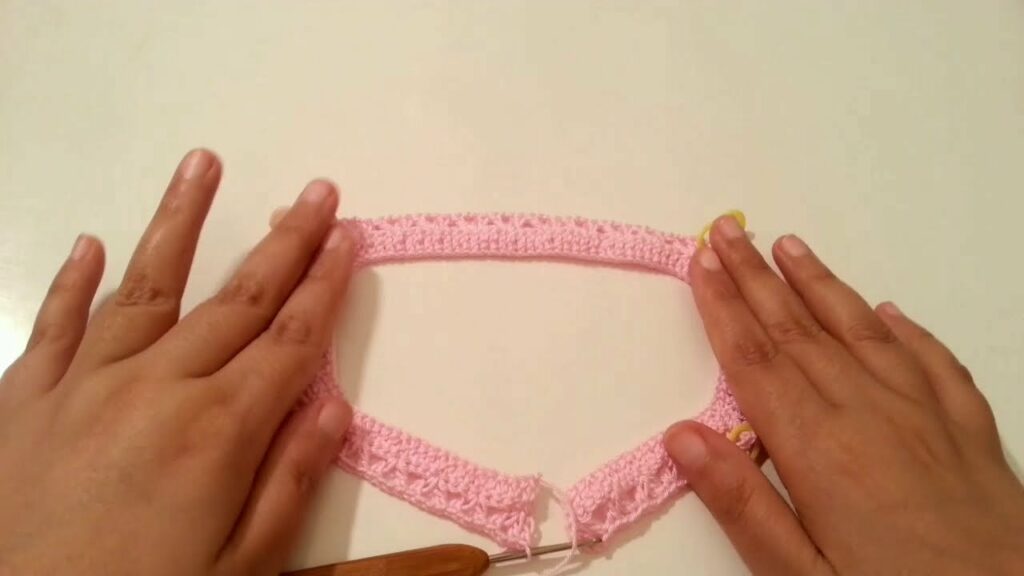
Part 4: Assembly
This is where the magic happens and your panels come together.
- Block the Panels: Blocking is highly recommended. It will straighten your edges, even out your stitches, and make the seaming process much easier.
- Sew Shoulder Seams: Lay the back panel flat, right side up. Place the two front panels on top, right sides down, aligning the shoulder edges. Sew the shoulder seams together.
- Attach Sleeves: Lay the entire body of the cardigan flat. Pin a sleeve into an armhole opening, aligning the center of the sleeve with the shoulder seam. Sew the sleeve onto the armhole. Repeat for the second sleeve.
- Sew Side and Sleeve Seams: Fold the entire cardigan in half, right sides together. Sew the long side seams from the bottom hem up to the armpit. Continue sewing from the armpit down the length of the sleeve.
Part 5: Finishing Touches
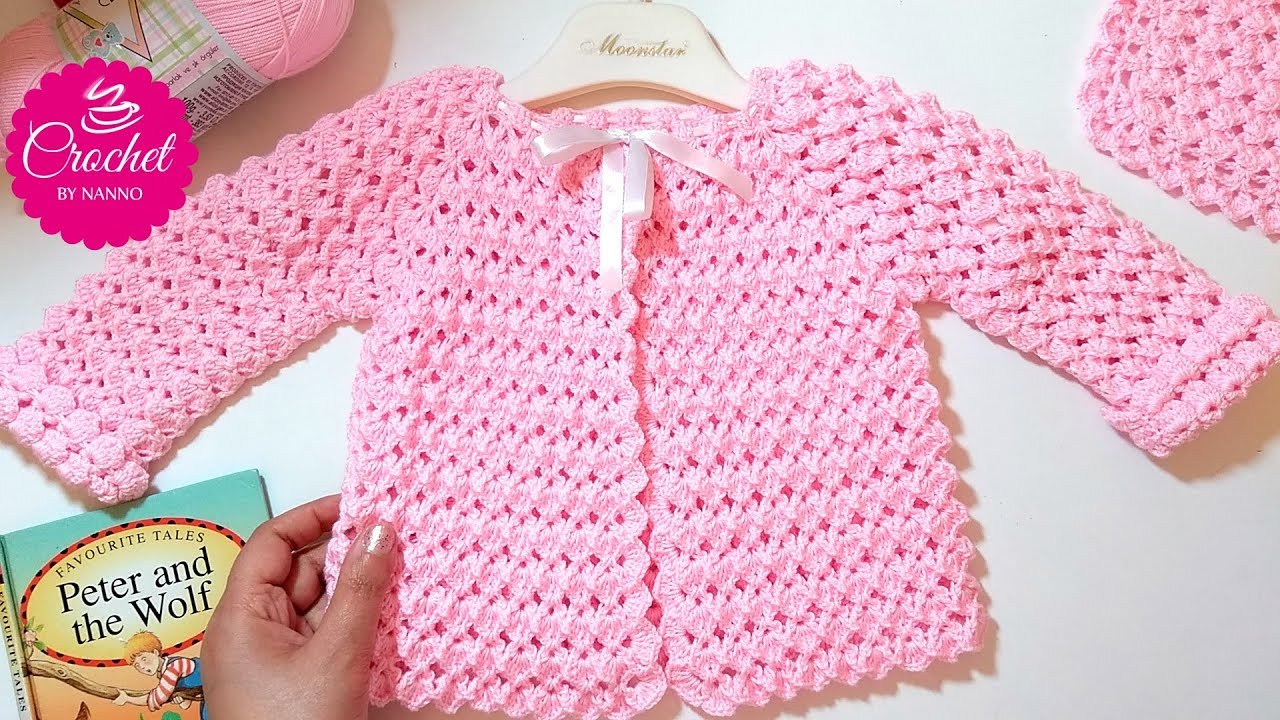
- Add a Border: Crochet a simple border (e.g., a few rounds of single crochet) around the entire front opening, neckline, and bottom hem. This gives your cardigan a clean, finished look and helps the edges lie flat.
- Weave in All Ends: Use your tapestry needle to carefully weave in every single loose end.
- Buttons & Buttonholes (Optional): If you are making a button-up cardigan, you will need to create buttonholes in your border. You can do this by skipping a few stitches in one row of your border and chaining the same number of stitches to create a small opening for the button.
4. Final Thoughts
Crocheting a sweater cardigan is a rewarding project that results in a beautiful, long-lasting garment. By breaking the process down into simple panels and focusing on one step at a time, you can create a piece that is both stylish and a testament to your hard work. Happy crocheting!
Video Tutorial :