 by
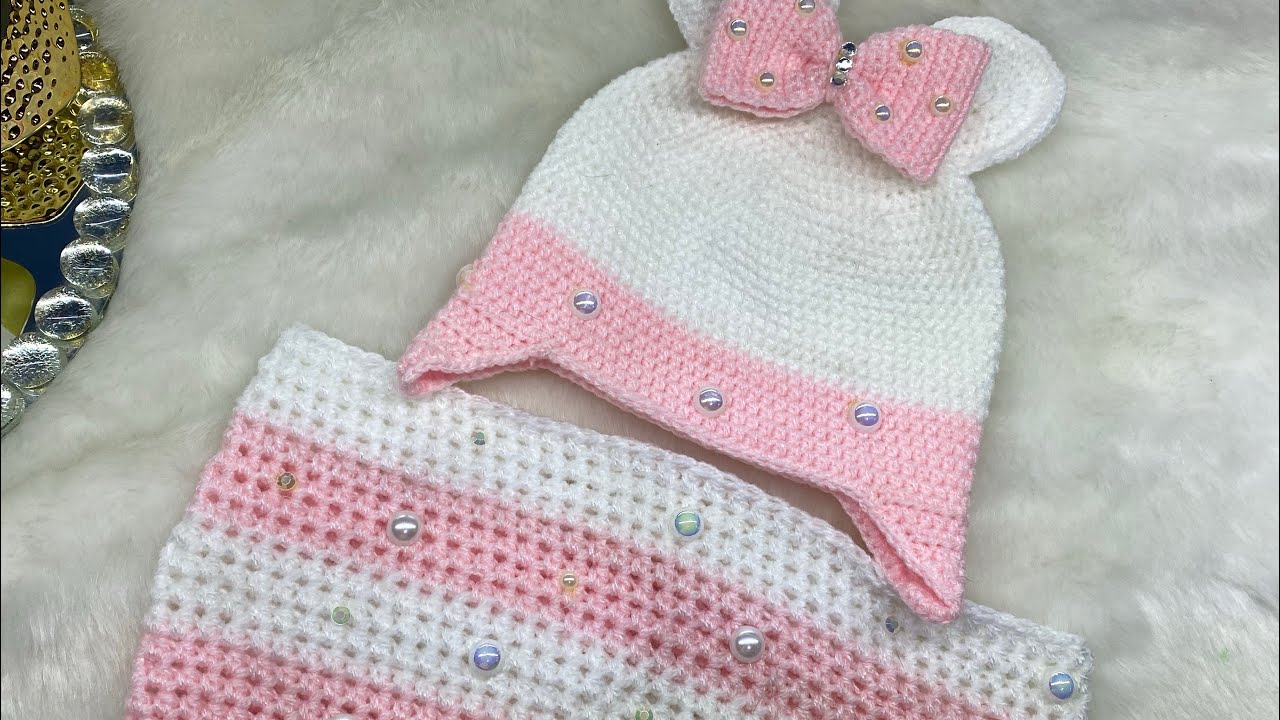
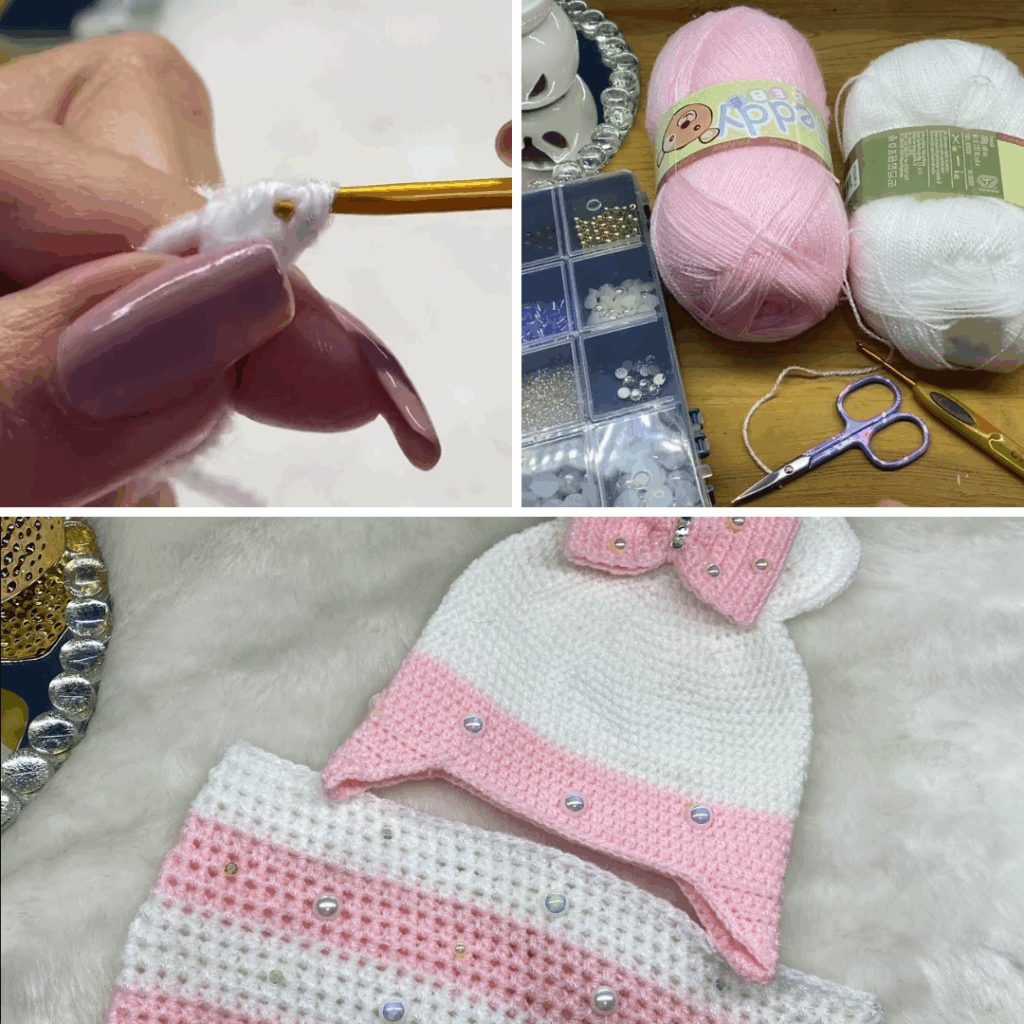
by There’s a special kind of delight in accessories that complete an outfit, and even more so when they’re lovingly handmade. A crochet hat and collar set offers a unique blend of practicality and polished charm, creating a cohesive look that can elevate any attire. Whether for a baby, child, or adult, this matching duo exudes a whimsical elegance, making it a perfect project for gifting or adding a touch of personalized flair to your own wardrobe. The “🎀” element in particular evokes a sense of sweetness, delicate detail, or perhaps even a literal bow, guiding our design choices towards something truly lovely.
This detailed article will guide you through the journey of crocheting a complementary hat and collar, exploring design inspirations, essential techniques, and the satisfying process of creating a truly cohesive accessory set.
Why Crochet a Matching Hat & Collar Set?
- Cohesive Style: A matching set instantly creates a polished and intentional look, far more impactful than standalone pieces.
- Unique Fashion Statement: Handmade accessories are inherently unique, allowing you to showcase your personal style or craft a one-of-a-kind gift.
- Versatility: Depending on the design, the set can dress up a simple dress, add charm to a casual top, or provide cozy warmth with an elegant touch.
- Skill Building: You’ll hone techniques for both circular and flat work, shaping, edging, and potentially delicate embellishments.
- Perfect Gift: A handmade set is a thoughtful and cherished present for baby showers, birthdays, or any special occasion.
Design Considerations for Your Cohesive Set
The key to a successful hat and collar set lies in their harmonious relationship.
- Yarn Choice (The Foundation):
- Fiber:
- Softness is Key: Especially for a collar that sits directly against the skin, choose a wonderfully soft yarn. Merino wool (superwash for easy care), cotton, bamboo, or high-quality baby acrylics are excellent choices.
- Drape: For the collar, yarn with good drape is crucial so it lies flat and gracefully around the neck.
- Weight:
- DK (Double Knitting, Category 3) or Sport (Category 2): Ideal for delicate collars and lighter hats, offering beautiful stitch definition.
- Worsted (Category 4): Can work for a slightly sturdier hat and a bolder collar, but ensure it’s a soft variety with good drape.
- Color: Consider using the same color for both pieces, a contrasting accent color, or a variegated yarn for a playful touch.
- Fiber:
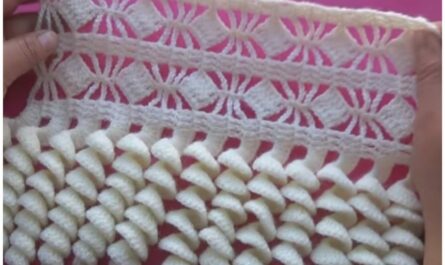
- Stitch Pattern:
- Matching/Complementary: Use the same main stitch pattern for both (e.g., shell stitch, granny stitch, simple double crochet). Alternatively, choose complementary patterns (e.g., a solid beanie with a lacy collar).
- Texture: Think about how the stitch pattern creates texture – from smooth and subtle to highly textured and intricate.
- Overall Style:
- Elegant/Vintage: Think delicate lace, intricate shells, or textured stitches in muted tones.
- Cute/Whimsical: Incorporate ruffles, bold colors, or playful embellishments.
- Modern/Minimalist: Clean lines, simple stitches, and solid colors.
- Target Wearer: Consider the size and typical style for a baby, child, or adult.
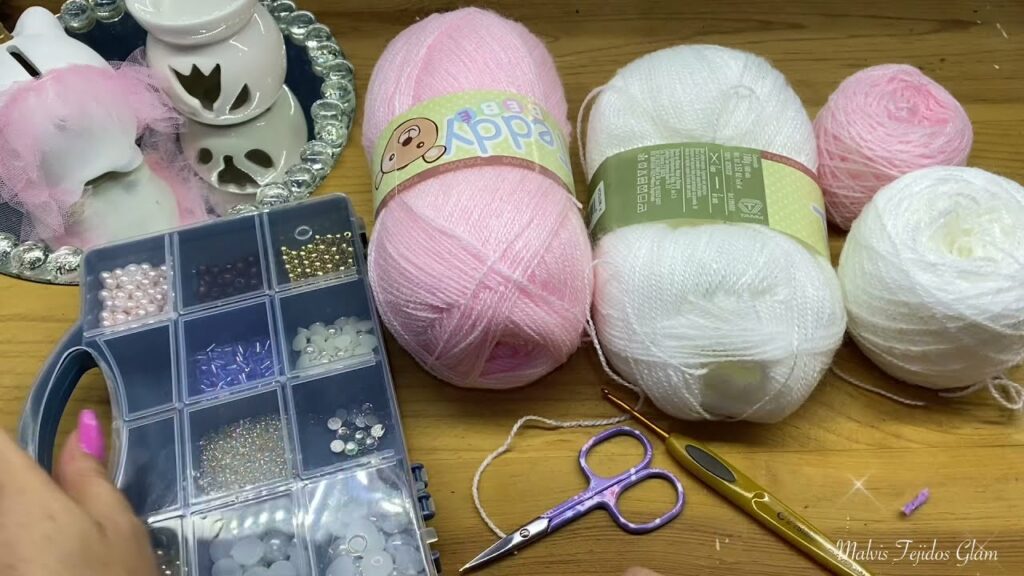
Materials You’ll Need
- Yarn: Your chosen fiber, weight, and colors (ensure enough quantity for both pieces).
- Crochet Hook: The size recommended by your pattern to achieve gauge for your chosen yarn.
- Stitch Markers: Useful for marking rounds in the hat and keeping track of collar shaping.
- Tapestry Needle (or Blunt Yarn Needle): For weaving in ends and any seaming on the collar.
- Scissors.
- Measuring Tape: Crucial for gauge swatching and measuring head/neck circumference.
- Buttons/Snaps/Ribbon (for Collar Closure): As per your design. Small, flat buttons are ideal.
- Blocking Mats & T-pins: Essential for both pieces, but especially the collar to ensure it lays flat.
- Ribbon (Optional for the “🎀” effect): For weaving through a hat brim or collar edge, or tying into bows.
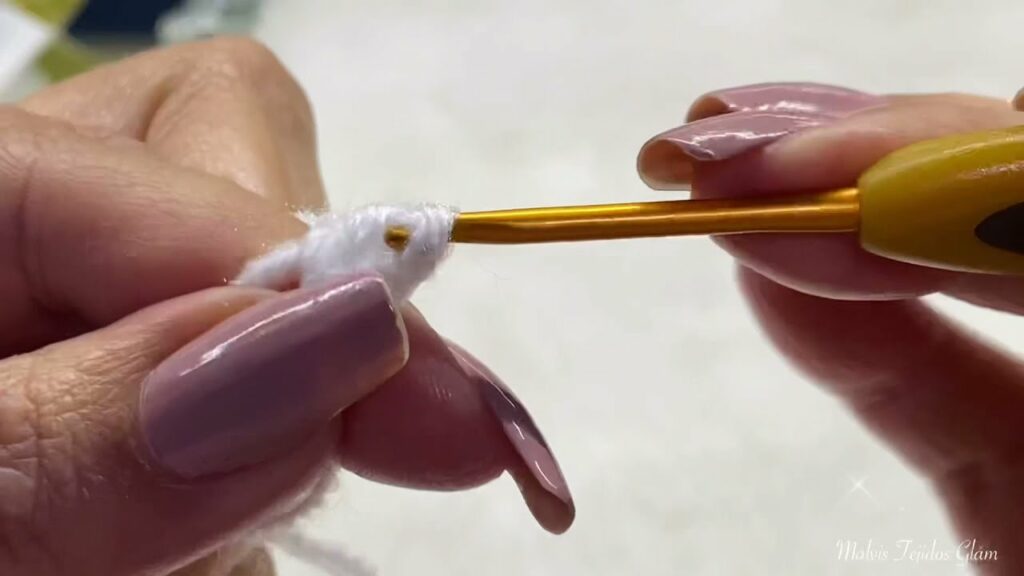
Key Crochet Techniques You’ll Master
Creating a hat and collar set will enhance a variety of crochet skills:
- Basic Stitches: Chain (ch), Slip Stitch (sl st), Single Crochet (sc), Half Double Crochet (hdc), Double Crochet (dc), and potentially Treble Crochet (tr) for taller stitches.
- Working in the Round: Primarily for the hat (crown, body, and sometimes brim).
- Working in Rows: Primarily for the collar.
- Increasing Stitches: Crucial for shaping the hat’s crown and for making the collar lie flat around the neck.
- Decreasing Stitches: Less common for these pieces unless shaping specific hat styles or unique collar designs.
- Ribbing/Edging: For a polished finish on hat brims, cuffs, and collar edges.
- Buttonholes: Small chain spaces for collar closures.
- Picking Up Stitches (Optional): For a neat collar edge if worked in a specific way.
- Blocking: Absolutely essential for both pieces to set their shape, even out stitches, and ensure the collar drapes beautifully.
Hat Construction (General Approach)
Most crochet hats are worked from the top down:
- Crown: Start with a magic ring or chain-ring. Work in continuous rounds, increasing stitches evenly in each round (e.g., in 6 or 8 segments for SC or DC respectively) to create a flat circle. Continue increasing until the circle reaches the desired diameter for the hat’s crown (this is key to fit).
- Body: Once the crown is the correct diameter, stop increasing and work even (one stitch in each stitch) in continuous rounds until the hat reaches the desired depth.
- Brim (Optional): For beanies, this might be a simple ribbed band. For sun hats, you’ll resume increasing stitches evenly in rounds to create a flaring brim.
- Finish: Fasten off and weave in ends.
Collar Construction (General Approach)
Crochet collars are typically worked flat in rows:
- Foundation Chain: Start with a chain long enough to go around the base of the neck where you want the collar to sit (measure the neck circumference of the wearer). Add a few extra chains for the closure overlap if needed.
- First Few Rows (Neck Edge): Work a few rows of a simple, sturdy stitch (like SC or HDC) for the inner neck edge.
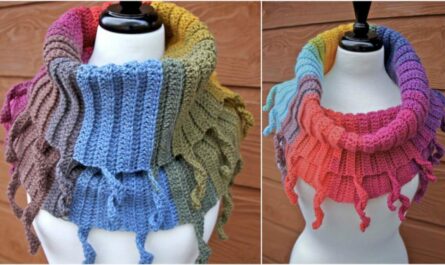
- Shaping the Lay-Flat: This is the most crucial part. Begin increasing stitches evenly in subsequent rows as you work outwards from the neck edge. The increases cause the collar to flare, allowing it to lie flat around the curve of the neck rather than cupping or buckling. The frequency and number of increases will depend on your yarn, hook, and desired collar width/flare.
- Adding Detail/Flare: Continue working in your chosen stitch pattern, adding more increases if you want a wider or more ruffled collar. You might switch to a lacy or shell stitch for the outer edges.
- Closure: Create buttonholes on one end of the collar (usually a small chain space within a row) and sew buttons onto the other end. Alternatively, use ribbon ties or a hook-and-eye clasp.
- Finish: Fasten off and weave in all ends.
Adding the “🎀” Element: Bringing the Charm
The “🎀” in your request suggests a certain aesthetic – here’s how to achieve it:
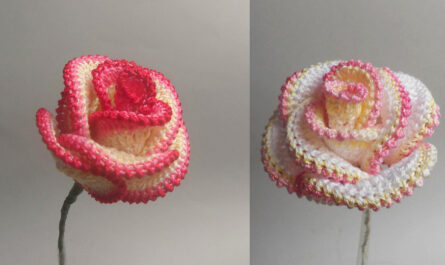
- Crocheted Bows: The most direct method! Crochet a simple rectangle, pinch it in the middle, wrap a small strip of yarn around the pinch point, and secure. Attach this bow securely to the hat (e.g., near the brim or on the side) or the collar (e.g., at the center front closure).
- Ribbon Detailing:
- Weaving: For a hat with a lacy or open-work brim, weave a pretty ribbon through the stitches.
- Ties: Incorporate ribbon ties into the collar closure instead of buttons.
- Sewn-on Bows: Simply tie a beautiful fabric ribbon into a bow and securely sew it onto either piece.
- Lace & Picot Edging: Use delicate lace patterns or a simple picot stitch (ch 3, sl st into 3rd ch from hook) around the brim of the hat or the outer edge of the collar for a delicate, feminine touch.
- Puff Stitches or Bobbles: Incorporate these textured stitches into your main pattern for a “bubbly,” cute look.
- Color Palette: Soft pastels (blush pink, baby blue, mint green, cream, lavender) instantly evoke a gentle, charming “🎀” feel.
Planning Your Project: Precision for Perfection
- Sizing:
- Hat: Measure the head circumference where the hat will sit.
- Collar: Measure the neck circumference (and consider if you want it to sit higher or lower on the neck).
- Gauge Swatch (Essential!):
- This is non-negotiable for both pieces. Crochet a swatch at least 4×4 inches (10×10 cm) using your chosen yarn and hook in the main stitch pattern for each item.
- Crucial Step: Wash and block your swatches exactly as you plan to wash and block the finished hat and collar. Yarn can change significantly after laundering, especially affecting drape and size.
- Adjust your hook size until your gauge matches the pattern’s (or your desired density).
- Yarn Quantity: Ensure you have enough yarn of the same dye lot for both pieces.
Tips for Success
- Consistent Tension: Maintain even tension throughout both pieces for a smooth, professional finish.
- Blocking is Your Best Friend: This step is truly transformative, especially for the collar. It helps to open up lace patterns, even out stitches, and ensures the collar lies perfectly flat and drapes beautifully. For hats, it sets the shape.
- Secure All Ends: Weave in every single yarn tail meticulously. For baby or children’s items, double-knot initial slip knots and ensure all ends are completely secured to prevent unraveling and discomfort.
- Match Closely: When creating a set, pay extra attention to ensuring the colors, stitch patterns, and embellishments are as consistent as possible.
- Read Your Pattern Thoroughly: If using a pattern, read it from start to finish before beginning to understand the construction and identify any potentially tricky spots.
Styling Your Crocheted Set
- For Babies/Children: Pair a sweet, ruffled collar and beanie with a plain onesie, dress, or sweater for an instant adorable outfit.
- For Adults: A delicate lacy collar can transform a simple T-shirt or crew-neck sweater into an elegant statement piece. A matching beanie completes the cozy, chic look.
- Gift-Giving: Present the set beautifully tied with a ribbon in a coordinated color.
Caring for Your Crocheted Set
- Follow Yarn Label Instructions: Always refer to your specific yarn’s care guidelines for washing and drying.
- Hand Wash Recommended: Especially for delicate stitches or if the set has added ribbon or embellishments. Use cool water and a mild detergent.
- Reshape and Lay Flat to Dry: Never wring or hang wet crocheted items, as this will cause them to stretch and distort. Gently squeeze out excess water, reshape each piece (especially the collar, pinning it flat), and lay them flat on a clean towel or a mesh drying rack to air dry completely.
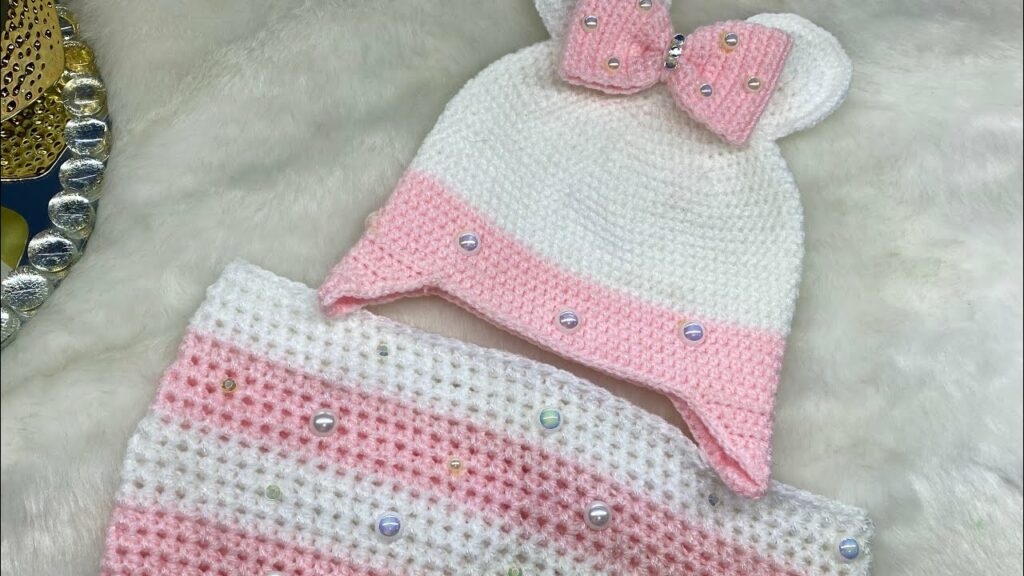
Conclusion
Crocheting a matching hat and collar set is a delightful project that combines practicality with exquisite charm. From the satisfying rhythm of your hook to the final touch of a tiny bow or delicate edging, each step contributes to a beautifully coordinated accessory that speaks volumes of your craftsmanship and care. Embrace the opportunity to create a truly unique and charming ensemble that will be cherished by its wearer. Happy hooking! Sources
Video Tutorial ;