 by
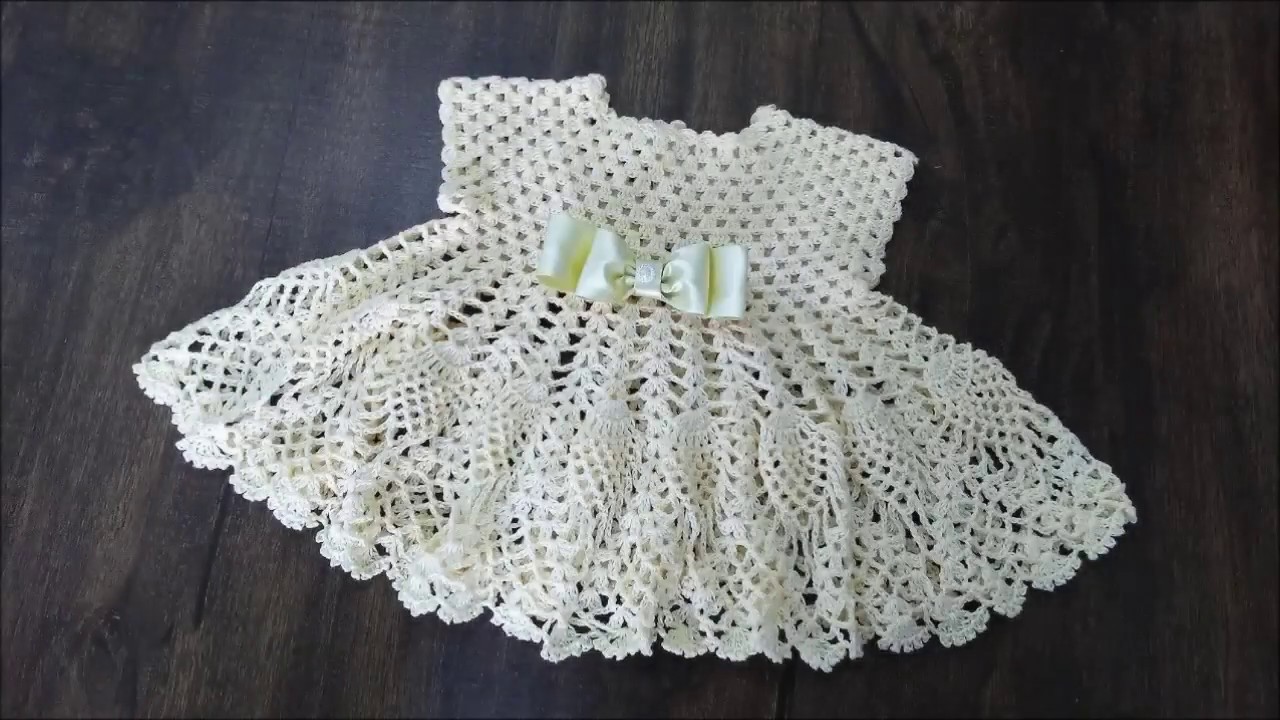
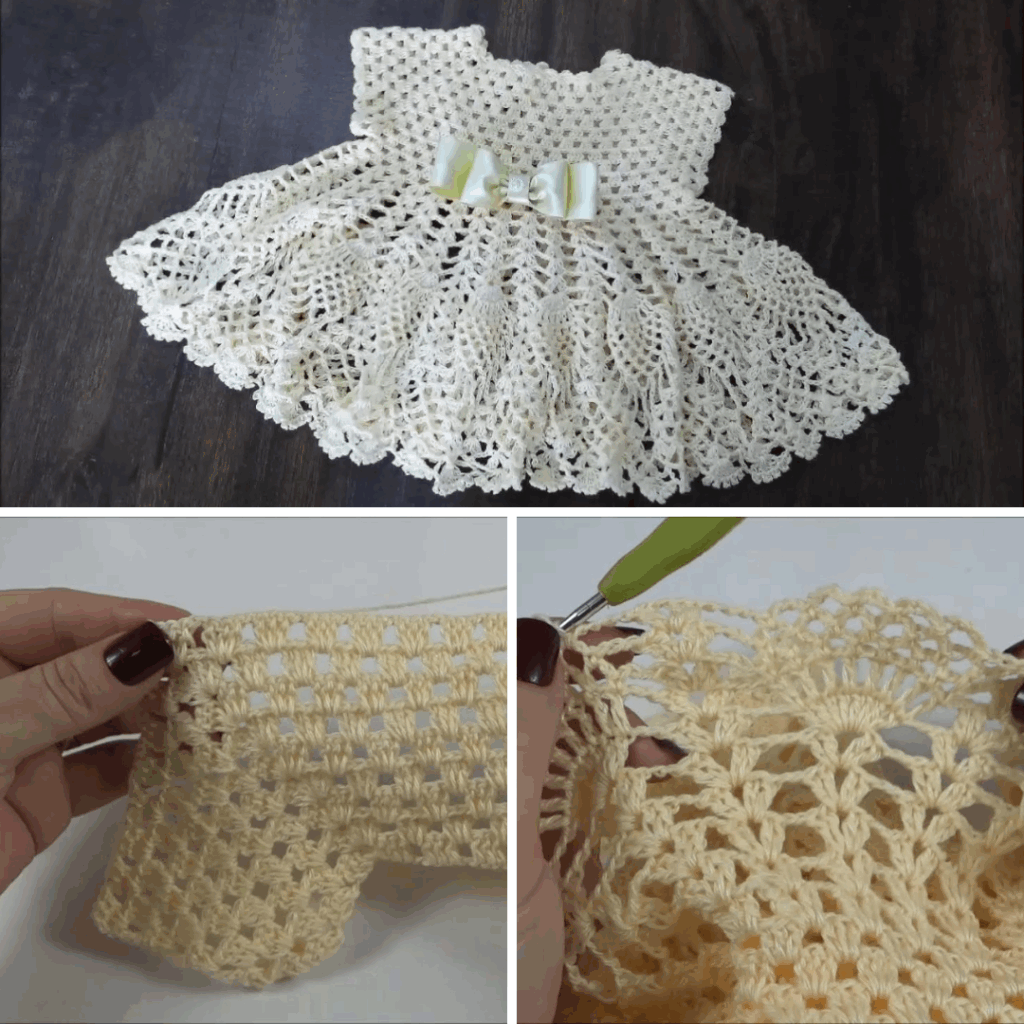
by Crocheting a baby dress is a delightful and rewarding project for anyone who loves handmade crafts. Whether you’re creating a dress for a newborn, a special occasion, or a baby shower gift, this step-by-step guide will walk you through the entire process — from choosing materials to putting on the final touches.
🧶 Why Crochet a Baby Dress?
Crocheted baby dresses are charming, customizable, and filled with sentimental value. They make perfect gifts and keepsakes, and with so many stitch options and color combinations, every piece can be unique. Plus, baby garments work up quickly compared to adult-sized clothing.
🧵 Materials You’ll Need
Before you begin, gather these supplies:
Yarn
- Recommended Fiber: Soft, baby-friendly yarns such as:
- Cotton (for summer/spring dresses)
- Acrylic or bamboo blends (soft and hypoallergenic)
- Yarn Weight: Sport or DK (Double Knitting) weight is ideal.
- Color: Pastels like pink, mint, lilac, ivory — or go bold with florals, stripes, or ombré.
Tools
- Crochet Hook: Typically 3.5mm to 4.5mm (check yarn label for recommendation)
- Scissors
- Tapestry Needle
- Stitch Markers
- Buttons or ribbon (for closure or decoration)
- Measuring Tape
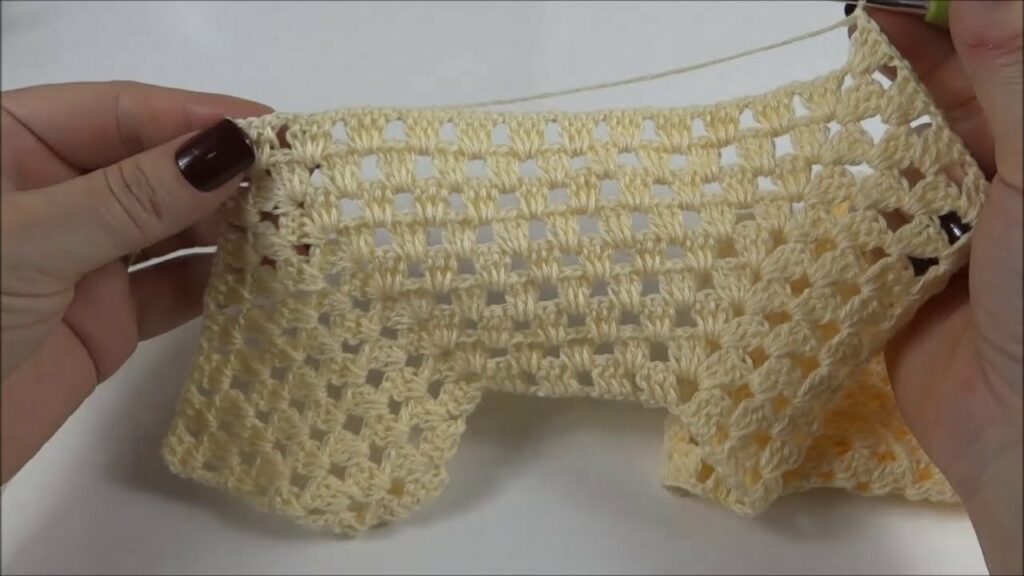
🧷 Step-by-Step Instructions to Crochet a Simple Baby Dress
This basic pattern is for a 0–3 month size baby dress, worked top-down in the round, with a yoke, body, and optional skirt ruffles.
✅ Abbreviations (US Terms)
- ch – chain
- sc – single crochet
- dc – double crochet
- sl st – slip stitch
- st(s) – stitch(es)
- inc – increase (2 stitches in one stitch)
👗 Step 1: Create the Yoke
The yoke forms the upper part of the dress and includes the neckline and shoulders.
Foundation Chain:
- Ch 52 (or adjust to desired neck opening for your size).
- Join to first ch with sl st to form a ring. Be careful not to twist the chain.
Yoke Round 1:
- Ch 2 (counts as dc), dc in next 12 ch, 2 dc in next ch – repeat from * around.
- You should now have 60–64 sts. Join with sl st.
Yoke Round 2–5 (or until yoke measures ~3 inches):
- Continue working in dc around, increasing at 4 points (front, back, sleeves) to shape the shoulders.
- Use stitch markers to track increases.
✂️ Step 2: Separate for the Sleeves
Now, you’ll divide your work into three parts: the body and the two sleeves.
Next Round:
- Dc across to first sleeve marker, ch 4 (creates underarm), skip sleeve sts, dc across the front, ch 4, skip second sleeve, and dc to end.
You now have a circular body opening with underarm spaces.
👚 Step 3: Work the Dress Body
Body Rounds:
- Dc in each stitch around (including chains from underarms).
- Continue in rounds until the dress measures 7–8 inches from the yoke (adjust for desired length).
Optional Skirt Flare:
- To add flair, increase by doing 2 dc in same st every 6–8 stitches.
- Add rows of shell stitch or fans for a ruffled effect.
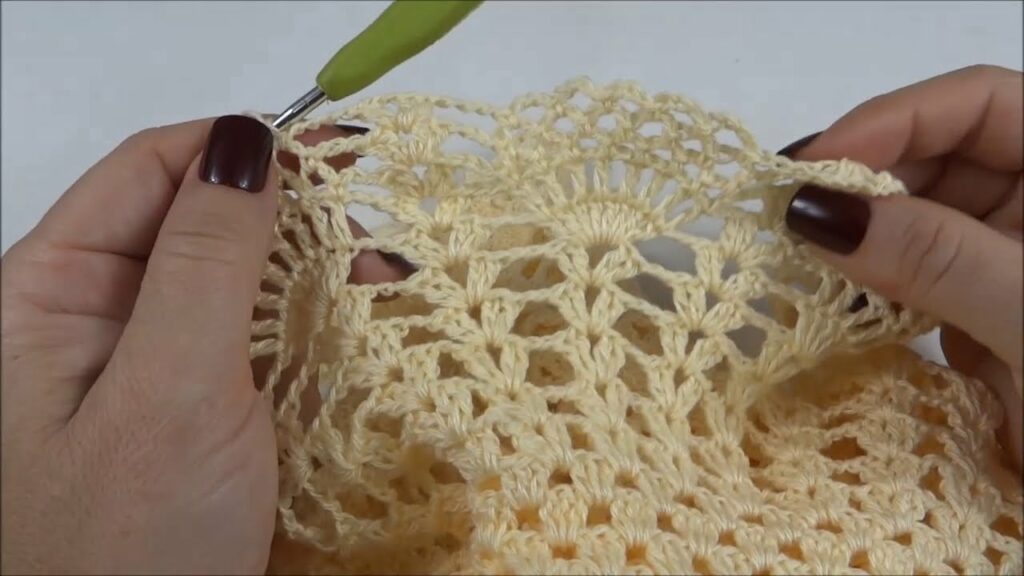
🎀 Step 4: Add Skirt Ruffles (Optional)
For a more elegant look:
Ruffle Round:
- Switch to a lacy stitch like: (dc, ch 1, dc) in next st, skip 1 st — repeat around.
- Or use shell stitch: 5 dc in same st, skip 2 sts — repeat.
Work 3–5 rounds or as desired.
🧵 Step 5: Finish the Sleeves
You can leave sleeves sleeveless, cap-sleeved, or add short sleeves.
Cap Sleeve:
- Join yarn to underarm.
- Sc or dc around the armhole for 3–4 rounds.
- Optional: Add shell edging or picot trim.
🎉 Step 6: Add Edging and Finishing Touches
Neckline and Hem:
- Sc around neckline for a clean finish.
- Add picot or shell edging to neckline and bottom hem for decoration.
Closure:
- Add a button loop at the top back and sew on a flat baby-safe button.
- Or thread a soft ribbon through the neckline.
👣 Size Adjustments
- 0–3 months: 52–56 chains to start
- 3–6 months: 60–64 chains
- 6–12 months: 68–72 chains
Add length to the skirt and increase chest width as needed.
Use this sizing reference for general guidance, or follow a specific pattern for exact stitch counts.

💡 Tips for Success
- Gauge Swatch: Always check your gauge to ensure correct sizing.
- Use Stitch Markers: Helpful for keeping track of increases or pattern repeats.
- Wash Before Gifting: Use a gentle baby detergent and block the dress for perfect shape.
- Personalize: Add crochet flowers, embroidered initials, or contrast borders.
Video Tutorial :
🧡 Conclusion
Crocheting a baby dress is a joyful and heartwarming project that results in a beautiful handmade piece for a little one to wear and cherish. With just a few stitches and some creativity, you can make a dress that’s perfect for playdates, parties, or even photoshoots. As you grow more confident, experiment with colors, textures, and advanced patterns to make each project uniquely yours.
Happy Crocheting! 🧶