A crochet cardi-coat is the perfect layering piece for cooler months. It combines the warmth of a coat with the comfort and flexibility of a cardigan. Whether you prefer a fitted silhouette or a slouchy oversized look, this versatile garment can be customized to your size, style, and yarn preference.
In this tutorial, we’ll cover everything from choosing yarn to shaping sleeves and adding finishing touches.
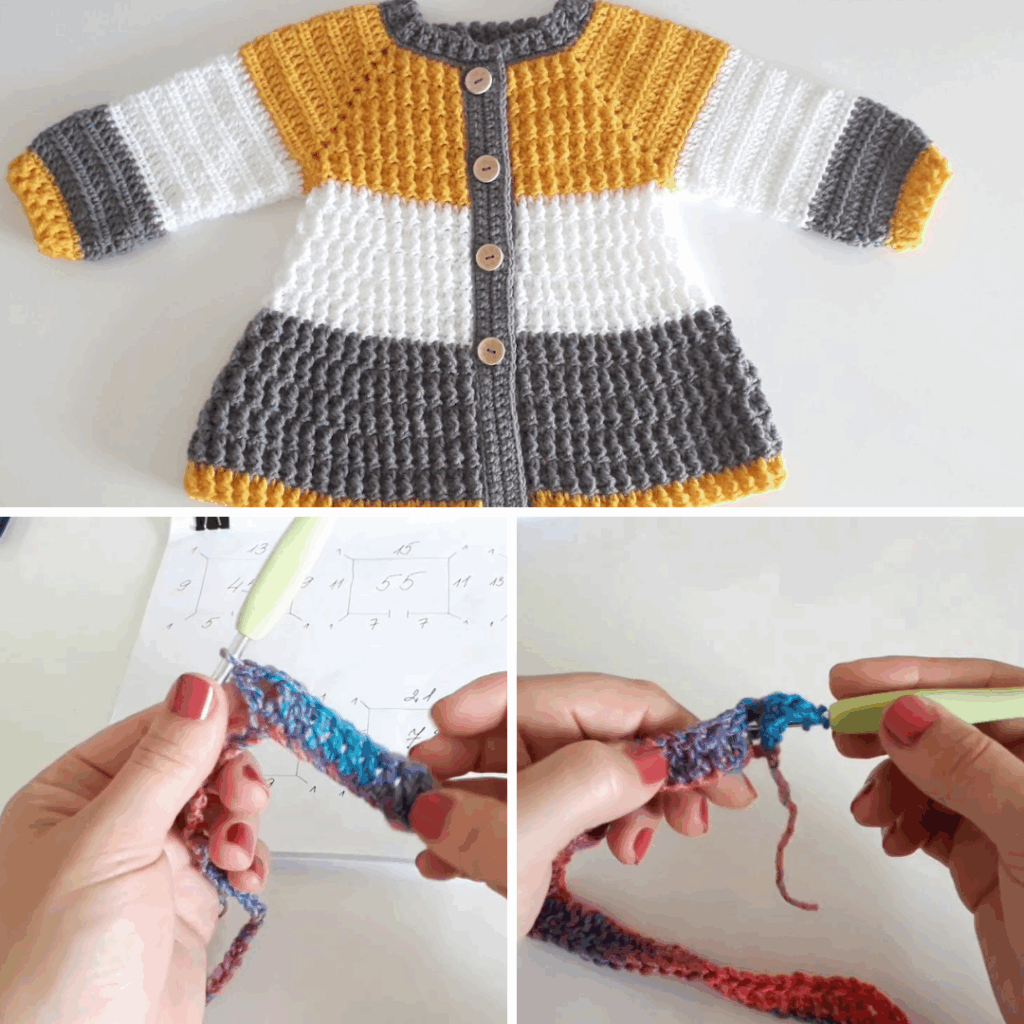
📏 What is a Cardi-Coat?
A cardi-coat is essentially a long cardigan that mimics the structure of a coat. It typically includes:
- Full sleeves
- A longer body (hip to knee length)
- Front opening (with or without buttons)
- Optional collar, belt, or pockets
🪡 Materials Needed
| Item | Specification |
|---|---|
| Yarn | Worsted weight or chunky yarn (approx. 600g–1000g, depending on size & length) |
| Crochet hook | 6.0 mm – 8.0 mm (larger hook for chunkier yarn) |
| Stitch markers | To help with shaping |
| Measuring tape | For accurate sizing |
| Yarn needle | To weave in ends |
| Buttons (optional) | For closure |
| Scissors | — |
🧷 Sizing & Fit
The pattern is based on a modular construction and can be adjusted easily. Measure your bust circumference, arm length, and desired length of the cardi-coat before you start.
General sizes:
- S: Bust 34–36″
- M: Bust 38–40″
- L: Bust 42–44″
- XL: Bust 46–48″
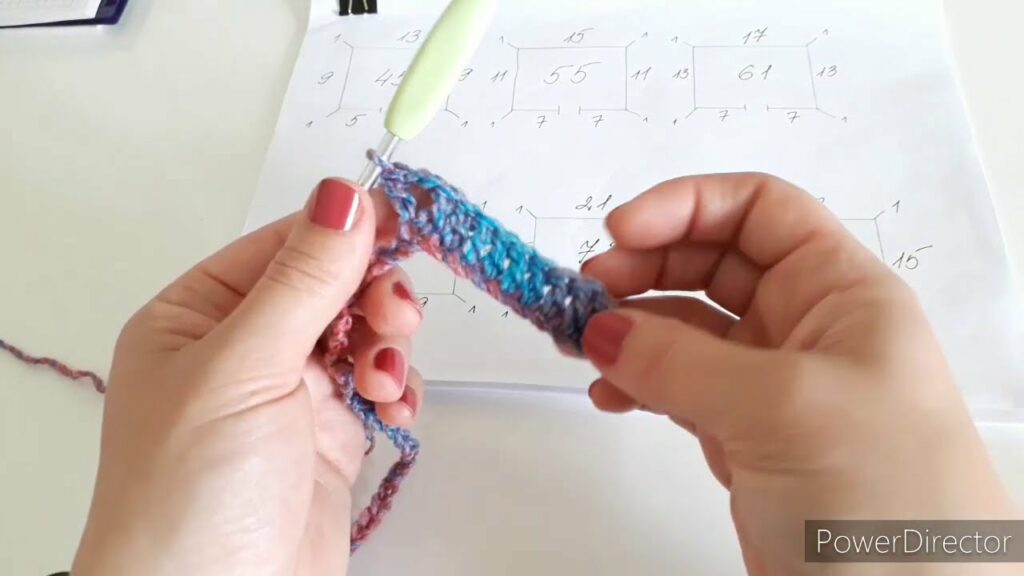
👉 You can also crochet a gauge swatch (e.g., 4″x4″) to determine your stitch count per inch.
🧵 Stitches & Abbreviations Used
- Ch – Chain
- Sl st – Slip Stitch
- Sc – Single Crochet
- Hdc – Half Double Crochet
- Dc – Double Crochet
- FPdc / BPdc – Front post/back post double crochet (for ribbing)
- Inc – Increase
- Dec – Decrease
🧣 Step 1: Crochet the Back Panel
The back panel forms the base of the cardi-coat.
Instructions:
- Ch a foundation chain equal to the desired width of the back (e.g., 60–70 stitches depending on your size).
- Row 1: Dc in 4th ch from hook and in each st across. Turn.
- Rows 2–40+ (or until desired length): Ch 2, dc in each st across. Turn.
Optional: Add texture by alternating dc and fpdc every few rows.
👕 Step 2: Crochet the Front Panels (Make 2)
Each panel should be half the width of the back (add 2 extra stitches if you want overlap).
Instructions:
- Ch 30–35 (depending on your size and how wide you want the front panel).
- Work in dc rows, just like the back panel, until it matches the length of the back.
- For neck shaping (optional): On the final 5–6 rows, decrease 1 stitch at the neckline edge every row to slightly taper it.
Repeat for the second panel.
💪 Step 3: Crochet the Sleeves (Make 2)
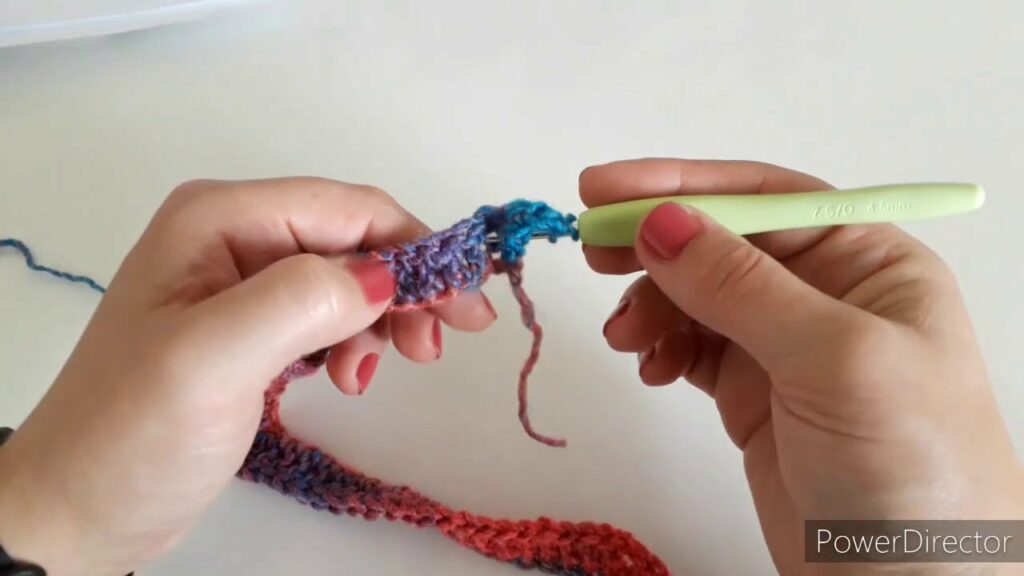
You can work these flat or in the round.
Flat Sleeve Instructions:
- Ch 30–40 (depending on arm size).
- Work in dc or hdc rows.
- Increase 1 stitch at each end every 5th row to widen the sleeve.
- Continue until sleeve reaches desired length (usually 16–20 inches).
- Shape the sleeve cap (top curve) by decreasing 1 st at each end of final 5–6 rows.
🧶 Step 4: Join the Panels
Now you’ll join all parts to assemble the coat.
Instructions:
- Lay the back panel flat.
- Place front panels on top, lining them up at the shoulders.
- Sew or slip stitch the shoulder seams.
- Attach sleeves to the armholes, starting at the center of the sleeve cap and working outward.
- Sew sleeve seams and side seams from underarm down to hem.
Tip: Try the coat on as you go to ensure fit.
✨ Step 5: Add Ribbed Edging (Optional but recommended)
A ribbed edge adds structure to the cuffs, hem, and front opening.
Instructions:
For cuffs, bottom hem, and front bands:
- Attach yarn at edge.
- Ch 2, fpdc in next st, bpdc in next st – repeat around.
- Continue for 3–5 rows or until desired width.
You can also add a collar by continuing the ribbing around the neck area.
🧷 Step 6: Closure Options
You can choose from a variety of closures:
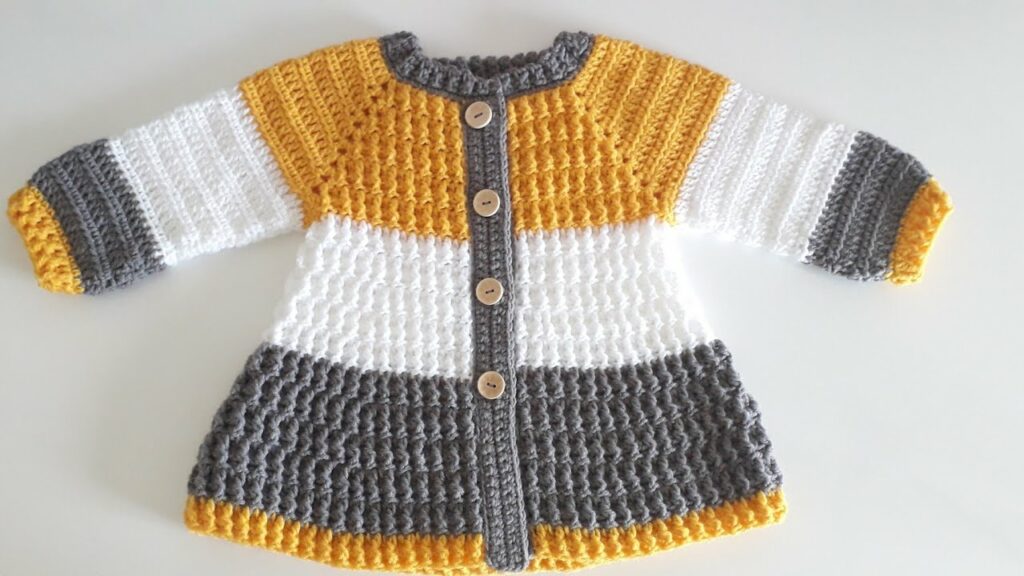
- Buttons: Sew on and create buttonholes in front band.
- Belt: Crochet a long chain and work sc rows to make a belt; add belt loops to sides.
- Toggle or zipper: For a jacket-like finish.
🎀 Optional Embellishments
- Add patch pockets by crocheting small rectangles and sewing them onto the front.
- Crochet a hood by creating a square and sewing it to the back neckline.
- Add textured stitches like bobbles or basketweave for style.
- Use contrasting colors for borders or sleeves.
🧼 Finishing Touches
- Weave in all ends securely.
- Block your cardi-coat to shape it evenly: dampen it and lay flat to dry.
- Try it on and adjust anything necessary before wearing out.
💡 Tips for Success
- Use stitch markers to track sleeve joins and shaping.
- Don’t skip the blocking — it improves drape and stitch definition.
- Choose a lightweight wool or acrylic blend for warmth and softness.
- For a more structured coat, use chunky yarn and a smaller hook for tighter stitches.
🧥 Final Thoughts
A crochet cardi-coat is more than just a project — it’s a handmade garment that reflects your creativity and care. Whether you keep it simple with solid stitches or add stylish features like ribbing, pockets, or a belt, this cozy coat is a perfect companion for chilly days.
Once you’ve made your first, you’ll want to create one in every color — from neutral tones to bold brights. Plus, it’s a fantastic way to expand your crochet skills into wearable fashion.
Video Tutorial:

