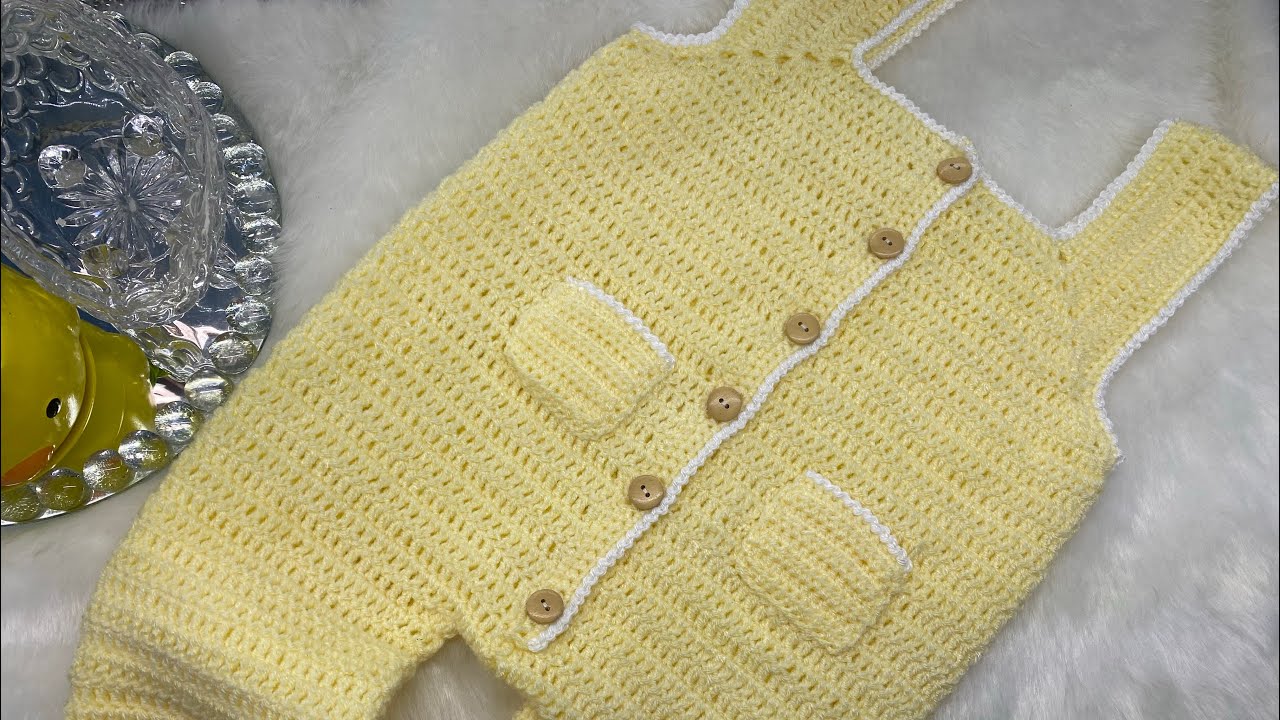
In the world of fashion, the jumpsuit stands as a pinnacle of effortless chic. It’s an all-in-one ensemble that commands attention and offers unparalleled comfort. For the ambitious crocheter, creating a handmade jumpsuit is more than just a project; it’s a grand undertaking, a true test of skill, and an opportunity to craft a unique, head-turning garment that perfectly fits your body and expresses your individual style.
While certainly not a beginner’s first foray into wearables, crocheting a jumpsuit is an incredibly rewarding journey. This detailed guide will explore the considerations, techniques, and sheer dedication required to bring this magnificent garment to life with your crochet hook.
Why Crochet a Jumpsuit?
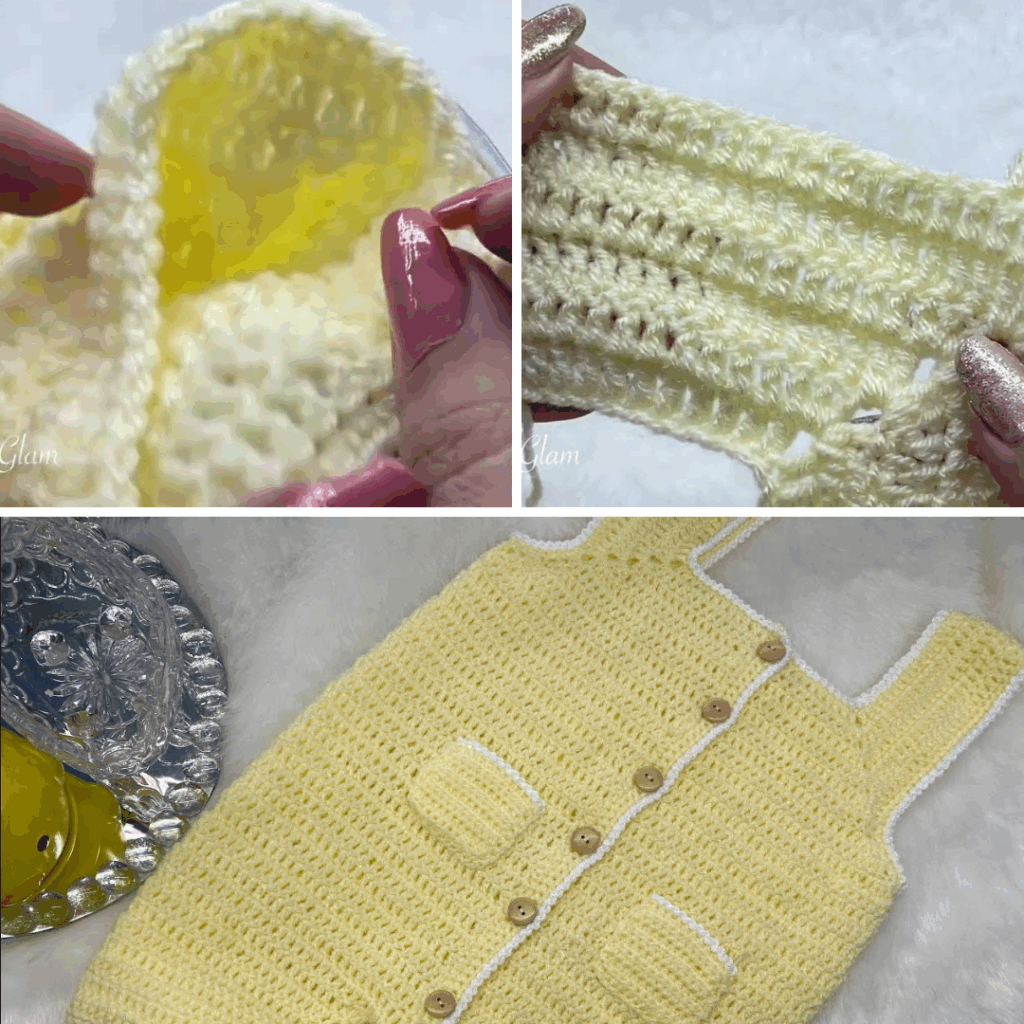
The reasons to embark on such an ambitious project are as compelling as the garment itself:
- A Unique Fashion Statement: A handmade crochet jumpsuit is truly one-of-a-kind. You’ll never walk into a room and see someone else wearing the exact same outfit.
- Ultimate Customization: Beyond choosing your preferred yarn and colors, you have the power to tailor every aspect: the exact fit, leg style (wide-leg, straight, culotte), top design (sleeveless, cami, long-sleeve), neckline, and overall drape.
- Advanced Skill Building: This project challenges you to master complex garment construction techniques, including intricate shaping for the bust, waist, hips, and crotch; working seamlessly in the round or meticulously seaming panels; and achieving perfect drape.
- Sustainable Fashion: Crafting your own clothing is a powerful act of slow fashion, reducing reliance on fast fashion and embracing a more sustainable approach to your wardrobe.
- Immense Satisfaction: Completing a garment of this scale brings an unparalleled sense of accomplishment and pride. It’s a wearable masterpiece born from your hands and creativity.
Design Considerations for Your Crochet Jumpsuit
Before diving into stitches, envision the jumpsuit you want to create. Every design element contributes to the final look and fit.
- Silhouette & Fit:
- Fitted: Hugs the body. Requires meticulous measurements, precise gauge, and often includes bust darts or targeted decreases.
- Relaxed: Offers more ease and comfort, draping loosely. Still requires careful sizing to ensure it doesn’t look shapeless.
- Oversized: A very loose, flowing style.
- Leg Style:
- Wide-Leg/Palazzo: Offers dramatic drape and comfort.
- Straight-Leg: A classic, versatile option.
- Tapered/Jogger: Narrows at the ankle, often with cuffs.
- Culotte/Cropped: Shorter, wide-leg option.
- Shorts: For a playful, warm-weather romper.
- Top Style:
- Sleeveless/Camisole: Ideal for warmer weather, often simple straps.
- Short Sleeve: Adds a touch more coverage.
- Long Sleeve: For cooler climates or a more formal look.
- Bustier/Bodice: More structured top that might incorporate shaping like bust darts.
- Neckline: V-neck, scoop neck, boat neck, halter, or even a cowl neck.
- Stitch Patterns:
- Drape is Key: Choose stitches that inherently create a fluid, non-rigid fabric. Lacy, airy stitches (like filet crochet, open mesh, shell stitches) are excellent for summer jumpsuits. Denser stitches (like half double crochet, double crochet) can work for more structured or warmer versions, but ensure your yarn choice still allows for good drape.
- Texture: Consider how stitch pattern creates texture – from subtle to very pronounced.
- Closure:
- Buttons: Often for plackets, shoulder straps, or a front opening.
- Zipper: For a more tailored fit, typically placed at the back or side seam.
- Ties/Drawstrings: For a relaxed, adjustable fit at the waist or shoulders.
- Elastic: Can be used at the waist, cuffs, or neckline for gathering.
Materials You’ll Need
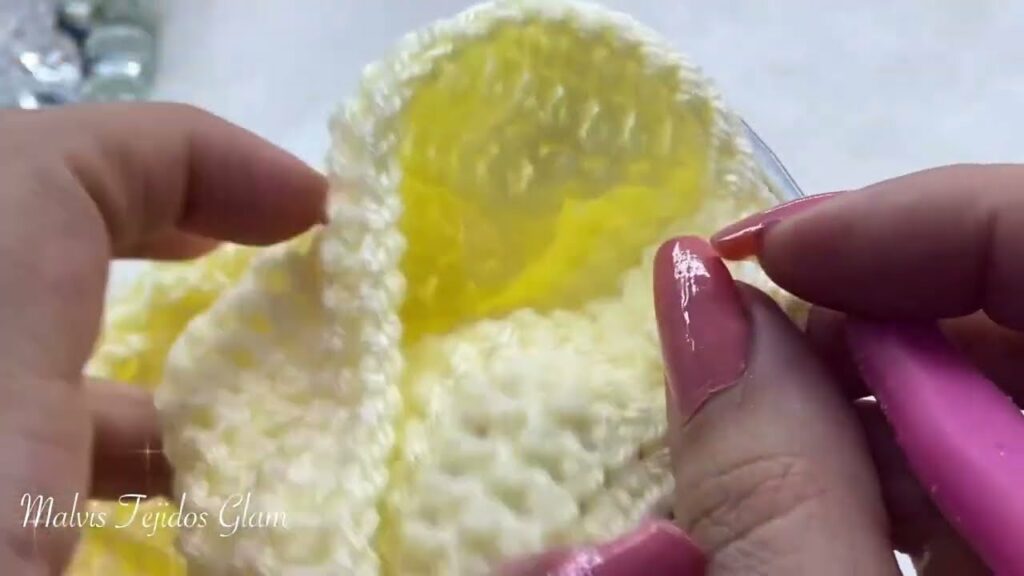
This is where the investment begins for a project of this scale.
- Yarn: This is the most critical component, influencing drape, feel, and final appearance.
- Fiber:
- Cotton or Cotton Blends (Cotton/Bamboo, Cotton/Linen): Excellent choice. Offers great stitch definition, breathability, and wonderful drape, especially after blocking. Ideal for warm-weather jumpsuits.
- Linen or Linen Blends: Creates a beautiful, natural drape and has a lovely texture, very cool in summer.
- Viscose/Rayon/Bamboo Blends: Known for their incredible drape and silky feel, making for a luxurious garment.
- Soft Acrylic or Acrylic Blends: Can work well if you choose a very soft, high-quality acrylic that drapes rather than being stiff. Affordable and wide color range.
- AVOID: Stiff, rigid yarns, very fuzzy yarns that obscure stitch definition, or yarns with too much “memory” (like some superwash wools) that might stretch out of shape with wear.
- Weight:
- DK (Double Knitting, Category 3) or Light Worsted (Category 3/4): These are common choices for garments, offering a good balance of drape and working speed.
- Sport (Category 2) or Fingering (Category 1): For finer, lacier, and more drapey garments, but will take significantly longer to crochet.
- Worsted (Category 4) or Aran (Category 4/5): Can be used for a bolder, heavier jumpsuit, but ensure the stitch pattern and fiber still allow for good drape.
- Quantity: Jumpsuits require a substantial amount of yarn. For an adult-sized jumpsuit, estimate anywhere from 1,500 to 3,000+ yards (1,400 to 2,700+ meters), depending on your chosen size, yarn weight, and stitch pattern. Buy all your yarn from the same dye lot to avoid color inconsistencies.
- Fiber:
- Crochet Hook: The size specified by your pattern, or the size that achieves the correct gauge for your chosen yarn to ensure proper drape and fit.
- Notions:
- Stitch Markers: Absolutely essential for marking the beginning of rounds, shaping points, and key sections.
- Tapestry Needle (or blunt yarn needle): For weaving in ends and seaming.
- Scissors.
- Measuring Tape: Your most important tool for taking body measurements and checking gauge.
- Blocking Mats & T-pins: Non-negotiable for blocking your finished garment.
- Pattern-Specific Items: Buttons, zipper, elastic, fabric for lining (if desired).
Key Crochet Techniques You’ll Master
Crocheting a jumpsuit requires a solid foundation in basic crochet, plus proficiency in more advanced garment-making skills:
- Basic Stitches: Chain (ch), Slip Stitch (sl st), Single Crochet (sc), Half Double Crochet (hdc), Double Crochet (dc). Your pattern may also incorporate taller stitches like treble crochet (tr).
- Working Flat: For panels (front and back of bodice, separate leg pieces).
- Working in the Round: For legs, sleeves, or for seamless top-down/bottom-up construction.
- Increases & Decreases: This is where accurate shaping happens. You’ll need to meticulously increase and decrease stitches to form the curves of the hips, the shaping for the crotch, bust darts, waist shaping, armholes, and necklines.
- Short Rows (Optional): Some patterns use short rows to add subtle shaping, particularly for bust darts or shoulder slopes.
- Joining Methods:
- Seaming: If working in panels, you’ll need to master an invisible seaming technique like the Mattress Stitch for neat and strong joins.
- Joining as You Go: Some patterns will instruct you to join sections as you crochet, eliminating traditional seaming.
- Edgings & Ribbing: For a professional finish on the neckline, armholes, cuffs, and leg hems. Crocheted ribbing (using front post/back post stitches, or working in the back loop only) offers stretch and structure.
- Blocking: Absolutely crucial for a crochet garment. It sets the stitches, evens out tension, enhances drape, and ensures the garment holds its intended shape.
- Reading Patterns & Schematics: For a complex garment like a jumpsuit, you’ll likely need to be comfortable interpreting detailed written instructions, stitch charts, and garment schematics with measurements.
- Trying On as You Go: This is imperative. Periodically try on sections (or pin them together) as you crochet to check the fit and adjust as needed.
Planning Your Jumpsuit Project: Precision is Power
- Comprehensive Sizing: Take accurate body measurements:
- Bust/Chest Circumference
- Waist Circumference
- Hip Circumference (around the widest part)
- Torso Length (shoulder to waist)
- Inseam (crotch to ankle/desired hem)
- Shoulder-to-Crotch Length (a critical measurement for jumpsuit fit)
- Armhole Depth, Neckline Width, etc.
- Compare your measurements to the pattern’s size chart and choose the size that best aligns, considering desired ease.
- Ease: Understand the pattern’s intended “ease.”
- Positive Ease: The garment is larger than your body measurements (relaxed/oversized fit).
- Negative Ease: The garment is smaller than your body measurements (fitted/stretchy fit).
- Gauge (THE MOST CRITICAL STEP):
- A large gauge swatch is non-negotiable. Crochet a swatch that’s at least 6×6 inches (15×15 cm) using your chosen yarn and hook in the main stitch pattern of the jumpsuit.
- Crucial Step: Wash and block your swatch exactly as you plan to wash and block the finished jumpsuit. Yarn can behave very differently after laundering, affecting size and drape.
- Measure your stitches and rows per inch/cm precisely. If your gauge doesn’t match the pattern’s, adjust your hook size. Even a slight gauge difference will result in a significantly different final size and affect yarn usage.
- Yarn Quantity: Reconfirm the yarn requirements based on your chosen size and hook size after swatching. Always buy enough.
Construction Approaches (Conceptual)
Crochet jumpsuits are typically constructed using one of these methods:
- Top-Down (Seamless): You start at the neckline or shoulders and work downwards, splitting for armholes and eventually for the legs. This method is often favored for its seamless finish and ease of trying on as you go. Crotch shaping can be intricate.
- Bottom-Up (Seamless): You start by crocheting each leg individually, then join them at the crotch and work upwards for the torso, splitting for the armholes and neck. This can make crotch shaping easier but upper body shaping more complex.
- Panels (Seamed): The jumpsuit is crocheted in multiple flat pieces (e.g., front bodice, back bodice, two leg panels) which are then meticulously seamed together. This method allows for very precise shaping but requires significant finishing work.
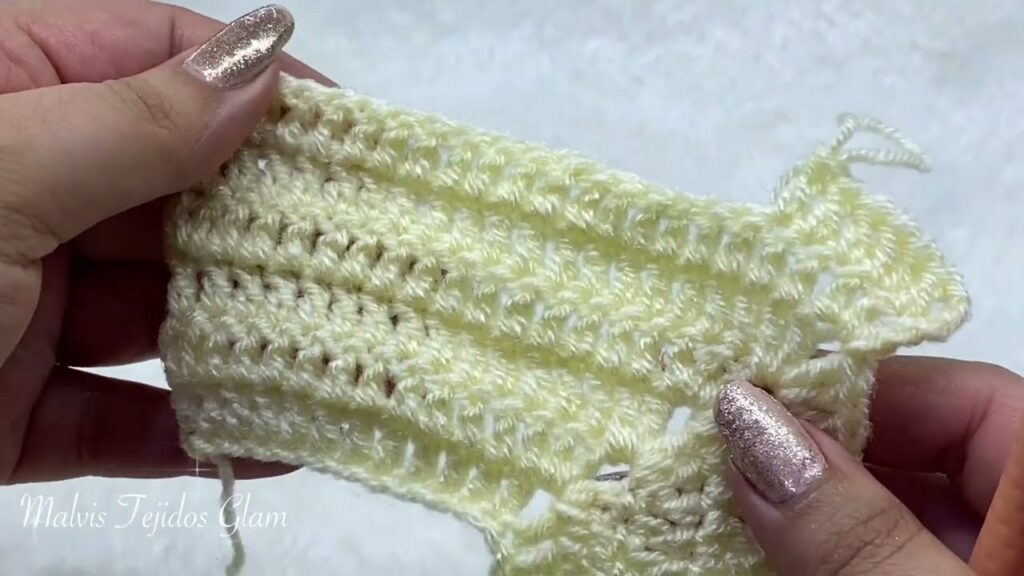
Step-by-Step Construction (General Flow)
(Note: This is a general, conceptual guide. Always follow a specific, well-written crochet pattern for detailed stitch counts, shaping instructions, and specific construction methods tailored to your design.)
- Preparation: Take all body measurements. Crochet and block your gauge swatch.
- Bottom Section:
- Crochet the two leg pieces according to your pattern, working in the round or flat panels.
- Focus on shaping for the inner leg and the crucial crotch curve. This is often the most challenging part to get right for a comfortable fit.
- Join Legs: If working in separate leg pieces, join them at the crotch point (often by chaining stitches between them).
- Work Body Up to Waist: Continue working in the round (or joining panels) for the lower torso, shaping for the hips and waist as indicated in your pattern.
- Top Section:
- The upper body can be worked directly from the waist up in the round, or as separate front and back panels.
- Focus on shaping for the bust (including any bust darts), armholes, and neckline. This may involve many rows of decreases and sometimes short rows.
- Work the shoulders according to the pattern.
- Join Top & Bottom (if separate): If you worked the top and bottom separately, carefully seam them together at the waist.
- Sleeves (if applicable): Crochet the sleeves (in the round or flat) and attach them to the armholes.
- Finishing Touches: Add all edgings (neckline, armholes, cuffs, leg hems), any closures (zipper, buttons, ties), and meticulously weave in all yarn tails.
Shaping & Fit: The Jumpsuit’s Challenge and Reward
Achieving a comfortable and flattering fit in a crochet jumpsuit is paramount.
- Accurate Measurements: Crucial for selecting the correct pattern size and making any necessary modifications.
- Ease: Understand the pattern’s intended ease around the bust, waist, and hips.
- Hip Curves: Ensure smooth increases for the hips.
- Waist Shaping: Many jumpsuits feature waist shaping (decreases and then increases) to create an hourglass silhouette.
- Bust Darts: For women, bust darts are often necessary to prevent gaping at the neckline and to ensure the front bodice lies flat over the chest without riding up.
- The Crotch Curve: This is the make-or-break area for comfort. It requires careful shaping to allow for movement without binding or sagging. Pay extra attention to these pattern instructions.
- Trying On as You Go: This cannot be stressed enough. Pin sections together or try on the garment as you progress. It allows you to catch fit issues early and make adjustments before it’s too late.
Finishing Touches: The Mark of Professionalism
- Seaming: If your jumpsuit has seams, invest time in learning and using an invisible seaming technique like the Mattress Stitch. Clean seams elevate the entire garment.
- Edgings: Neatly finished necklines, armholes, cuffs, and hems provide a polished, ready-to-wear look.
- Closures: If your jumpsuit requires a zipper, buttons, or elastic, carefully integrate them according to your pattern or sewing tutorials.
- Weaving in Ends: With a project this size, there will be many ends. Weave them in meticulously and securely to prevent unraveling.
- Blocking (Non-Negotiable): Blocking transforms your crocheted fabric. It evens out stitches, relaxes the yarn, enhances drape, and sets the final dimensions and shape of your jumpsuit. Gently wet the finished garment, lay it out on blocking mats, pin it to the correct measurements, and allow it to dry completely.
Tips for Jumpsuit Success
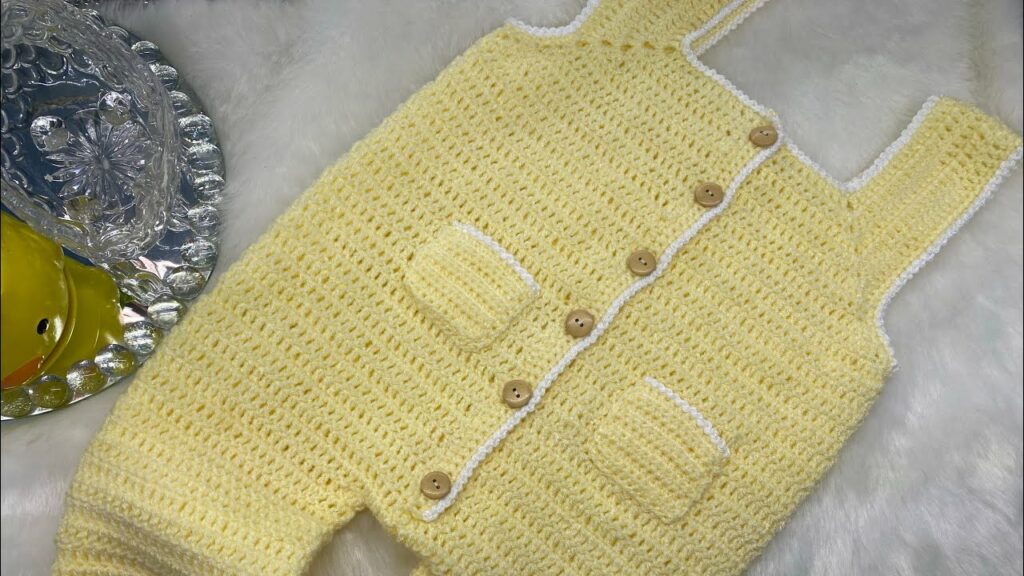
- Choose a Well-Written Pattern: For a complex garment like a jumpsuit, a professionally designed, thoroughly tested pattern is invaluable. Read reviews and look for patterns with clear schematics.
- Don’t Skimp on Gauge: Measure, measure, measure. Your final fit depends on it.
- Invest in Quality Yarn with Good Drape: The yarn choice profoundly affects the finished look and wearability.
- Be Patient with Shaping: Garment shaping takes time and precision. Don’t rush it.
- Try On Frequently: This is your best defense against a jumpsuit that doesn’t fit.
- Meticulous Finishing: The details truly matter for a garment.
- Embrace the Learning Process: This project will stretch your skills, but that’s part of the reward.
Styling Your Crochet Jumpsuit
Once complete, your handmade crochet jumpsuit offers endless styling possibilities:
- Belts: Cinch the waist with a wide statement belt or a thin, delicate one to define your silhouette.
- Shoes: Pair with heels for an elegant look, sandals for a casual vibe, or sneakers for street style.
- Layering: Add a denim jacket, a lightweight cardigan, or a blazer for different seasons and occasions.
- Accessories: Statement jewelry, scarves, or a chic bag can complete your ensemble.
Caring for Your Crochet Jumpsuit
Proper care is essential to preserve your masterpiece:
- Follow Yarn Label Instructions: Always defer to your specific yarn’s care guidelines for washing and drying.
- Hand Wash Recommended: Even if your yarn is machine washable, hand-washing large, shaped garments helps preserve their form and prevents distortion. Use cool water and a mild detergent.
- Reshape and Lay Flat to Dry: Never wring or hang a wet crocheted garment, as the weight of the water will cause it to stretch and distort significantly. Gently squeeze out excess water, reshape the jumpsuit back to its original dimensions, and lay it flat on a clean towel or a mesh drying rack to air dry completely.
Conclusion
Crocheting a jumpsuit is undoubtedly an ambitious endeavor, demanding patience, precision, and a good understanding of garment construction. However, the satisfaction of completing such a unique and fashionable piece is immeasurable. Your handmade crochet jumpsuit will be a testament to your dedication, a celebration of your skills, and a true standout in your wardrobe. Embrace the challenge, enjoy the journey, and prepare to turn heads with your stunning creation!
Video Tutorial ;
