 by
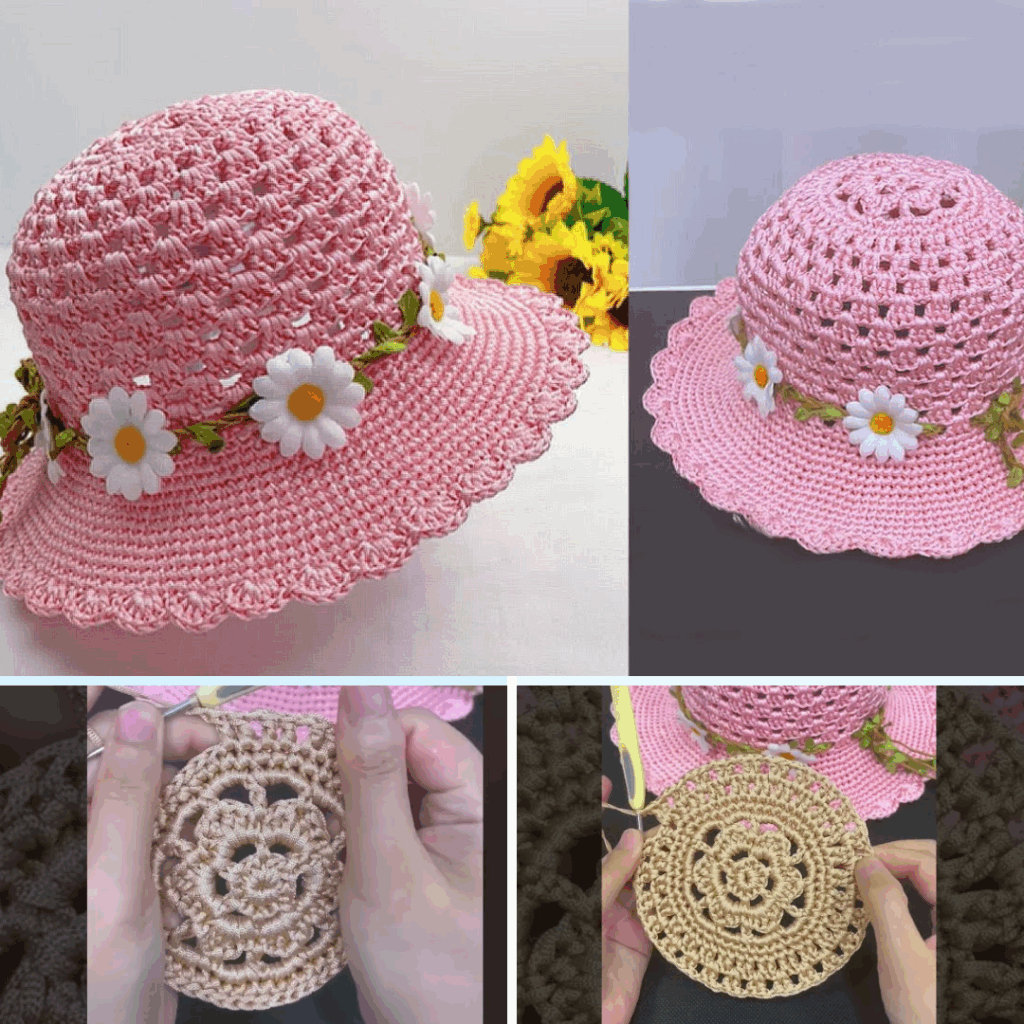
by Crocheting a hat for a child is one of the most rewarding and practical projects you can make. It’s quick, fun, and can be customized in countless ways. Whether you’re making a cozy winter hat or a lightweight accessory, this tutorial will walk you through how to crochet a basic children’s hat with clear steps and tips — perfect for beginners!
🧶 Materials You’ll Need
Before we begin, gather the following supplies:
- Yarn: Worsted weight yarn (medium/Category 4)
- Cotton for summer hats
- Acrylic or wool blends for warmth
- Approx. 100–150 grams
- Crochet Hook: 5.0 mm (H-8) or size needed to match gauge
- Yarn Needle: For weaving in ends
- Scissors
- Measuring Tape
- Stitch Marker (optional but helpful)
✨ Skill Level
Beginner – Easy
If you know how to make a magic ring, double crochet, and work in the round, you’re ready!
📏 Sizing Guide for Children’s Hats
Use the chart below to determine the size you want to make:
| Age Group | Head Circumference | Hat Height |
|---|---|---|
| Toddler (1–3 yrs) | 18″–20″ | 6.5″–7″ |
| Child (4–10 yrs) | 20″–22″ | 7″–7.5″ |
You can easily adjust by adding or removing rows.
🔁 Stitches & Abbreviations (US Terms)
- ch – chain
- sl st – slip stitch
- sc – single crochet
- dc – double crochet
- inc – increase (2 dc in one stitch)
- st(s) – stitch(es)
🧢 Crochet Hat Pattern for Children – Top Down (Double Crochet)
We’ll crochet from the crown down to the brim.
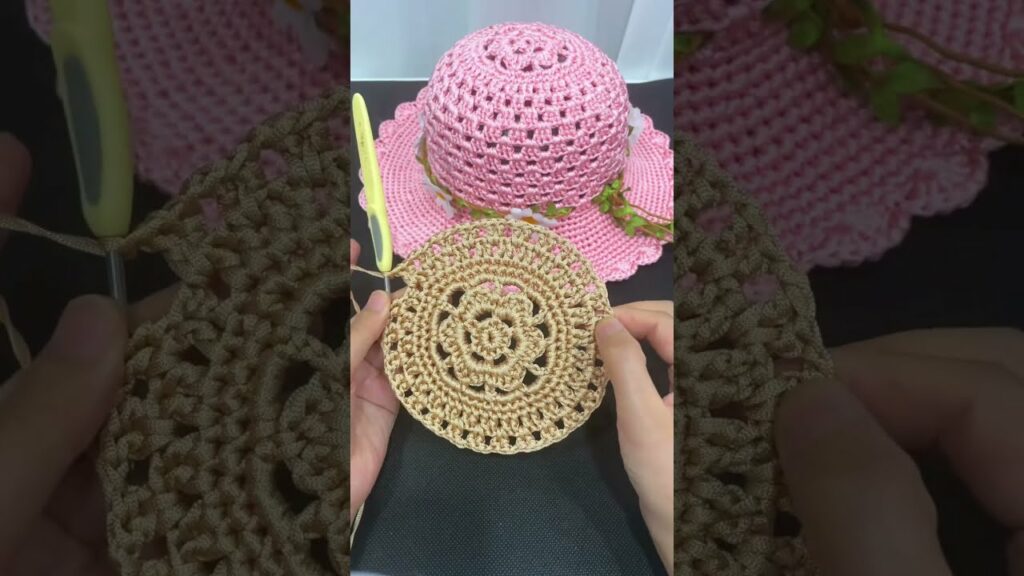
🌀 Step 1: Crown (Top of Hat)
We start with a magic ring or chain loop and increase in rounds.
Round 1: Make a magic ring. Ch 2 (counts as first dc), 11 dc into ring. Join with sl st. (12 dc)

Round 2: Ch 2, dc in same st, 2 dc in each st around. Join. (24 dc)

Round 3: Ch 2, *dc in next st, 2 dc in next st*, repeat around. Join. (36 dc)

Round 4: Ch 2, *dc in next 2 sts, 2 dc in next st*, repeat around. Join. (48 dc)

Round 5: Ch 2, *dc in next 3 sts, 2 dc in next st*, repeat around. Join. (60 dc)

Round 6 (optional if larger size needed): Ch 2, *dc in next 4 sts, 2 dc in next st*, repeat. Join. (72 dc)
👉 Stop increasing when your circle is approx. 5.5″–6″ in diameter for child sizes.
🧶 Step 2: Body of the Hat
Now continue straight without increasing.
Rounds 7–13: Ch 2, dc in each st around. Join. (Same stitch count)

→ Continue adding rounds until the hat measures about 7" in height.
🧵 Step 3: Optional Ribbed Brim (for snug fit)
Add some texture and elasticity with front and back post stitches.
Rounds 14–16:
*Front post dc in next st, back post dc in next st*, repeat around. Join each round.
This creates a stretchy, ribbed brim for a better fit.
🎨 Optional Customizations
Here are some fun ways to personalize your child’s hat:
🧸 Add Ears (Bear or Cat Style)
Ch 6, sc in 2nd ch from hook and across. Ch 1, turn.
Rows 2–4: Sc across. Ch 1, turn.
Row 5: Dec 1 sc on each end. (Tapering)
Row 6: Sc across. Fasten off and sew on as ears.
🧶 Add a Pom-Pom
- Use a pom-pom maker or wrap yarn around your hand
- Trim and tie tightly
- Sew to the top center of the hat
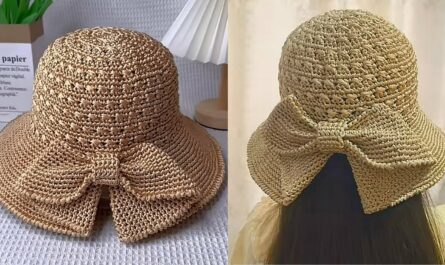
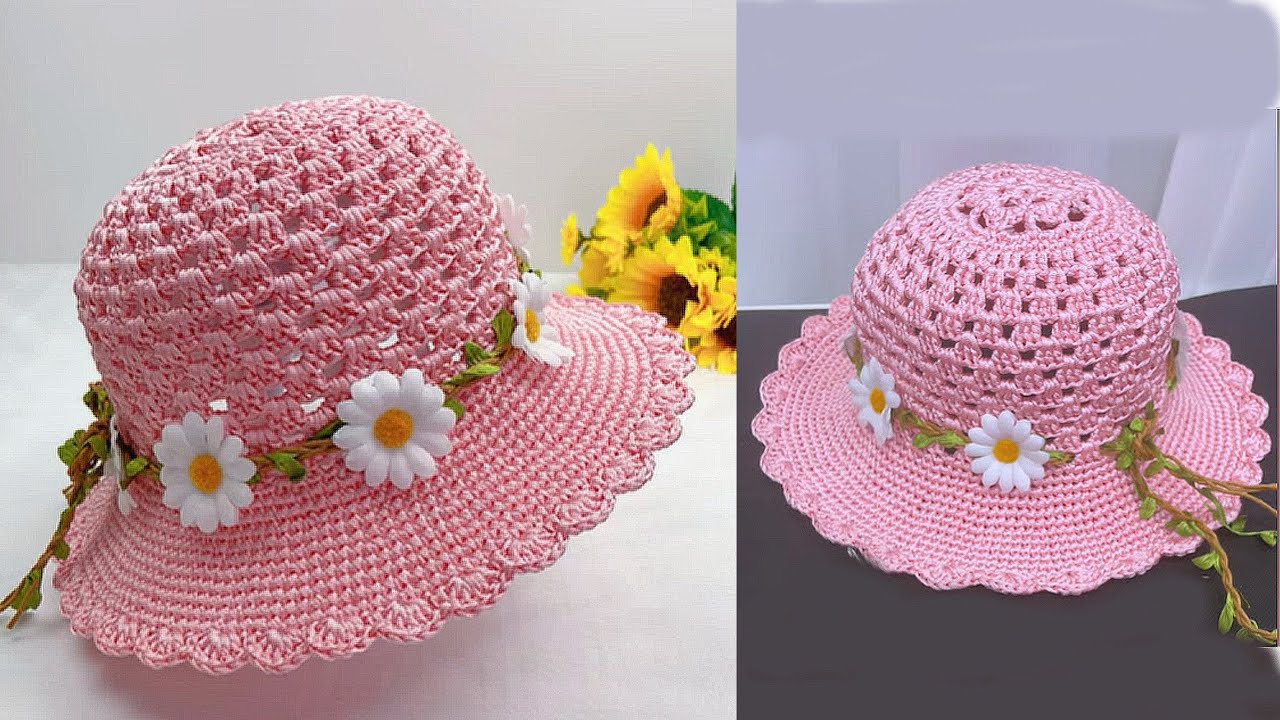
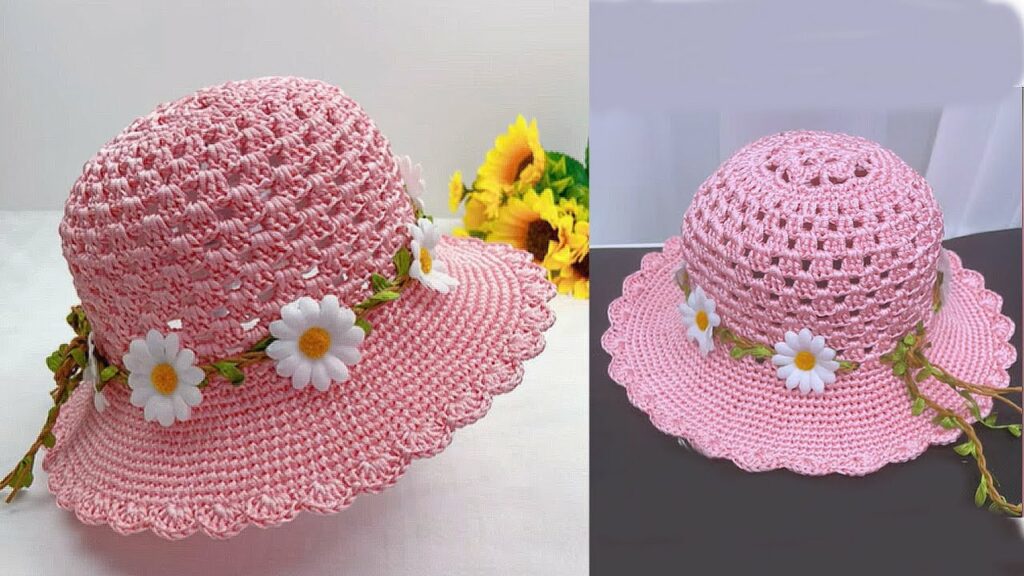
💐 Add a Crochet Flower or Patch
- Crochet a small 5-petal flower or buy iron-on patches
- Sew them securely to the side for a cute accent
🧼 Washing Instructions
- If using acrylic yarn: Machine washable (cold water), tumble dry low
- If using cotton or wool: Hand wash, lay flat to dry
Always check your yarn label for specific care instructions.
✅ Final Tips
- Try on as you go: If possible, check the fit on the child.
- Adjust hook size: If the hat feels too loose or tight, go down or up a hook size.
- Mark the rounds: Use a stitch marker at the beginning of each round to stay on track.
📸 Share Your Work!
Made a hat using this tutorial? Share your photos with the tag #CrochetKidsHat on Instagram or Pinterest — and inspire others to join the fun!