 by
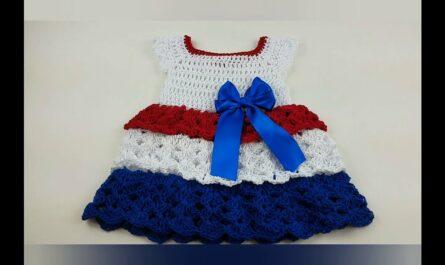
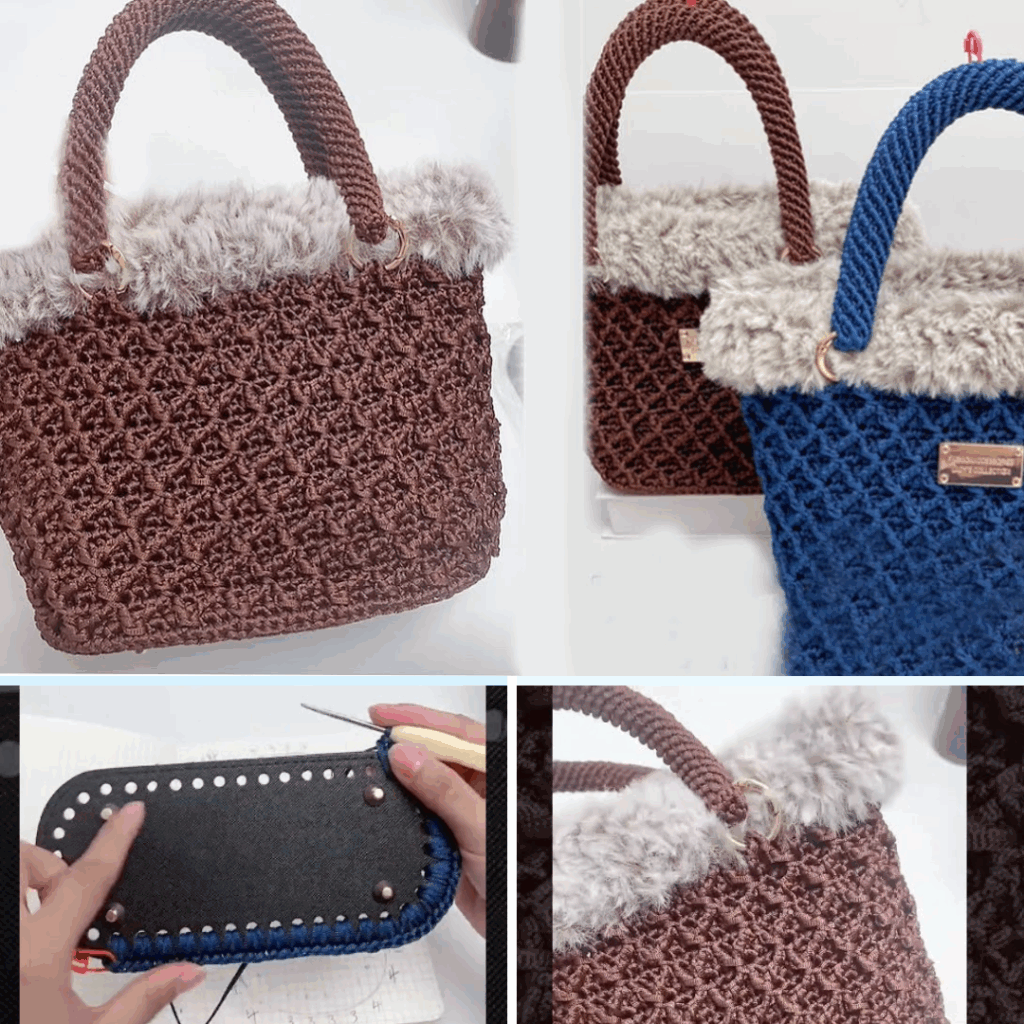
by Crochet bags are not just trendy—they’re functional, sustainable, and allow for endless creativity. In this tutorial, you’ll learn how to make an Elegant Diamond Pattern Crochet Bag, a stunning accessory that combines structure and style. The diamond texture adds a sophisticated touch, making this bag perfect for both casual and dressy outings.
Whether you’re an intermediate crocheter or a confident beginner ready for a challenge, this project will become one of your favorites.
🧶 Materials You’ll Need
- Yarn: Worsted weight cotton yarn or sturdy acrylic (approx. 300–400g)
→ Choose a firm yarn to help the bag hold its shape - Crochet Hook: 4.0 mm (G-6) or as needed for your yarn
- Tapestry/Yarn needle
- Scissors
- Stitch markers
- Bag handles (optional): Wooden, leather, or crocheted
- Fabric for lining (optional but recommended)
- Magnetic clasp or zipper (optional closure)
✨ Skill Level
Intermediate
This pattern involves textured stitches (post stitches), working in the round, and following a stitch repeat to form a diamond lattice texture.
🧵 Stitches & Abbreviations (US Terms)
- ch – chain
- sl st – slip stitch
- sc – single crochet
- dc – double crochet
- fpdc – front post double crochet
- bpdc – back post double crochet
- st(s) – stitch(es)
- rep – repeat
📐 Finished Size (Adjustable)
- Approx. 12″ wide x 10″ tall without handles
- You can easily adjust the width/height by changing the number of stitches or rows
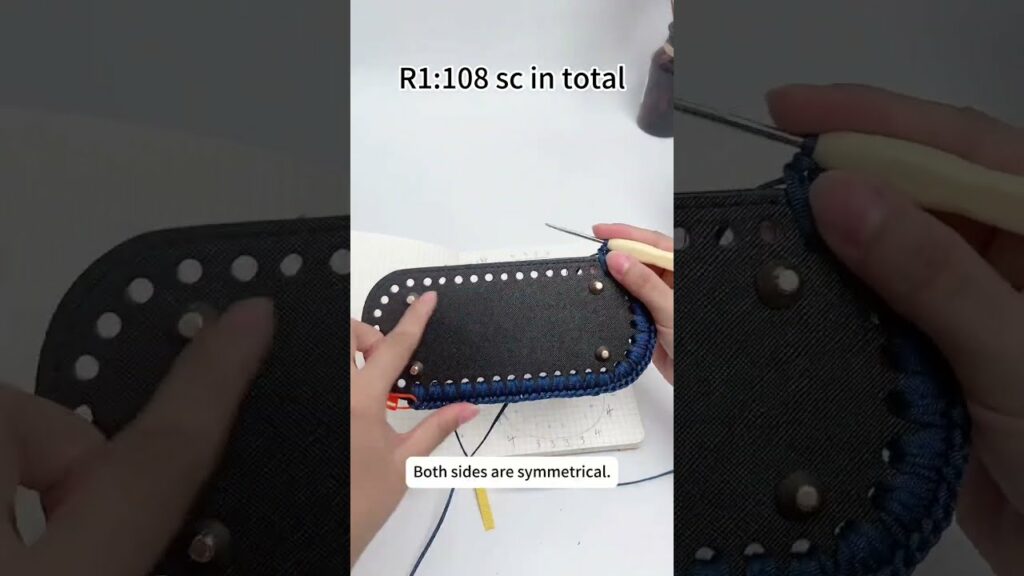
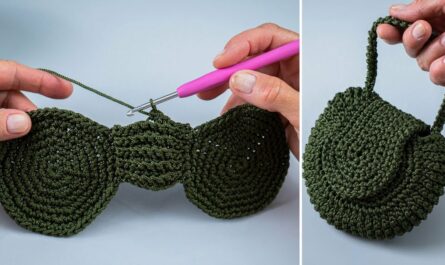
🧢 Part 1: Base of the Bag (Oval)
We’ll begin by crocheting an oval base.
Step 1: Create the Foundation Chain
Ch 31 (or any number depending on desired width)
Step 2: Work Around the Chain
Round 1: Dc in 3rd ch from hook and in each ch across. Work 3 dc in last ch.
Now work along the opposite side of the chain, dc in each ch, 2 dc in the starting ch. Join with sl st. (Approx. 60 sts)

Round 2: Ch 2, *dc in next 28 sts, 2 dc in next 3 sts, dc in next 28 sts, 2 dc in next 2 sts* – Join. (66 sts)

Round 3: Ch 2, *dc in next 28 sts, [dc in next st, 2 dc in next st] x3, dc in next 28 sts, [dc in next st, 2 dc in next st] x2* – Join. (72 sts)

Repeat until the base is about 3"–4" wide.
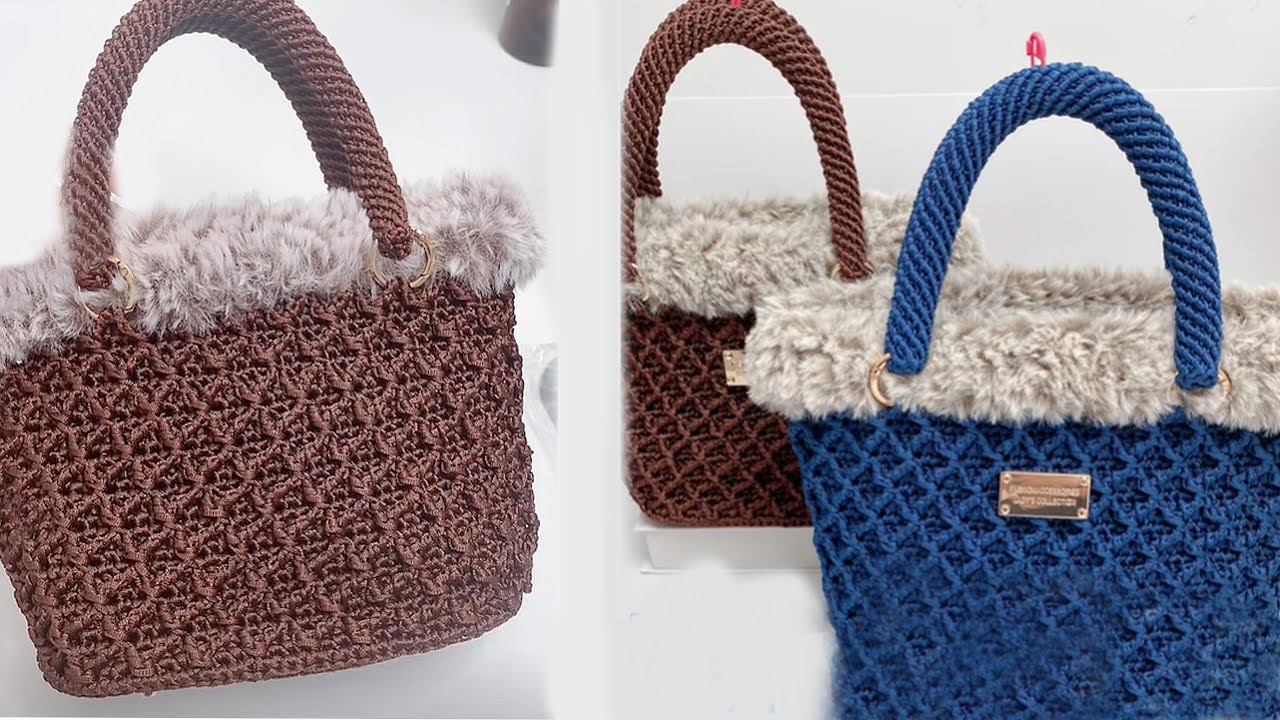
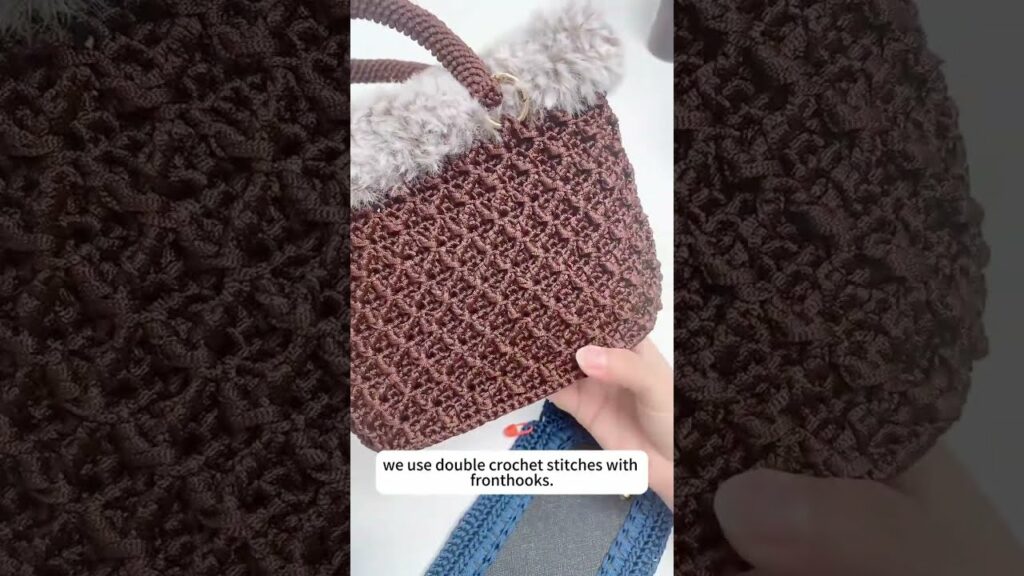
💎 Part 2: Diamond Pattern Body (Textured Section)
This section uses a combination of fpdc and dc to create the diamond lattice effect.
Diamond Stitch Pattern:
The diamond pattern is worked over a multiple of 6 + 2 stitches. You’ll create diagonal ridges using front post stitches.
Begin the Diamond Body:
Round 1: Ch 2, dc in each st around. Join.
Round 2: Ch 2, *fpdc in next st, dc in next 5 sts* – repeat around. Join.
Round 3: Ch 2, *dc in next st, fpdc in next st, dc in next 4 sts* – repeat. Join.
Round 4: Ch 2, *dc in next 2 sts, fpdc in next st, dc in next 3 sts* – repeat.
Round 5: Ch 2, *dc in next 3 sts, fpdc in next st, dc in next 2 sts* – repeat.
Round 6: Ch 2, *dc in next 4 sts, fpdc in next st, dc in next st* – repeat.
Round 7: Ch 2, *dc in next 5 sts, fpdc in next st* – repeat.
Round 8: Ch 2, *dc in next 4 sts, fpdc in next st, dc in next st* – reverse direction
Round 9: Ch 2, *dc in next 3 sts, fpdc in next st, dc in next 2 sts*
Round 10: Ch 2, *dc in next 2 sts, fpdc in next st, dc in next 3 sts*
Round 11: Ch 2, *dc in next st, fpdc in next st, dc in next 4 sts*
Round 12: Ch 2, *fpdc in next st, dc in next 5 sts*

👉 **Repeat Rows 2–12** for desired height (about 8"–10")

---

## 🎒 Part 3: Shaping the Top and Handles

### Option A: Crochet Handles (built-in)
```text
Last 3 Rounds:
Round 1: Dc in each st around.
Round 2: Mark 2 handle positions (e.g., 15 sts apart on each side).
Ch 1, sc around, skipping the marked stitches by chaining across (e.g., ch 15 for the handle gap), sc in next st – repeat for other handle. Join.
Round 3: Sc in each st and in each ch of the handle gap to reinforce.
Option B: Add Pre-Made Handles
- Simply stop crocheting once the body reaches the desired height.
- Use a yarn needle to sew on leather, wooden, or rope handles.
- Reinforce stitches to make it sturdy.
🪡 Optional: Lining the Bag
To prevent stretching and make the bag more functional:
- Cut fabric slightly larger than the bag.
- Fold and hem the edges.
- Hand-sew or machine-stitch the lining into the bag using matching thread.
- Add a magnetic clasp or zipper if desired.
🧺 Customization Ideas
- Use two or three colors to make the diamonds stand out.
- Add tassels or fringes to the sides for a boho look.
- Create a matching pouch or wallet insert.
- Embroider or sew a small label for personalization.
📏 Size Adjustments
You can resize this bag by:
- Increasing or decreasing the foundation chain.
- Adjusting the number of diamond pattern repeats.
- Using a different yarn weight (bulky yarn for larger, soft tote).
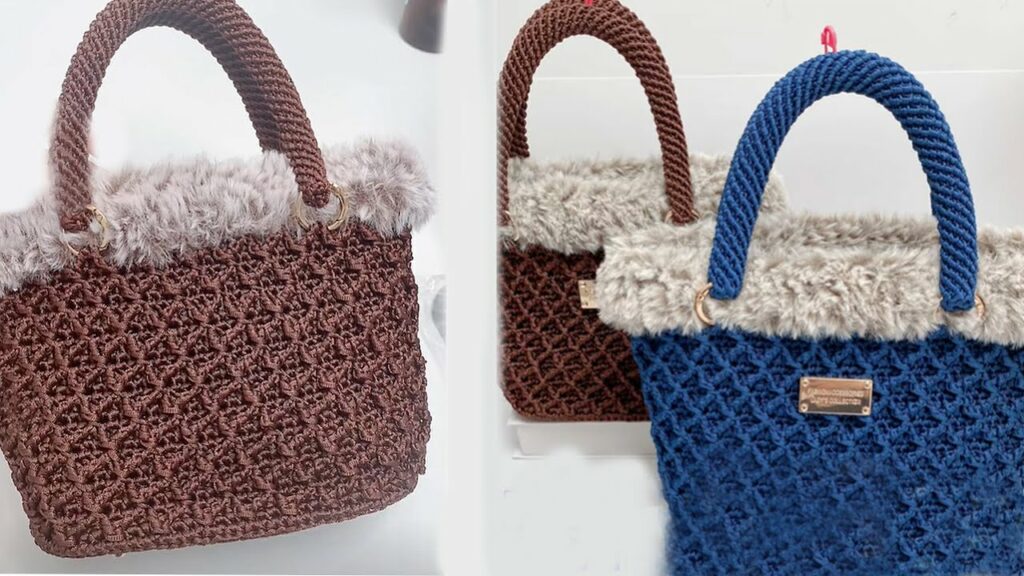
📸 Final Thoughts
Making an Elegant Diamond Pattern Crochet Bag is not just a fun project—it results in a stylish, durable accessory you’ll be proud to carry. With its intricate texture and refined look, it’s perfect for gifting, selling, or keeping for yourself. Once you master the diamond pattern, you’ll want to use it for other projects like pillows, clutches, or scarves!
🧶 Want a Printable Pattern?
Let me know if you’d like this tutorial in PDF format or with diagrams/chart symbols—I can generate a clean, printable version for your crochet binder or blog.
Happy hooking! 💖
Video Tutorial: