 by
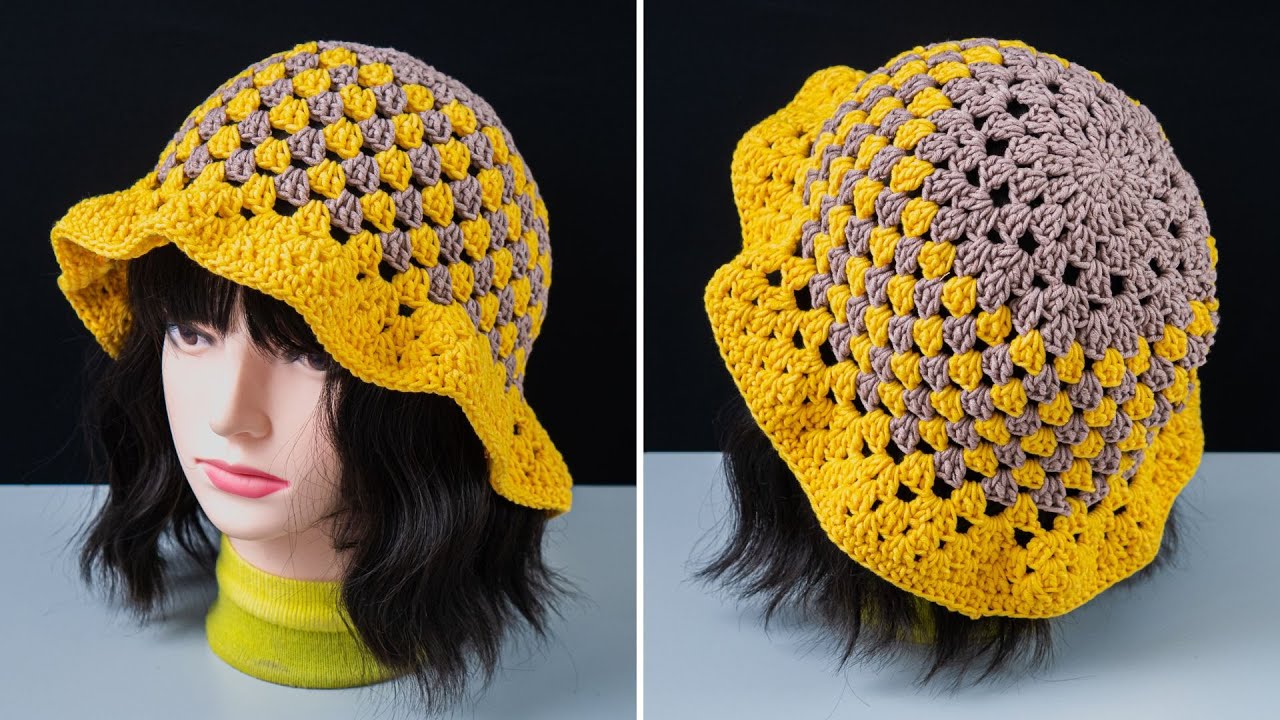
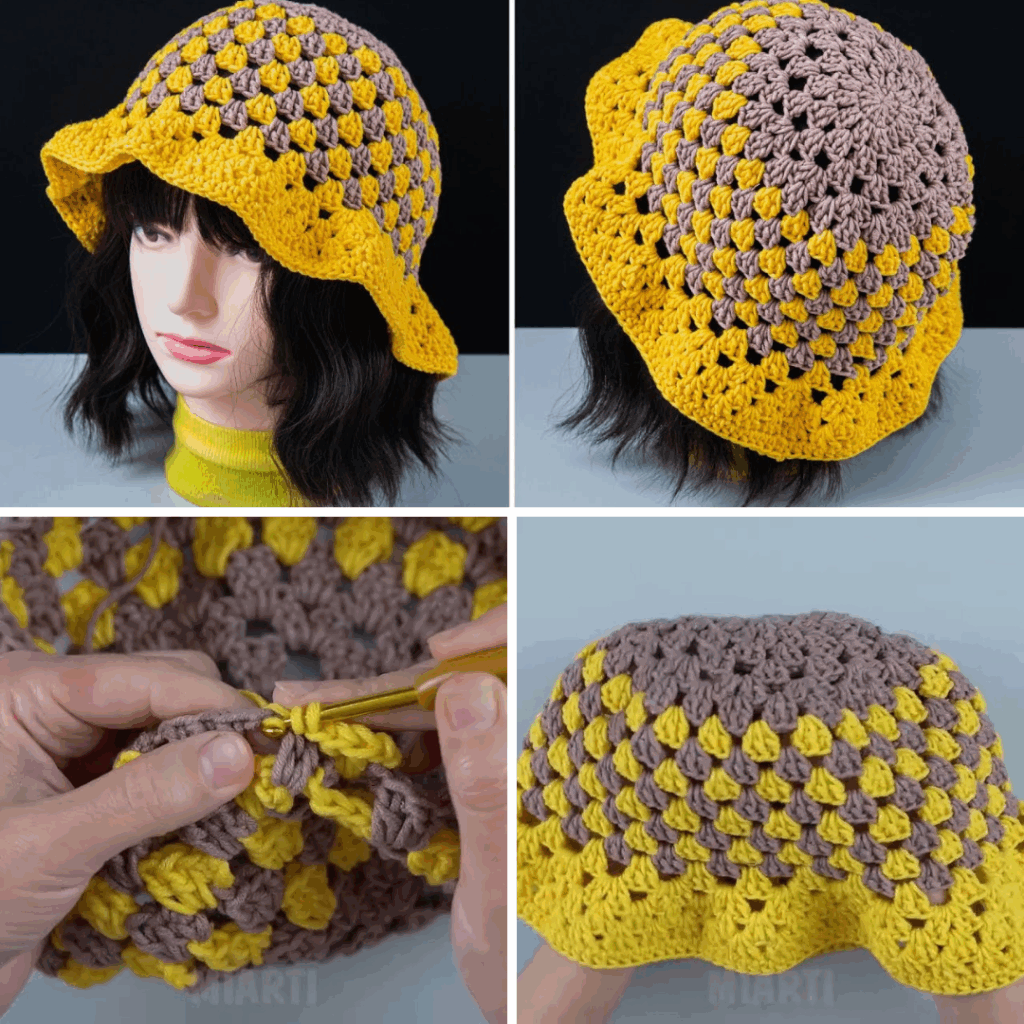
by Granny square summer bucket hats are a fresh, fun twist on the classic granny square style. Unlike cozy, bulky winter hats, summer versions are made with light cotton yarn, airy stitch work, and bright colors — ideal for festivals, beach days, or just adding a bit of retro charm to your wardrobe.
Whether you’re a beginner or experienced crocheter, this project is a great way to use your skills creatively. Let’s walk through the full process step by step.
🧶 Materials Needed
To make a summer-friendly hat, you’ll want lightweight, breathable materials.
Yarn:
- 100% Cotton Yarn (DK or Sport Weight is best for summer)
- Recommended brands: Lily Sugar’n Cream, Paintbox Cotton DK, Rico Creative Cotton
Tools:
- Crochet hook: 3.5mm to 4.5mm (depending on yarn weight)
- Yarn needle: for sewing and weaving in ends
- Scissors
- Measuring tape (for sizing)
- Stitch markers (optional but helpful)
📐 Basic Hat Structure
The hat is made up of:
- 1 square for the top of the crown
- 4 squares for the sides of the crown
- 8–10 half or full squares or a continuous brim at the bottom
This modular construction makes it easy to size up or down, and you can mix colors for a patchwork, vintage-inspired look.
🔶 Step 1: Crochet the Airy Granny Squares
🌸 Open Granny Square Pattern (Light & Breathable)
Use this modified granny square pattern for a more open, airy texture — perfect for warm weather.
Round 1:
- Ch 4, sl st to form a ring.
- Ch 3 (counts as 1 dc), 2 dc in ring, ch 2.
- 3 dc in ring, ch 2 — repeat 3 times.
- Join with sl st to top of ch-3.
(You should have 4 clusters of 3 dc, with 4 corner spaces.)
Round 2:
- Sl st to next ch-2 space, ch 3, 2 dc, ch 2, 3 dc in same space (corner).
- Ch 1, (3 dc, ch 2, 3 dc) in next corner space — repeat around.
- Ch 1, join to top of ch-3.
Round 3 (optional, if you need larger squares):
- Sl st to corner space, ch 3, 2 dc, ch 2, 3 dc.
- Ch 1, 3 dc in next side space, ch 1, (3 dc, ch 2, 3 dc) in corner — repeat.
- Join to ch-3.
📏 Target Size: ~4″ x 4″ (adjust as needed)
🔁 Make 5 full squares in total (1 top + 4 side squares). Use bright, summer-inspired colors for a fresh look.
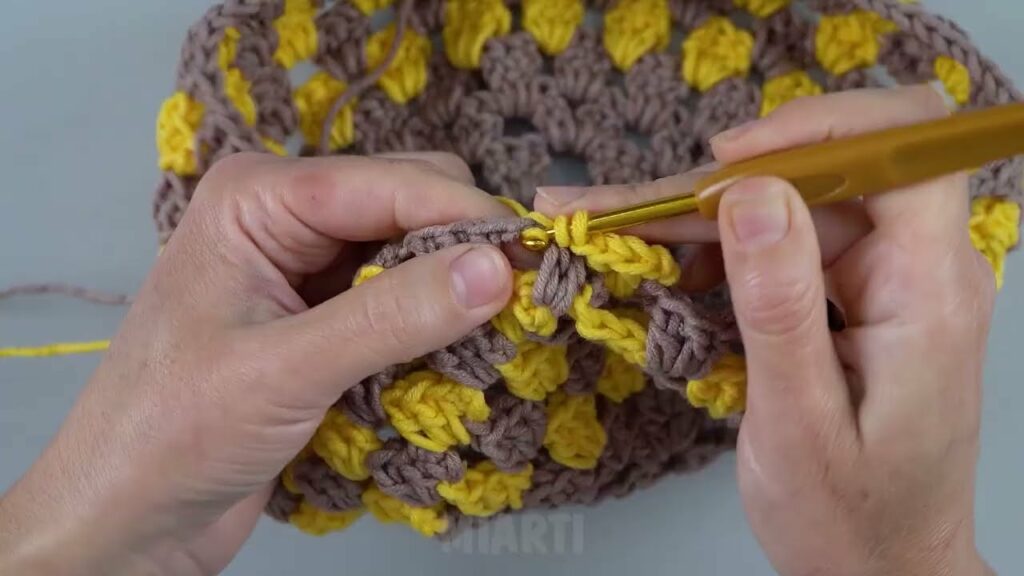
🧵 Step 2: Join the Squares
Layout:
- Place 1 square flat for the top of the crown.
- Attach 4 squares around the edges of the top square to form the sides of the hat.
Joining Method:
Use the flat slip stitch join or whip stitch with a yarn needle.
Flat Slip Stitch Join (Recommended):
- Place squares with right sides facing up.
- Insert hook through back loops of both squares.
- Slip stitch evenly across the edges.
This creates a neat, nearly invisible seam that doesn’t bulk up the hat — ideal for summer wear.
👒 Step 3: Add the Brim
You have two options:
- Option A: Crochet brim directly
- Option B: Add more squares or half-squares for a patchy brim
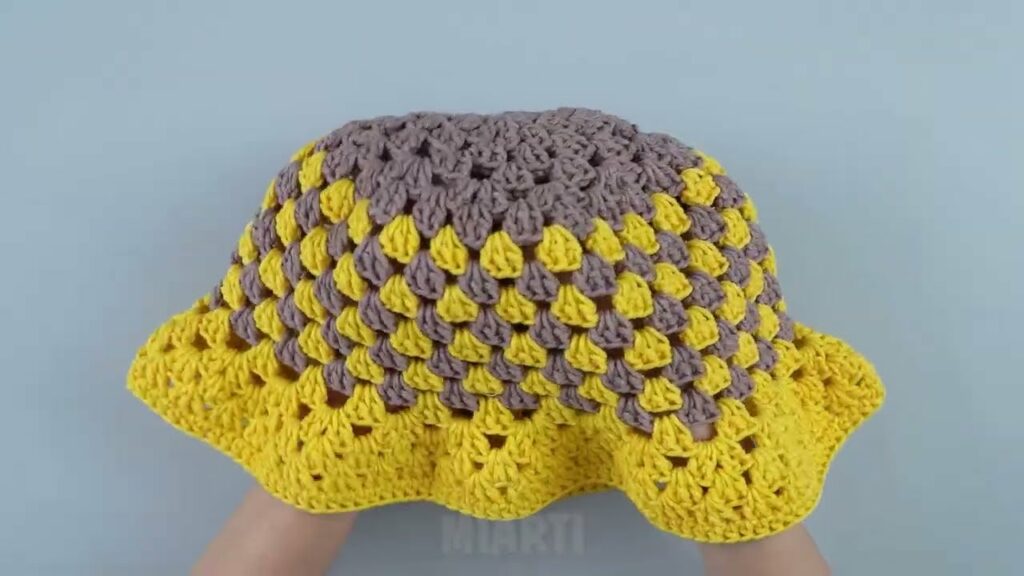
🅰️ Option A: Crochet a Continuous Brim
Attach yarn to any stitch at the bottom edge of the crown.
Round 1:
- Ch 1, sc evenly around (one stitch per dc and one per ch-1 space). Join with sl st.
Round 2–5 (or more):
- Switch to hdc or dc.
- To shape the brim, increase every 6–8 stitches in each round (e.g., 2 hdc in one stitch).
➡️ More increases = wider, floppier brim. Fewer increases = narrow, structured brim.
Optional Last Round:
- Add a decorative finish like reverse sc (crab stitch) for a sturdy edge.
🅱️ Option B: Brim Made with Granny Squares
Make 8 smaller granny squares or half-granny squares (triangles) and sew them around the base of the hat. For best results:
- Use 2-round squares (~2.5″ each)
- Join with the same method as above
- Finish with one round of sc or hdc around the brim edge to pull it together
🧠 Sizing Tips
Measure your head before beginning.
| Head Circumference | Square Size | # of Squares |
|---|---|---|
| 20–21 inches (S) | 4″ | 5 main squares + 8 brim pieces |
| 22–23 inches (M) | 4.25–4.5″ | Same as above |
| 24+ inches (L) | 5″ | Increase square size or add another side square |
🔁 To make the hat larger:
- Use bigger squares
- Add an extra square to the crown’s side section
- Add an extra row to the brim
🎨 Styling and Custom Ideas
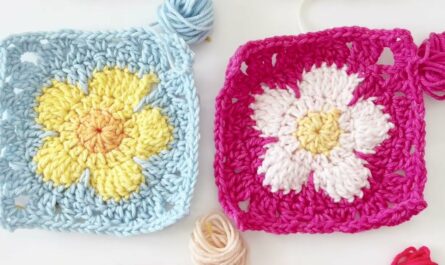
- 🌼 Use floral granny squares for a boho-chic summer vibe
- 🍉 Try fruit-themed colors: watermelon, lemon, or strawberry combos
- 💖 Go for pastel color palettes for a soft, dreamy look
- 🌈 Use rainbow stripes for a Pride or festival hat
- 🧵 Add a cotton lining for extra sun protection (optional)
🧺 Care Instructions
- Hand wash or gentle cycle in cold water
- Lay flat to dry to maintain shape
- Avoid tumble drying — cotton may shrink
✅ Summary: Your Granny Square Summer Bucket Hat Checklist
✔️ Lightweight cotton yarn
✔️ 5 full granny squares
✔️ Neat, flat joins
✔️ Airy, breathable brim
✔️ Colorful, summery palette
✔️ Optional embellishments for flair
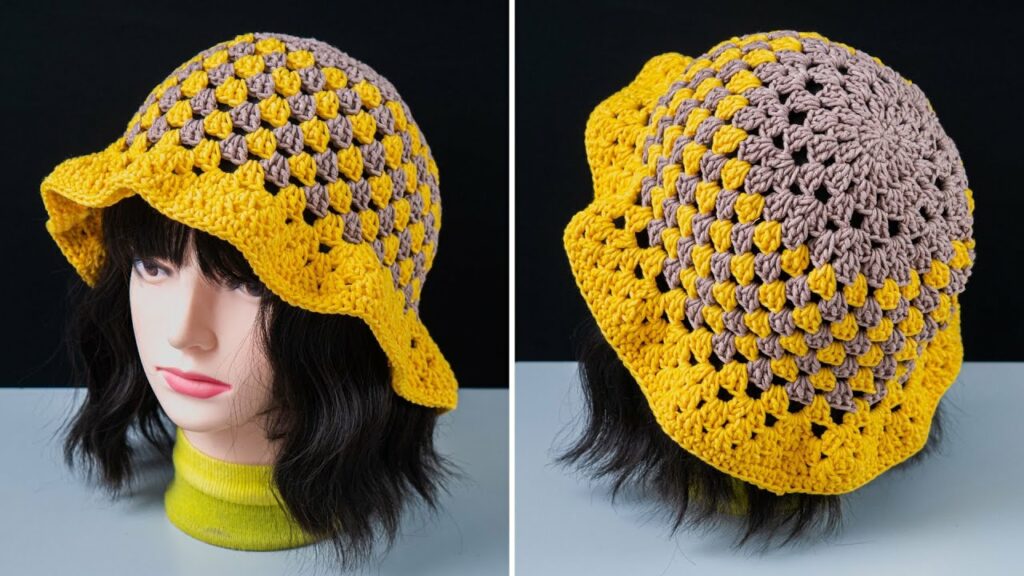
🏁 Final Thoughts
The granny square summer bucket hat is an amazing crochet project — simple enough for beginners, but stylish and satisfying for more advanced crafters. It combines the joy of granny squares with a wearable, functional result you’ll want to show off all season long.
With a few hours of work, you’ll have a breezy, boho-style hat that’s totally handmade, customizable, and on-trend.
Video Tutorial: