 by
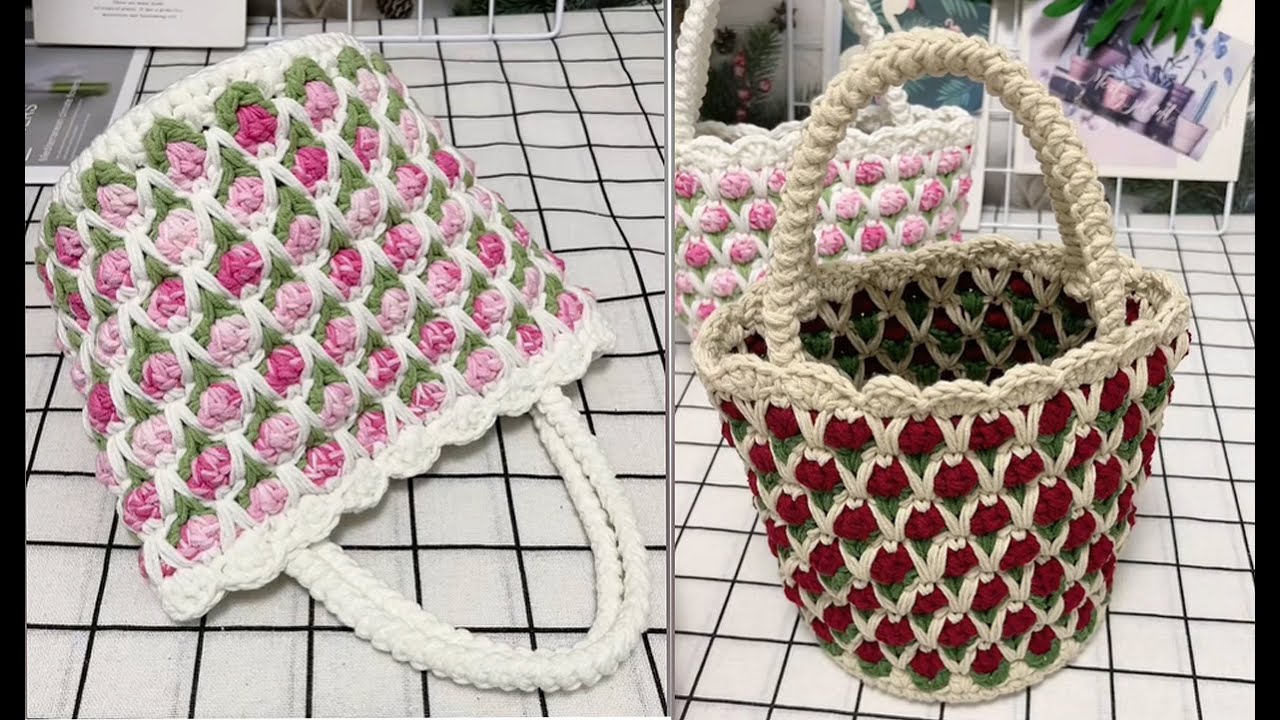
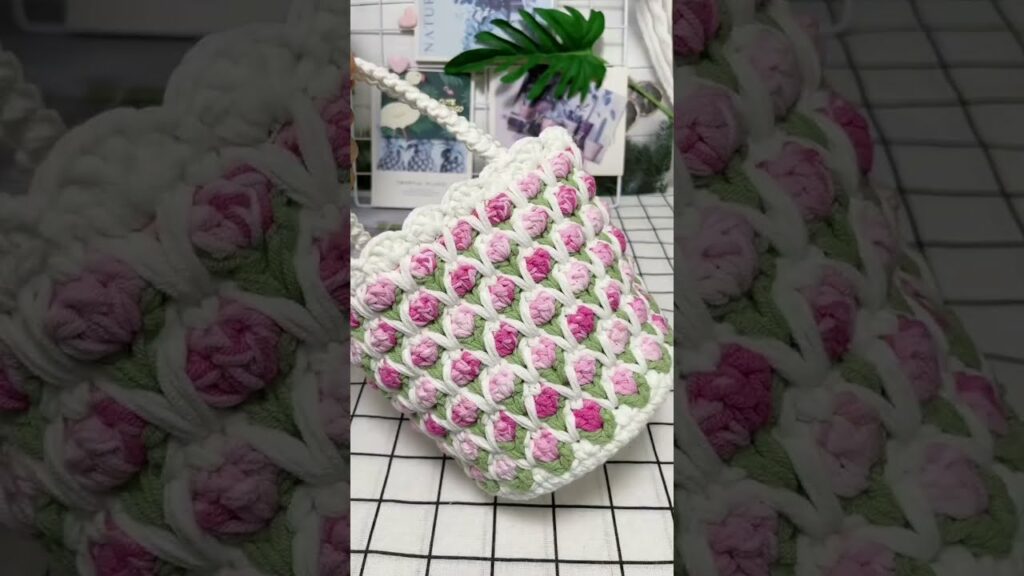
by If you’re looking to create a unique, handmade bag that’s both adorable and stylish, the Crochet Tulip Bag is the perfect project! This tulip-shaped accessory is inspired by the elegant lines of tulip petals and makes for a lovely statement piece or gift. Whether you’re an experienced crocheter or a confident beginner, this tutorial will guide you through each step of the process.
🧶 Materials Needed:

Before you start, gather the following supplies:
Yarn:
- Cotton or acrylic yarn – Worsted weight (Category 4) recommended
- Main Color: ~200g (for petals)
- Accent Color: ~50g (for handle and top edge)
Hook:
- Crochet hook size 4.0mm (G) or size appropriate for your yarn
Notions:
- Yarn needle
- Scissors
- Stitch markers (optional)
- Lining fabric & sewing needle/thread (optional but recommended)
- Magnetic snap or button (optional)
🧵 Crochet Skills Needed:
- Magic ring
- Chain (ch)
- Slip stitch (sl st)
- Single crochet (sc)
- Half double crochet (hdc)
- Double crochet (dc)
- Increasing and decreasing
- Working in rounds and rows
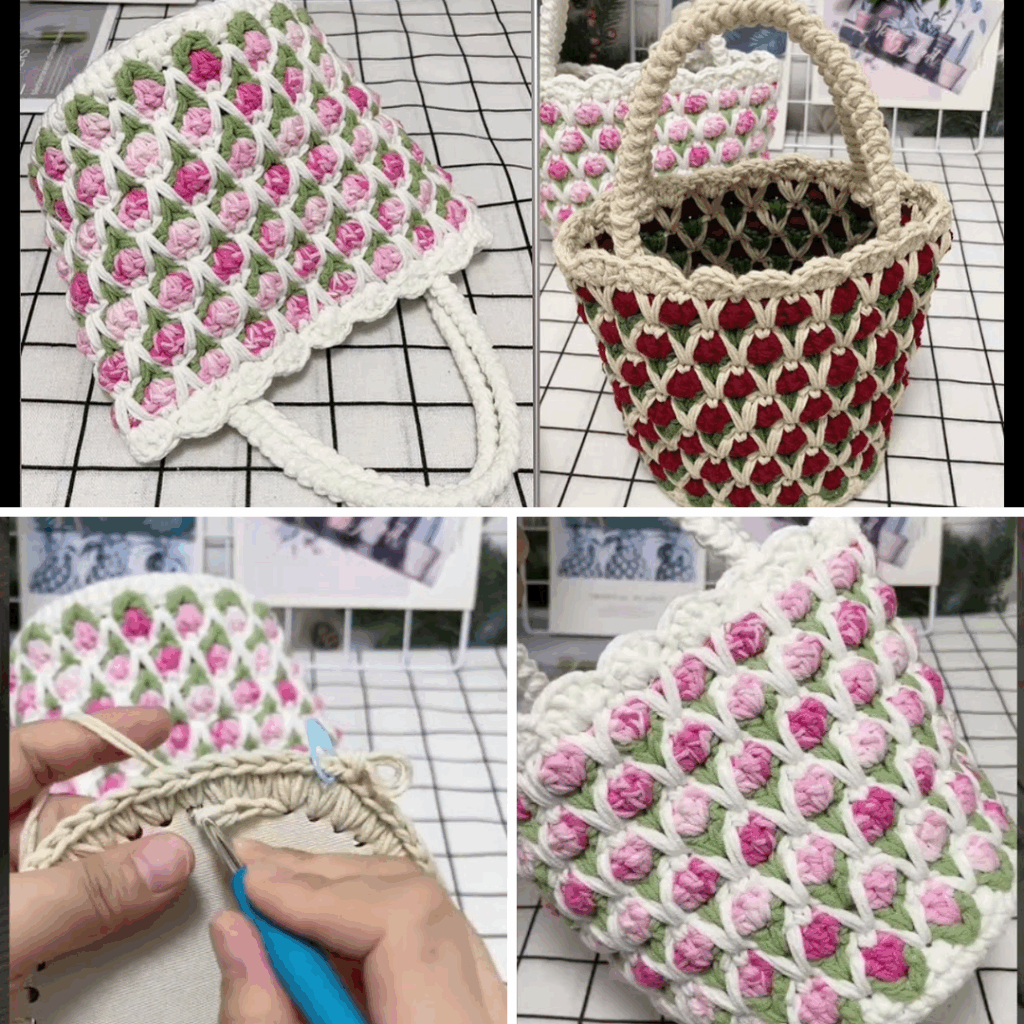
🌷 Tulip Bag Construction Overview:
The Crochet Tulip Bag is made in three main parts:
- Petals – Several petal-shaped panels are crocheted individually.
- Joining – Petals are sewn or crocheted together to form the bag body.
- Top edging & handle – The top is finished off and a handle is added.
🪡 PART 1: Crochet the Tulip Petals
You’ll need to crochet 6 petals for a medium-sized bag.
Tulip Petal Pattern:
- Start with a magic ring.
- Round 1: Ch 1, 6 sc into ring, sl st to first sc (6 sts)
- Round 2: Ch 1, 2 sc in each st around, sl st (12 sts)
- Round 3: Ch 1, 1 sc, 2 sc in next, repeat around, sl st (18 sts)
- Round 4: Ch 1, 2 sc, 2 sc in next, repeat around, sl st (24 sts)
- Round 5: Ch 1, 3 sc, 2 sc in next, repeat (30 sts)
Now begin shaping the petal curve:
- Row 6: Ch 1, sc in next 20 sts, turn (leave 10 unworked)
- Row 7: Ch 1, sc across (20 sts), turn
- Row 8: Ch 1, dec, sc in 16, dec (18 sts), turn
- Row 9: Repeat decrease row until 6 sts remain
- Final Row: Sl st across top edge to flatten
Fasten off and weave in ends.
📝 Repeat this process 6 times to make 6 identical petals.
🪢 PART 2: Joining the Petals
Once you have all 6 petals made:
- Join the sides of each petal using single crochet or whip stitch.
- Align two petals, right sides facing.
- Sl st or sc through the edges from bottom to top.
- Repeat with all petals to form a circular, flower-like shape.
- Close the base:
- You can crochet or sew the bottom edge shut by gathering the lower edges of all petals and stitching them together.
- Alternatively, crochet a small circle and attach it as a base.
Optional: Add a lining at this stage for structure and security.
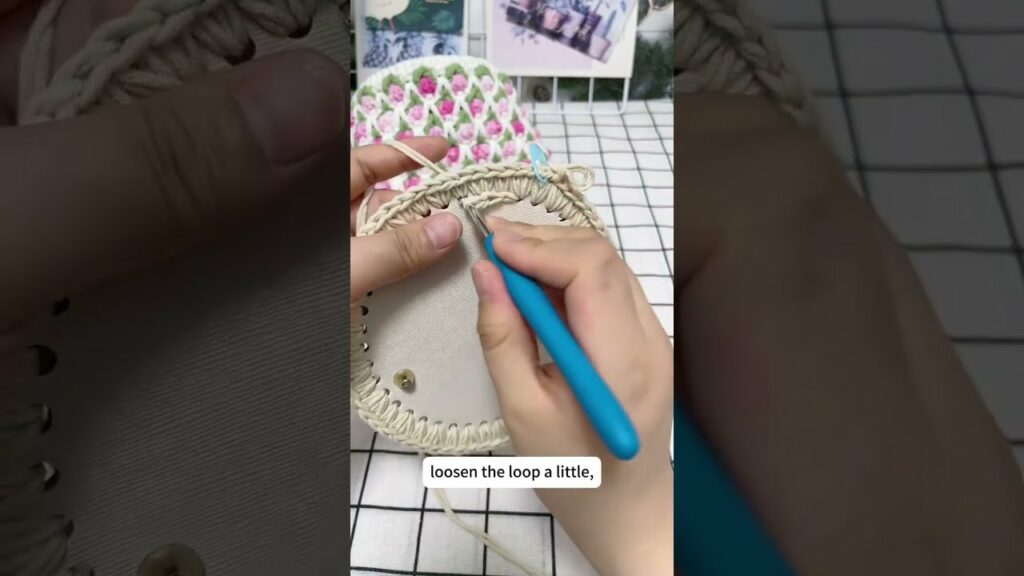
🧵 PART 3: Top Edging and Handle
Top Edge:
- Attach your yarn in a stitch at the top opening.
- Sc evenly around the top edge of all petals.
- Work 2–3 rounds to create a clean, uniform edge.
- Optional: Work a round of crab stitch (reverse single crochet) for decorative edging.
Handle Options:
Option 1: Short Handle (Wristlet Style)
- Ch 80 (or desired length)
- Sl st to opposite side of the bag opening
- Work back down the chain with sc
- Attach and fasten off
Option 2: Long Strap (Shoulder/Crossbody)
- Crochet a long i-cord or flat strap (approx. 100–120 chains)
- Reinforce with lining yarn/thread if needed
- Attach ends securely to the top of the bag on opposite sides
Optional: Add D-rings and clips if you want a removable strap.
✨ Optional Embellishments
- Embroider tulip petals with contrast yarn
- Add a magnetic snap closure or drawstring
- Sew a fabric lining inside for extra durability
- Attach decorative charms or tassels
🧼 Care Instructions
To keep your Crochet Tulip Bag looking fresh:
- Hand wash in cold water with mild soap
- Lay flat to dry
- Avoid heavy items if unlined
📸 Final Thoughts & Tips
Crocheting your own Tulip Bag is a fun way to express creativity and add a floral flair to your wardrobe. You can customize colors to match outfits or seasons — think pinks and purples for spring, or bold reds and oranges for fall.
🌟 Pro Tips:
- Use stitch markers to keep petal edges aligned.
- Block your petals before assembly for a neater finish.
- If you plan to carry heavier items, always line the bag.