 by
by Introduction: Blooms & Blocks, The Perfect Pairing
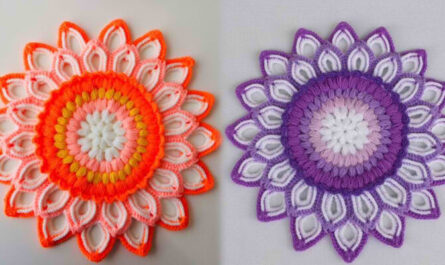
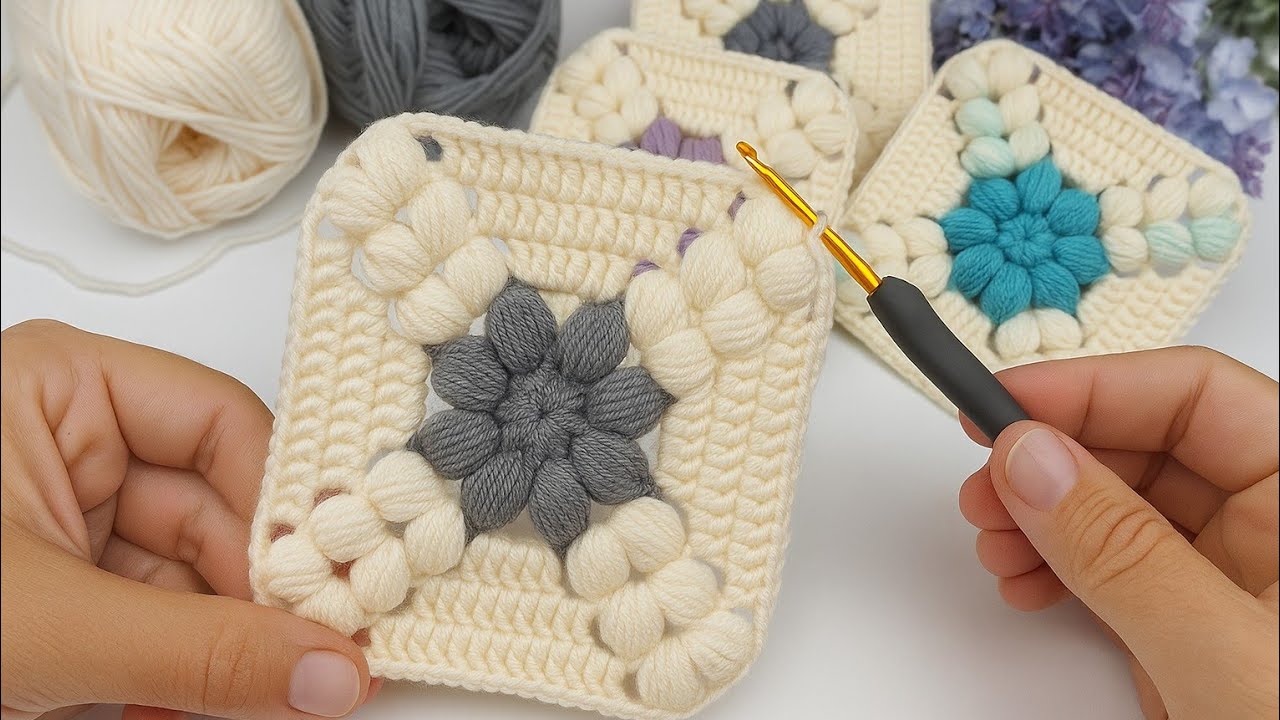
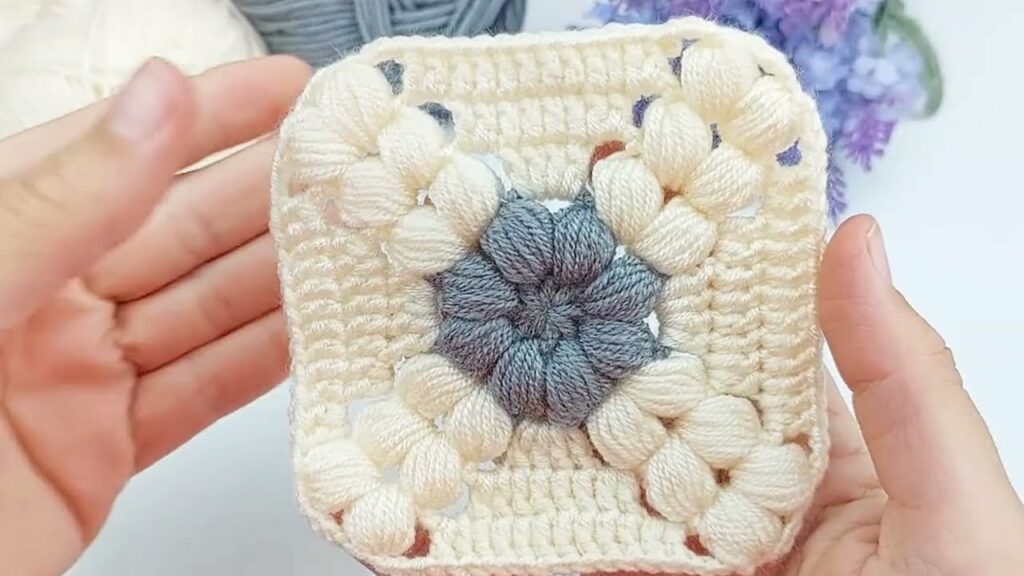
Hello, crochet lovers! Today we are diving into a project that beautifully blends two classic techniques: the elegance of floral motifs and the timeless simplicity of the Granny Square. I’ve named this the Heirloom Bouquet Square because its center is a delicate, layered flower that blooms outward into a sturdy, easy-to-join block.
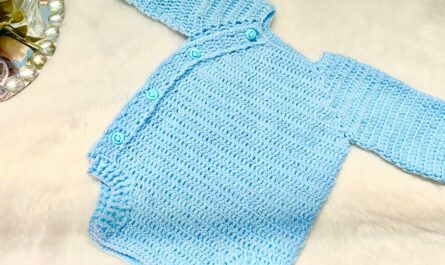
This square is perfect for adding a touch of romance and texture to any project. Whether you are looking to stitch together a stunning blanket, craft a unique cushion cover, or create decorative bunting, this pattern is fast, fun, and highly customizable with color.

Grab your favorite scrap yarns and let’s turn simple yarn into a gorgeous, lasting treasure!
Section 1: Materials & Tools
This square works best with contrasting colors to make the floral center truly pop.
| Material | Description/Recommendation | Notes |
| Yarn | Worsted Weight (Category 4) or DK Weight (Category 3) | Using the same weight for all colors ensures consistent sizing. |
| Color A | Center Flower Color (e.g., Yellow or Bright Pink) | |
| Color B | Petal/Background Color (e.g., White or Light Green) | |
| Color C | Main Square/Joining Color (e.g., Neutral or Dark Blue) | |
| Hook | Size I/9 (5.5 mm) or H/8 (5.0 mm) | Choose a hook appropriate for your yarn weight. Hook size determines square size. |
| Notions | Yarn needle for weaving in ends, scissors. |
Finished Size (Approximate):
Using Worsted Weight yarn and a 5.5 mm hook, the finished square after 5 rounds will measure approximately 6 x 6 inches (15 x 15 cm).
Section 2: Stitches & Abbreviations
This pattern uses standard US crochet terminology.
| Abbreviation | Full Name | Notes |
| MR | Magic Ring | Used to start the center circle. |
| CH | Chain | |
| SL ST | Slip Stitch | Used for joining rounds. |
| SC | Single Crochet | |
| HDC | Half Double Crochet | |
| DC | Double Crochet | |
| TC | Treble/Triple Crochet | Yarn over 2 times. |
| DC Cluster | 3 Double Crochet stitches worked into the same space. | This forms the classic Granny block. |
Section 3: The Pattern – Heirloom Bouquet Square
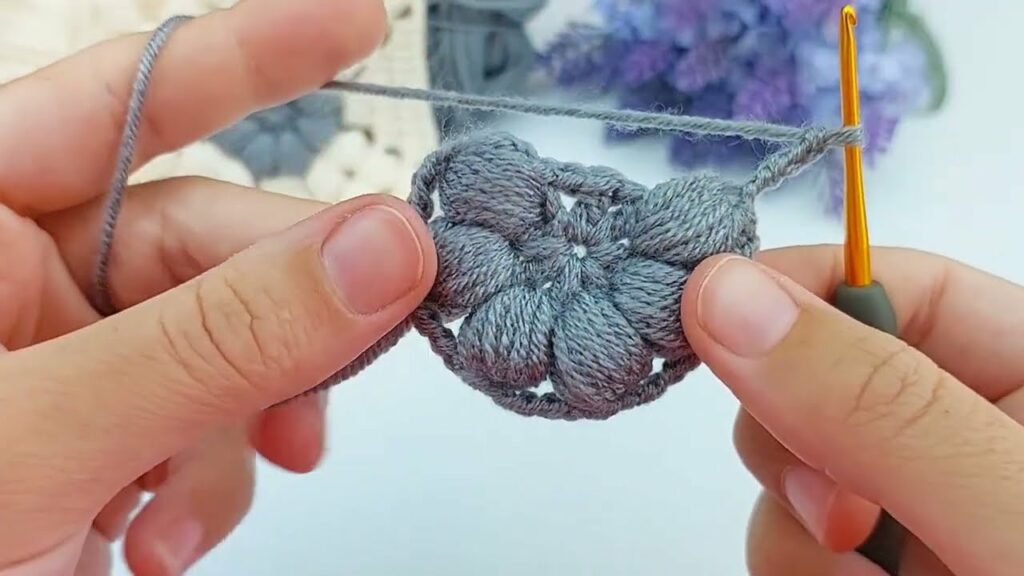
Part A: The Floral Center (Color A)
The first two rounds establish the tight center of the flower.
Round 1:
- Using Color A, start with a Magic Ring (MR).
- CH 3 (counts as 1st DC).
- DC 11 into the ring.
- Pull the tail tight to close the ring. SL ST to the top of the starting CH 3 to join. (12 stitches)
- Fasten off Color A.

Round 2: Defining the Petals (Color B)
- Attach Color B with a SL ST to any stitch of Round 1.
- CH 3 (counts as 1st DC). DC 2 into the same stitch.
- CH 1.
- *Skip the next stitch. DC 3 into the next stitch. CH 1.*
- Repeat from * to * five more times.
- SL ST to the top of the starting CH 3 to join. (6 DC 3-stitch clusters, 6 CH 1 spaces)
- Fasten off Color B.
Part B: Squaring the Circle (Color C)
This is the key round where we transition the 6-sided flower into a 4-sided square using a combination of HDC, DC, and TC stitches.
Round 3: The Corner Foundation (Color C)
- Attach Color C with a SL ST into any CH 1 space from Round 2.
- Side 1: CH 2 (counts as 1st HDC). HDC 2 into the same CH 1 space. (3 HDC total)
- Side 2: In the next CH 1 space, work DC 3.
- First Corner: In the next CH 1 space, work (TC 3, CH 2, TC 3). (This wide TC cluster forms the first corner)
- Side 3: In the next CH 1 space, work DC 3.
- Side 4: In the next CH 1 space, work HDC 3.
- Second Corner: In the final CH 1 space, work (TC 3, CH 2, TC 3).
- SL ST to the top of the starting CH 2 to join. (4 Corners now established)
- Fasten off Color C (optional if you want the next round in a different color, otherwise continue).
Self-Check: At the end of Round 3, you should have 4 corners formed by TC clusters and two sides made up of a DC cluster and an HDC cluster.
Part C: Growing the Granny (Color C or New Color)
From here, we use the standard Granny Square technique (DC 3 clusters) to expand the square to your desired size.
Round 4: First Granny Round
- If you fastened off, attach your yarn (e.g., Color C) with a SL ST to any CH 2 corner space.
- CH 3 (counts as 1st DC). Work (DC 2, CH 2, DC 3) into the corner space. (This is the new corner block)
- CH 1 (separates the clusters).
- Skip the next space (the TC 3 cluster). Work DC 3 into the space between the TC clusters and the DC/HDC clusters of the previous round.
- CH 1.
- Work DC 3 into the next available space (between the HDC and DC clusters).
- CH 1.
- Work DC 3 into the final space before the next corner.
- CH 1.
- Corner Repeat: Work (DC 3, CH 2, DC 3) into the next CH 2 corner space.
- Repeat Steps 3-9 around. SL ST to the top of the starting CH 3 to join.
Round 5 and Beyond: Standard Granny
- SL ST into the next 2 DC, and then SL ST into the first CH 1 space.
- CH 3 (counts as 1st DC). DC 2 into the same space.
- CH 1.
- Work DC 3 into every CH 1 space along the sides of the square, separating each cluster with a CH 1.
- Corner Repeat: Work (DC 3, CH 2, DC 3) into every CH 2 corner space.
- Repeat this round until your square reaches the required size.
Finishing: Fasten off and use your yarn needle to weave in all ends securely on the back of the square. For a crisp finish, lightly block your square using water and pins.
Section 4: Project Ideas & Customization
This versatile square is wonderful on its own, but its true potential shines when combined with others!
Project Inspiration:
- The Cottage Blanket: Join several squares together to create a lightweight, airy blanket. Use a neutral color for the outer rounds to make joining easier.
- Bohemian Bag: Join 9 squares (3×3) to form a simple shoulder or tote bag.
- Decorative Pillow: Stitch four large squares together (two for the front, two for the back) for an elegant cushion cover.

Color Customization Tips:
- High Contrast: Use bright, bold colors for the flower center (A & B) and a dark, solid color for the final square rounds (C).
- Ombre Effect: Use three shades of the same color family (light, medium, dark) for A, B, and C to create a subtle gradient effect.
- Scrap Buster: Use a different scrap yarn for every single round to create a truly unique, multi-colored piece.
I hope you love crocheting this beautiful square as much as I do! Don’t forget to share your finished Heirloom Bouquet Squares with the crafting community! Happy hooking!
Video tutorial: