 by
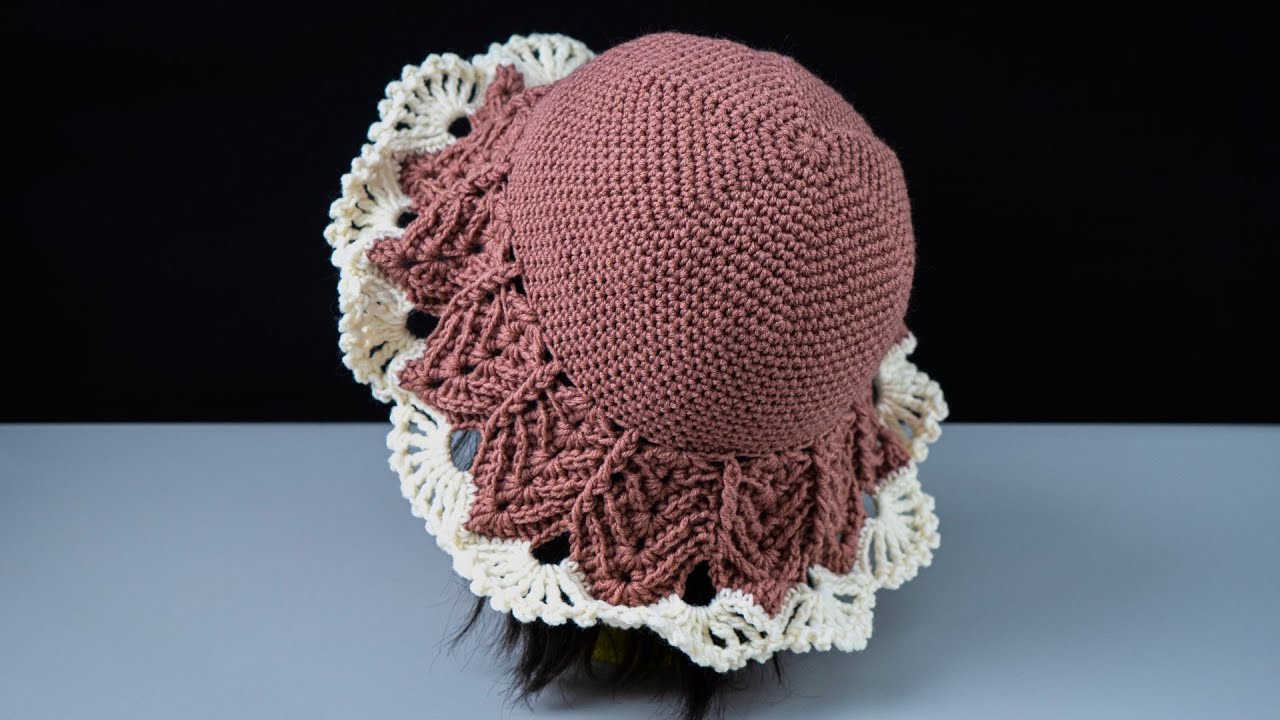
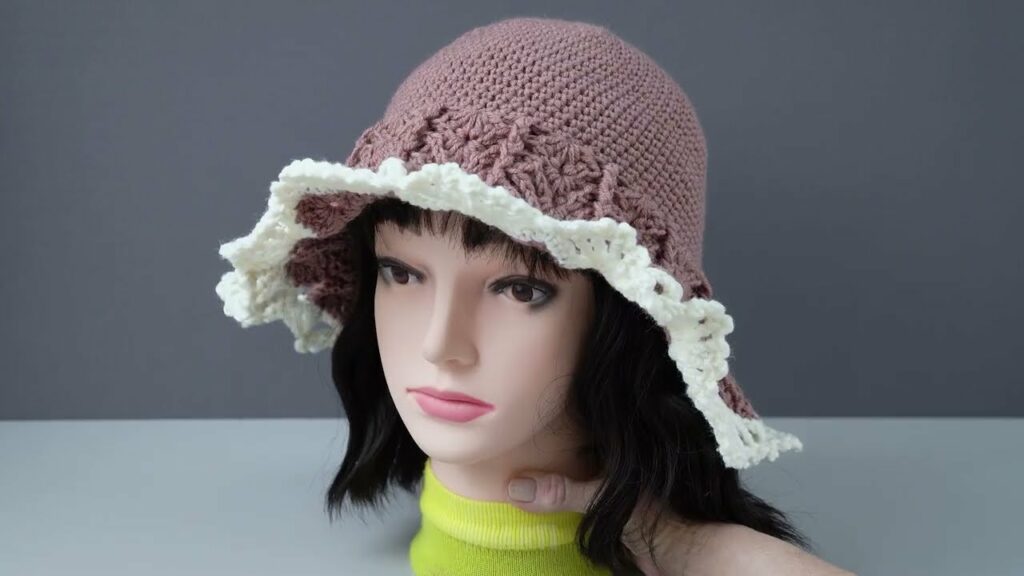
by Crochet bucket hats have made a huge comeback — and it’s easy to see why! They’re cute, versatile, and perfect for all seasons. Whether you’re headed to a beach day, picnic, or just want to add flair to your outfit, a handmade bucket hat is a stylish and satisfying project. The best part? You can make one in just a few hours, even if you’re a beginner.
In this guide, we’ll walk you through how to crochet a bucket hat quickly and easily, using basic stitches and simple shaping techniques.
🧵 What You’ll Need:
| Item | Description |
|---|---|
| Yarn | Worsted weight (medium #4) cotton or acrylic yarn – 100g (approx. 150 yards) |
| Hook | 5mm (H-8) crochet hook |
| Scissors | For cutting yarn |
| Tapestry needle | For weaving in ends |
| Stitch marker | Optional (helps keep track of rounds) |
💡 Cotton yarn is best for summer, offering breathability. Use acrylic or wool for a cozy winter hat.
🧶 Crochet Stitches & Abbreviations (US Terms):
- ch – chain
- sl st – slip stitch
- sc – single crochet
- dc – double crochet
- inc – increase (2 stitches in one stitch)
- st(s) – stitch(es)
📏 Sizing Info:
This pattern fits most teens and adults (head circumference approx. 21–23 inches). You can adjust the size by increasing or decreasing rounds or using a smaller/larger hook.
🪡 Pattern Overview:
The bucket hat is made in 3 sections:
- Crown – top flat circle
- Body – straight sides of the hat
- Brim – slightly flared edge
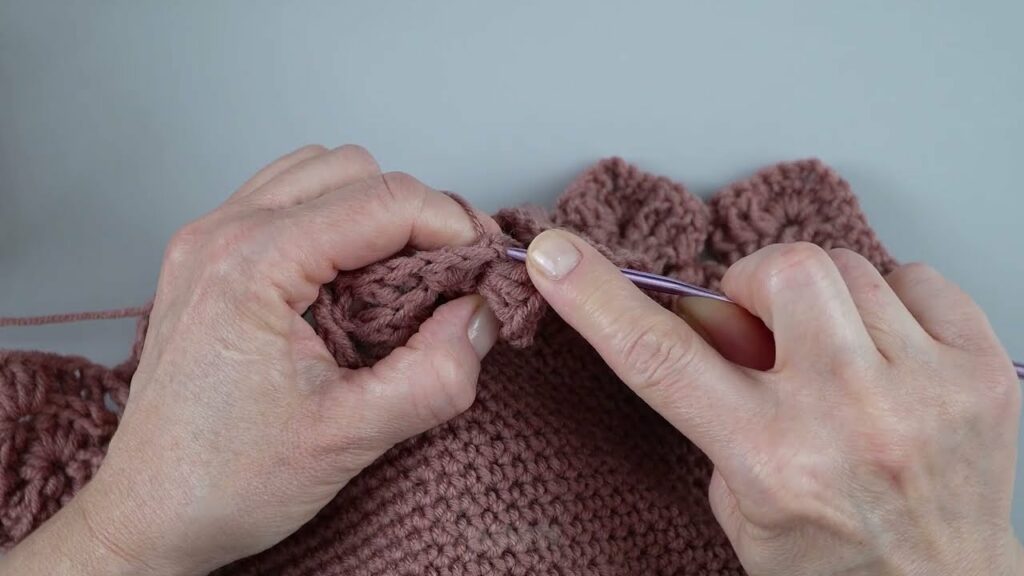
🔁 Let’s Crochet! – Step-by-Step Instructions
🌀 Step 1: Crochet the Crown (Top of Hat)
We begin by making a flat circle.
Round 1:
Make a magic ring.
Ch 2 (counts as first dc), 11 dc into the ring. Join with sl st to top of ch-2. (12 sts)
Round 2:
Ch 2, 2 dc in each st around. Join. (24 sts)
Round 3:
Ch 2, 1 dc in next st, 2 dc in next st – repeat around. Join. (36 sts)
Round 4:
Ch 2, 1 dc in next 2 sts, 2 dc in next st – repeat around. Join. (48 sts)
Round 5:
Ch 2, 1 dc in next 3 sts, 2 dc in next st – repeat around. Join. (60 sts)
Round 6 (optional for larger fit):
Ch 2, 1 dc in next 4 sts, 2 dc in next st – repeat around. Join. (72 sts)
✅ The circle should measure about 6.5–7 inches in diameter for an adult-sized hat.
🧢 Step 2: Create the Body (Straight Sides)
Now we stop increasing and build the sides.
Rounds 7–13:
Ch 2, dc in each st around. Join. (Same number of sts as last round)
- Work these rounds evenly to build the height.
- Adjust the number of rounds to make the hat taller or shorter.
- Optional: Use single crochet for a denser, tighter fabric.
By the end of Round 13, the hat should cover from the crown to just above the ears.
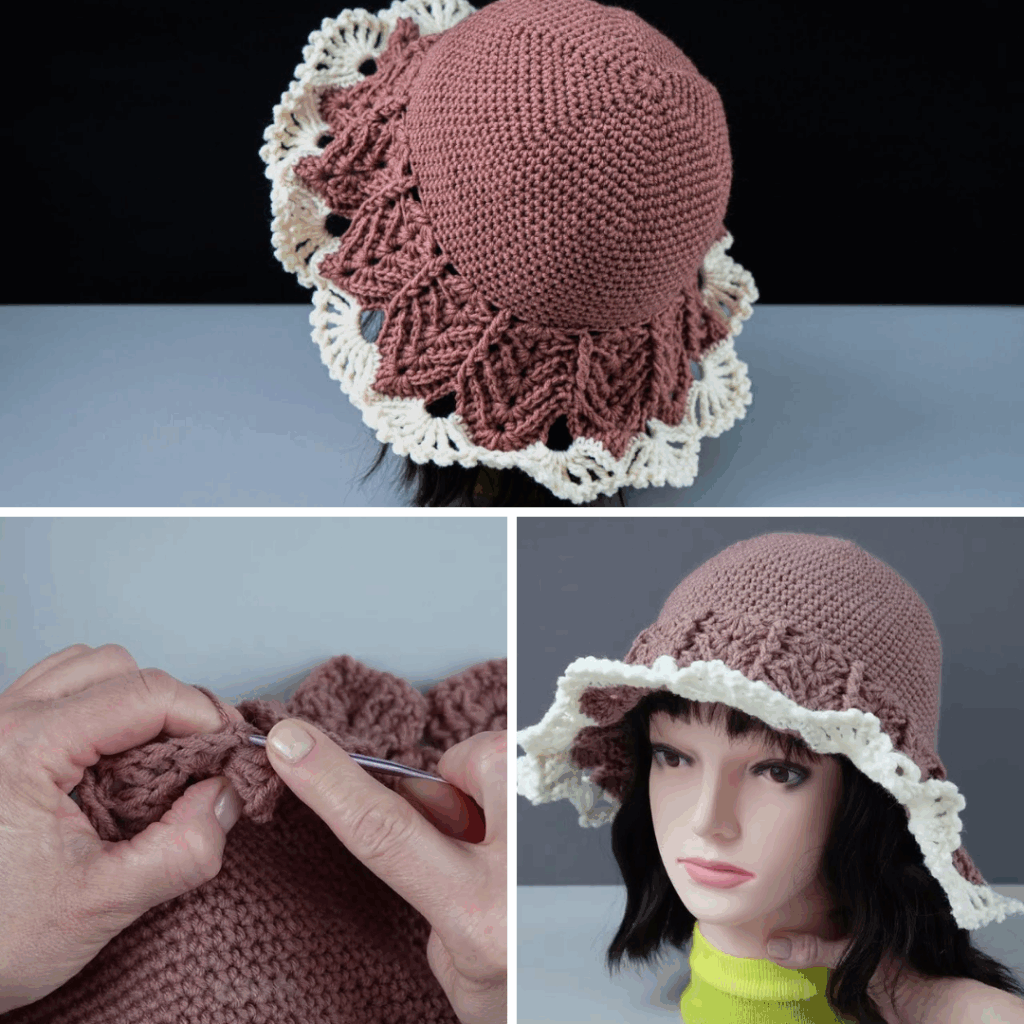
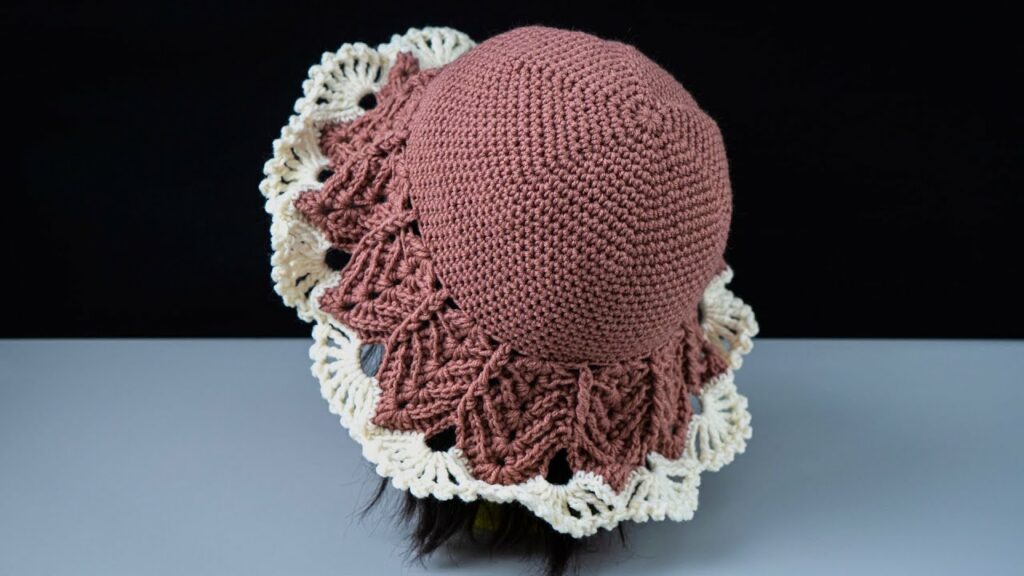
🌼 Step 3: Add the Brim
Time to shape the flared brim.
Round 14:
Ch 2, 1 dc in next 2 sts, 2 dc in next st – repeat around. Join. (Increase row)
Round 15:
Ch 2, dc in each st around. Join.
Round 16:
Ch 2, 1 dc in next 3 sts, 2 dc in next st – repeat around. Join.
Round 17 (Optional):
Repeat a final row of dc to widen the brim. Or, switch to sc for a firmer edge.
💡 You can add more rounds if you want a wider or floppier brim!
🎀 Finishing Touches
- Fasten off yarn and cut a 6” tail.
- Use tapestry needle to weave in all ends neatly.
- Block the hat (optional) for smoother shape and drape.
🎨 Customization Ideas
| Style | Ideas |
|---|---|
| Color Blocks | Use different colors for the crown, body, and brim |
| Stripes | Change yarn every few rows for a striped pattern |
| Texture | Try puff stitch, hdc, or bobble stitch rows |
| Embellishments | Add a flower applique, embroidery, or beads |
| Brim Style | Make it flat, rolled, or wavy with stitch variations |
🧶 Troubleshooting Tips
- Crown curling up? You may need more increases.
- Crown ruffling? You might be adding too many stitches — reduce increases.
- Hat too tight? Use a larger hook or add more increase rounds.
- Brim too floppy? Use fewer increase stitches or switch to single crochet for firmness.
⏱ Time Estimate:
- Beginner crocheter: 2.5 – 3 hours
- Intermediate crocheter: 1.5 – 2 hours
This is a great weekend project — quick, satisfying, and super trendy!
🧵 Final Thoughts
Making a crochet bucket hat is one of the easiest and most enjoyable projects you can take on as a crocheter. With simple stitches and just a few hours of work, you’ll have a handmade hat that fits your style and your head perfectly.
Whether you’re gifting it, selling it, or keeping it for yourself, this bucket hat is sure to turn heads and keep you comfy!
So grab your yarn, hook, and a good playlist — it’s time to crochet your next favorite accessory! 🧶👒
Video Tutorial: