 by
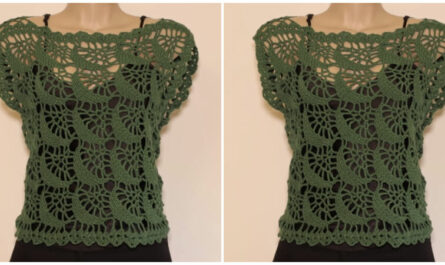
by Crocheted baby rompers are a timeless and practical gift for any new parent. They’re cute, cozy, and ideal for photoshoots or everyday wear. Best of all, they’re easy to make with just basic crochet stitches!
In this article, you’ll learn how to make a very easy baby romper from scratch—even if you’re new to crochet.
🧶 Supplies You’ll Need

Before you begin, gather the following materials:
✨ Materials:
- Yarn: Soft baby-friendly yarn (cotton or acrylic blend)
- Recommended: DK (Double Knitting) or Light Worsted (Category 3)
- Crochet Hook: 4.0 mm or 4.5 mm (check yarn label)
- Yarn Needle: For sewing and weaving in ends
- Scissors
- Buttons or Snaps: For closure (2–4 depending on design)
- Stitch Markers: Optional but helpful
- Measuring Tape
📏 Size Guide
This pattern can be adapted to multiple sizes. We’ll focus on 0–3 months:
- Chest: 16–17 inches (41–43 cm)
- Length: 12–13 inches (30–33 cm)
Adjust stitches in multiples (noted in the pattern) to increase or decrease size.
🧵 Stitches You Should Know
All stitches used are beginner-friendly:
- Ch: Chain
- Sl st: Slip Stitch
- Sc: Single Crochet
- Hdc: Half Double Crochet
- Dc: Double Crochet
- Inc: Increase (2 stitches in one stitch)
🧸 Construction Overview
We’ll crochet the romper in three main parts:
- Top Panel (Bodice)
- Bottom Panel (Diaper Area)
- Finishing Touches (Leg holes, straps, buttons)
The romper is worked flat (in rows), then folded and seamed for shaping.
🪡 Step-by-Step Pattern
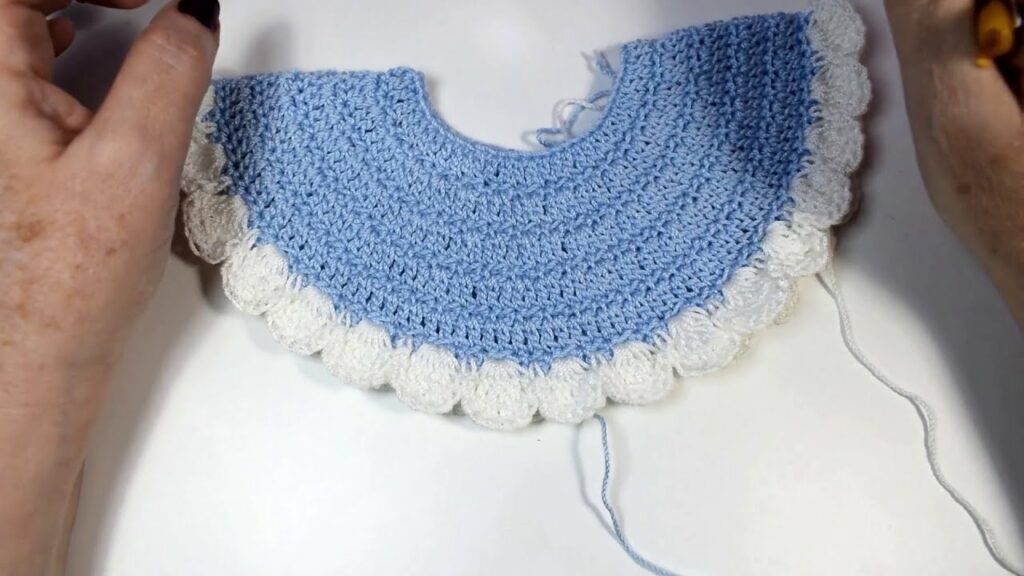
🔷 Step 1: Top Panel (Front & Back Bodice)
We’ll make a rectangle for the top part of the romper (front and back combined).
Row 1:
- Ch 44 (or a multiple of 2 for sizing)
- Hdc in 2nd ch from hook and across. (43 hdc)
- Ch 1, turn.
Rows 2–10:
- Hdc in each stitch across.
- Ch 1, turn.
➡️ This creates a thick and stretchy bodice. You can adjust the number of rows depending on desired bodice height (around 3.5″ is standard).
🔷 Step 2: Create Leg Shaping (Bottom Panel)
We’ll now start shaping the area for the bottom of the romper.
Row 11:
- Hdc in first 10 stitches.
- Leave middle 23 stitches unworked (mark with stitch markers).
- Hdc in last 10 stitches.
- You now have two flaps for the bottom sides.
Rows 12–18:
- Work on each flap individually.
- Hdc back and forth on each 10-stitch flap for 7 rows (or until 3″ long).
- Fasten off and weave in ends.
This forms the part that will snap or button between the legs.
🔷 Step 3: Seam the Sides
- Fold your work in half (like a “U” shape).
- Seam both sides of the romper using a yarn needle or sl st.
- You now have the basic body of the romper!
🔷 Step 4: Add Leg Openings

- Join yarn to one leg hole.
- Sc or hdc evenly around the opening (approx. 25–30 stitches).
- Join with sl st, ch 1, and work 2–3 more rounds.
- Repeat for the second leg hole.
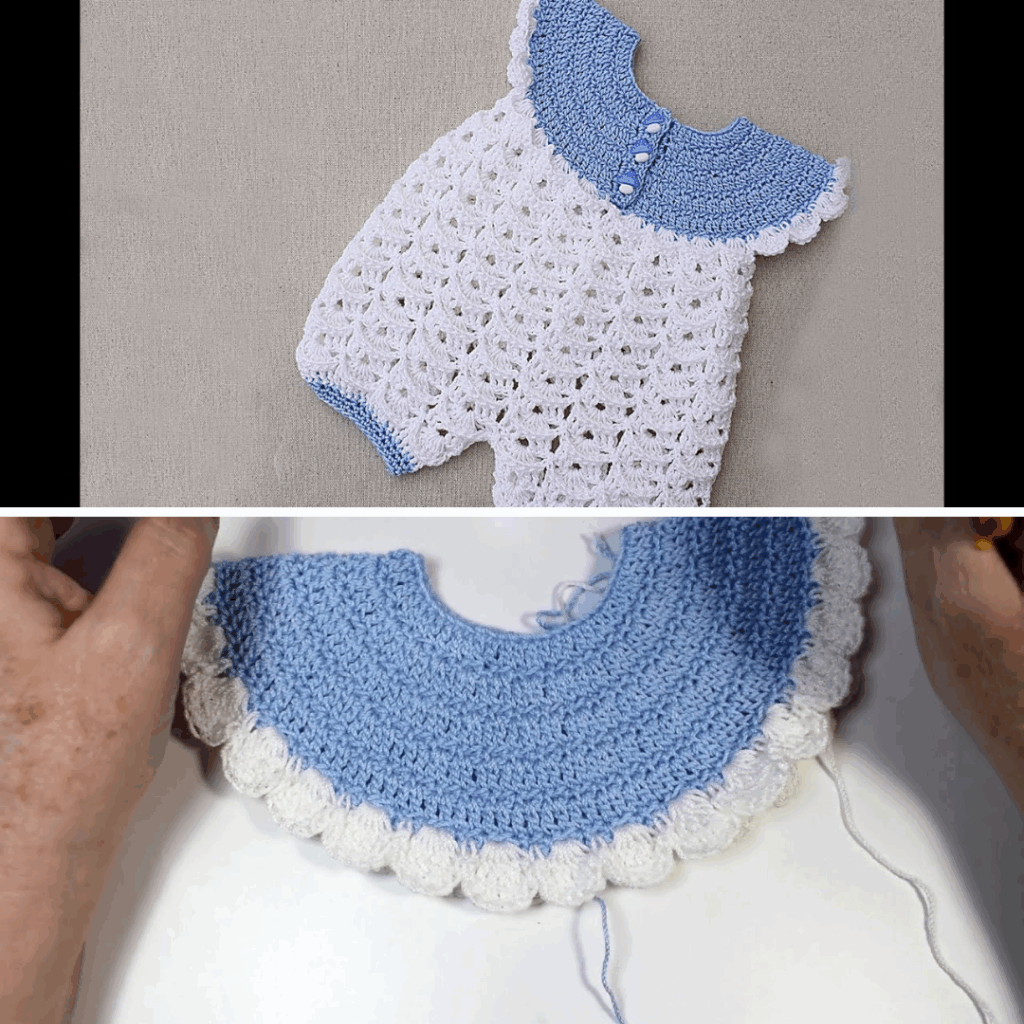
Optional: Add shell edging or picots for a decorative touch.
🔷 Step 5: Add Shoulder Straps
- Attach yarn to back bodice corner.
- Ch 28–30 (or measure about 5–6” straps).
- Sl st to the front corner.
- Turn, sc or hdc back across the chain to thicken the strap.
- Fasten off and weave in ends.
Repeat for the other strap.
🔷 Step 6: Button Band or Snaps
At the bottom of the flaps:
- Work 2 rows of sc to thicken each flap.
- Sew 2–3 buttons on one flap.
- On the other flap, ch 3 spaces between scs to create buttonholes.
Or, you can sew on baby-safe plastic snaps.
🌸 Optional Additions
- Edging: Add decorative shell stitches around neckline and leg holes.
- Appliqués: Crochet a tiny heart, bow, or flower to sew onto the front.
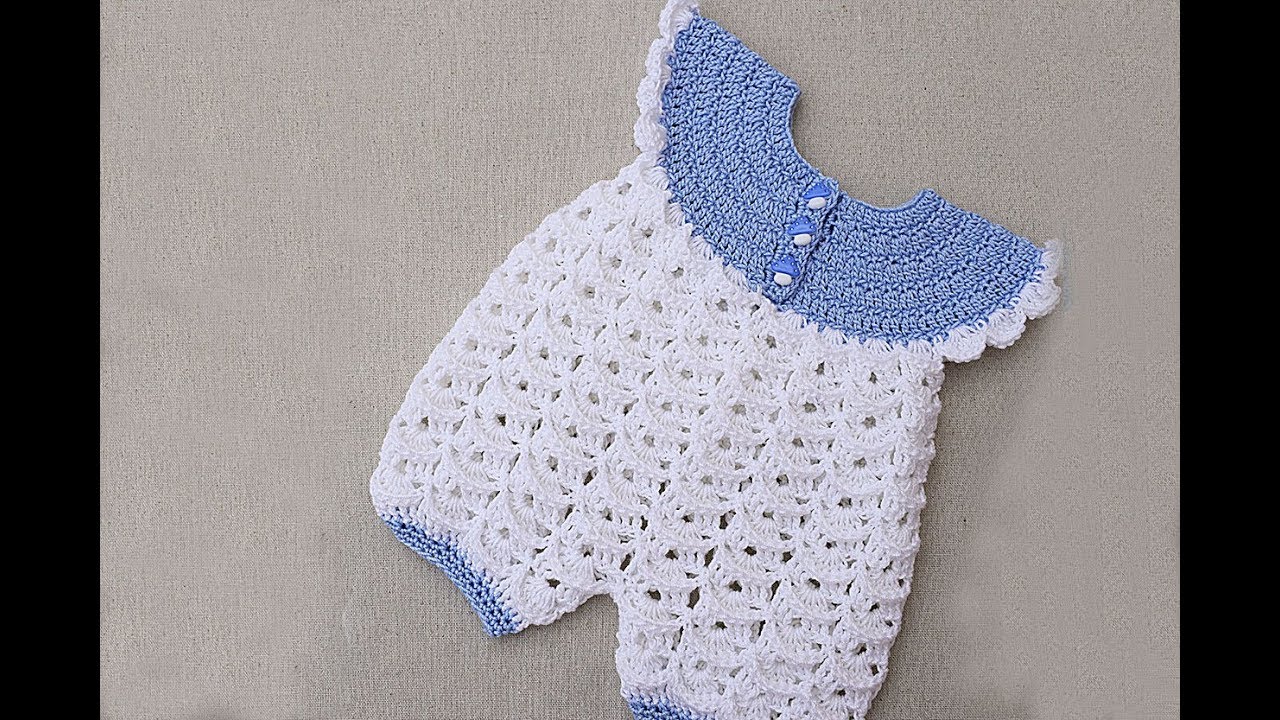
- Color Blocking: Use two colors for bodice and bottom for a modern look.
- Matching Accessories: Create a headband or booties with leftover yarn.
💡 Tips for Best Results
- Use stitch markers to help count and shape flaps evenly.
- Test your gauge if you want a true-to-size fit.
- Use soft, washable yarn—babies have sensitive skin!
- Check for loose threads and secure all ends tightly.
🎁 Why Make a Crochet Baby Romper?
- It’s a unique, handmade gift that shows love and effort.
- Customizable in color, size, and embellishments.
- Great for baby showers, photo shoots, or everyday use.
🧷 Final Thoughts
Crocheting a baby romper is surprisingly simple when you break it down into basic parts. This beginner-friendly project can be completed in just a few hours and customized for any style. Whether you’re new to crochet or looking for a relaxing weekend project, this easy romper will not disappoint.
Your handmade piece could be passed down for generations or become a favorite go-to outfit. Either way, you’re creating something truly special.
Video Tutorial;