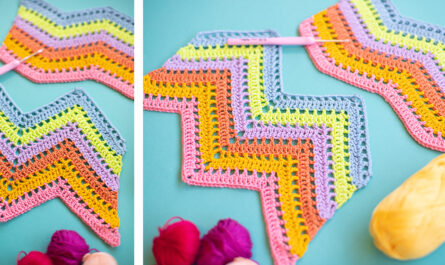
by
by The Christmas Plaid Throw is a stunning, festive blanket designed by Tiffany from Daisy Farm Crafts. This project uses a combination of five colors and a specific color-carrying technique to create a timeless gingham/plaid look. Measuring approximately 40 inches wide by 60 inches long, it is the perfect size for a cozy holiday throw.
1. Materials and Specifications
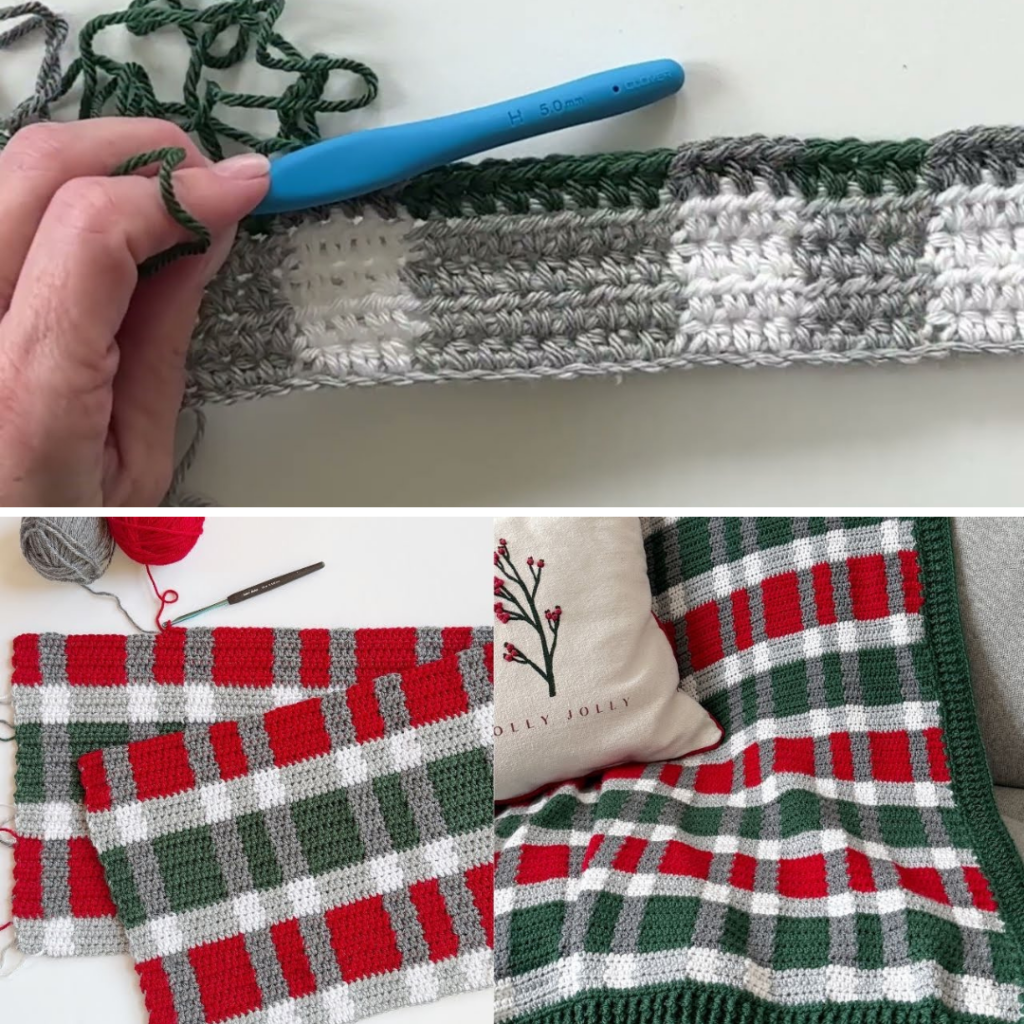
To achieve the classic plaid look, you will need a four-weight (medium) yarn. Tiffany uses the Patons Canadana line.
- Yarn Colors:
- Ivy (Green): 5 balls (includes extra for the border)
- Cardinal (Red): 3 balls
- White: 3 balls
- Medium Gray Mix: 3 balls
- Light Gray Mix: 3 balls
- Total Yardage: Approximately 200 yards per ball.
- Hook Size: Choose a hook that matches your yarn’s recommended gauge (typically 5.0mm to 5.5mm).
- Stitch Used: Half Double Crochet (HDC) throughout the main body.
2. Planning Your Size
The pattern follows a specific mathematical repeat of 20 stitches.
- Pattern Repeat: Any multiple of 20 + 24 + 1 for the turning chain .
- Standard Throw Size: Chain 145 (144 stitches for the pattern + 1 for the turning chain).
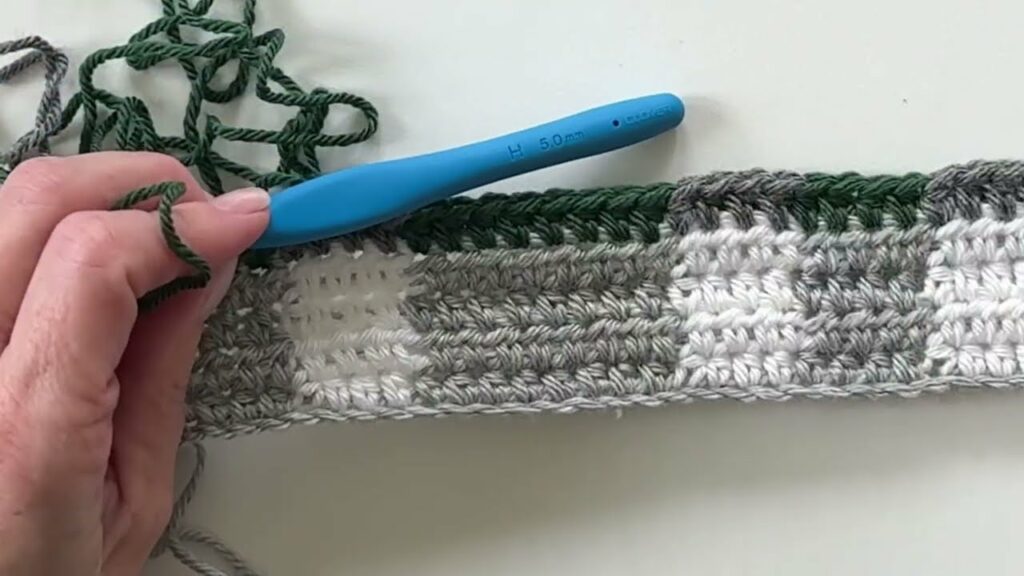
3. Mastering the Color Changes and Carrying Yarn
This blanket uses “tapestry crochet” techniques, where you carry the unused color along the top of your stitches and crochet over it.
Key Tips for Success:
- The “Front/Back” Rule: To prevent your yarns from twisting, always keep one color to the front of your work and the other to the back when switching .
- Changing Colors: On the fourth (or eighth) stitch of a color block, stop before the final pull-through. Bring the current yarn forward, lay the new color over the hook, and pull through to finish the stitch
- Tension: Give the carried yarn a small tug before crocheting over it to ensure it lays flat and doesn’t “poke through” too much
4. Construction of the Plaid Pattern
The blanket is worked in sections of 4 rows and 8 rows.
Starting Row (Light Gray and White):
- HDC 4 in Light Gray.
- HDC 4 in White.
- HDC 8 in Light Gray.
- HDC 4 in White.
- HDC 4 in Light Gray. Repeat this sequence across.
The Vertical Sections:
- Rows 1-4: Light Gray and White.
- Rows 5-12: Ivy (Green) and Medium Gray Mix (8 rows total)
- Color Logic: The two shades of gray should never stack directly on top of each other . The red yarn will eventually stack on top of the green sections in alternating blocks.
5. Adding the Professional Ribbed Border
A beautiful border finishes the blanket and hides the yarn ends along the sides.
Step 1: The Base Round
- Pull up a loop in the corner and work a round of HDC.
- Sides: Work 3 HDC for every 2 rows. This helps keep the border from waving
- Corners: Work 3 HDC into each corner stitch
Step 2: The Double Crochet Round
- Work a round of Double Crochet (DC).
- Corners: In the middle stitch of the 3-HDC corner, work (1 DC, Chain 2, 1 DC)

Step 3: The Ribbed Rounds
- Use Front Post Double Crochet (FPDC) and Back Post Double Crochet (BPDC) to create a ribbed effect.
- Alternate FPDC and BPDC across the rows
- On subsequent rounds, match the post (work a front post around a front post) to maintain the ribs
- Continue until the border reaches your desired width.
Step 4: Final Touch
Finish with a round of Single Crochet for a clean, sturdy edge
Video Tutorial: