 by
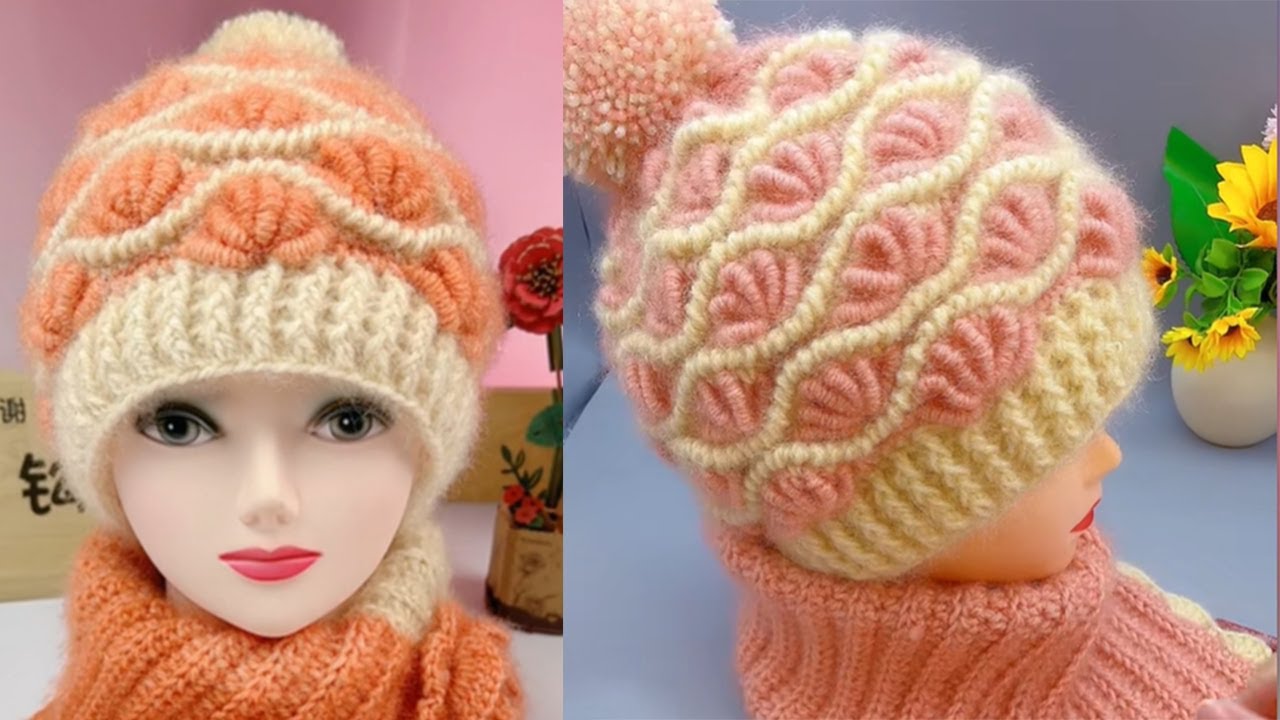
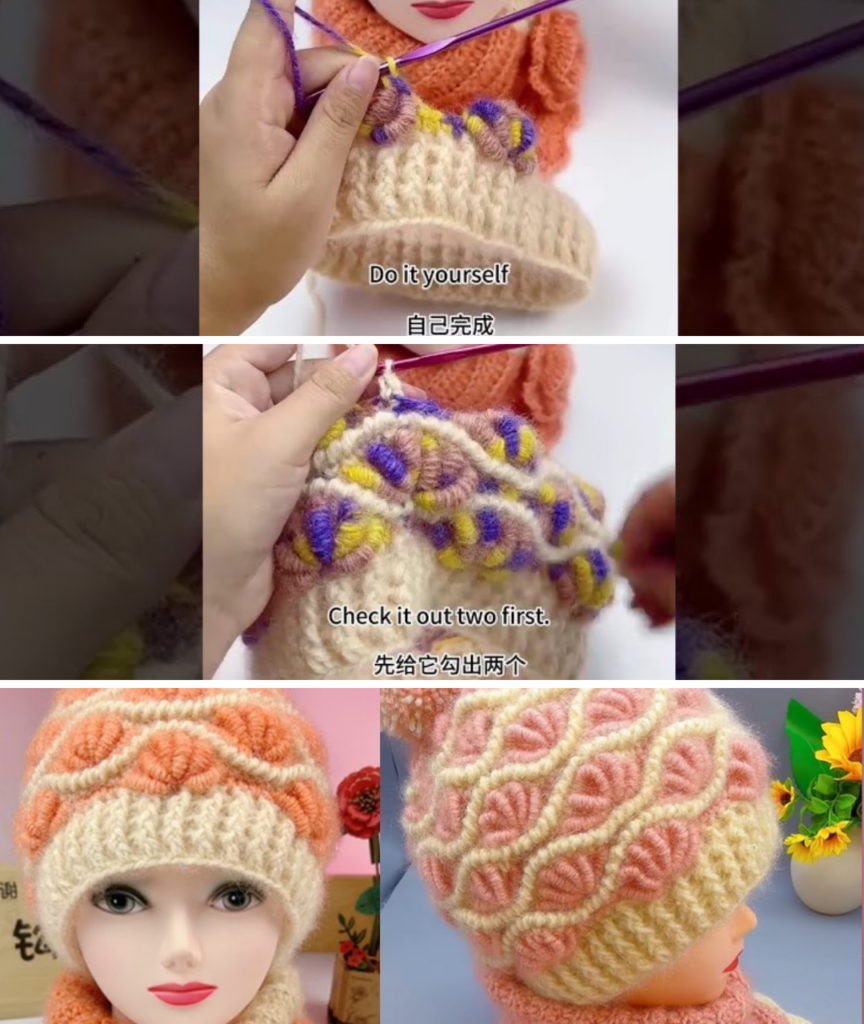
by Crocheting a hat is one of the most satisfying projects a maker can take on — it’s fast to finish, it’s practical, and there are endless ways to customize the style. Inspired by a popular crochet hat video tutorial (and the beautiful stitches it highlights) , this blog post walks you through how to crochet your very own cozy everyday beanie, from choosing the yarn to finishing touches.
Whether you’re an adventurous beginner or an experienced hooker, you’ll find helpful tips and clear instructions here.

🧵 Materials You’ll Need
Here’s what you’ll want to get started:
- Yarn: Medium worsted weight (#4). A soft acrylic or wool blend works beautifully.
- Crochet Hook: Size H/8 (5 mm) — or a hook that gives you the proper tension for the gauge below.
- Tapestry Needle: For weaving in ends and seaming.
- Scissors
- Stitch Markers: Helpful to keep track of the beginning of each round.
📋 Gauge (Important!)
Before starting, it’s good to match gauge so your hat fits well.
Gauge:
12 double crochet (dc) stitches × 8 rows = 4 inches / 10 cm in single color fabric.
If your gauge is too loose, try a smaller hook. If too tight, go up a size.
🧠 Crochet Abbreviations (US Terms)
| Abbreviation | Meaning |
|---|---|
| ch | chain |
| sc | single crochet |
| hdc | half double crochet |
| dc | double crochet |
| sl st | slip stitch |
| st | stitch |
| rnd / R | round |
| rep | repeat |
🧢 Pattern Overview
This classic beanie is worked top-down in rounds, meaning you start at the crown and crochet outward and downward until the brim. You’ll make increases at the beginning to shape the crown, then work even for the body of the hat.
🌀 Step 1 — Magic Circle & Crown
Start at the very top of the hat with a magic loop:

- Magic Circle, ch 2 (counts as first dc).
- Rnd 1: 10 dc into the loop. Pull loop tight and join with sl st to first dc. (10 dc total)
- Rnd 2: Ch 2, 2 dc in each st around. Join. (20 dc)
- Rnd 3: Ch 2, dc in next st, 2 dc in next st — rep around. Join. (30 dc)
- Rnd 4: Ch 2, dc in next 2 sts, 2 dc in next st — rep around. Join. (40 dc)
- Rnd 5: Ch 2, dc in next 3 sts, 2 dc in next st — rep around. Join. (50 dc)
- Rnd 6: Ch 2, dc in next 4 sts, 2 dc in next st — rep around. Join. (60 dc)
This series of increases builds the top of the hat evenly. You can stop the increases once the crown measures about 6–7 inches across (adjust based on intended adult hat size).
↘️ Step 2 — Body of the Beanie
Once the crown is wide enough, stop increasing:
- Rnd 7 – 12 (or more): Ch 2, dc in each st around. Join each round with a sl st.
Repeat until the beanie reaches your desired length — typically 7–8 inches from the top before adding the brim.
This evenwork section creates the height of the hat that will cover your head.

👶 Optional Texture: Front Loop Back Loop (FLBL)
If you want a textured rib effect, do this instead:
- Work dc in back loop only (BLO) for each round (instead of traditional two loops).
- This gently compresses the stitches and gives a ribbed look.
🔁 Step 3 — Brim or Border
For a classic finished look:
- Brim Round: Ch 1, sc in every st around in back loop only. Join.
- Optional: Repeat one more round of sc in BLO for a firmer brim.
This creates a subtle, slightly tighter edge that helps the hat stay snug.
✂️ Step 4 — Finish
- Fasten off and cut yarn with a long tail.
- Weave in all loose ends nicely on the inside of the hat with a tapestry needle.
- For extra warmth, add a pom-pom to the top if you like!

💡 Tips for Success
✨ Choose the Right Yarn: A soft wool blend keeps you warm; acrylic is easy care.
✨ Maintain Even Tension: Too loose and the hat will be floppy; too tight and it won’t stretch.
✨ Use Stitch Markers: Especially helpful to mark the beginning of each round.
✨ Try It On as You Go: If you’re making this for someone else, stop occasionally to check the fit.
🧣 Style Variations
Here are some ways to personalize your beanie:
🎨 Color Changes: Switch yarn color every 4–6 rounds for stripes.
🧵 Textured Stitch Bands: Add a couple of rounds of shell stitch or puff stitch for variation.
🪡 Appliqués: Crochet small flowers, stars, or initials to sew on afterward.
✨ Chunky Version: Use a bulkier weight yarn and larger hook for a super cozy winter beanie.
🙌 Final Thoughts
There’s something deeply satisfying about creating wearable art with your own hands — and a crochet beanie blends practicality with personal style. From cozy winter days to gifting at holidays, this project checks all the boxes. 🧶 Whether you follow the pattern exactly or tweak it for your own flair, wear your finished hat proudly!
Video tutorial: