 by
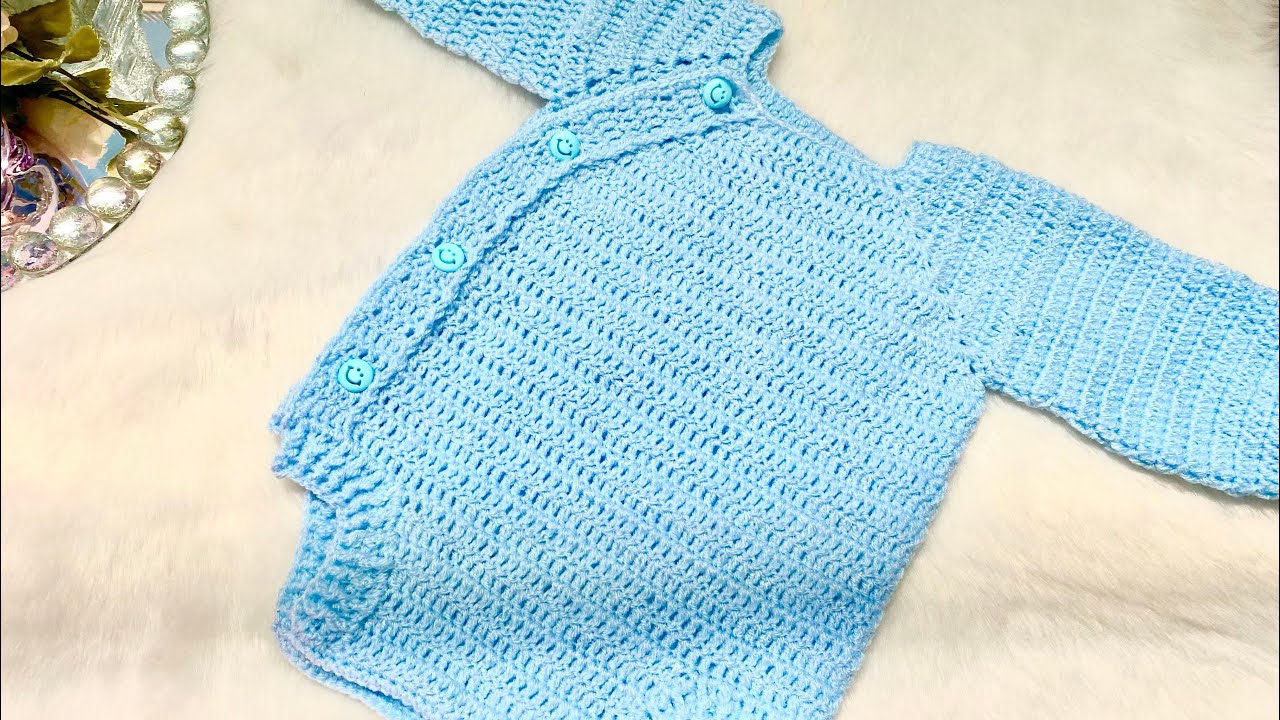
by A crochet baby bodysuit is the epitome of handmade charm and practicality. Combining the cozy comfort of a sweater with the convenient snap closure of a onesie, a crocheted bodysuit is a delightful garment that stays tucked in, keeps tiny backs warm, and offers endless possibilities for adorable designs. From delicate textures to playful color combinations, creating a bodysuit allows you to craft a truly unique and cherished item for the little one in your life.
This detailed article will guide you through the enchanting process of crocheting a baby bodysuit, covering design considerations, essential techniques, and tips to ensure your creation is as comfortable as it is cute.
The Irresistible Charm of a Crocheted Baby Bodysuit
- Ultimate Comfort & Warmth: A bodysuit ensures that the baby’s back and tummy stay covered and warm, no matter how much they wriggle or play. There are no shirts riding up!
- Practicality: The snap closure at the crotch makes diaper changes a breeze without having to fully undress the baby.
- Perfect Fit: Unlike separate tops and bottoms, a bodysuit provides a smooth, tucked-in look that’s ideal for layering under pants, shorts, or even a dress.
- Handmade Love: A crocheted bodysuit is a deeply personal and unique gift, carrying the warmth and effort of the maker. It’s often treasured as a keepsake.
- Design Versatility: Bodysuits offer a fantastic canvas for various stitch patterns, necklines, sleeve lengths, and adorable embellishments.
Designing Your Baby Bodysuit: Key Considerations
Crafting a garment for a baby requires balancing aesthetics with crucial practicalities.
1. Yarn Choice (Safety & Comfort First!)
This is the most critical decision for any baby garment.
- Fiber:
- Baby Acrylics: Often the top choice. They are incredibly soft, durable, hypoallergenic, and most importantly, machine washable and dryable. They retain shape well after repeated washing, which is essential for baby clothes.
- Cotton/Cotton Blends: Excellent for breathability, especially in warmer climates. They have great stitch definition and are also typically machine washable. Look for mercerized cotton for a slight sheen.
- Superwash Merino Wool: Offers superior softness and warmth without being itchy, and it’s machine washable. A more luxurious option for cooler weather.
- Durability & Washability: Baby clothes endure frequent spills and washes. Prioritize yarns that can withstand this without losing shape, pilling, or fading.
- Hypoallergenic: Consider if the baby has any known sensitivities. Acrylics are generally a safe bet.
- Weight: DK (Double Knitting, Category 3) or Sport (Category 2) are common choices, providing a good balance of warmth, working speed, and delicate drape. Thicker yarns can be bulky for a bodysuit.
2. Construction Method
The way you build the bodysuit impacts its ease of creation and final fit.
- Top-Down (Recommended):
- You start at the neckline and work outwards, increasing stitches to form the yoke.
- The work is then divided for the body and sleeves, often including a back opening or a front placket.
- Benefits: Fewer seams mean more comfort for the baby. It allows for easy try-on and length adjustments as you go.
- Bottom-Up:
- Components (front, back, possibly sleeves) are crocheted separately from the bottom up.
- They are then seamed together.
- Benefits: Can be simpler for beginners who prefer working flat panels.
3. Stitch Pattern
Choose patterns that are comfortable, functional, and adorable.
- Simple & Soft: Basic stitches like Half Double Crochet (hdc) or Double Crochet (dc) create a soft, flexible fabric that works up relatively quickly.
- Subtle Texture: Using stitches like the granny stitch (clusters of dc) or simple shell stitches can add visual interest without being too intricate or creating too many large holes.
- Density: Avoid overly open or lacy patterns unless the bodysuit is specifically designed as a decorative outer layer over another garment, as they may not provide enough warmth or can snag easily.
4. Neckline & Openings
Crucial for ease of dressing.
- Wide Neckline: A generous neck opening (e.g., using ribbing or a button placket) is vital for easily getting the bodysuit over a baby’s head.
- Back Opening: A simple buttoned or tied placket down the back provides extra room for dressing, especially for newborns.
- Shoulder Openings: Some designs feature overlapping shoulders (like envelope necklines) for stretch.
- Crooked Snap Tape: The defining feature! This fabric tape with pre-attached snaps is sewn to the crotch of the bodysuit for quick and secure diaper changes.
5. Sleeve Length
- Short Sleeves: Ideal for warmer weather.
- Long Sleeves: Perfect for cooler climates or sleepwear.
- Sleeveless: Great for layering or very hot days.
Materials You’ll Need
- Yarn: Your chosen color(s) in a baby-friendly fiber and weight. Consult your pattern for recommended yardage based on your size.
- Crochet Hook: The size recommended by your pattern for your chosen yarn, to achieve the correct gauge and fabric density.
- Snap Tape: A strip of fabric with plastic or metal snaps attached (available at fabric stores). You’ll typically need a length that spans the crotch area and extends slightly up the front/back.
- Tapestry Needle (or Yarn Needle): Crucial for weaving in ends and seaming (if applicable).
- Sewing Needle & Thread: For sewing on the snap tape and any other closures.
- Scissors.
- Stitch Markers: Helpful for marking rounds, increase points, and separating sections for the body and sleeves.
- Measuring Tape: Essential for taking baby measurements and checking your gauge.
- Buttons (Optional): If your design includes a back opening or decorative elements.
Essential Crochet Techniques for a Baby Bodysuit
You’ll practice and refine several core crochet skills tailored for garment making:
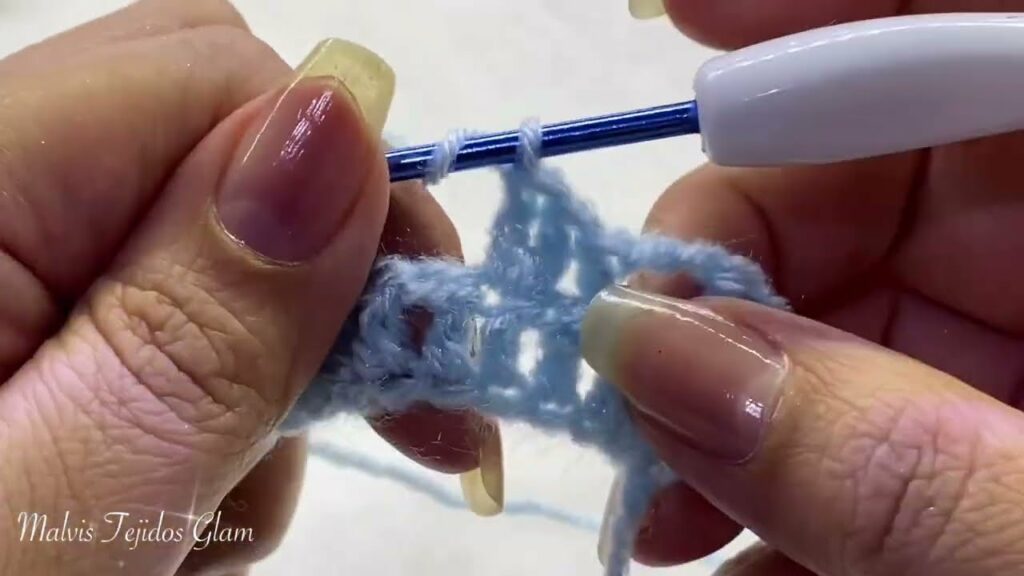
- Slip Knot & Foundation Chain: The beginning of every project.
- Basic Stitches: Chain (ch), Slip Stitch (sl st), Single Crochet (sc), Half Double Crochet (hdc), Double Crochet (dc).
- Working in Rounds & Rows: Depending on the construction method.
- Increases & Decreases: Crucial for shaping the yoke, body, and sleeves to ensure a good fit.
- Dividing for Body & Sleeves: A specific technique used in top-down construction to create armholes.
- Working Ribbing (Optional): Techniques like working into back loops only (BLO) or front post/back post stitches for stretchy edges.
- Joining Yarn & Color Changes: If your design includes multiple colors.
- Creating Buttonholes (if applicable): Learning to make simple chain-space buttonholes.
- Weaving in Ends: Meticulously hiding all yarn tails for a polished and baby-safe finish.
- Blocking: This is essential for any garment. It evens out stitches, enhances drape, and sets the final shape and size of the bodysuit.
Planning the Perfect Fit: Laying the Foundation
- Sizing & Measurements:
- Baby bodysuit patterns are typically given by age (e.g., 0-3 months, 6-12 months).
- If possible, measure the baby’s chest circumference, torso length (shoulder to crotch), and arm circumference for the best fit.
- Consider adding a little “positive ease” (extra room) for comfort and growth.
- Gauge Swatch (Non-Negotiable!):
- This is the single most important step for garment making. Crochet a substantial swatch (at least 4×4 inches / 10×10 cm) in your chosen yarn and hook, using the primary stitch pattern of the bodysuit.
- Wash and block your swatch exactly as you plan to wash and block the finished bodysuit. This is absolutely vital, as gauge can change significantly after laundering and blocking.
- Measure your stitches and rows per inch/cm accurately. Adjust your hook size if your gauge doesn’t match the pattern’s recommendation.
- Yarn Quantity: Consult your chosen pattern’s yardage requirements for your specific size. It’s always wise to purchase an extra skein just in case.
- Pattern Selection: Choose a well-written pattern specifically for a crochet baby bodysuit. Look for clear instructions, sizing options, stitch diagrams, and positive reviews.
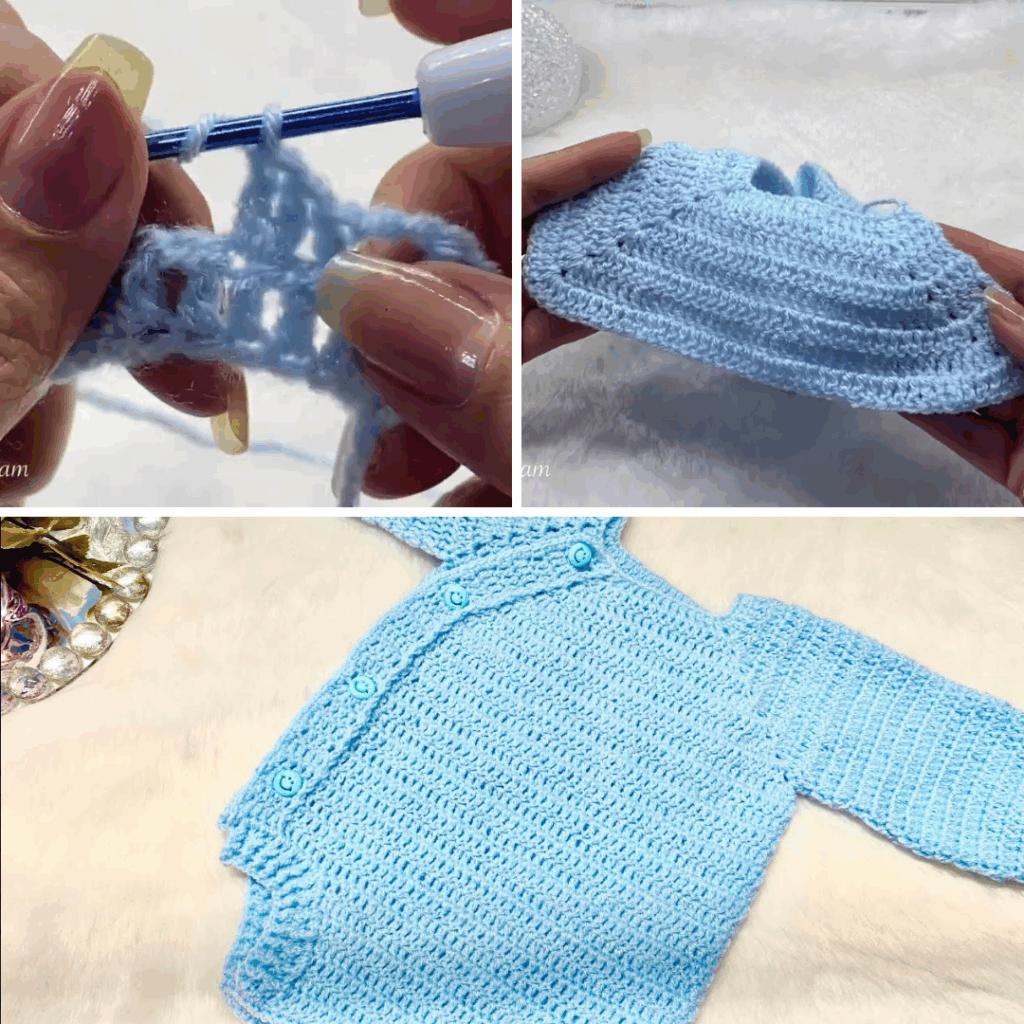
Construction Journey: Bringing the Bodysuit to Life (Conceptual Guide)
Most crocheted baby bodysuits are worked top-down for seamless construction.
- Start the Yoke:
- Begin with a foundation chain (or magic ring, depending on the pattern) for the neckline.
- Work in rounds (or rows, if there’s a back opening), evenly distributing increases in each round to create the circular or square yoke shape.
- Continue until the yoke reaches the specified depth (which should comfortably fit over the baby’s shoulders and chest).
- Divide for Body & Sleeves:
- Once the yoke is complete, the pattern will instruct you to place stitch markers to separate stitches for the two sleeves and the front/back of the body.
- You’ll then typically chain a few stitches under the armpits (the “underarm chain”) to connect the front and back of the body, creating the armholes.
- Crochet the Body:
- Continue working in the round (or rows, if there’s a back opening) on the body stitches until the desired length from shoulder to crotch is reached. This section will be a tube until the crotch opening.
- The pattern will then guide you on how to split the work for the leg openings and create the flaps for the snap closure.
- Crochet the Sleeves:
- Attach yarn at one of the armhole openings.
- Work in the round, picking up stitches around the armhole and along the underarm chain.
- Continue to the desired sleeve length, incorporating any decreases to taper towards the wrist.
- Finish the cuffs with a neat border or ribbing. Repeat for the second sleeve.
- Finishing Touches:
- Weave in All Ends: Meticulously hide every yarn tail. For baby wear, neatness and security are paramount.
- Add Neckline/Cuff/Leg Edging: Finish any raw edges with a neat border, ribbing, or a simple single crochet edge.
- Sew on Snap Tape: Carefully align and sew the snap tape to the crotch flaps. Ensure it lies flat and is securely attached to withstand frequent use.
- Add Other Fastenings (if applicable): If your design has a back opening, sew on buttons securely.
- Blocking: Gently wet the finished bodysuit, carefully shape it to its intended dimensions on blocking mats, and pin it securely. Allow it to dry completely. Blocking makes stitches even, enhances drape, and sets the final beautiful shape and fit.

Tips for a Beautiful & Practical Baby Bodysuit
- Soft, Washable Yarn is King: Always prioritize baby-friendly, easy-care yarns.
- Gauge is Everything: Don’t skip the swatch! It ensures the bodysuit fits the intended size and the crucial torso length.
- Prioritize Comfort & Safety: Avoid scratchy fibers, bulky seams (hence top-down is great), and small, easily detachable embellishments. Ensure all buttons are securely sewn.
- Size Up (Slightly): Babies grow quickly! A bodysuit that’s a little roomy often gets more wear.
- Test Snap Tape Before Sewing: Make sure the snap tape aligns perfectly before you begin sewing it on.
- Embrace Blocking: It truly transforms the fabric and structure of the bodysuit, giving it a professional finish.
Crocheting a baby bodysuit is a truly rewarding project, resulting in a charming, practical, and heartfelt garment. It’s a wonderful way to express your love and creativity for the little one in your life.
Video Tutorial ;