by
by 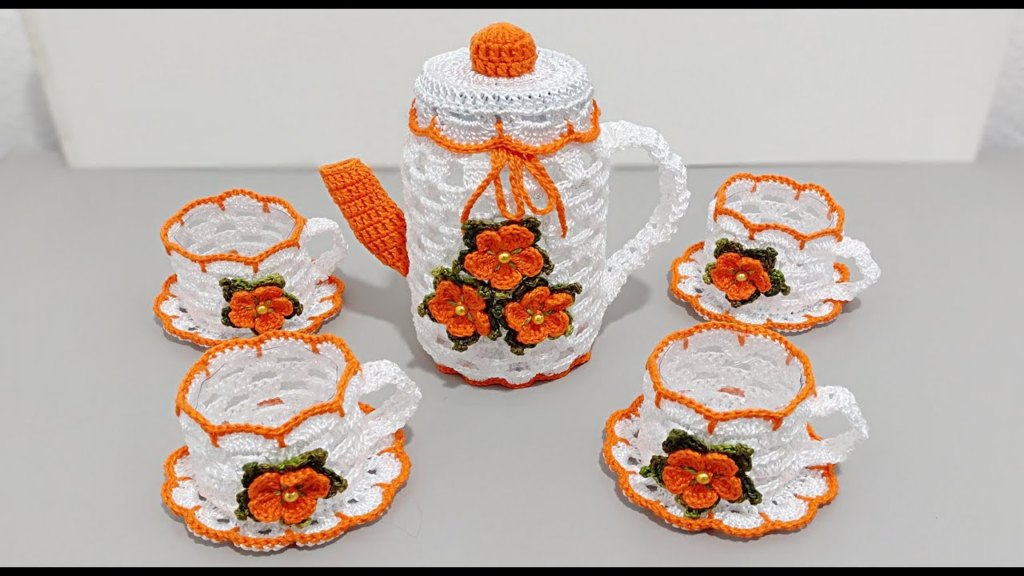
Introduction:
Crochet is a wonderful craft that allows you to create beautiful and functional items using just a hook and yarn. In this blog post, we will guide you through the process of making your very own crochet kettle. Whether you want to add a unique touch to your kitchen decor or surprise a loved one with a handmade gift, this project is perfect for crochet enthusiasts of all skill levels. So, let’s get started and embark on a creative journey!Skill Level: Intermediate
Materials:
- Worsted weight yarn in your desired color (Main Color)
- Small amount of contrasting yarn for the handle and spout (Contrasting Color)
- Crochet hook appropriate for the yarn weight
- Yarn needle
- Scissors
- Stitch marker (optional)
Abbreviations:
- ch: chain
- sc: single crochet
- hdc: half double crochet
- dc: double crochet
- sl st: slip stitch
- st(s): stitch(es)
- MC: Main Color
- CC: Contrasting Color
Instructions:
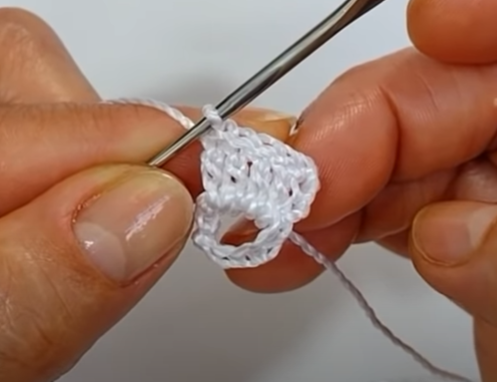
Kettle Body: Using MC yarn, start with a magic ring.
Round 1: Ch 1, work 8 sc into the magic ring. Join with a sl st to the first sc. (8 sts)
Round 2: Ch 1, work 2 sc in each st around. Join with a sl st to the first sc. (16 sts)
Round 3: Ch 1, 1 sc in the next st, 2 sc in the next st. Repeat from * to * around. Join with a sl st to the first sc. (24 sts)
Round 4: Ch 1, 1 sc in the next 2 sts, 2 sc in the next st. Repeat from * to * around. Join with a sl st to the first sc. (32 sts)
Round 5: Ch 1, 1 sc in the next 3 sts, 2 sc in the next st. Repeat from * to * around. Join with a sl st to the first sc. (40 sts)
Round 6: Ch 1, 1 sc in the next 4 sts, 2 sc in the next st. Repeat from * to * around. Join with a sl st to the first sc. (48 sts)
Round 7: Ch 1, 1 sc in the next 5 sts, 2 sc in the next st. Repeat from * to * around. Join with a sl st to the first sc. (56 sts)
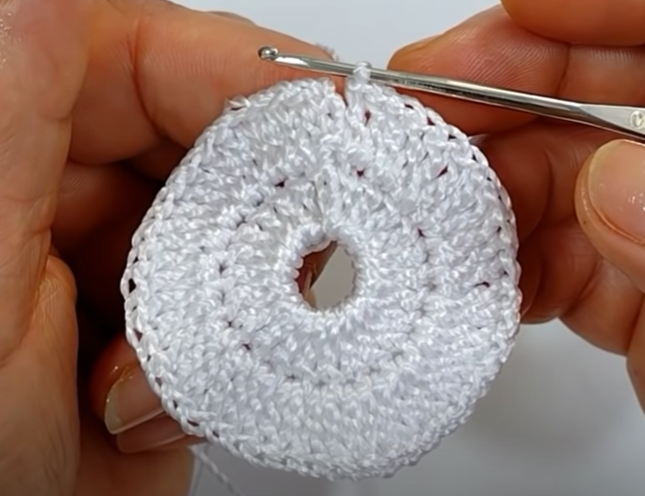
Rounds 8-14: Ch 1, 1 sc in each st around. Join with a sl st to the first sc. (56 sts)
Fasten off and weave in the ends.
Handle: Using CC yarn, leave a long tail for sewing later.
Row 1: Ch 11, starting from the second ch from the hook, work 10 sc. Turn. (10 sts)
Rows 2-6: Ch 1, work 10 sc across. Turn. (10 sts)
Fasten off, leaving a long tail for sewing.
Spout: Using CC yarn, leave a long tail for sewing later.
Row 1: Ch 8, starting from the second ch from the hook, work 7 sc. Turn. (7 sts)
Row 2: Ch 1, work 7 sc across. Turn. (7 sts)
Row 3: Ch 1, work 3 sc, ch 1, skip 1 st, 3 sc. Turn. (6 sts)
Row 4: Ch 1, work 6 sc across. Turn. (6 sts)
Fasten off, leaving a long tail for sewing.
Getting Started: Choose Your Pattern
The beauty of crocheting is that you can let your imagination run wild and create your own pattern or follow a pre-existing one. For beginners, I recommend starting with a simple pattern to grasp the basics of crocheting. Look for free patterns online or in crochet books, and choose one that suits your skill level and style preference.
Foundation Chain
Let’s begin by creating the foundation chain, which serves as the base for the rest of your crochet project.
- Hold the yarn between your thumb and index finger, leaving a 6-inch tail.
- Create a slip knot and place it on the crochet hook.
- Yarn over (wrap the yarn around the hook) and pull through the slip knot to make the first chain stitch.
- Continue to yarn over and pull through the loop on the hook, creating as many chain stitches as indicated in your pattern or until the chain is long enough to wrap around your teapot’s widest part.
The Cozy Body: Rounds and Stitches
Once you have your foundation chain, it’s time to start crocheting the cozy body using various crochet stitches in rounds.
- Joining in the Round: After completing your foundation chain, join it with a slip stitch to form a ring. Be careful not to twist the chain while joining.
- Single Crochet (SC): For a simple and tight texture, the single crochet stitch is ideal. Insert the hook into the first chain of the ring, yarn over, and pull through both the chain and the loop on the hook. Continue this stitch in each chain around, using a stitch marker to mark the beginning of each round.
- Half Double Crochet (HDC): The half double crochet stitch adds a bit more height than the single crochet. Yarn over, insert the hook into the next stitch, yarn over again, and pull through all three loops on the hook.
- Double Crochet (DC): For a taller and more open stitch, the double crochet is the way to go. Yarn over, insert the hook into the next stitch, yarn over again, pull through the stitch (three loops on the hook), yarn over and pull through two loops, yarn over once more and pull through the remaining two loops.
- Increasing and Decreasing: As you crochet, you may need to increase or decrease the number of stitches to maintain the cozy’s shape and fit. This is achieved by adding stitches in the same stitch or skipping stitches, respectively.
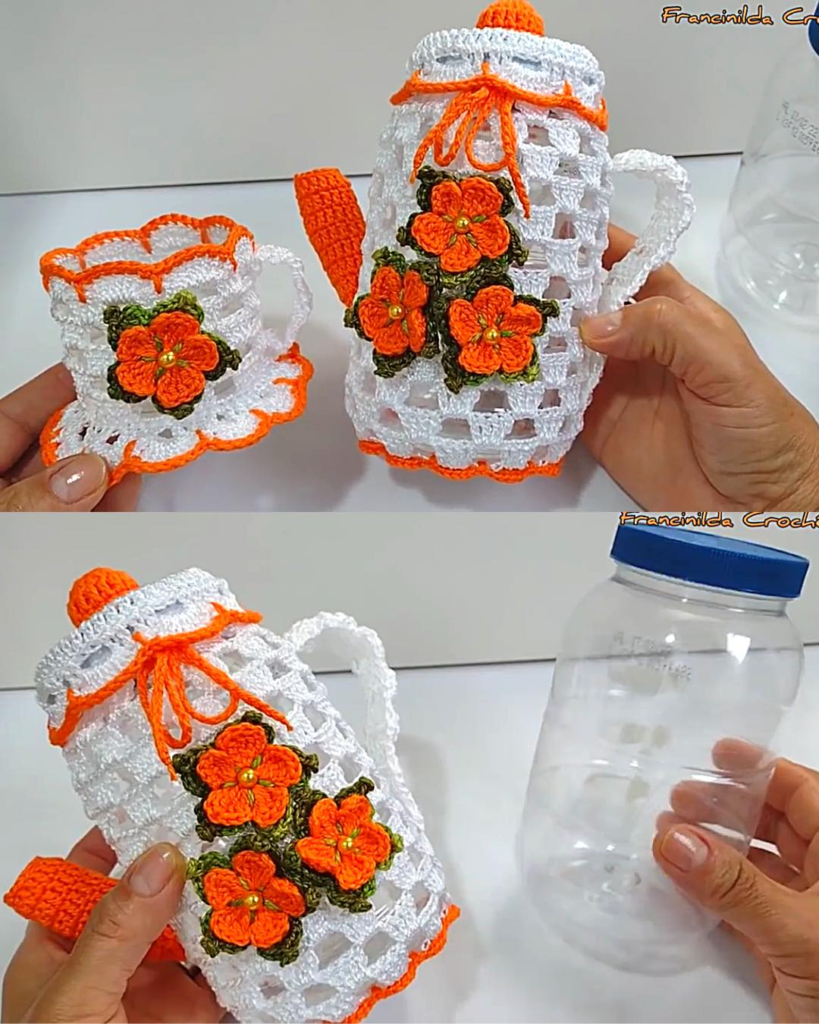
Designing Your Teapot Cozy
Now comes the fun part – adding a personal touch to your teapot cozy with various crochet techniques and embellishments.
- Color Changes: Experiment with different yarn colors to create stripes, polka dots, or any pattern that reflects your style. Simply change the yarn color at the end of a round, and don’t forget to weave in the loose ends for a neat finish.
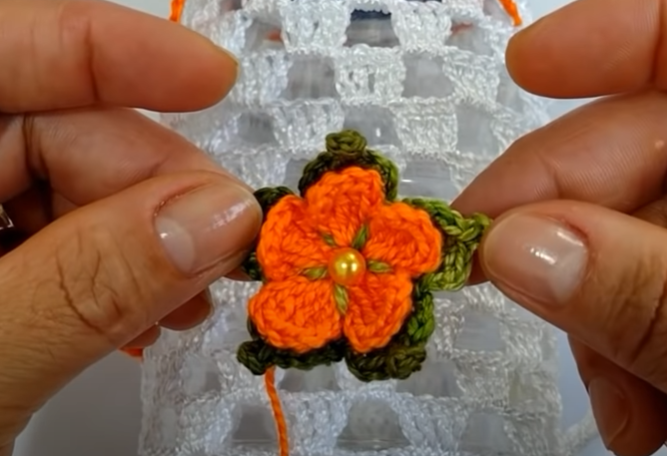
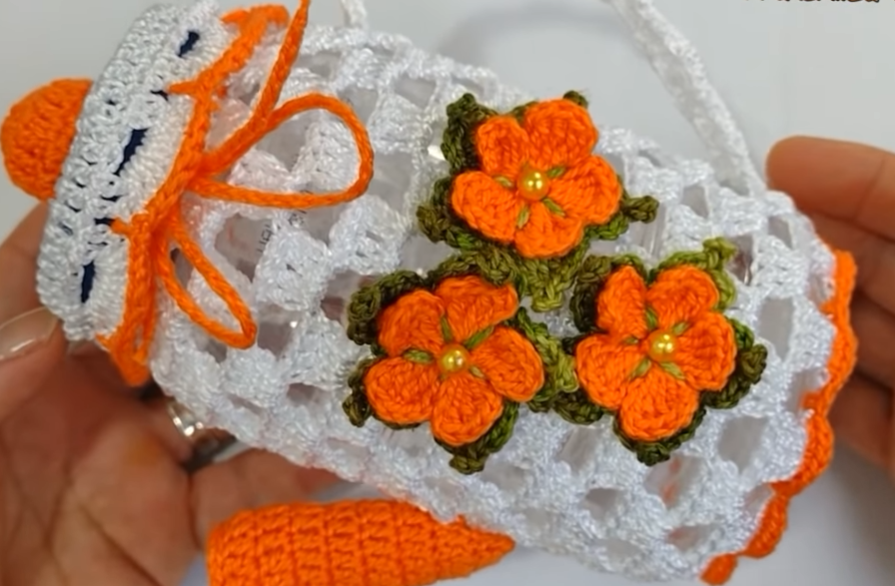
- Crochet Embroidery: Add small embroidered flowers, hearts, or any design you fancy using a tapestry needle and a contrasting yarn color. This technique can transform a plain cozy into a work of art.
- Crochet Appliqué: Create crocheted shapes, like teacups or tea leaves, and sew them onto the cozy’s surface. Appliqués add dimension and whimsy to your design.
- Pom-Poms and Tassels: Take your cozy to the next level by attaching pom-poms or tassels to the edges. They not only look adorable but also add a touch of flair.
Conclusion:
Congratulations! You’ve successfully embarked on a crochet adventure and crafted your very own teapot cozy. Crocheting is not just about creating useful items; it’s about investing time and love into every stitch, infusing your warmth into the cozy itself. As you wrap your handmade cozy around your teapot, cherish the moment, for it symbolizes the love and care you put into your craft.
Remember, the best thing about crocheting is that the possibilities are endless. Once you’ve mastered the basics, feel free to experiment with different stitches, patterns, and yarns. Crochet brings joy and fulfillment, and creating a teapot cozy is just the beginning of a beautiful journey into the world of yarn and creativity. So, pick up your hook, choose your yarn, and get ready to craft warm memories, one stitch at a time. Happy crocheting!