 by
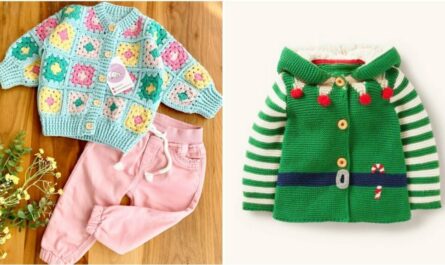
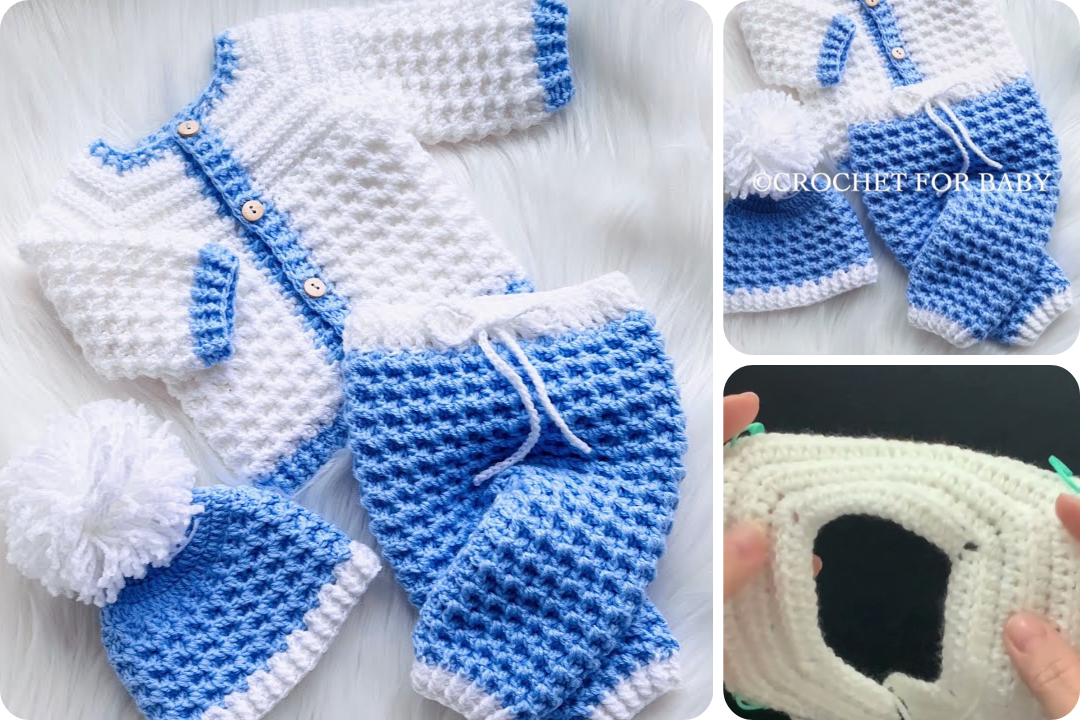
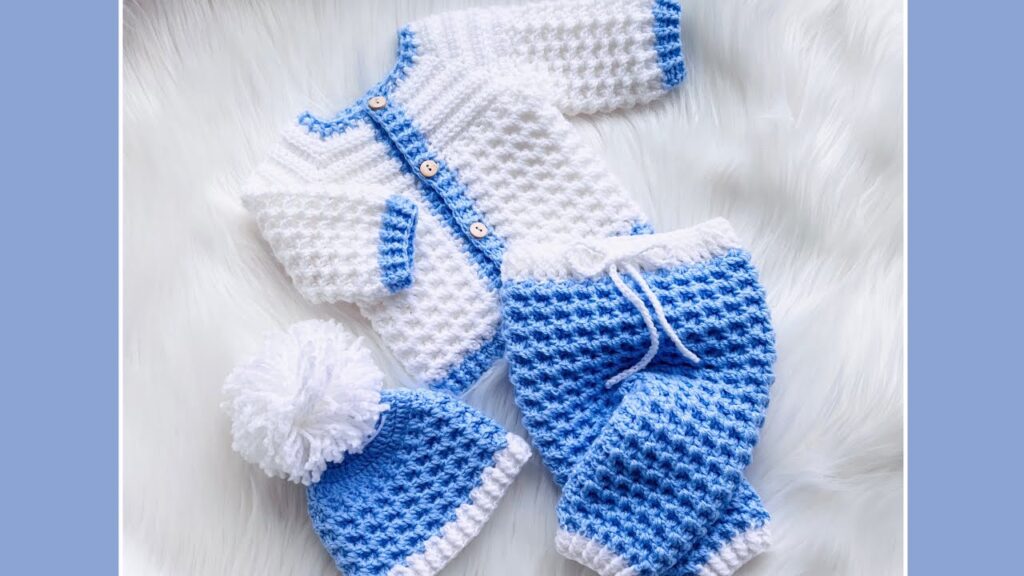
by Here’s a detailed, step-by-step guide on how to make the Adorable Leo Snowdrop Baby Cardigan, a beginner-friendly crochet project perfect for little ones. This pattern features a simple, stylish design and is created in one piece from the bottom up with minimal seaming.
- Yarn: Bulky weight yarn (e.g., Katia Alaska, King Cole Comfort Chunky, or Bernat Softee Chunky)
- Approx. 400–800 yards, depending on size
- Hook: 6 mm (US J-10) crochet hook
- Notions:
- Yarn needle
- Scissors
- Stitch markers
- 1 button (about 2.5 cm diameter)
The cardigan can be made in sizes for 2, 4, 6, 8, and 10 years. Below is an example for the 2-year size (others scale similarly):
- Foundation Chain: 72 stitches
- Total Rows Before Splitting for Sleeves: 26
Step 1: Create the Base
- Foundation Row:
- Chain 72 (or as per the size).
- Turn and work 1 row of single crochet (sc) into each chain.
- Body Rows:
- Work in single crochet rows until you reach the row count needed for your chosen size.
- For 2 years: 26 rows in total.
Step 2: Split for Sleeves
After reaching the armhole depth (e.g., 26 rows for 2 years):
- Divide into Three Parts:
- Left Front Panel
- Back Panel
- Right Front Panel
- Work Each Panel Separately:
- Continue in rows for each panel, maintaining the stitch count provided in the pattern (e.g., 18 sts for left/right front and 36 for back on 2-year size).
Step 3: Join Shoulder Seams
- Use Yarn Needle or Crochet Slip Stitch:
- Seam the shoulders together.
- Leave armholes open.
Step 4: Make and Attach Sleeves
- Chain for Sleeve Base:
- For 2-year size: chain 24.
- Work single crochet rows, increasing as instructed.
- Shape Sleeve Cap:
- After reaching the desired length, decrease stitches to taper the top.
- Sew Sleeves:
- Match the sleeve cap to the armhole and sew using yarn needle.
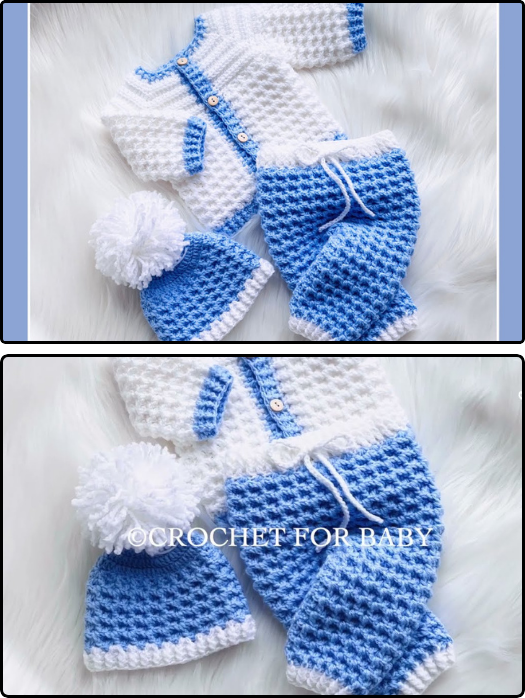
Step 5: Add Collar and Button
- Collar:
- Attach yarn at neckline and work single crochet rows to desired height.
- Fold down for a neat collar look.
- Buttonhole (Right Front):
- Create space for 1 button by chaining 1 and skipping 1 stitch.
- Sew Button:
- On opposite side, attach a 2.5 cm button using yarn and needle.
- Weave in all loose ends.
- Block the cardigan lightly with steam or water for a professional finish.
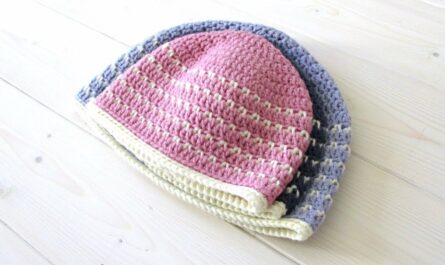
You can also make a simple matching hat with the same yarn and stitches. It’s often worked in the round from the crown down or from the brim up.
- Change colors for stripes or contrasting sleeves
- Add decorative edging or bobbles
- Use wooden or themed buttons for extra charm
If you’d like, I can also provide a crochet chart or printable pattern layout for ease of use. Would you like that?