 by
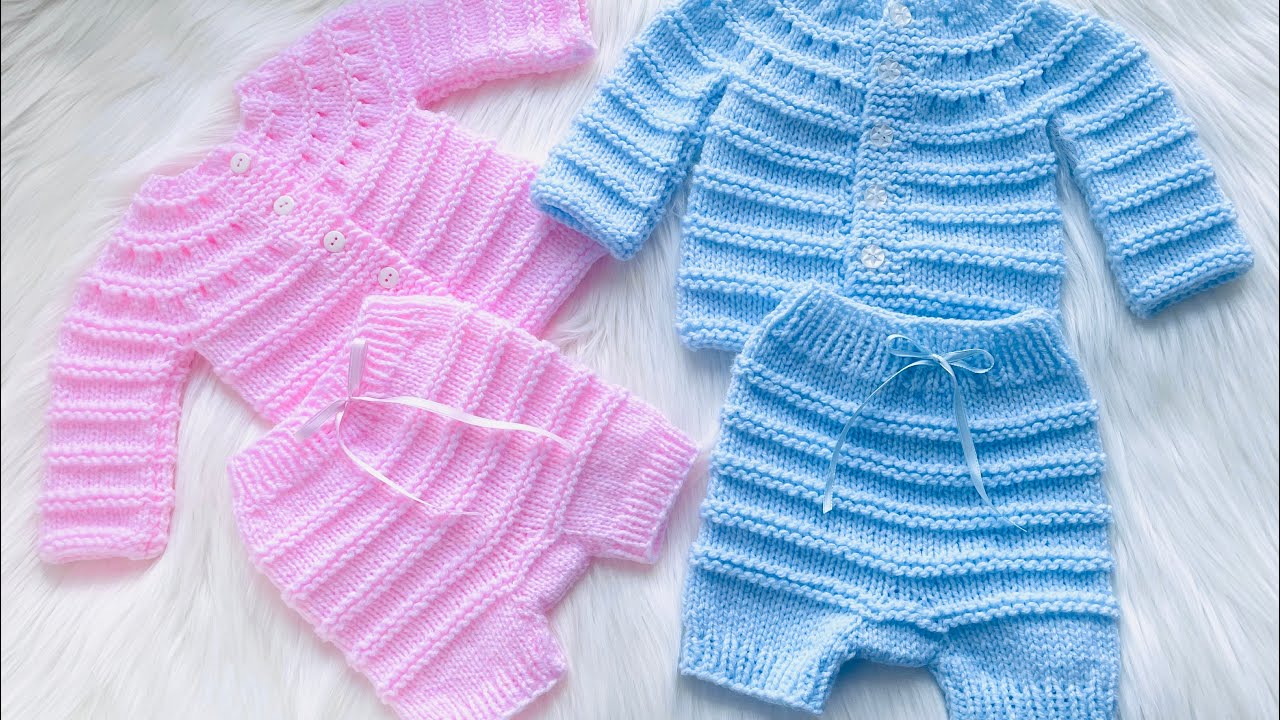
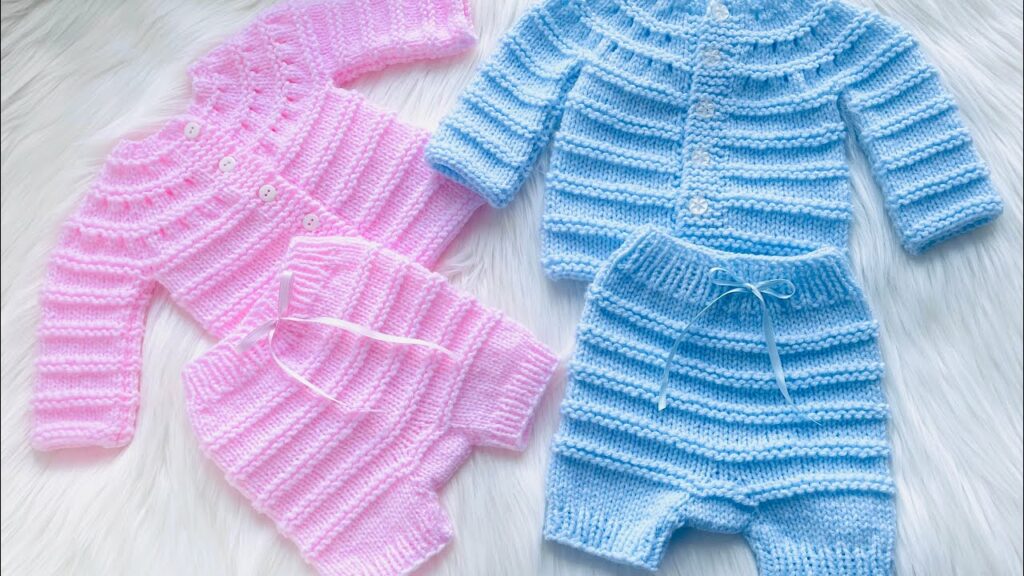
by Your little one’s Lily Cardigan is undoubtedly a cherished piece, but imagine the ultimate adorable outfit: a complete set! Crocheting a matching diaper cover or a pair of baby shorts is the perfect way to complete the look. This guide will walk you through creating an easy knit bottom, designed to complement your existing Lily Cardigan from 0-3 months up to 12 months, ensuring a cohesive and utterly charming ensemble.
We’ll focus on a seamless, knit-in-the-round construction, which makes for a quick and satisfying project with minimal finishing. The key to matching your Lily Cardigan lies in using similar yarn, needle size, and stitch patterns.
Why Knit a Diaper Cover/Baby Shorts?
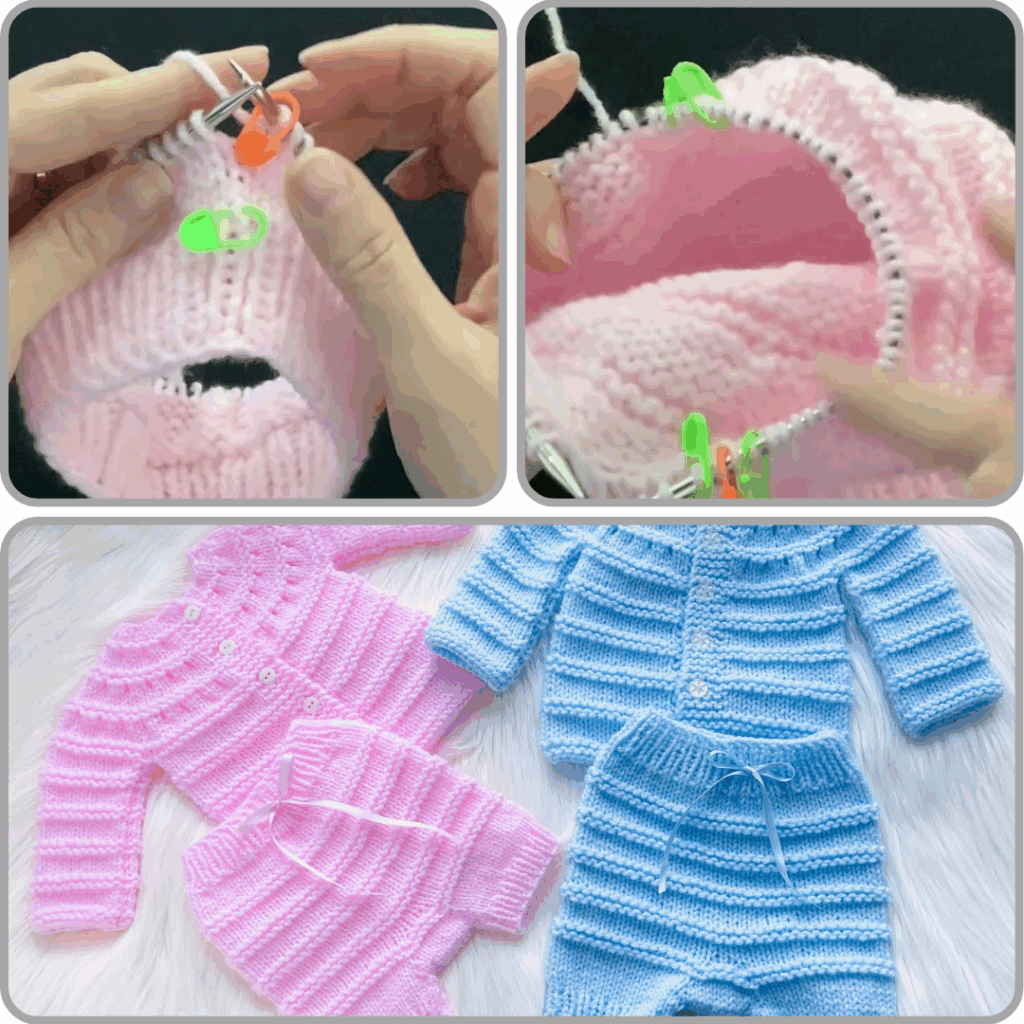
- Complete Outfit: Transforms your Lily Cardigan into a full, coordinated set, perfect for photoshoots or special occasions.
- Comfort: Seamless construction and soft yarn ensure maximum comfort for baby’s delicate skin, with plenty of room for a diaper.
- Practicality: Easy to layer and provides warmth without being bulky.
- Customizable: Adapt the length to be a short diaper cover or slightly longer shorts.
- Skill Builder: A great project for knitting in the round and managing a small circumference.
Matching Your “Lily Cardigan”
To ensure your diaper cover/shorts truly match, consider these points:
- Yarn & Gauge: This is the most critical element. Use the exact same yarn type, brand, and color (or a complementary color) as your Lily Cardigan. This will ensure consistency in texture, drape, and overall appearance. Your gauge for the diaper cover/shorts should also match the gauge you achieved for your cardigan.
- Needle Size: Use the same needle size you used to achieve gauge for your Lily Cardigan.
- Stitch Pattern: If your Lily Cardigan used a simple stitch pattern (e.g., Garter stitch, Stockinette stitch, or a simple ribbing at the bottom), try to incorporate that or a complementary stitch into the diaper cover/shorts. For simplicity, we’ll focus on Stockinette with ribbed edges, which is a classic and versatile choice.
Before You Begin: Gathering Your Knitting Essentials
- Yarn:
- Type & Weight: Use the same DK (Double Knitting) or Worsted Weight (Aran in UK/AU) yarn as your Lily Cardigan. Ensure it’s baby-friendly (soft, washable, breathable, non-allergenic).
- Color: The exact color you used for your cardigan, or a coordinating shade.
- Quantity: You’ll typically need between 100-200 yards (approx. 90-180 meters) for a diaper cover/shorts for 0-12 months, depending on the length and size.
- Knitting Needles:
- Circular Needles: You’ll need one set of circular needles in the same size as you used for your Lily Cardigan. A shorter cable length (e.g., 16 inches / 40 cm) is ideal for the body, and you’ll need Double-Pointed Needles (DPNs) or a longer circular needle for Magic Loop to knit the small circumference of the legs.
- Optional: A needle one size smaller for the ribbing can create a neater edge, but using the same needle size for everything still works for an “easy” project.
- Other Notions:
- Stitch Marker: To mark the beginning of the round.
- Tapestry Needle: For weaving in ends.
- Scissors.
- Optional: 0.5 inch (1.25 cm) wide elastic: For a more secure waistband, if desired.
Understanding Gauge (Reiterated: It’s Your Best Friend!)
Achieving the correct gauge is paramount, especially when matching garments. It ensures your diaper cover/shorts will fit the intended baby and perfectly complement the dimensions of your Lily Cardigan.
How to Make a Gauge Swatch (Do This Even If You Swatched for the Cardigan!):
- Cast On: Cast on about 25-30 stitches.
- Work: Knit a square of at least 6×6 inches (15×15 cm) in the main stitch pattern (Stockinette stitch, if that’s what you’re using for the body of the diaper cover). A larger swatch provides a more accurate measurement.
- Wash & Block: Bind off your swatch. Crucially, wash and block your swatch exactly as you plan to treat the finished diaper cover/shorts. This step relaxes the fibers and reveals the true stitch size and drape.
- Measure: Once dry, lay the swatch flat. Place a ruler over the center. Count how many stitches fit within 4 inches (10 cm) and how many rows fit within 4 inches (10 cm).
- Adjust:
- If you have more stitches per inch than your pattern states (your knitting is too tight), go up half a needle size and try again.
- If you have fewer stitches per inch than your pattern states (your knitting is too loose), go down half a needle size and try again.
- Repeat until your gauge matches your Lily Cardigan’s gauge.
General Stitch Patterns for Diaper Cover/Shorts:
- Main Body:
- Stockinette Stitch: (Knit every round when working in the round) – Creates a smooth, classic fabric that will complement most cardigans.
- Ribbing (for Waistband & Leg Cuffs):
- 1×1 Rib: (Knit 1, Purl 1) repeating.
- 2×2 Rib: (Knit 2, Purl 2) repeating.
- Both create a stretchy, neat edge that will fit comfortably.
Step-by-Step Construction: Knitting Your Diaper Cover/Baby Shorts (Seamless, Knit in the Round)
This guide provides the general method. For precise stitch counts and measurements for different sizes (0-3M, 3-6M, 6-12M), you must refer to a specific knitting pattern that includes this size range, as adapting exact numbers for multiple sizes is complex without a charted pattern.
Abbreviations Used:
- K: Knit
- P: Purl
- CO: Cast On
- BO: Bind Off
- st(s): stitch(es)
- PM: Place Marker
- KFB: Knit Front and Back (a simple increase)
- P2tog: Purl 2 stitches together (decrease)
- K2tog: Knit 2 stitches together (decrease)
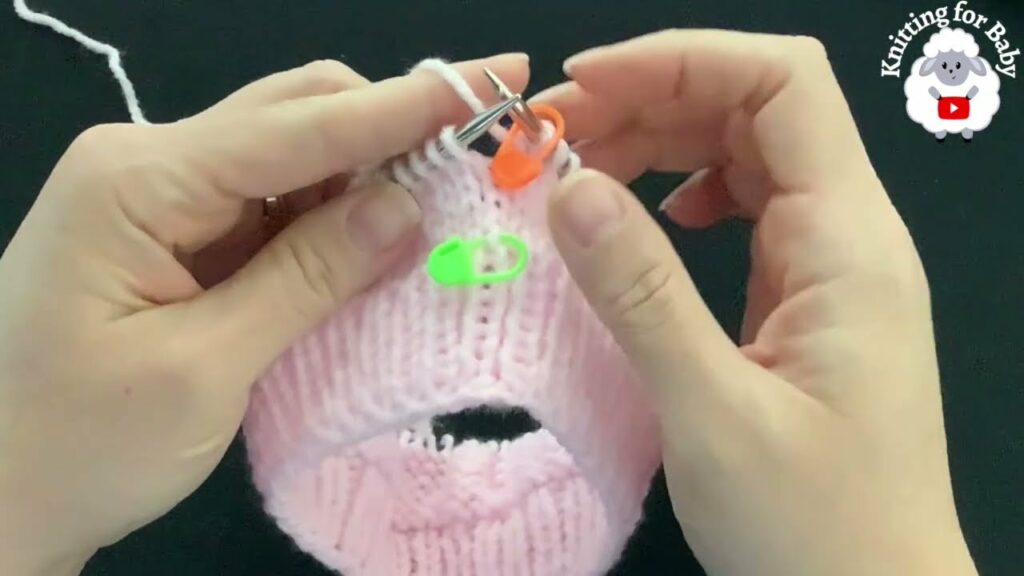
Phase 1: The Waistband
- Step 1.1: Casting On for the Waist
- Using your circular needles, CO the number of stitches required for your desired waist circumference (e.g., 48-60 stitches for 0-3M, 56-72 for 6-12M, etc., ensuring your stitch count is divisible by the ribbing repeat, e.g., by 2 for 1×1 rib).
- Place a stitch marker to mark the beginning of the round.
- Join in the round, being careful not to twist your stitches.
- Step 1.2: Knitting the Waistband
- Work in your chosen ribbing pattern (e.g., K1, P1 rib) for 1-1.5 inches (2.5-4 cm). This creates a stretchy, comfortable waistband.
Phase 2: The Body (Diaper Cover Section)
This section creates the main body of the shorts, allowing room for a diaper.
- Step 2.1: Transition to Main Stitch
- Switch to knitting every round (Stockinette stitch).
- On the first round after the ribbing, you may need to increase a few stitches (e.g., KFB every 8-10 stitches, or as per pattern) to get to your desired stitch count for the body circumference, especially if your ribbing was very tight.
- Step 2.2: Knitting for Hip/Diaper Room
- Continue knitting in Stockinette stitch.
- Most diaper covers will include some increases in the first few rounds after the waistband to accommodate the hips and diaper bulk. Your pattern will specify these (e.g., KFB every 10-15 stitches, 4-6 times per round, over 2-3 rounds).
- Continue knitting straight (no more increases) until the piece measures approximately 3-4 inches (7.5-10 cm) from the top of the waistband down to the bottom of the crotch area. This will be the “rise” of the shorts/diaper cover.
Phase 3: Shaping the Crotch & Dividing for Legs
This step creates the opening for the legs.
- Step 3.1: Shaping the Crotch
- On the next round, BO a small number of stitches at the center front and center back to create the crotch opening (e.g., 4-8 stitches at each point, depending on size).
- After binding off the front crotch stitches, you will no longer be working in the round. You will now be working flat in rows for a short section to create the crotch depth.
- Knit across the remaining stitches to the center back crotch stitches, then turn. Work in rows, decreasing 1 stitch at each end of the row (K2tog or SSK at beginning, K2tog at end) for 2-4 rows to shape the crotch curve.
- Step 3.2: Dividing for Legs
- Once the crotch shaping is complete, you will have stitches remaining for the two leg openings. Place half the stitches onto one set of DPNs (or separate onto a new circular needle) for the first leg, and the other half on a second set for the second leg.
Phase 4: The Legs (Make 2)
Each leg is worked separately in the round.
- Step 4.1: Knitting Each Leg
- Join yarn at the crotch seam of one leg.
- Pick up and knit stitches along the crotch bind-off edges (e.g., 1 stitch per bound-off stitch).
- Place a stitch marker for the beginning of the round.
- Work in Stockinette stitch (knit every round) until the leg measures the desired length (e.g., 2-3 inches for a diaper cover, 4-6 inches for shorts from the crotch).
- Decreases (Optional): If you want a slight taper for the leg, decrease 1 stitch every 1-2 inches by knitting 2 stitches together (K2tog or SSK) at the start or end of the round.
- Step 4.2: The Leg Cuffs
- Work 0.5-1 inch (1.25-2.5 cm) of 1×1 or 2×2 ribbing for the leg cuff.
- BO all stitches loosely in pattern.
- Step 4.3: Repeat for the Second Leg.
Finishing Touches: Completing Your Matching Set
- Weaving in All Ends: This is paramount for a professional, comfortable finish. Use your tapestry needle to meticulously weave in all loose yarn tails on the inside of the diaper cover/shorts.
- Blocking:
- Gently wash your finished diaper cover/shorts according to your yarn’s care instructions.
- Gently squeeze out excess water (do not wring or twist).
- Lay the item flat on clean towels or blocking mats. Gently shape it to the correct dimensions, smoothing out any unevenness. You can use pins to hold the legs open if desired.
- Allow the diaper cover/shorts to air dry completely. Blocking sets the stitches, evens out tension, and enhances the overall drape and appearance.
- Optional: Inserting Elastic (for a more secure waistband):
- If you want a snugger fit at the waist, you can insert a piece of 0.5-inch wide elastic.
- Measure the elastic to fit snugly around the baby’s waist (not too tight).
- Fold the top of the waistband over to the inside, creating a casing. Stitch the casing down, leaving a small opening.
- Thread the elastic through the casing using a safety pin. Stitch the ends of the elastic together securely. Close the opening in the casing.

Tips for an “Easy Knit” Success:
- Consistency is Key: Use the same yarn and needles as your Lily Cardigan.
- Embrace Circulars/DPNs: While daunting at first, knitting in the round eliminates seaming, which often makes the overall project easier for many knitters.
- Stitch Markers are Your Friends: Always use a stitch marker to denote the beginning of the round.
- Count Your Rounds: Keep track of your rounds, especially when knitting straight or before making increases/decreases.
- Don’t Fear the Swatch: It’s the best way to ensure your finished item will fit perfectly.
Safety & Care:
- No Loose Parts: Since this is a bottom, you typically won’t have buttons or embellishments, minimizing choking hazards.
- Washability: Always follow your chosen yarn’s care instructions to ensure your diaper cover/shorts retains its shape and softness. Since it matches your cardigan, it should have the same care instructions.
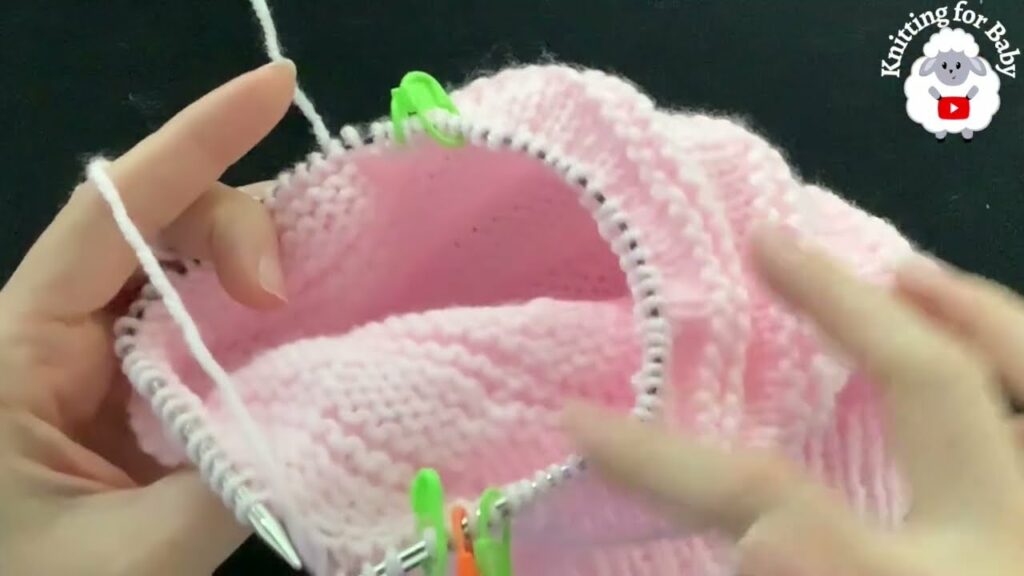
Video Tutorial :
Creating a matching diaper cover or baby shorts for your Lily Cardigan is a delightful way to complete a beautiful handmade outfit for a baby. It’s a quick, practical, and incredibly charming project that showcases your knitting skills and love!