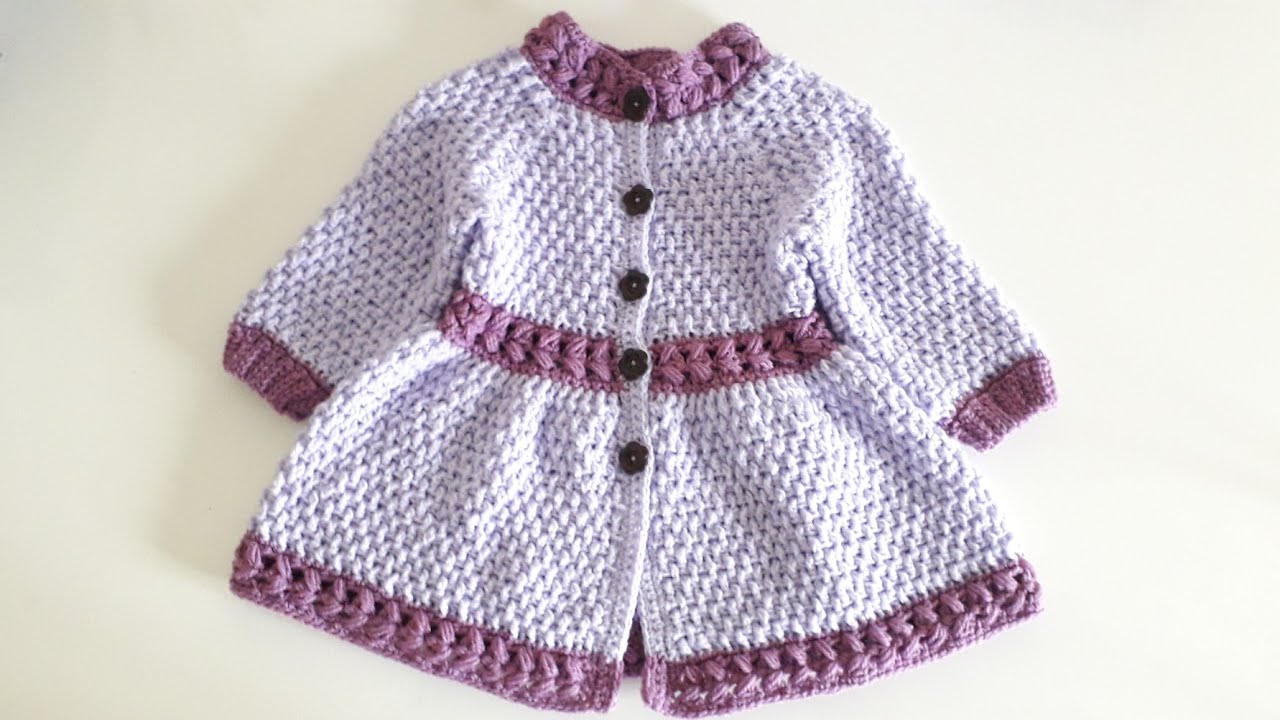
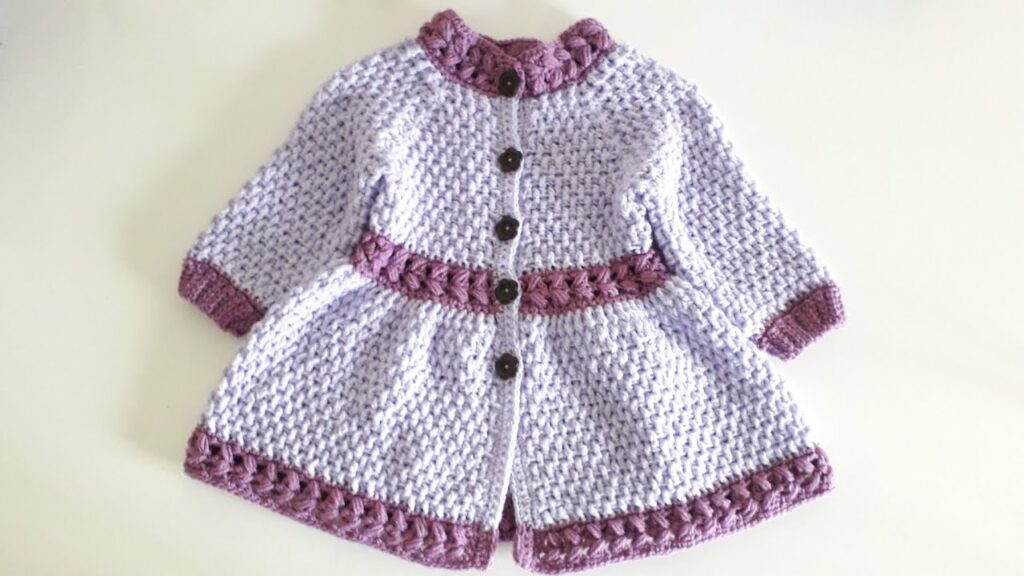
As the last vestiges of winter fade and the world bursts into vibrant color, a “Springtime” coat for a girl is the perfect handmade garment to welcome the new season. This isn’t a heavy winter wrap, but rather a lighter, charming, and stylish outer layer designed for gentle breezes, budding flowers, and sunny adventures. A crocheted “Springtime” coat embodies delicate beauty, often featuring cheerful colors, graceful shaping, and playful details that make it truly enchanting.
This detailed guide will walk you through the essential steps and creative considerations for crafting an adorable and functional piece that will be cherished throughout the season.
What Defines a “Springtime” Girls’ Coat?
The essence of a “Springtime” coat lies in its seasonal appropriateness and charming aesthetic:
- Lighter Warmth: Designed for the cooler days of spring, it typically uses lighter-weight yarns or more open, breathable stitch patterns than a winter coat. It provides warmth without bulk.
- Spring Aesthetic: Characterized by a fresh color palette (pastels, brights, or classic neutrals with colorful accents), delicate textures, and often decorative elements like subtle lace, ruffles, scalloped edges, or floral appliques.
- Feminine Design: Often features a graceful A-line flare in the skirt, gently puffed sleeves, a sweet Peter Pan collar, or elegant closures, contributing to its adorable charm.
- Versatile Layering: Comfortable worn over dresses, light tops, leggings, or a simpler outfit, adding a touch of polish and warmth.
Why Crochet a “Springtime” Girls’ Coat?
- Seasonal Perfection: It’s the ideal garment for transitional weather, offering just the right amount of coverage for fluctuating spring temperatures.
- Unique & Adorable: A handmade coat stands out from mass-produced items, showcasing personalized style and the unique texture that only crochet can provide.
- Customizable Charm: The possibilities for customization are endless – from vibrant color combinations and subtle stitch patterns to adding crocheted flowers, bows, or contrasting trim.
- Skill Advancement: Crocheting a full garment offers a fantastic opportunity to expand your skills in shaping (yokes, flares, collars), decorative stitches, and precise finishing techniques.
- Thoughtful & Cherished Gift: A handmade “Springtime” coat is a truly special and memorable gift, imbued with your time, effort, and love.
Choosing Your Tools & Materials:
Careful selection of materials is crucial for creating a soft, draped, and comfortable spring coat.
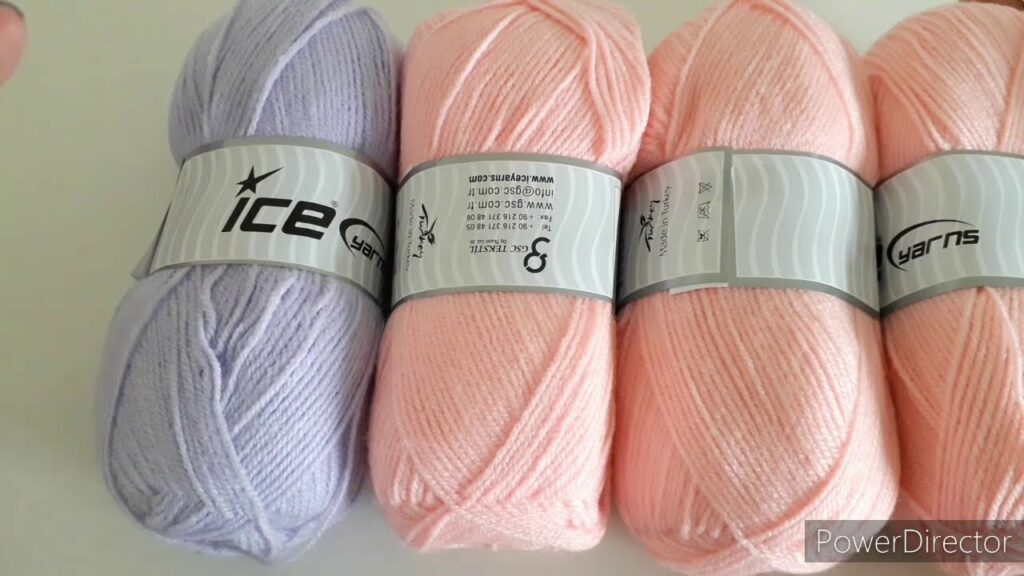
- Yarn: The Heart of Drape, Softness, and Care!
- Fiber:
- Cotton or Cotton Blends (Cotton/Acrylic, Cotton/Bamboo): Excellent choices for spring garments due to their breathability, softness, and beautiful drape. Many are machine washable, which is a major plus for children’s wear.
- Superwash Merino Wool (DK/Sport Weight): Offers luxurious softness, warmth without bulk, and is often machine washable, making it suitable for cooler spring climates.
- Premium Acrylics: Durable, easy to care for, and available in a vast array of beautiful spring colors. Look for anti-pilling varieties.
- Avoid: Very heavy, bulky yarns (unless going for a very specific chunky style), or yarns that lack natural drape, as they might make the coat feel stiff.
- Weight:
- DK (Double Knitting / Category 3) or Sport (Category 2): These are ideal weights for lighter spring garments, creating a fine, delicate fabric.
- Worsted (Aran / Category 4): Can work for a slightly warmer “Springtime” coat, but ensure your chosen stitch pattern allows for good drape.
- Color Palette: Embrace the freshness of spring! Think soft pastels (blush pink, sky blue, mint green, lemon yellow, lilac), bright and cheerful spring colors (coral, turquoise, fuchsia, grass green), or classic cream/white with colorful accents.
- Quantity: Coats are yarn-hungry! Expect to need 800-1200 yards for toddler sizes (2T-4T) and 1200-1800+ yards for older girl sizes (6Y-10Y), depending on the coat’s length, fullness, and yarn weight. Always consult your chosen pattern’s specific recommendations.
- Fiber:
- Crochet Hook:
- Consult your chosen yarn label for a suggested hook size (e.g., 3.5mm, 4.0mm, 4.5mm, 5.0mm).
- Crucial for Garments: Your actual hook size will be determined by achieving the correct gauge for your pattern. You will almost certainly need to adjust your hook size (up or down by half a size) to ensure the proper fit, comfortable drape, and desired fabric density.
- Other Notions:
- Stitch Markers: Essential for marking raglan lines, the beginning of rounds, or specific shaping points.
- Tapestry Needle: For neatly weaving in all yarn ends and seaming (if applicable).
- Scissors.
- Measuring Tape: For frequent measurements during construction.
- Buttons (4-8 small, decorative buttons): Choose buttons that complement the coat’s “Springtime” aesthetic.
- Sewing Needle & Matching Thread: To securely attach buttons.
- Optional Embellishments: Pre-made crocheted flowers, butterflies, fabric appliques, satin ribbon, or small beads.
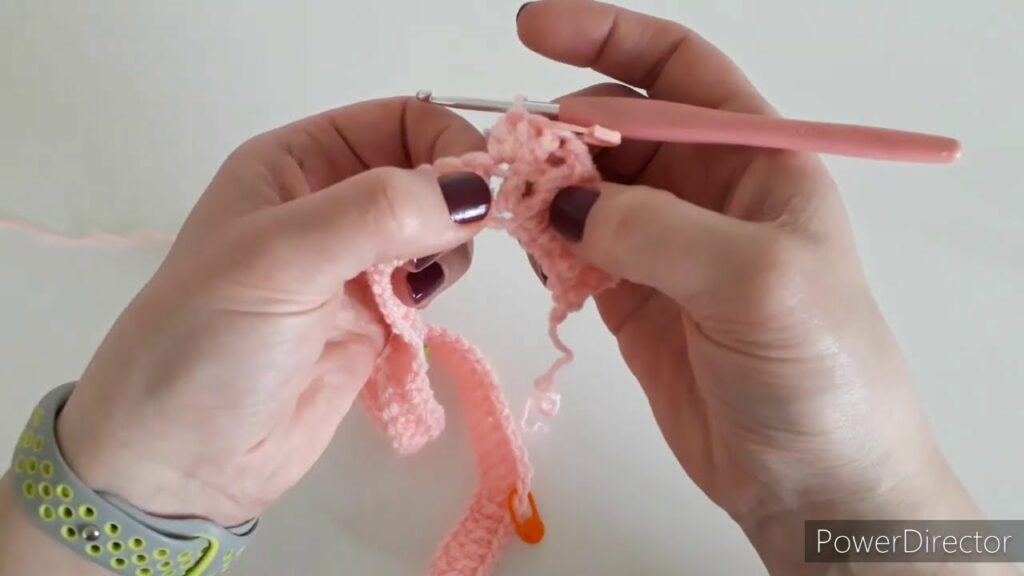
Understanding Sizing & Gauge (ABSOLUTELY CRITICAL for Garments!)
Accurate sizing is paramount for a comfortable, well-fitting, and beautifully draping coat that allows for ease of movement and layering.
General Girls’ Coat Sizing (Approximate Measurements):
| Size | Approx. Chest Circ. | Approx. Finished Length (Shoulder to Hem) | Approx. Sleeve Length (Underarm to Cuff) |
|---|---|---|---|
| 2T | 21-22 inches | 16-18 inches | 9-10 inches |
| 4T | 23-24 inches | 18-20 inches | 11-12 inches |
| 6Y | 25-26 inches | 20-22 inches | 13-14 inches |
| 8Y | 27-28 inches | 22-24 inches | 15-16 inches |
| 10Y | 29-30 inches | 24-26 inches | 17-18 inches |
Export to Sheets
Disclaimer: These are general averages. Always refer to the specific pattern’s measurements and sizing chart. Allow for 2-4 inches of “positive ease” (extra room beyond body measurements) for comfort and layering.
How to Make a Gauge Swatch (Do NOT Skip This Step!):
- Chain: Chain about 25-30 stitches, plus any turning chains (e.g., ch 3 for dc) as per your chosen main stitch pattern.
- Work: Crochet a square of at least 6×6 inches (15×15 cm) using the specific hook size you plan to use for the body of the coat. A larger swatch provides a more accurate measurement.
- Wash & Block: Fasten off your swatch. Crucially, wash and block your swatch exactly as you plan to treat the finished coat. This step relaxes the fibers and reveals the true stitch size and drape after washing, which can change significantly.
- Measure: Once dry, lay the swatch flat. Place a ruler over the center. Count how many stitches fit within 4 inches (10 cm) and how many rows fit within 4 inches (10 cm).
- Adjust:
- If you have more stitches per inch than your pattern (or desired gauge) states (your work is too tight), go up half a hook size and re-swatch.
- If you have fewer stitches per inch than your pattern states (your work is too loose), go down half a hook size and re-swatch.
- Repeat until your gauge precisely matches.
General Stitch Patterns for a “Springtime” Coat:
- Main Body (for warmth, drape, and texture):
- Half Double Crochet (hdc) or Double Crochet (dc): Provide a solid, comfortable fabric that works well for the coat’s structure.
- Moss Stitch (Linen Stitch): (
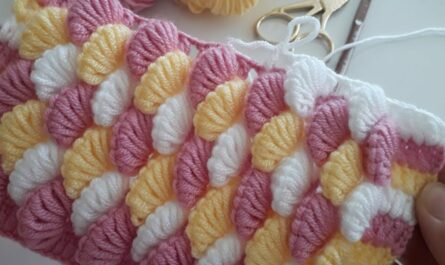
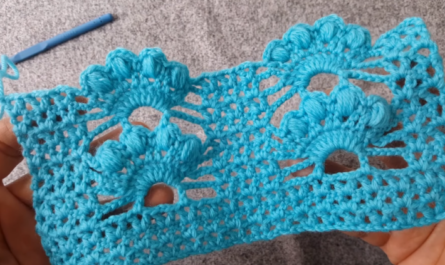
sc, ch 1, sk 1) Creates a beautiful, subtle texture that feels delicate and drapes well. - Shell Stitches or V-Stitches: Can be used for decorative panels or as a full fabric for a lacier, more open look suitable for milder spring days.
- Ribbing (for cuffs, hem, and collar/front band):
- Single Crochet in Back Loop Only (sc blo): Creates a softer, more flexible ribbing, often preferred for delicate garments.
- Front Post/Back Post Double Crochet (fpdc/bpdc): For a more structured, elastic ribbing, if desired for stability.
- Decorative Edges:
- Scalloped Edges: Simple shell stitches worked along the hem, cuffs, or collar.
- Picot Stitches: Small decorative loops often used for dainty borders.
- Buttonholes: Typically created by chaining a few stitches and skipping the corresponding number of stitches in the row below.
Step-by-Step Construction: The “Springtime” Girls’ Coat (Top-Down Raglan Yoke)
The top-down raglan construction method is highly popular for seamless garments, offering a beautiful drape and the convenience of trying on the coat for fit as you go.
Phase 1: The Yoke (Top-Down, Raglan Shaping)
This forms the neckline, shoulders, and upper chest, worked from the top down.
- Step 1.1: Starting Chain & Neckline Edge
- Foundation Chain: Chain the number of stitches specified by your pattern for the desired neckline circumference.
- Neckline Edge: Work a few rounds in a simple stitch like sc or hdc, or a soft ribbing (e.g., sc blo), to create a neat and comfortable neck edge. Join with a slip stitch to form a round.
- Step 1.2: Setting Up Raglan Yoke Divisions (First Increase Round)
- This round divides your total stitches into: Back Panel, Sleeve 1, Front Panel, Sleeve 2. You will have 4 raglan corners where all shaping increases occur.
- Begin working your chosen main stitch pattern for the Back Panel. At the first raglan corner, work your specified increase (e.g.,
(2 dc, ch 2, 2 dc)or(dc, ch 1, dc)). Place a stitch marker (SM) in the increase space. Continue this pattern for Sleeve 1, Front Panel, Sleeve 2, with increases at each raglan corner.
- Step 1.3: Continuing Yoke Increases
- Subsequent Yoke Rounds: Continue working in rounds, repeating your chosen main stitch pattern across all sections. Work your specified increase into each of the 4 raglan spaces from the previous round. Move your stitch markers up to the new increase spaces.
- Continue working these increase rounds until the yoke measures the correct depth from the top of the neckline to the underarm for your chosen size. This is a crucial measurement for a comfortable fit.
Phase 2: Separating for Body & Sleeves
Once the yoke is the correct depth, you’ll divide the stitches to create the armholes and begin the main body of the coat.
- Separation Round:
- Work stitches for the Back Panel using your main stitch pattern.
- Work into Raglan Corner 1.
- Skip Sleeve 1: Place all stitches of Sleeve 1 (the stitches between Raglan Corner 1 and Raglan Corner 2) onto a piece of scrap yarn or a stitch holder.
- Underarm Chain: Chain 2-4 stitches (this creates extra room at the underarm and fills the gap, preventing tightness).
- Work into Raglan Corner 2.
- Work stitches for the Front Panel using your main stitch pattern.
- Work into Raglan Corner 3.
- Skip Sleeve 2: Place all stitches of Sleeve 2 onto a holder.
- Underarm Chain: Chain 2-4 stitches.
- Work into Raglan Corner 4.
- Join with a slip stitch to the first stitch of the round to form a continuous circle for the body of the coat.
Phase 3: The Body & Flare (The “Coat” Silhouette)
This forms the main torso section of the garment below the armholes, incorporating the characteristic “coat” flare.
- Body Rounds: Continue working in rounds using your chosen main stitch pattern.
- Shaping for Flare: To create the classic A-line or flared “skirt” of a coat, you will gradually increase stitches evenly around the body over several rounds. This typically begins below the bust/waistline. Your pattern will specify the rate and frequency of these increases.
- Length: Continue working rounds until the coat reaches the desired length (e.g., hip-length, mid-thigh, or knee-length, depending on the pattern’s design).
- Hem: Finish the bottom edge of the coat with a pretty, decorative hem (e.g., a scalloped edge made with shell stitches, a delicate picot border, or a few rounds of simple ribbing for stability).
Phase 4: The Sleeves (Make 2)
Each sleeve is worked individually, typically in the round, starting from the armhole.
- Attach Yarn: Attach your yarn to the center underside of one armhole opening (where your underarm chain was).
- Pick Up Stitches: Work a round, picking up stitches evenly around the armhole opening (including into the underarm chain stitches). Join with a slip stitch to the first stitch to form a round.
- Working the Sleeve: Continue working in continuous rounds using your chosen main stitch pattern.
- Tapering: Gradually decrease stitches evenly spaced over several rounds to taper the sleeve towards the wrist. This creates a comfortable fit. Your pattern will specify the decrease rate.
- Length: Work until the sleeve reaches the desired full length from the underarm to the wrist.
- Cuff: Finish the sleeve with a delicate cuff (e.g., sc blo ribbing, or a small scalloped/picot edge to match the body hem).
- Fasten off. Repeat all steps for the second sleeve, ensuring it is symmetrical to the first.
Phase 5: Front Bands & Collar
Video Tutorial Part 1 ;
These elements define the coat’s opening and neckline.
- Front Bands:
- Attach yarn to the bottom corner of one front hem.
- Working along the entire front opening (up one front, around the back neck, and down the other front), evenly pick up stitches along the raw edge. The number of stitches picked up will determine how flat your band lies.
- Work several rows of single crochet or a delicate ribbing (e.g., sc blo) to create a neat, sturdy band.
- Buttonholes: On one of the front bands, strategically place buttonholes as you work the rows. Your pattern will guide placement (e.g.,
ch 2, skip 2 stitches).
- Collar:
- The collar can be shaped directly from the stitches picked up for the front band, or crocheted separately and sewn on.
- For a classic “Springtime” look, a Peter Pan collar is adorable. This is typically worked in rows, increasing to create a gentle curve, and then sewn onto the neckline.
Phase 6: Finishing Touches & Embellishments
These final steps bring your garment to a professional and delightful completion.
- Weave in All Ends: Using your tapestry needle, meticulously weave in every single yarn tail. Secure them firmly by weaving them into existing stitches in different directions to prevent unraveling. This is crucial for a neat and durable finish.
- Attach Buttons: Securely sew your chosen decorative buttons onto the designated front band (the side without the buttonholes), aligning them perfectly with the buttonholes.
- Optional Embellishments: This is where you can truly personalize the “Springtime” coat!
- Sew on small crocheted flowers, butterflies, or ladybugs.
- Add a delicate ribbon bow at the neckline or waist.
- Embroider small details like leaves or polka dots.
- Attach a simple crocheted border in a contrasting color along the front bands or hem.
- Blocking (ABSOLUTELY CRUCIAL for Garments!):
- Gentle Wash: Fill a basin with cool water and a small amount of mild, wool-friendly detergent (even for cotton or acrylic). Gently submerge the coat and let it soak for 20-30 minutes. Do not agitate or wring.
- Remove Excess Water: Gently squeeze out excess water. Roll the coat in a clean, dry towel and press firmly to absorb as much moisture as possible.
- Shape & Dry: Lay the coat flat on blocking mats. Gently stretch and shape it to the correct finished dimensions (chest width, body length, sleeve length, and collar/flare shape). Smooth out any unevenness and define the edges. Use rust-proof T-pins if needed to hold the shape firmly.
- Air Dry Completely: Allow the coat to air dry completely. Blocking is a transformative step that relaxes the fibers, evens out your stitches, enhances the drape, and gives your coat a beautifully polished, professional appearance.
Tips for “Springtime” Coat Success:
- Yarn Choice for Drape: Prioritize yarns that will hang nicely and feel soft against the skin, allowing the coat’s flare and details to shine.
- Gauge Precision: This cannot be stressed enough. Achieving the correct gauge ensures the coat fits properly and has the intended drape and fullness.
- Embrace the Details: The “Springtime” feel comes from delicate stitches, pretty edgings, thoughtful embellishments, and a fresh color palette.
- Button Placement: Plan button placement carefully to ensure a neat, secure closure.
- Measure Frequently: Compare your work to a favorite commercial coat or the girl’s actual measurements to ensure the dimensions are correct as you go.
Care Instructions for Your Handmade Coat:
- Always follow your chosen yarn label’s specific care instructions. This is especially important for natural fibers.
- Reshape and Lay Flat to Dry: Gently reshape the coat while wet and lay it flat on a clean towel or drying rack to air dry completely. Pay extra attention to reshaping the collar, flare, cuffs, and hem to ensure they retain their intended form. Do not hang, as this can stretch the fabric and distort the garment’s shape.
Video Tutorial Part2 ;
Creating a crocheted “Springtime” coat for a special girl is a truly delightful and rewarding endeavor. With its unique charm and your loving stitches, you’ll be crafting a beautiful, comfortable piece that will beautifully welcome the joy of the new season. Happy hooking!
